Article Number: 000124931
无法使用自签名证书激活 Dell Security Management Server Enterprise 上的代理
Summary: 在 Dell Security Management Server Enterprise(以前称为 Dell Data Protection | Enterprise Edition server)中使用自签名证书时,无法激活代理。
Article Content
Symptoms
受影响的产品:
- Dell Security Management Server
- Dell Data Protection | Enterprise Edition
受影响的版本:
- v9.5 - v9.8
如果在安装 Dell Security Management Server(以前称为 Dell Data Protection | Enterprise Edition Server)v9.5 至 v9.8.x、代理注册(自加密驱动器管理、BitLocker Manager、高级威胁防护和威胁防护)期间选择了自签名证书,由于安装过程中未正确设置 Dell Management (DM) 证书,可能会失败。代理和策略签名需要安全的 SSL 或 TLS 进行通信。Dell Management (DM) 证书用于促进此安全通信。DM 证书可能在 Dell Security Management Server v9.5 到 9.8.x 中设置不正确。
Cause
不适用
Resolution
提醒:此问题已在 9.9.2 中得到解决。
要解决此问题:
- 登录受影响的 Dell Security Management Server Enterprise。
- 右键单击Windows开始菜单,然后选择Run(运行)。

图 1:(仅限英文)单击 Run
- 在Run(运行)UI中,键入services.msc,然后单击OK(确定)。
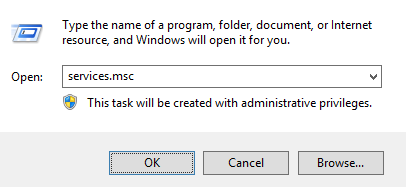
图 2:(仅限英文)键入 services.msc
- 右键单击Dell Core Server,然后选择 Stop。
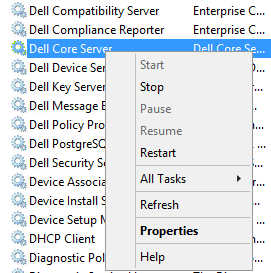
图 3:(仅限英文)停止 Dell Core Server
- 在 Window Search 菜单中,键入并选择 Server Configuration Tool。
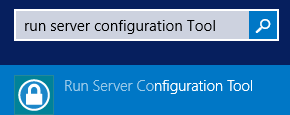
图 4:(仅英文)运行 Server Configuration Tool
- 转至 Actions > Configure Certificates。
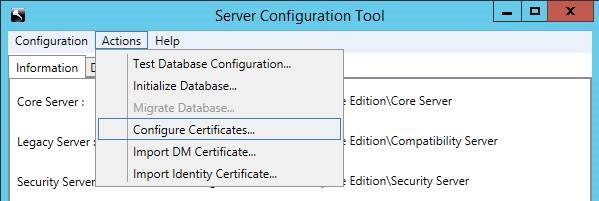
图 5:(仅限英文)转至 Configure Certificates
- 在 Certificate Configuration 中,按 Next。
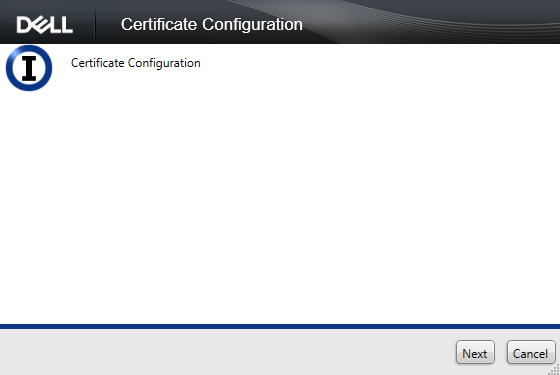
图 6:(仅限英文)单击 Next
- 选择 Express,然后按 Next。
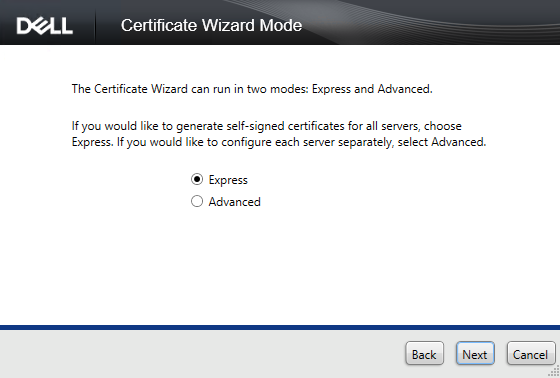
图 7:(仅限英文)选择 Express
- 按 Yes 键以使用当前证书。
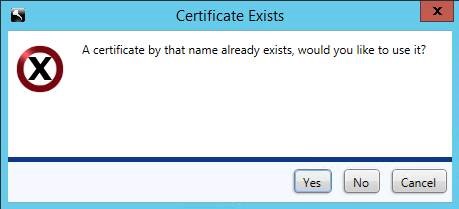
图 8:(仅限英文)单击 Yes
提醒:仅当已存在自签名证书时,才会显示此提示。
- 单击 Finish 以关闭证书设置。

图 9:(仅英文)单击“完成”
- 右键单击Windows开始菜单,然后选择Run(运行)。
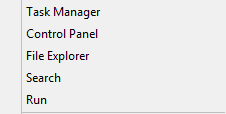
图 10:(仅限英文)单击 Run
- 在“运行”UI 中,键入 mmc,然后按 OK。
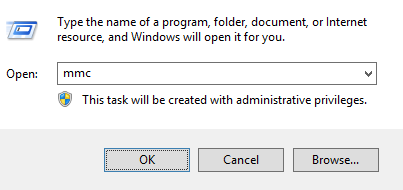
图 11:(仅限英文)键入 mmc
- 在 managed migration utility (MMC) 用户界面 (UI) 中,选择 File,然后选择 Add/Remove Snap-In。
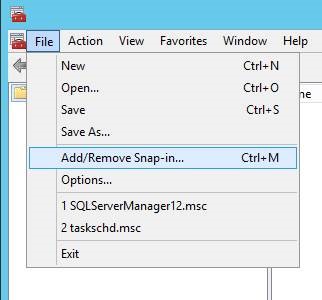
图 12:(仅英文)单击“Add/Remove Snap-in”
- 在 Snap-in UI 中,选择 Certificates,然后按 Add。
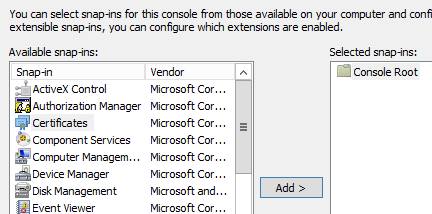
图 13:(仅限英文)添加证书
- 选择 Computer account,然后单击 Next。
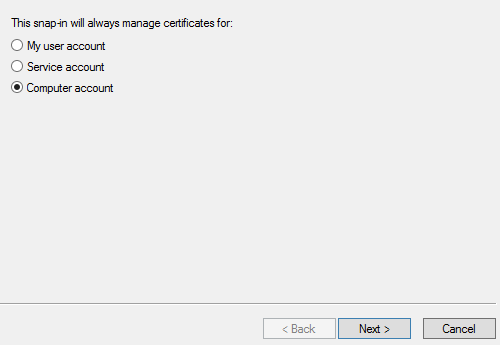
图 14:(仅限英文)选择计算机帐户
- 选择 Local computer,然后按 Finish。
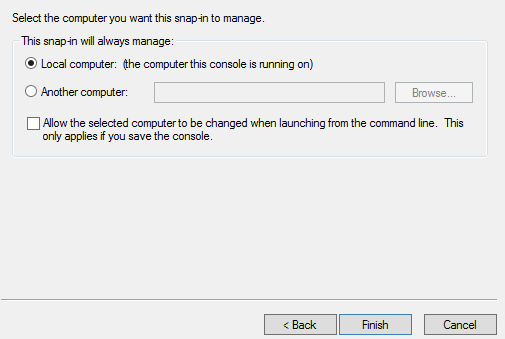
图 15:(仅限英文)选择本地计算机
- 在 Snap-in UI 中,按 OK 键。
- 在 MMC 中,展开 Certificates (Local Computer) > Personal > Certificates
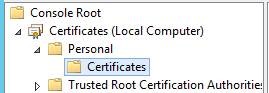
图 16:(仅限英文)展开证书
- 此时将列出新创建的证书。双击证书以检查到期日期,以确保证书与今天的日期 + 10 年相匹配。
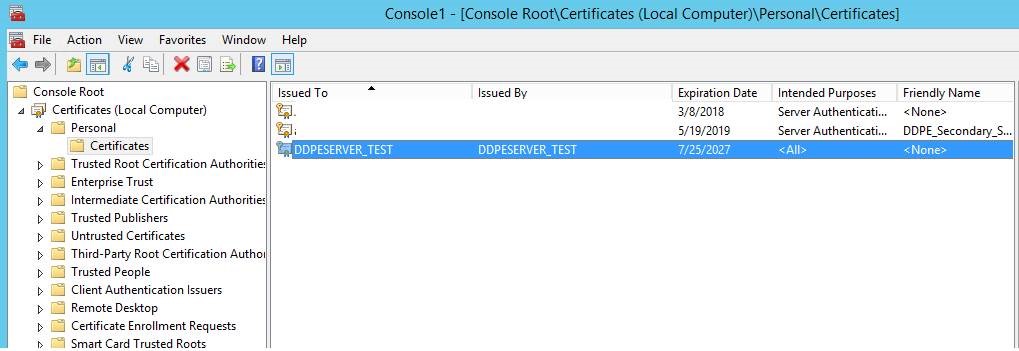
图 17:(仅限英文)双击“证书”
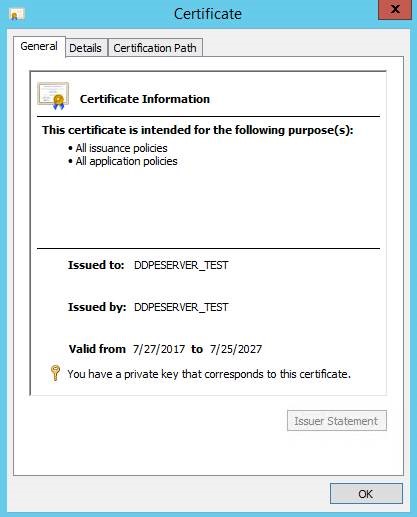
图 18:(仅限英文)验证到期
- 右键单击新证书,然后选择 All Tasks > Export。
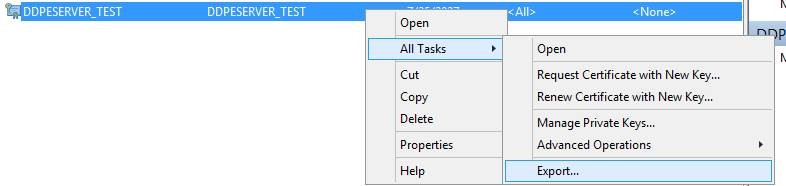
图 19:(仅限英文)单击 Export
- 在 Certificate Export Wizard 中,选择 Next。
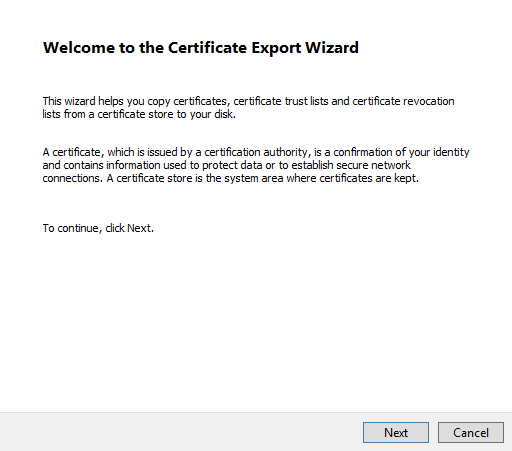
图 20:(仅限英文)单击 Next
- 单击 Yes, export the private key,然后单击 Next。
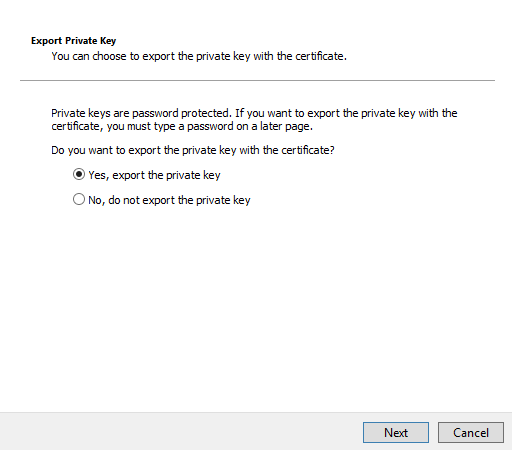
图 21:(仅限英文)选择 Yes, export the private key
- 保留为格式选择的默认选项,然后按 Next。
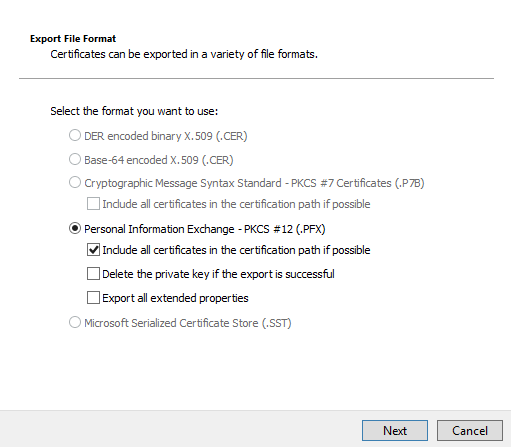
图 22:(仅限英文)选择 Personal Information Exchange -PKCS #12(.PFX)
- 检查 password 并设置并确认密码。填充后,按 Next。
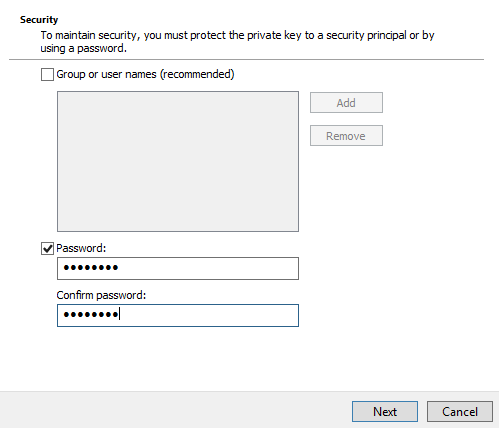
图 23:(仅限英文)输入新密码
- 浏览并选择导出的证书的位置。选择了位置后,单击 Next。
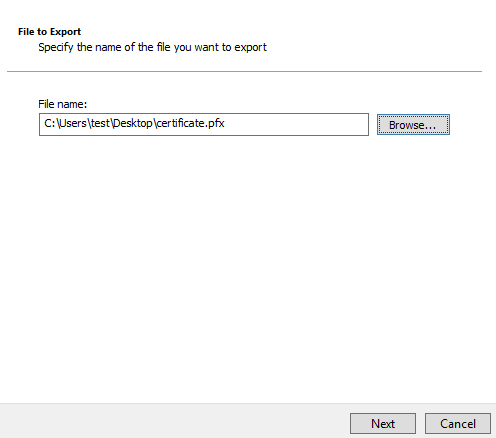
图 24:(仅限英文)选择要导出的证书
- 单击 Finish 以完成证书导出。
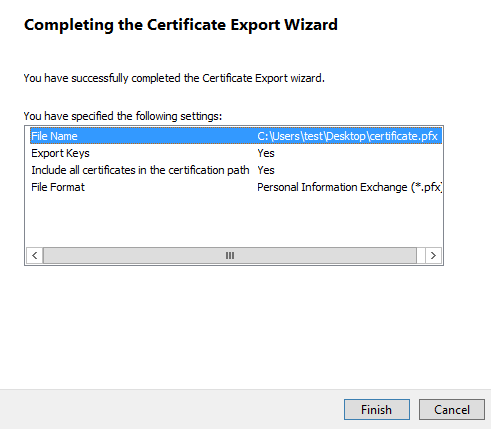
图 25:(仅英文)单击“完成”
- 返回到 Server Configuration Tool,然后选择 Actions > Import DM Certificate。
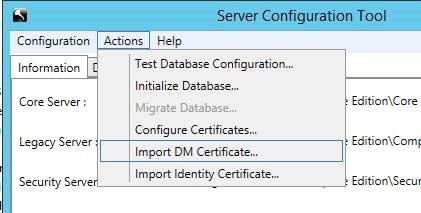
图 26:(仅限英文)单击 Import DM Certificates
- 选择导出的证书(步骤 25)。
- 输入导出的证书密码(步骤 24),然后按 OK。
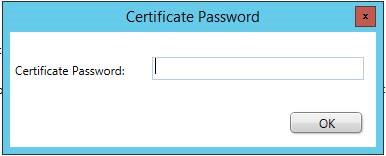
图 27:(仅英文)输入密码
- 如果使用 Windows 身份验证访问 SQL,请输入具有 SQL 权限的服务帐户的信息,然后单击 Next。如果您使用的是 SQL 身份验证,请单击 Next。
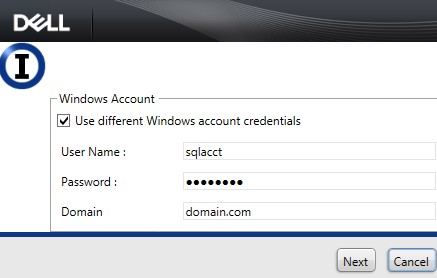
图 28:(仅限英文)输入 Windows 帐户信息
提醒:在该示例中,我们使用 Windows 身份验证。如果使用 SQL 身份验证,则不需要任何信息。
- 退出 Service Configuration Tool。
- 在提示符处选择 Yes 以保存。
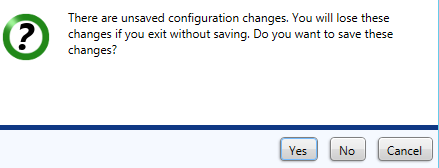
图 29:(仅限英文)单击 Yes
- 在 Services UI 中,右键单击 Dell Core Server,然后选择 Start。
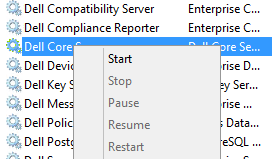
图 30:(仅限英文)启动 Dell Core Server
- 退出“服务”用户界面。
要联系支持部门,请参阅 Dell Data Security 国际支持电话号码。
转至 TechDirect,在线生成技术支持请求。
要获得更多见解和资源,请加入戴尔安全社区论坛。
Additional Information
Videos
Article Properties
Affected Product
Dell Encryption
Last Published Date
06 Jul 2023
Version
11
Article Type
Solution