Article Number: 000148025
How to Use System Restore in Microsoft Windows
Summary: This article provides information about System Restore in Microsoft Windows. Learn how to create a restore point and how to restore the system files and settings in Microsoft Windows. Find step-by-step instructions to recover the computer using the System Restore feature in Microsoft Windows. ...
Article Content
Instructions
System Restore in Microsoft Windows helps make restore points when you install a new app, driver, Windows update, or create a restore point manually. Using System Restore will not affect your personal files, but it will remove apps, drivers, and updates installed after the restore point was made.
System Restore automatically creates a restore point once a day. It continually monitors system activity and creates a restore point when activities such as installing apps, drivers, or Windows Updates occur.
NOTE: System Restore does not affect any of your documents, pictures, or other personal data. Recently installed programs and drivers might be uninstalled.
Supported operating systems
- Windows 11
- Windows 10
- Windows 8 or 8.1
- Windows 7
System Restore utility in Microsoft Windows can be used as an effective tool to recover the computer to the last-known working condition while troubleshooting software-related issues.
How to enable System Restore in Windows
- Click Start.
- Search for Create a restore point and open System Properties.
- In the System Properties windows, go to the System Protection tab.
- If the ‘system’ drive (Figure 1) protection is turned on, System Restore is already enabled on your computer. If the ‘system’ drive protection is off, go to the next step.

Figure 1: System restore section in the system properties window. The image is in English. - Click Configure.
- Select Turn on system protection.
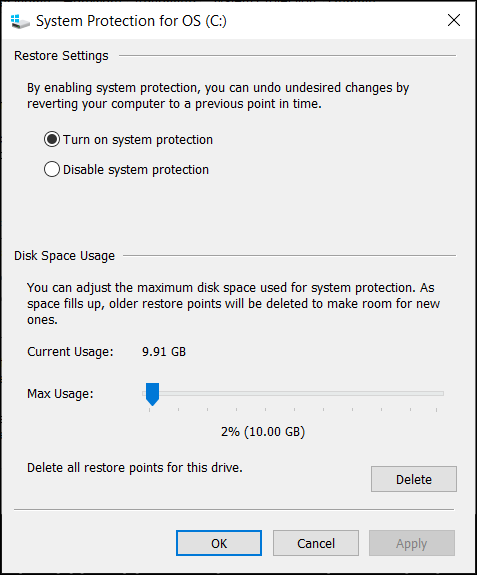
Figure 2: Turn on or disable system protection in Windows. The image is in English. - Click Apply.
- Click OK to confirm.
Microsoft Windows automatically creates a restore point after applying a new Windows update or if specific system changes are made.
WARNING: System Restore is not a data backup solution. System Restore does not back up your apps, documents, pictures, and other personal data.
How to create a System Restore checkpoint in Windows
- Click Start.
- Search for Create a restore point and open System Properties.
- In the System Properties windows, go to the System Protection tab.

Figure 3: System restore section in the system properties window. The image is in English. - Click Create.
- Type a descriptive name for the restore point. For example, type 'before installing ABC software'.
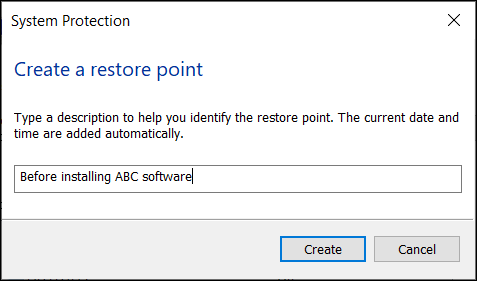
Figure 4: Type a description of the restore point. The image is in English. - Click Create.
- Click Close.
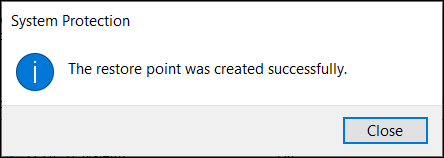
Figure 5: Confirmation message that the restore point was created successfully. The image is in English. - Click OK.
How to recover the computer using System Restore in Windows
- Click Start.
- Search for Create a restore point and open System Properties.
- In the System Properties windows, go to the System Protection tab.

Figure 6: System restore section in the system properties window. The image is in English. - Click System Restore.
NOTE: The System Restore option is disabled if there are no system restore checkpoints available on the computer.
- Click Next.
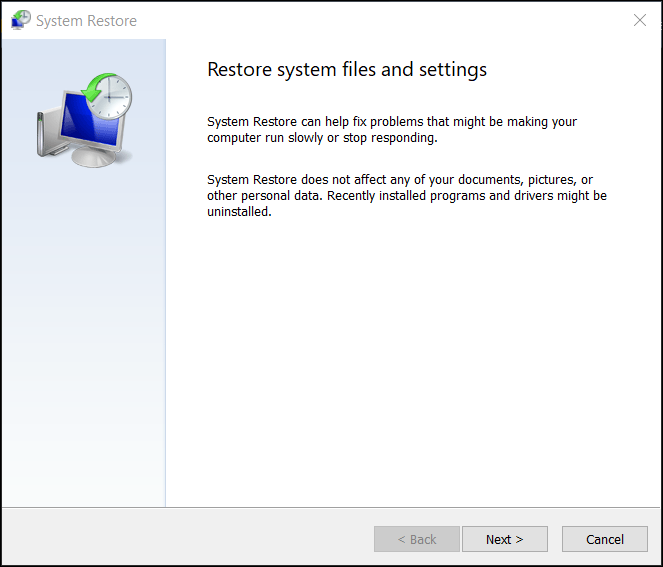
Figure 7: Restore the system files and settings. The image is in English. - Select the restore point to revert the changes and fix problems.
NOTE: Select the restore point when the computer was working without any issues.
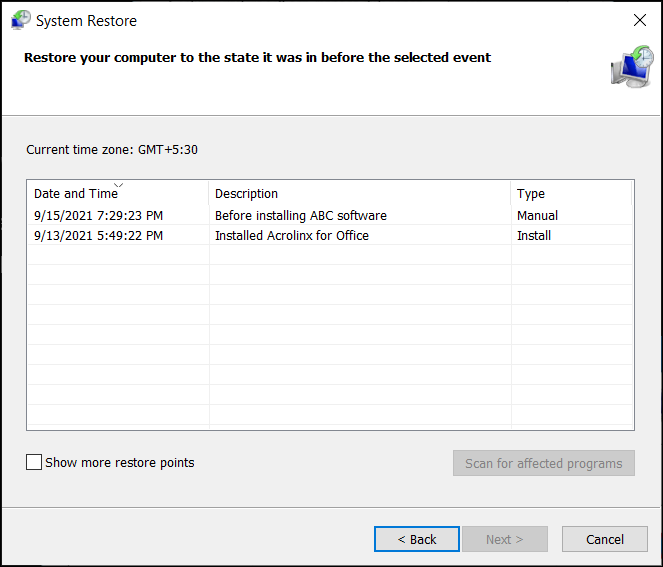
Figure 8: Select a restore point from the list. The image is in English. - Click Scan for affected programs to confirm which apps and drivers will be removed because they were added after creating the restore point.
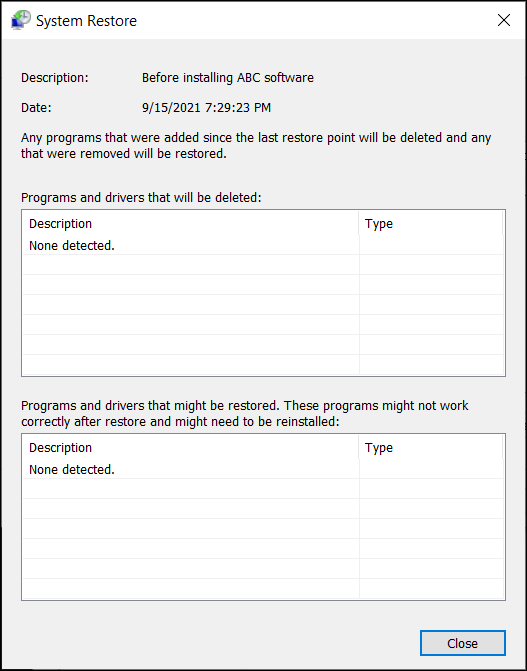
Figure 9: Scan and identify the list of programs and drivers that will be deleted and restored during the system restore process. The image is in English. - Click Close.
- Click Next to begin restoring the system files and settings.

Figure 10: Select a restore point from the list. The image is in English. - Click Finish.
NOTE: If one or more apps or drivers were affected, reinstall them again after the recovery process (if required).
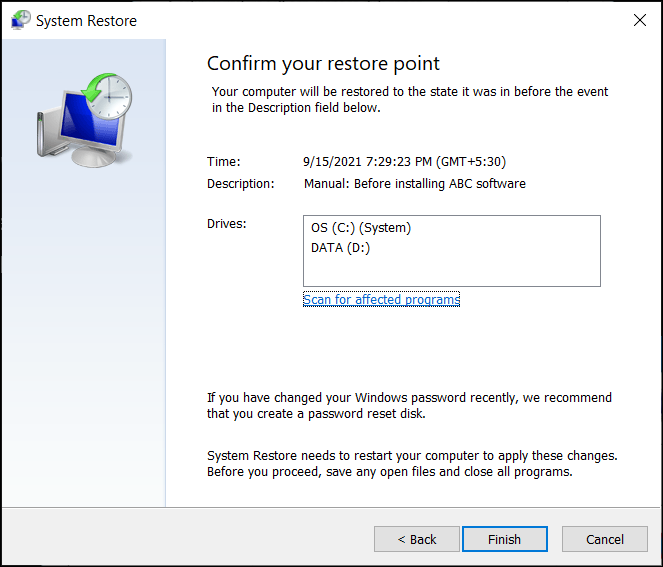
Figure 11: Confirm the system restore point to apply the changes. The image is in English.
Additional Information
Frequently asked questions
Click a section below for more information.
The system restore utility can be accessed through the Windows Recovery Environment (WinRE) in Windows 11, Windows 10, Windows 8.1, or Windows 8. The computer automatically boots into Windows Recovery Environment (WinRE) if the operating system fails to boot two times consecutively.
To manually boot into Windows Recovery Environment (WinRE):
- Press and hold the power button for 10 seconds to turn off the computer.
- Turn on the computer.
- At the Windows startup screen, press and hold the power button for 10 seconds to turn off the computer.
- Turn on the computer.
- At the Windows startup screen, press and hold the power button for 10 seconds to turn off the computer.
- Turn on the computer. The computer boots into Windows Recovery Environment (WinRE).
- Click Troubleshoot.
- Click Advanced Options.
- Click System Restore.
- System Refresh - reinstall Windows and keep your personal files and settings. Refresh also keeps the apps that came with your computer and the apps you installed from the Microsoft Store.
WARNING: System refresh deletes apps that were not preinstalled on the computer. For example, apps installed by the user from CD, DVD, USB, or downloaded files.
- System Reset - reinstall Windows but delete your files, settings, and apps. Except for the apps that were preinstalled on the computer.
Recommended Articles
Here are some recommended articles related to this topic that might be of interest to you.
Article Properties
Affected Product
Alienware, Inspiron, Legacy Desktop Models, OptiPlex, Vostro, XPS, G Series, G Series, Alienware, Inspiron, Latitude, Vostro, XPS, Legacy Laptop Models, Fixed Workstations, Mobile Workstations
Last Published Date
07 Nov 2023
Version
8
Article Type
How To