VxBlock: How to create a new Cisco UCS WWPN Pool
Summary: Procedure to create a new WWPN pool in UCSM.
This article applies to
This article does not apply to
This article is not tied to any specific product.
Not all product versions are identified in this article.
Instructions
Goals
Create a new WWPN pool in UCSM.
Facts
WWPN
UCSM
Solution
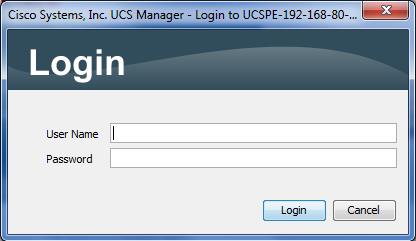
1. Log in to UCSM.
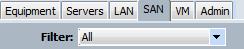
2. Select "SAN" tab.
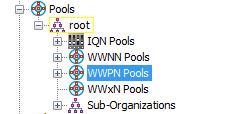
3. Select "WWPN Pools" on the tree.
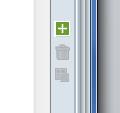
4. Click the green plus button in the right side of the UI in order to start the wizard to create a new WWPN pool.
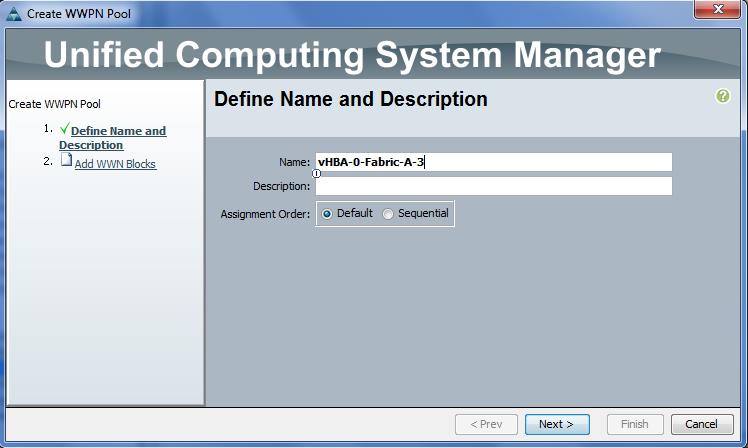
5. Enter the new name from the spreadsheet as the name, change the assignment order to default or sequential, and click Next button. Vblock and VxBlock System standard naming convention is vHBA-#-Fabric-x where # is the number of the vHBA that will use this pool and x is A or B depending on which fabric the vHBA will be connected to.
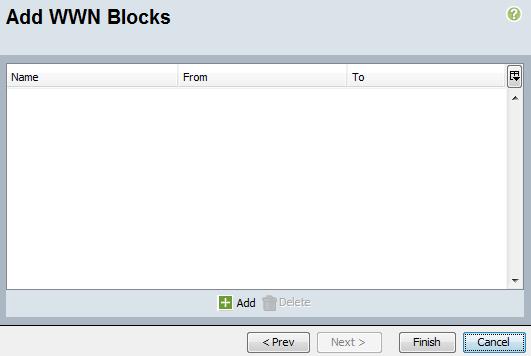
6. Click the green plus button at the bottom of the pop up window in order to add a WWN Block to the pool.
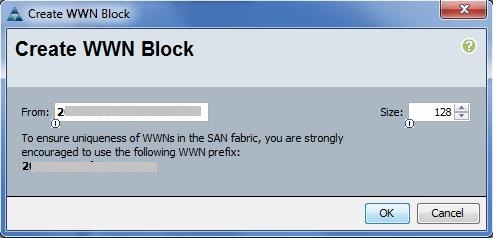
7. Enter the starting WWN and the WWN block size and click OK. Vblock/VxBlock System standard WWN scheme is 2A:AA:AA:AA:AA:xx:yz:01 where xx is the number associated with the UCS domain (this should be unique per customer and ucs domain - 01 represents the customer's first VxBlock System/UCS Domain. 02 would represent their second VxBlock System/UCS Domain, etc), y is A or B depending on the fabric that the vHBA will attach to, and z is the vHBA number.
8. Click the Finish button.

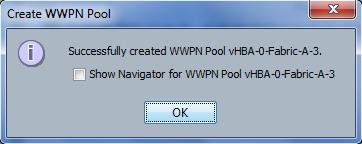
9. Acknowledge the pool creation by clicking the OK button.
10 Repeat steps 3-9 to create any additional WWPN pools.
Create a new WWPN pool in UCSM.
Facts
WWPN
UCSM
Solution
1. Log in to UCSM.
2. Select "SAN" tab.
3. Select "WWPN Pools" on the tree.
4. Click the green plus button in the right side of the UI in order to start the wizard to create a new WWPN pool.
5. Enter the new name from the spreadsheet as the name, change the assignment order to default or sequential, and click Next button. Vblock and VxBlock System standard naming convention is vHBA-#-Fabric-x where # is the number of the vHBA that will use this pool and x is A or B depending on which fabric the vHBA will be connected to.
6. Click the green plus button at the bottom of the pop up window in order to add a WWN Block to the pool.
7. Enter the starting WWN and the WWN block size and click OK. Vblock/VxBlock System standard WWN scheme is 2A:AA:AA:AA:AA:xx:yz:01 where xx is the number associated with the UCS domain (this should be unique per customer and ucs domain - 01 represents the customer's first VxBlock System/UCS Domain. 02 would represent their second VxBlock System/UCS Domain, etc), y is A or B depending on the fabric that the vHBA will attach to, and z is the vHBA number.
8. Click the Finish button.
9. Acknowledge the pool creation by clicking the OK button.
10 Repeat steps 3-9 to create any additional WWPN pools.
Affected Products
VxBlock and Vblock SystemsArticle Properties
Article Number: 000205504
Article Type: How To
Last Modified: 19 تشرين الثاني 2025
Version: 3
Find answers to your questions from other Dell users
Support Services
Check if your device is covered by Support Services.