PPDM: Upgrade Package Load Fails "Upload attempt failed. Click Upload Package and select the update for installation again"
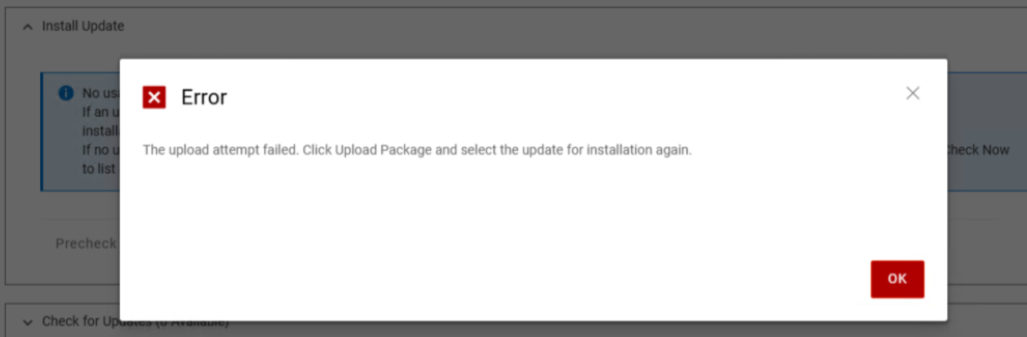
Summary: Upload of upgrade package fails with below error: "The upload attempt failed. Click Upload Package and select the update for installation again"
Symptoms
Below error appears when attempting to upload upgrade package file to PowerProtect Data Manager from the portal:
Chrome har file shows the below error:
[x.har]

{
  "request": {
    "method": "POST",
    "url": "https://<ppdm_fqdn>/zuul/api/v2/upgrade-packages",
    "postData": { "params": [ { "name": "file", "value": "(binary)" } ] }
  },
  "response": {
    "_error": "net::ERR_CONNECTION_ABORTED",   <<<<< or net::ERR_TOO_MANY_RETRIES
  },
}
Cause
Missing nginx configuration parameters resulted in TLS Server Name Indication (SNI) hostname mismatch between the nginx reverse proxy and Zuul's embedded Tomcat which resulted in the HTML 400 status [HTML_BAD_REQUEST].
Resolution
This issue is planned to be addressed in an upcoming PowerProtect Data Manager version.
In the interum, the below three workarounds are available to successfully upload the package.
- (1) Utilize the PowerProtect Data Manager IP address when connecting to the PowerProtect Data Manager UI and perform upgrade.
- (2) Manually upload the file to
/data01/brs/uploadand use this for upgrade. - (3) Add two
nginxdirectives to the/zuul/api/v2/upgrade-packageslocation block.
- Connect to the PowerProtect Data Manager server using
SSHas the admin user.
ssh admin@<PPDM_Server>
- Backup the
nginxconfiguration file before making changes.
sudo cp /etc/nginx/conf.d/default.conf /tmp/nginx-original-default.conf
- Open the
nginxconfiguration file to edit thenginxconfiguration file.
sudo vim /etc/nginx/conf.d/default.conf
- Locate the Upgrade Packages API Configuration. Search for the following block:
location /zuul/api/v2/upgrade-packages { - Update the
/zuul/api/v2/upgrade-packagesblock by locating the following line:proxy_http_version 1.1;
Add the following parameters immediately after the line:
-
proxy_ssl_server_name on;proxy_ssl_name $host;
The updated section should look similar to:
location /zuul/api/v2/upgrade-packages {
    ...
    proxy_http_version 1.1;
    proxy_ssl_server_name on;
    proxy_ssl_name $host;
    ...
        }
- Save the file and verify the
nginxconfiguration syntax.
sudo nginx -t
Expected result:
syntax is ok
test is successful
- Restart
nginxto apply the changes.
sudo systemctl restart nginx
- Confirm that the
nginxservice is active and running.
sudo systemctl status nginx
Expected status:
Active: active (running)
- Log in to the PowerProtect Data Manager UI and upload the upgrade package. Monitor the upload process and verify that it completes successfully without errors.
- Cleanup.
sudo rm /tmp/nginx-original-default.conf