Qualcomm Computers Cannot Boot to PXE by Connecting With SCCM Server
Zusammenfassung: This article provides information about computers unable to boot to PXE when connecting to the SCCM server, without injecting the necessary drivers into the boot.wim file.
Dieser Artikel gilt für
Dieser Artikel gilt nicht für
Dieser Artikel ist nicht an ein bestimmtes Produkt gebunden.
In diesem Artikel werden nicht alle Produktversionen aufgeführt.
Symptome
Affected Platforms:
- Latitude 7455
- Latitude 5455
- Inspiron 14 Plus 7441
- Inspiron 14 5441
- XPS 13 9345
To reproduce the issue:
- Set up an SCCM server.
- Start to deploy the image to the computer by PXE boot.
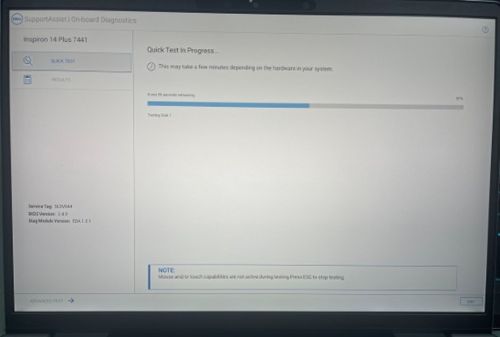
- The computer cannot boot to the PXE environment.
Note: If the computer cannot boot to PXE successfully, the computer moves to the SupportAssist process. Reference the below image.
Ursache
The general boot image does not include Qualcomm necessary initial drivers.
Lösung
Follow the steps below to inject the necessary drivers into boot.wim:
Standard operating procedure of using SCCM server with ARM64 computers
Prerequisites:
- Download Chipset and LAN drivers from Dell.com (https://www.dell.com/support/home/product-support/product/inspiron-14-7441-laptop/drivers)
Note: This article is using the Inspiron 14 Plus 7441 as our example.


Set up an SCCM server:
Note:
- The SCCM server version must be at 2409 or later version for ARM64 24H2 OS version, reference Support for Windows 11 - Configuration Manager | Microsoft Learn
- Ensure that the ADK version is supported with SCCM 2409. To find the version, reference Support for the Windows ADK - Configuration Manager | Microsoft Learn
- In SCCM server, Software Library > Overview > Operating Systems > Boot images to find the default boot image for ARM64.
- To find the location of the boot image .wim file. Right-click Properties > Data Source to find the image path to get the .wim file.

- Start the Command line as Administrator.
- Copy the .wim file to
C:\ - Create a mount directory to mount winpe.wim file by command, type:
dism /mount-wim /wimfile:C:\winpe.wim /mountdir:{YourMountFolder} /index:1
- Inject a driver to .wim file, type:
dism /image: {YourMountFolder} /add-driver /driver:{YourDriversFolder} /recurse /forceunsigned
 Note: The chipset driver that you downloaded from Dell.com extracts the drivers to the
YourDriverFolder.
- Commit the change and save, type:
dism /unmount-wim /mountdir:{YourMountFolder} /commit
- Copy .wim file to replace in original location. (for example, \\sccm202412\Shared_folder\winpe.wim)
Note: You can check if the driver is injected using the below method.
- Check when .wim file is mounted, type:
dism /image:{YourMountFolder} /Get-Drivers
- Check when .wim file is mounted, type:
- Setting the test sequence with the boot image we have injected the driver.
- Deploy the test sequence with the driver and operating system which you want to deploy.
Note: Windows Deployment Services (WDS) is not supported in Windows 11, reference this Microsoft article for more information https://learn.microsoft.com/windows/deployment/wds-boot-support  .
.
Betroffene Produkte
Inspiron 14 5441, Inspiron 14 Plus 7441, Latitude 5455, Latitude 7455, XPS 13 9345Artikeleigenschaften
Artikelnummer: 000287588
Artikeltyp: Solution
Zuletzt geändert: 16 Apr. 2025
Version: 2
Antworten auf Ihre Fragen erhalten Sie von anderen Dell NutzerInnen
Support Services
Prüfen Sie, ob Ihr Gerät durch Support Services abgedeckt ist.