Live Optics | Kubernetes | Complete a collection
Summary: This article describes how to complete an Kubernetes data collection.
This article applies to
This article does not apply to
This article is not tied to any specific product.
Not all product versions are identified in this article.
Instructions
Before You Begin
- You must have the Live Optics collector. See Download the Live Optics collector for further information.
- You must have an existing kubeconfig file or create one with a new service account. See Create a service account for RedHat OpenShift environments and Create a service account using kubectl commands for more information.
- Open the Live Optics collector and select Server & Cloud. Select Kubernetes from the list of asset types.

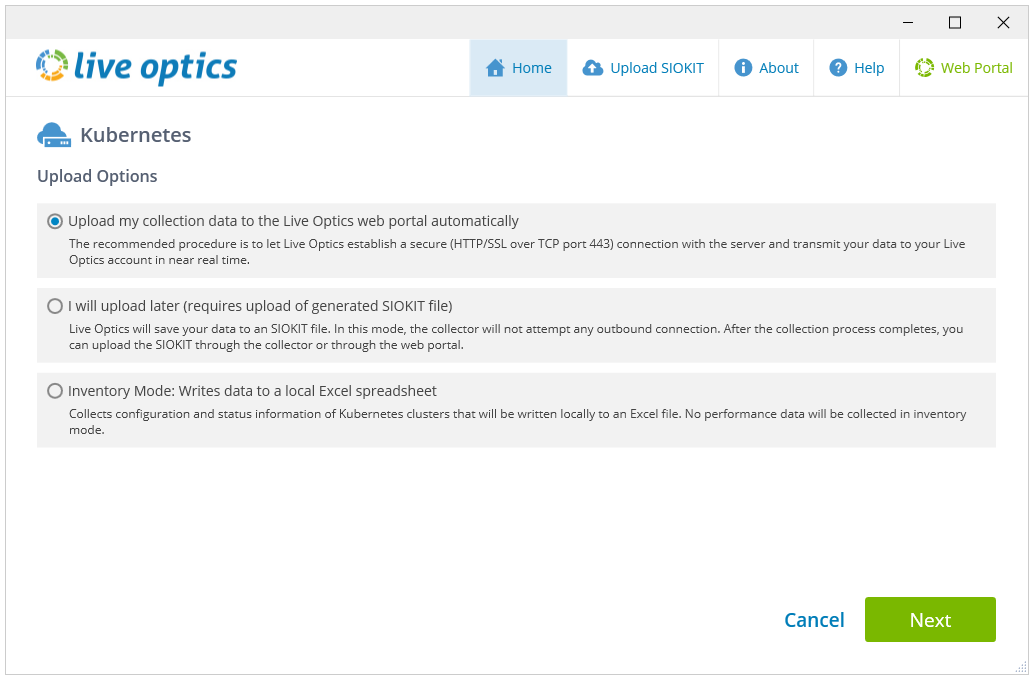
- On the Upload Options screen, select your preferred upload method, and click Next.
- Upload my collection data to the Live Optics web portal automatically is selected by default.
- I will upload later (requires upload of generated SIOKIT file) - the collector does not attempt an outbound connection. Instead, an encrypted SIOKIT file is created and saved locally. This must be manually uploaded to the Live Optics web service later.
- Inventory Mode is used to collect configuration and status information for your Kubernetes clusters. A Microsoft Excel file is created and saved locally. No data is sent to the Live Optics web service and performance data is not collected.
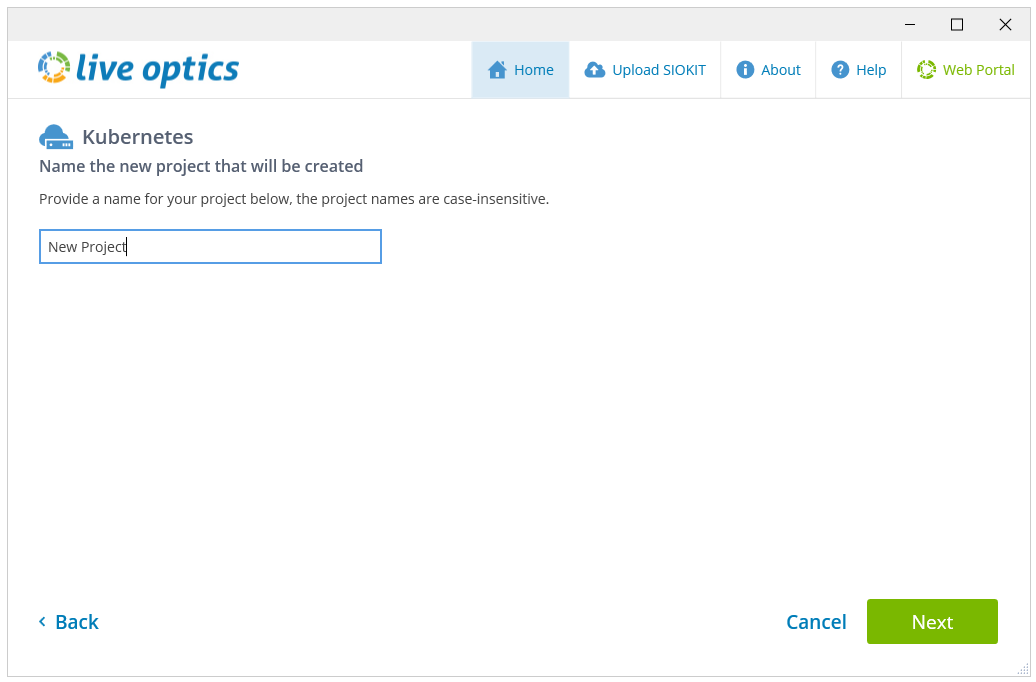
- Enter a name for your project. This name is visible in the Live Optics portal once the scan is complete. Click Next to continue.
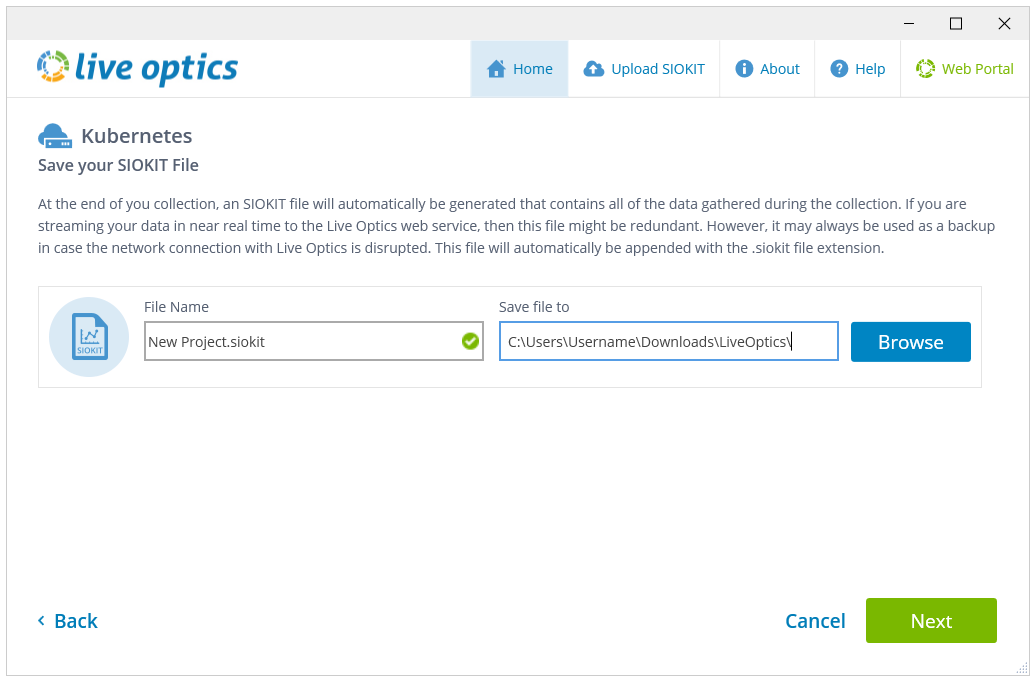
- If you choose the first or second option on the Upload Options screen, an SIOKIT file is created. You can change the file name here if you wish. Click Next.
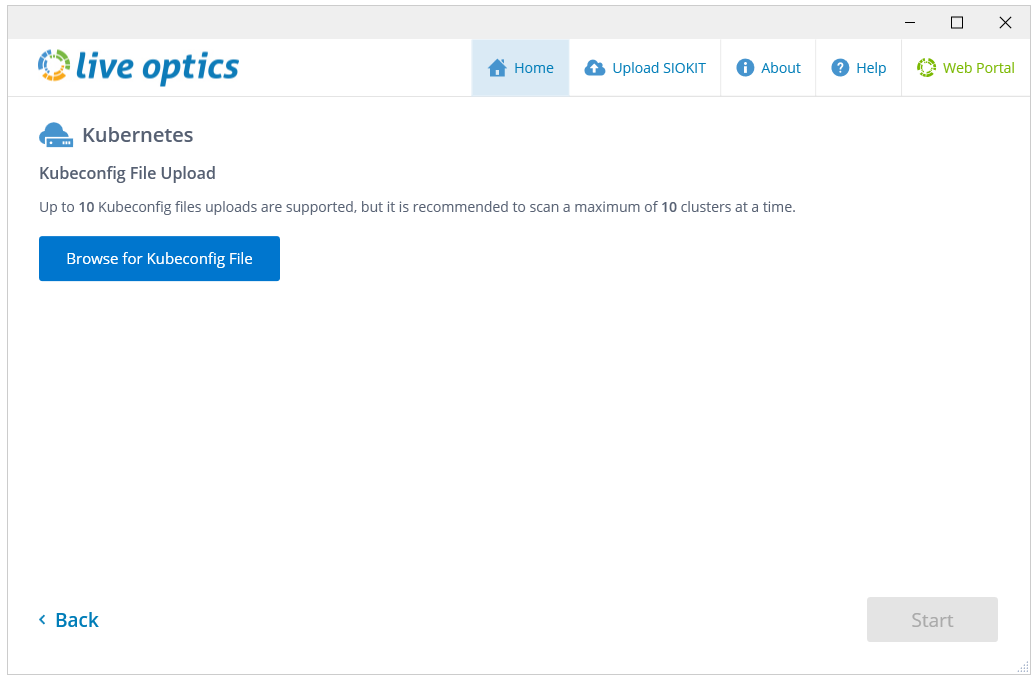
- On the following screen, click Browse for Kubeconfig file and select the file you wish to use. Click Start to begin the collection.
- The scan begins. A progress bar displays the status of the scan.
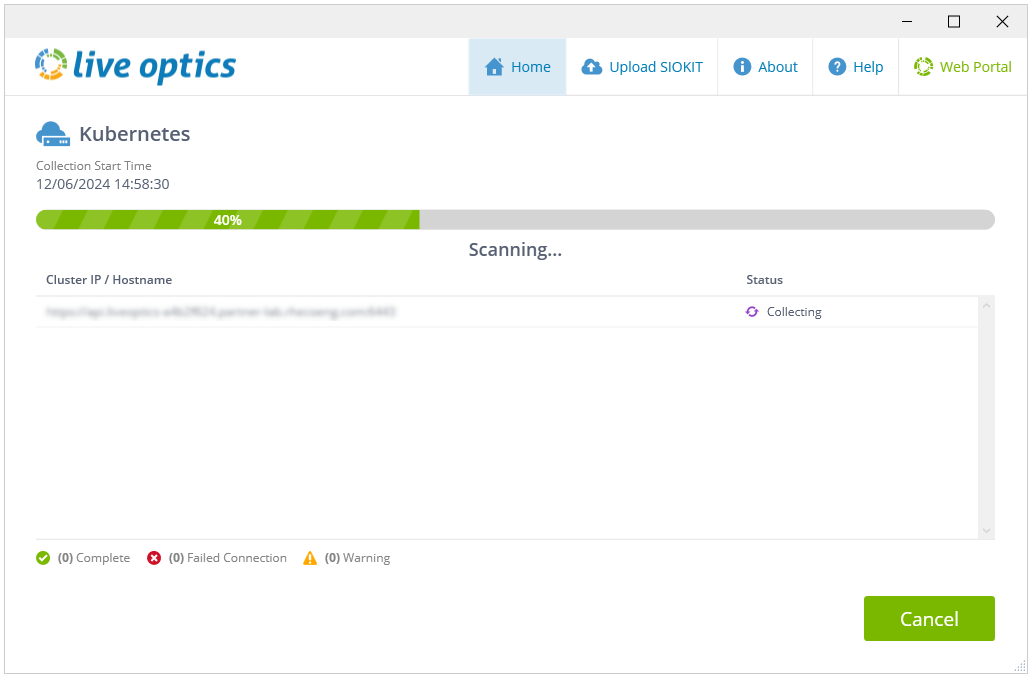
- When the scan completes, the following screen displays:
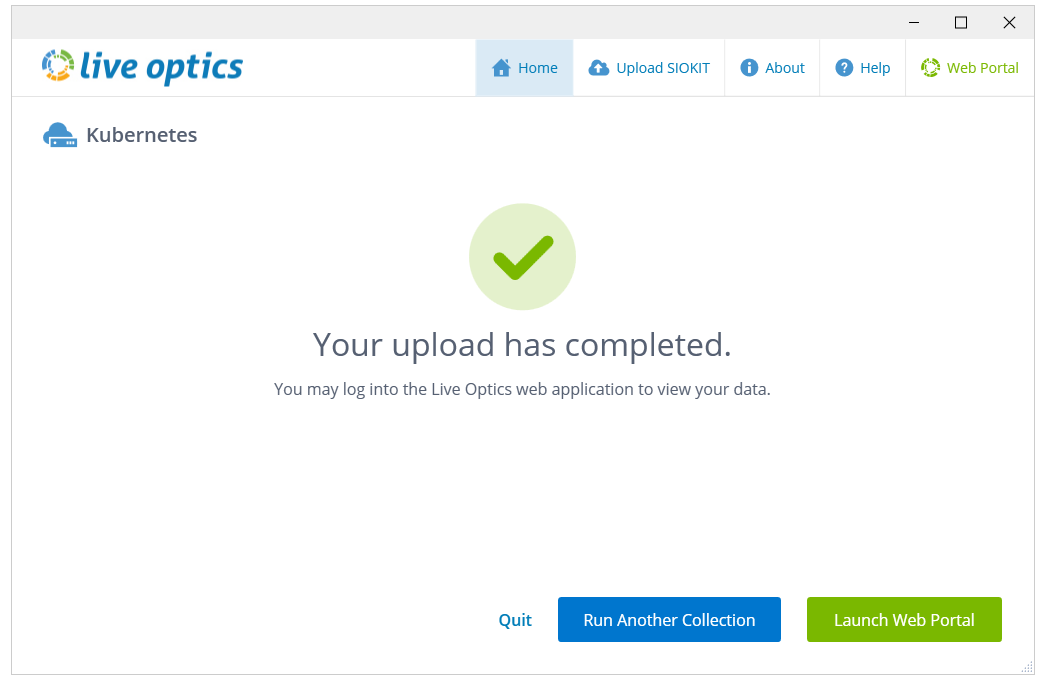
- Click Launch Web Portal to open the Live Optics web portal. If you selected (in Step 2):
- Upload my collection data to the Live Optics web portal automatically – your results are automatically sent to the Live Optics web portal and can be viewed and downloaded immediately.
- I will upload later (requires upload of generated SIOKIT file) – your scan was captured in an SIOKIT file which must be uploaded to the Live Optics web portal to view your results. See Uploading an SIOKIT file in the Live Optics collector or Uploading an SIOKIT file in the Live Optics portal for further information.
NOTE: It is recommended that you use the Live Optics collector to upload SIOKIT files as there is a file size limit of 750MB when using the Live Optics portal to upload SIOKIT files.
- Upload my collection data to the Live Optics web portal automatically – your results are automatically sent to the Live Optics web portal and can be viewed and downloaded immediately.
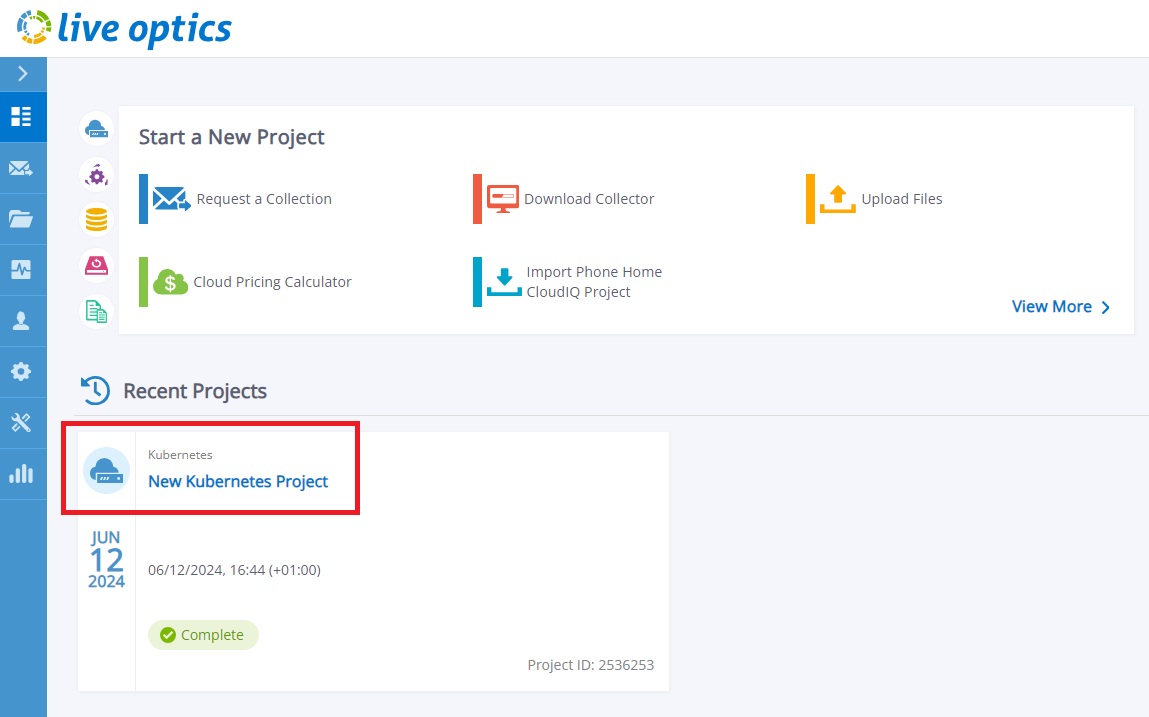
- To view your project results, log on to the Live Optics web portal and select your project from the Recent Projects list displayed on the main dashboard.
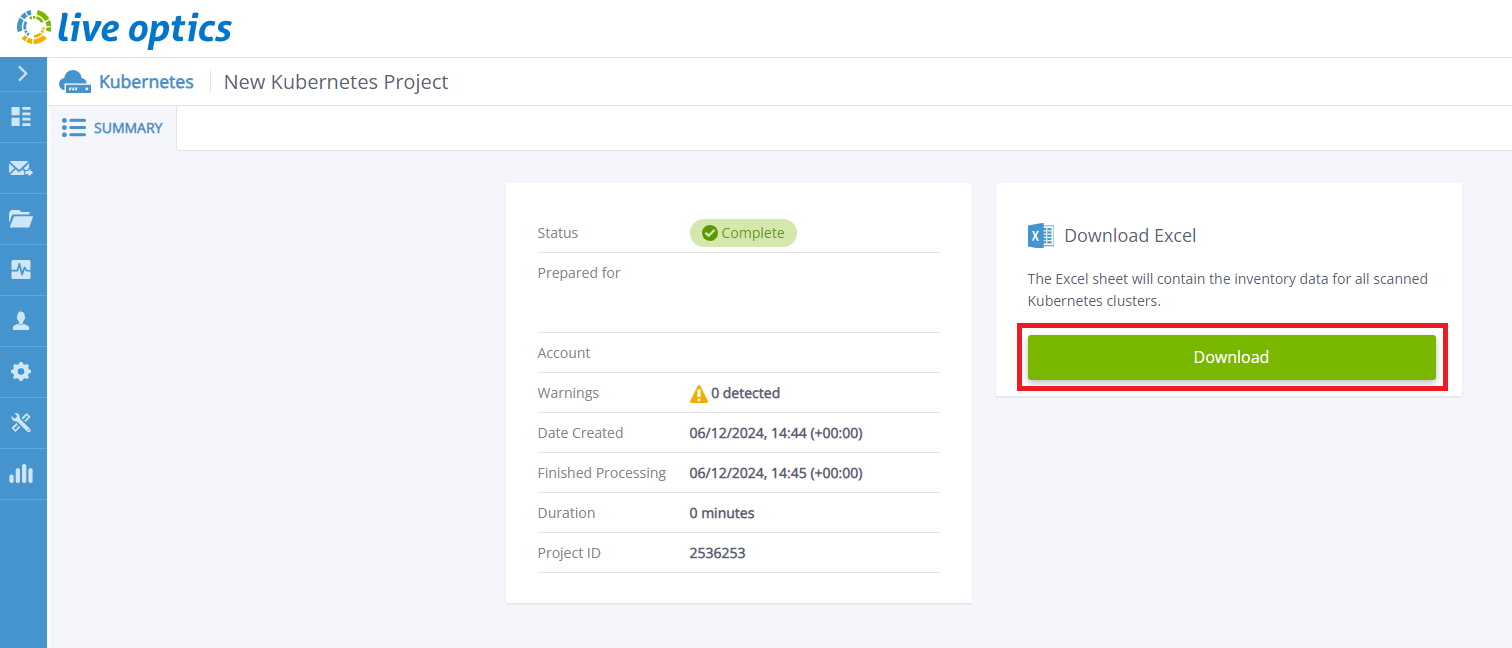
- Open your project by clicking its title. Click the Download button to download a Microsoft Excel report containing your results.
Additional Information
If you have any questions, please reach out to Live Optics Support at liveoptics.support@dell.com.
Affected Products
Active Fabric ControllerArticle Properties
Article Number: 000297829
Article Type: How To
Last Modified: 28 Mar 2025
Version: 1
Find answers to your questions from other Dell users
Support Services
Check if your device is covered by Support Services.