Article Number: 000191688
Pobieranie i instalowanie Foxit PDF Editor lub Foxit PhantomPDF z firmy Dell
Summary: W tym artykule opisano sposób pobierania i instalowania Foxit PDF Editor (dawniej Foxit PhantomPDF) sprzedawanego wraz z komputerami firmy Dell.
Article Content
Instructions
Produkt, którego dotyczy problem:
Międzynarodowej:
- Foxit PDF Editor
- Foxit PDF Editor Pro
- Foxit PhantomPDF
- Foxit PhantomPDF Pro
Tylko USA:
- Foxit PDF Editor z asystentem AI
- Foxit PDF Editor Pro z asystentem AI
Dotyczy platform:
- Windows
Foxit PDF Editor i Foxit PDF Editor Pro umożliwiają tworzenie, przeglądanie, edytowanie, zarządzanie, udostępnianie i zabezpieczanie dokumentów PDF. Foxit PDF Editor można zakupić podczas zamawiania nowego komputera Firmy Dell z systemem Windows.
Uwaga: przed pobraniem i instalacją Foxit PDF Editor:
- Zaloguj się od systemu Windows, używając konta z uprawnieniami administratora.
- Pobierz i zainstaluj narzędzie Dell Digital Delivery.
- Aby uzyskać więcej informacji: Jak pobrać i zainstalować Dell Digital Delivery
Aby pobrać i zainstalować:
- W menu Start Windows zlokalizuj, a następnie kliknij Dell Digital Delivery (Rysunek 1).
Rysunek 1
Uwaga:- Jeśli brakuje aplikacji Dell Digital Delivery, zobacz: Jak pobrać i zainstalować Dell Digital Delivery
- Ikona Dell Digital Delivery odzwierciedla najnowszą wersję i może się różnić w zależności od komputera.
- W narzędziu Dell Digital Delivery kliknij kartę Dostępne.
- Odszukaj program Foxit PDF Editor lub Foxit PDF Editor Pro , a następnie kliknij przycisk Pobierz (Rysunek 2 i 3).


Wykres 2
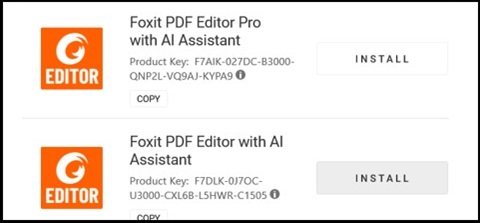
Wykres 3
Uwaga:- jeśli Foxit PDF Editor nie znajduje się na liście, może to oznaczać problemy z łącznością lub oprogramowanie nie jest powiązane z kontem Dell Digital Delivery. W takich sytuacjach należy skontaktować się z działem pomocy technicznej.
- Aby uzyskać więcej informacji: Jak uzyskać pomoc techniczną dotyczącą produktów firmy Foxit sprzedawanych przez firmę Dell
- Na powyższych zrzutach ekranu klucz licencyjny został usunięty.
- jeśli Foxit PDF Editor nie znajduje się na liście, może to oznaczać problemy z łącznością lub oprogramowanie nie jest powiązane z kontem Dell Digital Delivery. W takich sytuacjach należy skontaktować się z działem pomocy technicznej.
- Dell Digital Delivery automatycznie pobiera i instaluje oprogramowanie (Rysunek 4 i 5).

Wykres 4
Wykres 5
- Po pomyślnym zainstalowaniu kliknij dwukrotnie skrót na pulpicie Foxit PDF Editor, aby uruchomić aplikację.
- Po uruchomieniu potwierdź numer licencji stałej , a następnie kliknij przycisk Aktywuj (Rysunek 6).
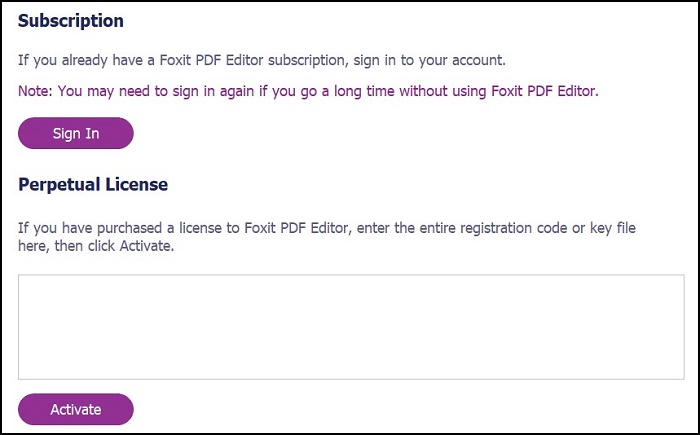
Rysunek 6
Uwaga: licencja wieczysta została pominięta na powyższym zrzucie ekranu. - Wypełnij pole nazwą użytkownika , a następnie kliknij przycisk Activate (Rysunek 7).
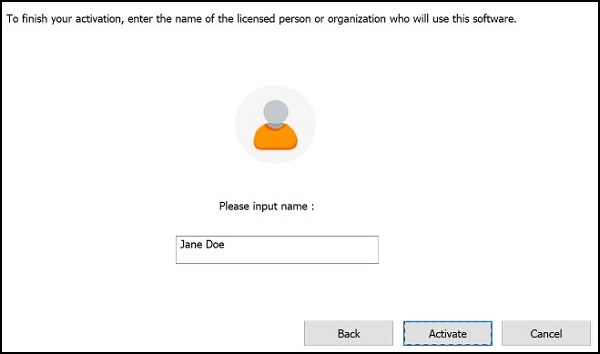
Rysunek 7
- Po aktywacji kliknij przycisk OK (Rysunek 8).
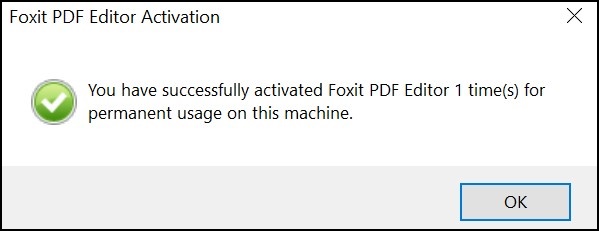
Rysunek 8
- Wybierz, czy chcesz skonfigurować program Foxit jako domyślną przeglądarkę plików PDF (Rysunek 9).
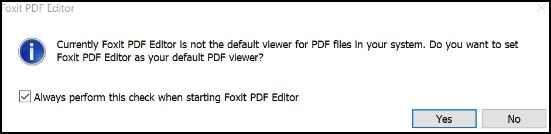
Rysunek 9
- Po skonfigurowaniu program Foxit automatycznie pobiera i instaluje najnowsze aktualizacje (Rysunek 10).

Rysunek 10
Additional Information
Polecane artykuły
Poniżej przedstawiono niektóre polecane artykuły dotyczące tego tematu, które mogą Cię zainteresować.
- Jak uzyskać pomoc techniczną dotyczącą produktów firmy Foxit sprzedawanych przez firmę Dell
- Foxit PhantomPDF: Często zadawane pytania (FAQ)
- Dell Digital Delivery: Najczęściej zadawane pytania, instalacja, rozwiązywanie problemów
- Jak pobrać i zainstalować Dell Digital Delivery
- Rozwiązywanie problemów z aplikacją Dell Digital Delivery
Article Properties
Last Published Date
23 Apr 2024
Version
11
Article Type
How To