How to Assign an Administrator in Absolute
Résumé: Learn how to configure an administrator account for Absolute by following these step-by-step instructions.
Cet article concerne
Cet article ne concerne pas
Cet article n’est associé à aucun produit spécifique.
Toutes les versions du produit ne sont pas identifiées dans cet article.
Instructions
This article describes how to add administrators to Absolute.
Affected Products:
- Absolute
Affected Operating Systems:
- Windows
The process to add an administrator differs between setting up a New User or modifying an Existing User. Select the appropriate process for more information.
New User
- In a web browser, go to cc.absolute.com
.
- Log in to the Absolute web console.

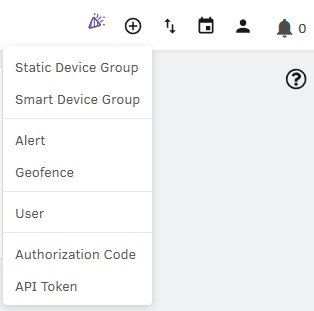
- In the top menu, select the + icon and then click User.
- From the Enter User Details menu:
- Populate the Email Address.
- Populate the First Name.
- Populate the Last Name.
- Click Next.
 Note: The example user details in the screenshot will differ in your environment.
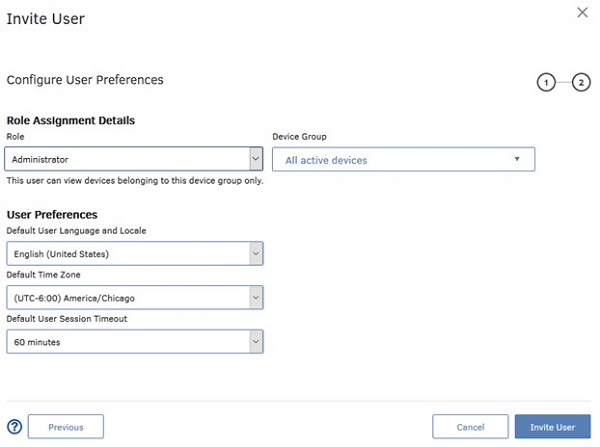
 - From the Configure User Preferences menu:
- Select a Role.
- Select a Device Group.
- Select a Default User Language and Locale.
- Select a Default Time Zone.
- Select a Default User Session Timeout.
- Click Invite User.
 Note:
Note:- The roles that are available to select depend on the roles that your role is authorized to manage.
- Additional information about roles can be found in the Console Help under the Getting Started with Roles section.
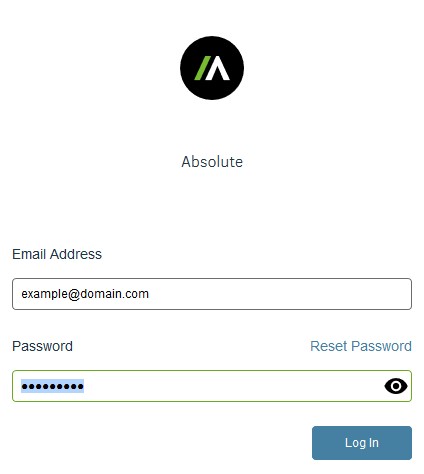
- The invitation email leads the user to create a password and then log in to the Absolute console.
- This invitation email expires after 30 days. If the user fails to log in to the Absolute console before the invitation expires, reinvite the user. For more information, refer to How to Resend an Absolute Console User Invitation.
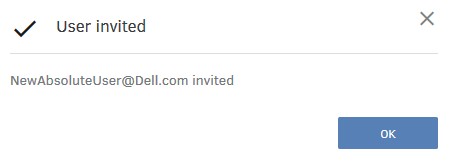
- Click OK.
Existing User
- In a web browser, go to cc.absolute.com
- Log in to the Absolute web console.
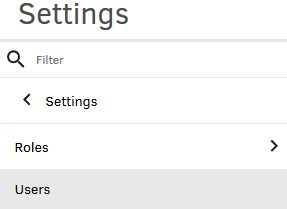
- In the left menu pane, click Settings.

- Click User Management.

- Click Users.
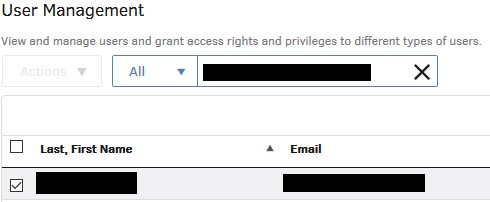
- Locate and then click the targeted username.
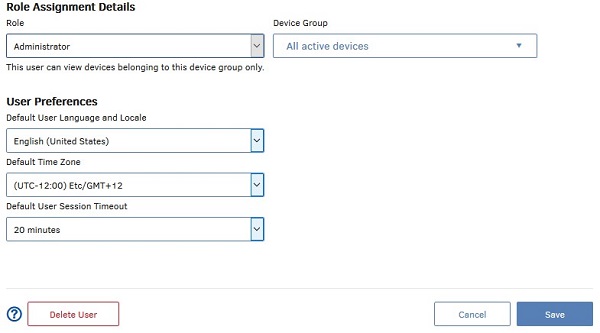
- Click User Preferences.

- From User Preferences:
- Select a Role.
- Select a Device Group.
- Optionally, change User Preferences.
- Click Save.
 Note:
Note:- Additional information about roles can be found in the Console Help under the Getting Started with Roles section.
- The examples used in the screenshot will differ in your environment.
To contact support, reference Dell Data Security International Support Phone Numbers.
Go to TechDirect to generate a technical support request online.
For additional insights and resources, join the Dell Security Community Forum.
Produits concernés
AbsolutePropriétés de l’article
Numéro d’article: 000126199
Type d’article: How To
Dernière modification: 16 Jun 2025
Version: 9
Trouvez des réponses à vos questions auprès d’autres utilisateurs Dell
Services de support
Vérifiez si votre appareil est couvert par les services de support.