Dell Data Protection Secure Lifecycle을 제거하는 방법
Résumé: 다음 단계별 지침에 따라 Windows 또는 Mac 컴퓨터에서 Dell Data Protection Secure Lifecycle을 제거하는 방법을 알아보십시오.
Cet article concerne
Cet article ne concerne pas
Cet article n’est associé à aucun produit spécifique.
Toutes les versions du produit ne sont pas identifiées dans cet article.
Instructions
참고:
- 2018년 11월 현재, Dell Data Protection | Secure Lifecycle은 EOL(End of Life)에 도달했습니다. 이 제품 및 관련 문서는 더 이상 Dell에서 업데이트하지 않습니다. 자세한 내용은 Dell Data Security의 제품 수명주기(지원 종료 및 EOL(End Of Life)) 정책을 참조하십시오. 다른 문서에 대한 질문이 있는 경우 영업 팀에 문의하거나 endpointsecurity@dell.com으로 문의하십시오.
- 최신 제품에 대한 자세한 내용은 엔드포인트 보안을 참조하십시오.
다음을 위해 엔드포인트에서 Dell Data Protection | Secure Lifecycle을 제거해야 할 수도 있습니다.
- 라이선스 부여 불일치 수정
- 제품 문제 해결
- 운영 체제 비호환성 문제 해결
영향을 받는 제품:
- Dell Data Protection | Secure Lifecycle
영향을 받는 버전:
- 1.0
영향을 받는 운영 체제:
- Windows
- Mac
Windows와 Mac은 제거 프로세스가 다릅니다. Dell Data Protection | Secure Lifecycle 제거 단계에 해당하는 운영 체제를 클릭합니다.
Windows
이 단계를 수행하기 전에 Dell Data Protection | Secure Lifecycle 설치 프로그램을 다운로드해야 합니다.
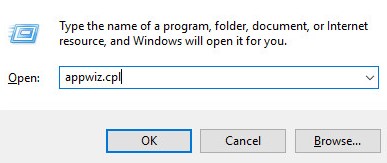
- Windows 시작 메뉴를 마우스 오른쪽 버튼으로 클릭한 다음 Run을 클릭합니다.
- Run UI에서
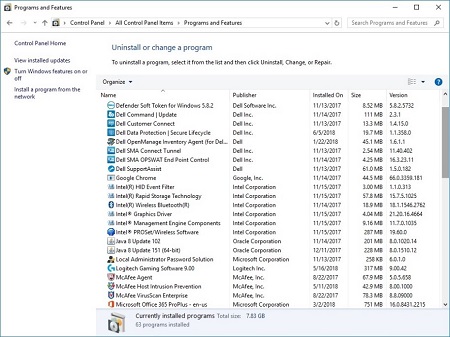
appwiz.cpl입력한 다음 OK를 누릅니다. 이렇게 하면 Programs and Features가 열립니다.
- Dell Data Protection | Secure Lifecycle을 두 번 클릭합니다.
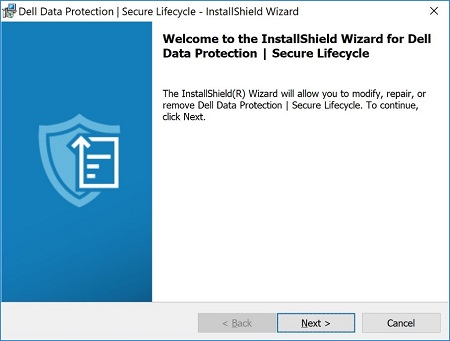
- 계속하려면 Next를 클릭합니다.
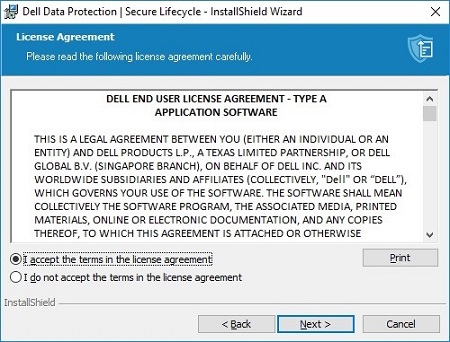
- 라이선스 계약 조건에 동의하고 Next를 클릭합니다.
- Remove를 선택한 다음 Next를 클릭합니다.
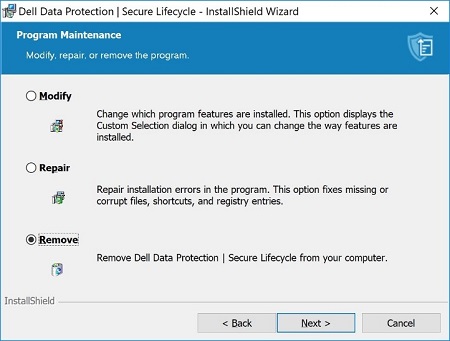
- Remove를 클릭합니다.
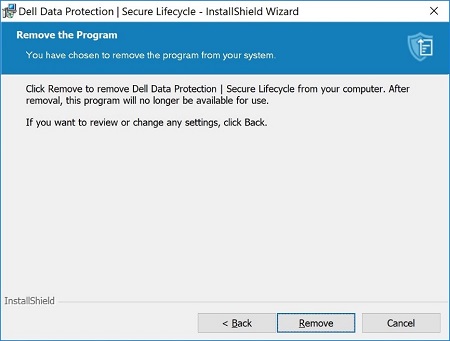
- 제거를 마치면 Finish를 클릭하여 UI를 닫습니다.
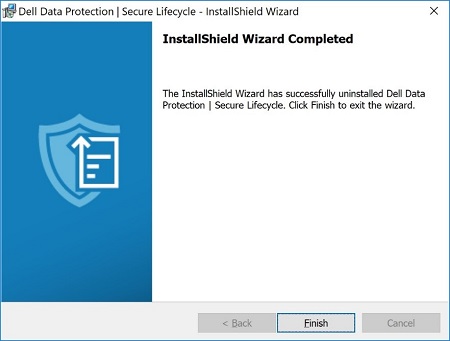
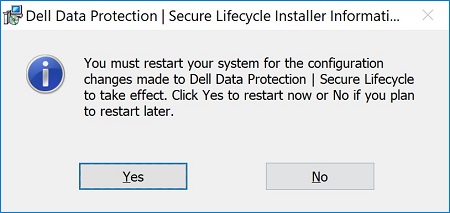
- Yes를 클릭하여 시스템을 재부팅합니다.
Mac
- Apple 메뉴에서 Go를 클릭한 다음 Applications를 선택합니다.
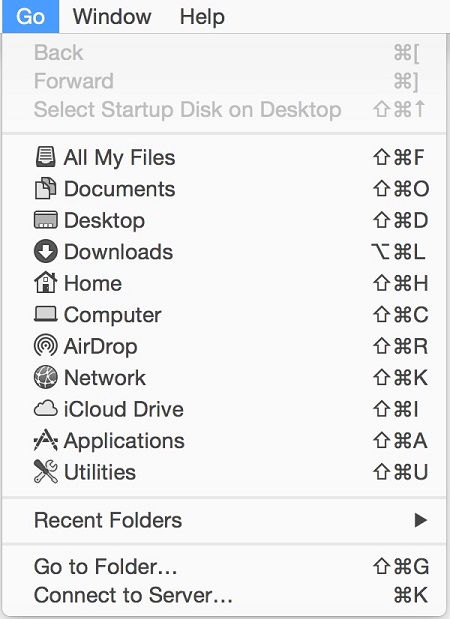
- 애플리케이션 목록에서 Secure Lifecycle 아이콘을 찾습니다.

- Secure Lifecycle 아이콘을 휴지통 아이콘으로 끌어다 놓습니다.

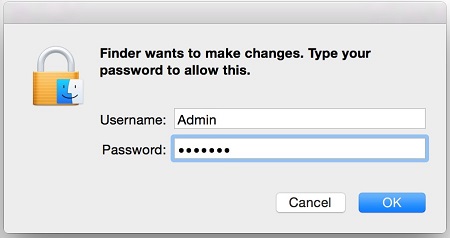
- 관리자 계정에 대한 자격 증명을 입력한 다음 OK를 누릅니다.
Informations supplémentaires
Vidéos
Produits concernés
Dell Data GuardianPropriétés de l’article
Numéro d’article: 000123295
Type d’article: How To
Dernière modification: 05 Aug 2026
Version: 17
Trouvez des réponses à vos questions auprès d’autres utilisateurs Dell
Services de support
Vérifiez si votre appareil est couvert par les services de support.