如何解除安裝 Dell Data Protection Secure Lifecycle
Résumé: 瞭解如何依照這些逐步指示,從 Windows 或 Mac 電腦解除安裝 Dell Data Protection Secure Lifecycle。
Cet article concerne
Cet article ne concerne pas
Cet article n’est associé à aucun produit spécifique.
Toutes les versions du produit ne sont pas identifiées dans cet article.
Instructions
註:
- 截至 2018 年 11 月,Dell Data Protection | Secure Lifecycle 的支援壽命已結束。Dell 已不再更新此產品及其文章。如需更多資訊,請參閱 Dell Data Security 的產品生命週期 (支援結束及壽命結束) 政策。如果您對其他文章有任何問題,請聯絡您的銷售團隊或聯絡 endpointsecurity@dell.com。
- 請參考端點安全性,以取得有關目前產品的其他資訊。
在下列情況,可能需要從端點解除安裝 Dell Data Protection | Secure Lifecycle:
- 修正授權差異
- 故障診斷產品
- 解決作業系統不相容的問題
受影響的產品:
- Dell Data Protection | Secure Lifecycle
受影響的版本:
- 1.0
受影響的作業系統:
- Windows
- Mac
Windows 和 Mac 之間的解除安裝程序有所不同。按一下合適的作業系統,以取得解除安裝 Dell Data Protection | Secure Lifecycle 的所需步驟。
Windows
在執行這些步驟前,必須先下載 Dell Data Protection | Secure Lifecycle 安裝程式。
- 以滑鼠右鍵按一下 Windows 開始功能表,然後按一下執行。
- 在執行 UI 中輸入
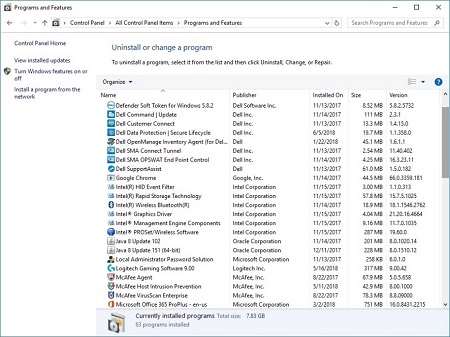
appwiz.cpl然後按下確認。這會開啟「程式與功能」。

- 按兩下 Dell Data Protection | Secure Lifecycle。
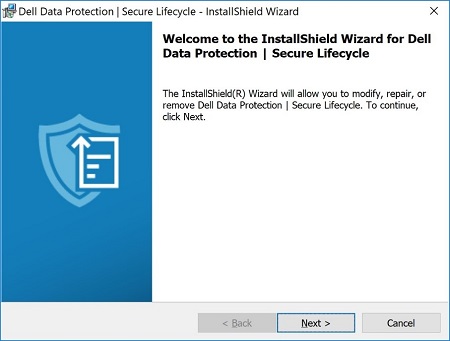
- 按一下下一步以繼續。
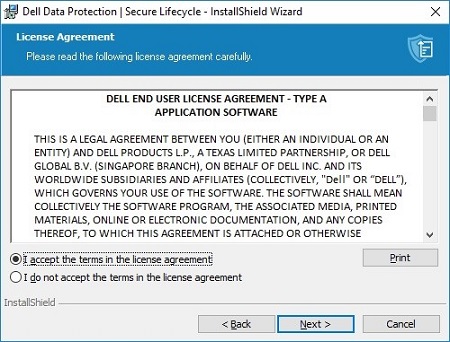
- 接受授權合約中的條款,然後按一下下一步。
- 選取移除,然後按一下下一步。
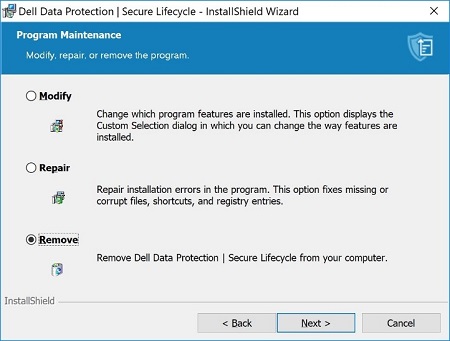
- 按一下移除。
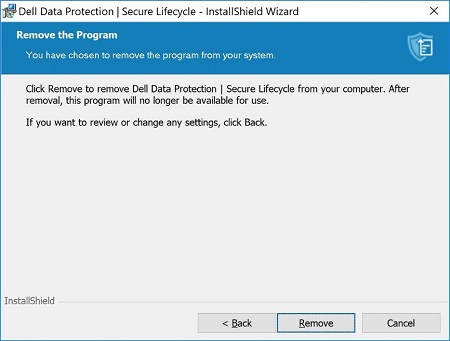
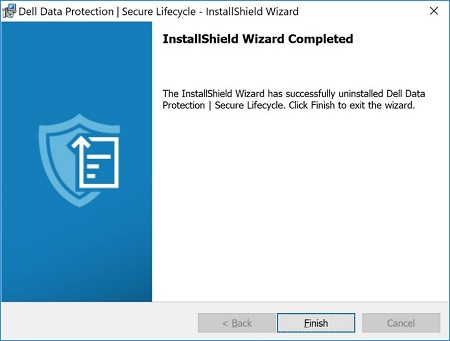
- 移除後,按一下完成以關閉 UI。
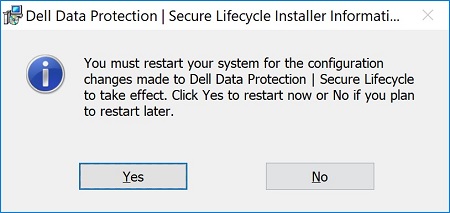
- 按一下是以重新開機機器。
Mac
- 從 Apple 選單中,按一下前往,然後選取應用程式。
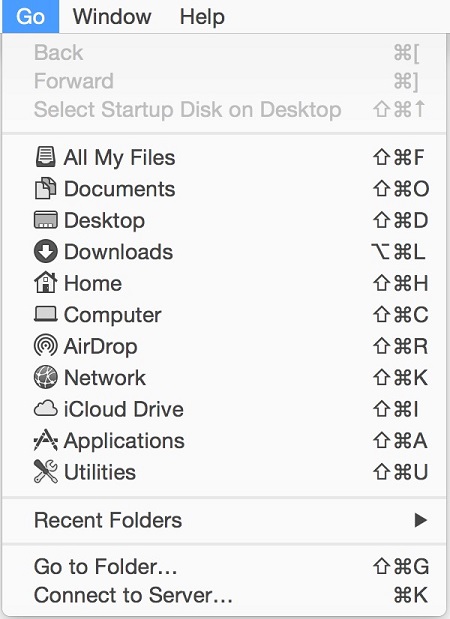
- 在應用程式清單中找到 Secure Lifecycle 圖示。

- 將 Secure Lifecycle 圖示拖曳至垃圾桶圖示。

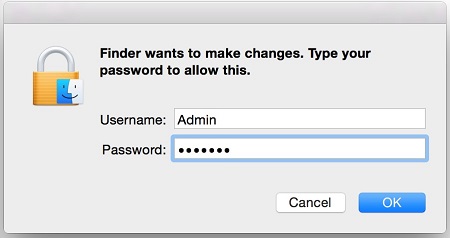
- 輸入系統管理員帳戶的登入資料,然後按下確定。
Informations supplémentaires
Vidéos
Produits concernés
Dell Data GuardianPropriétés de l’article
Numéro d’article: 000123295
Type d’article: How To
Dernière modification: 05 Aug 2026
Version: 17
Trouvez des réponses à vos questions auprès d’autres utilisateurs Dell
Services de support
Vérifiez si votre appareil est couvert par les services de support.