


Unsolved
This post is more than 5 years old
4 Posts
0
142906
Clean Windows 7 Install with Raid 0 Configuration in Alienware 14.
Hi,
I have an Alienware 14 (2013) laptop with 750 GB HDD and 80 GB SSD which was by default, configured for speeding up the system. I formatted both my HDD and SSD for some reason and want to clean install Windows 7 now, with the SSD configured for speeding up my system (similar to factory setup).
I searched a lot for accomplishing this task, but i feel there were no complete information regarding this.
Could somebody lend me a hand by providing me with a step by step procedure to accomplish this task ? (Including setting up the RAID size, BIOS settings, Partition Selection, etc).
Any help would be greatly appreciated.
DELL-Milena M
Moderator
Moderator
•
2.7K Posts
0
April 7th, 2015 16:00
On this article you will find information about how to create a RAID and in this other article you will find the way to accelerate the system putting the SSD as a caching device.
Hope it helps.
Werewolf_86
4 Posts
0
April 14th, 2015 03:00
Hi Milena,
Thanks for the reply which was enlightening. I did the following:
1. Set the SATA OPERATION field in the BIOS -> ADVANCE to "RAID" mode.
2. Configured the raid as RAID 0 with the RAID Capacity set to 139.1 GB.
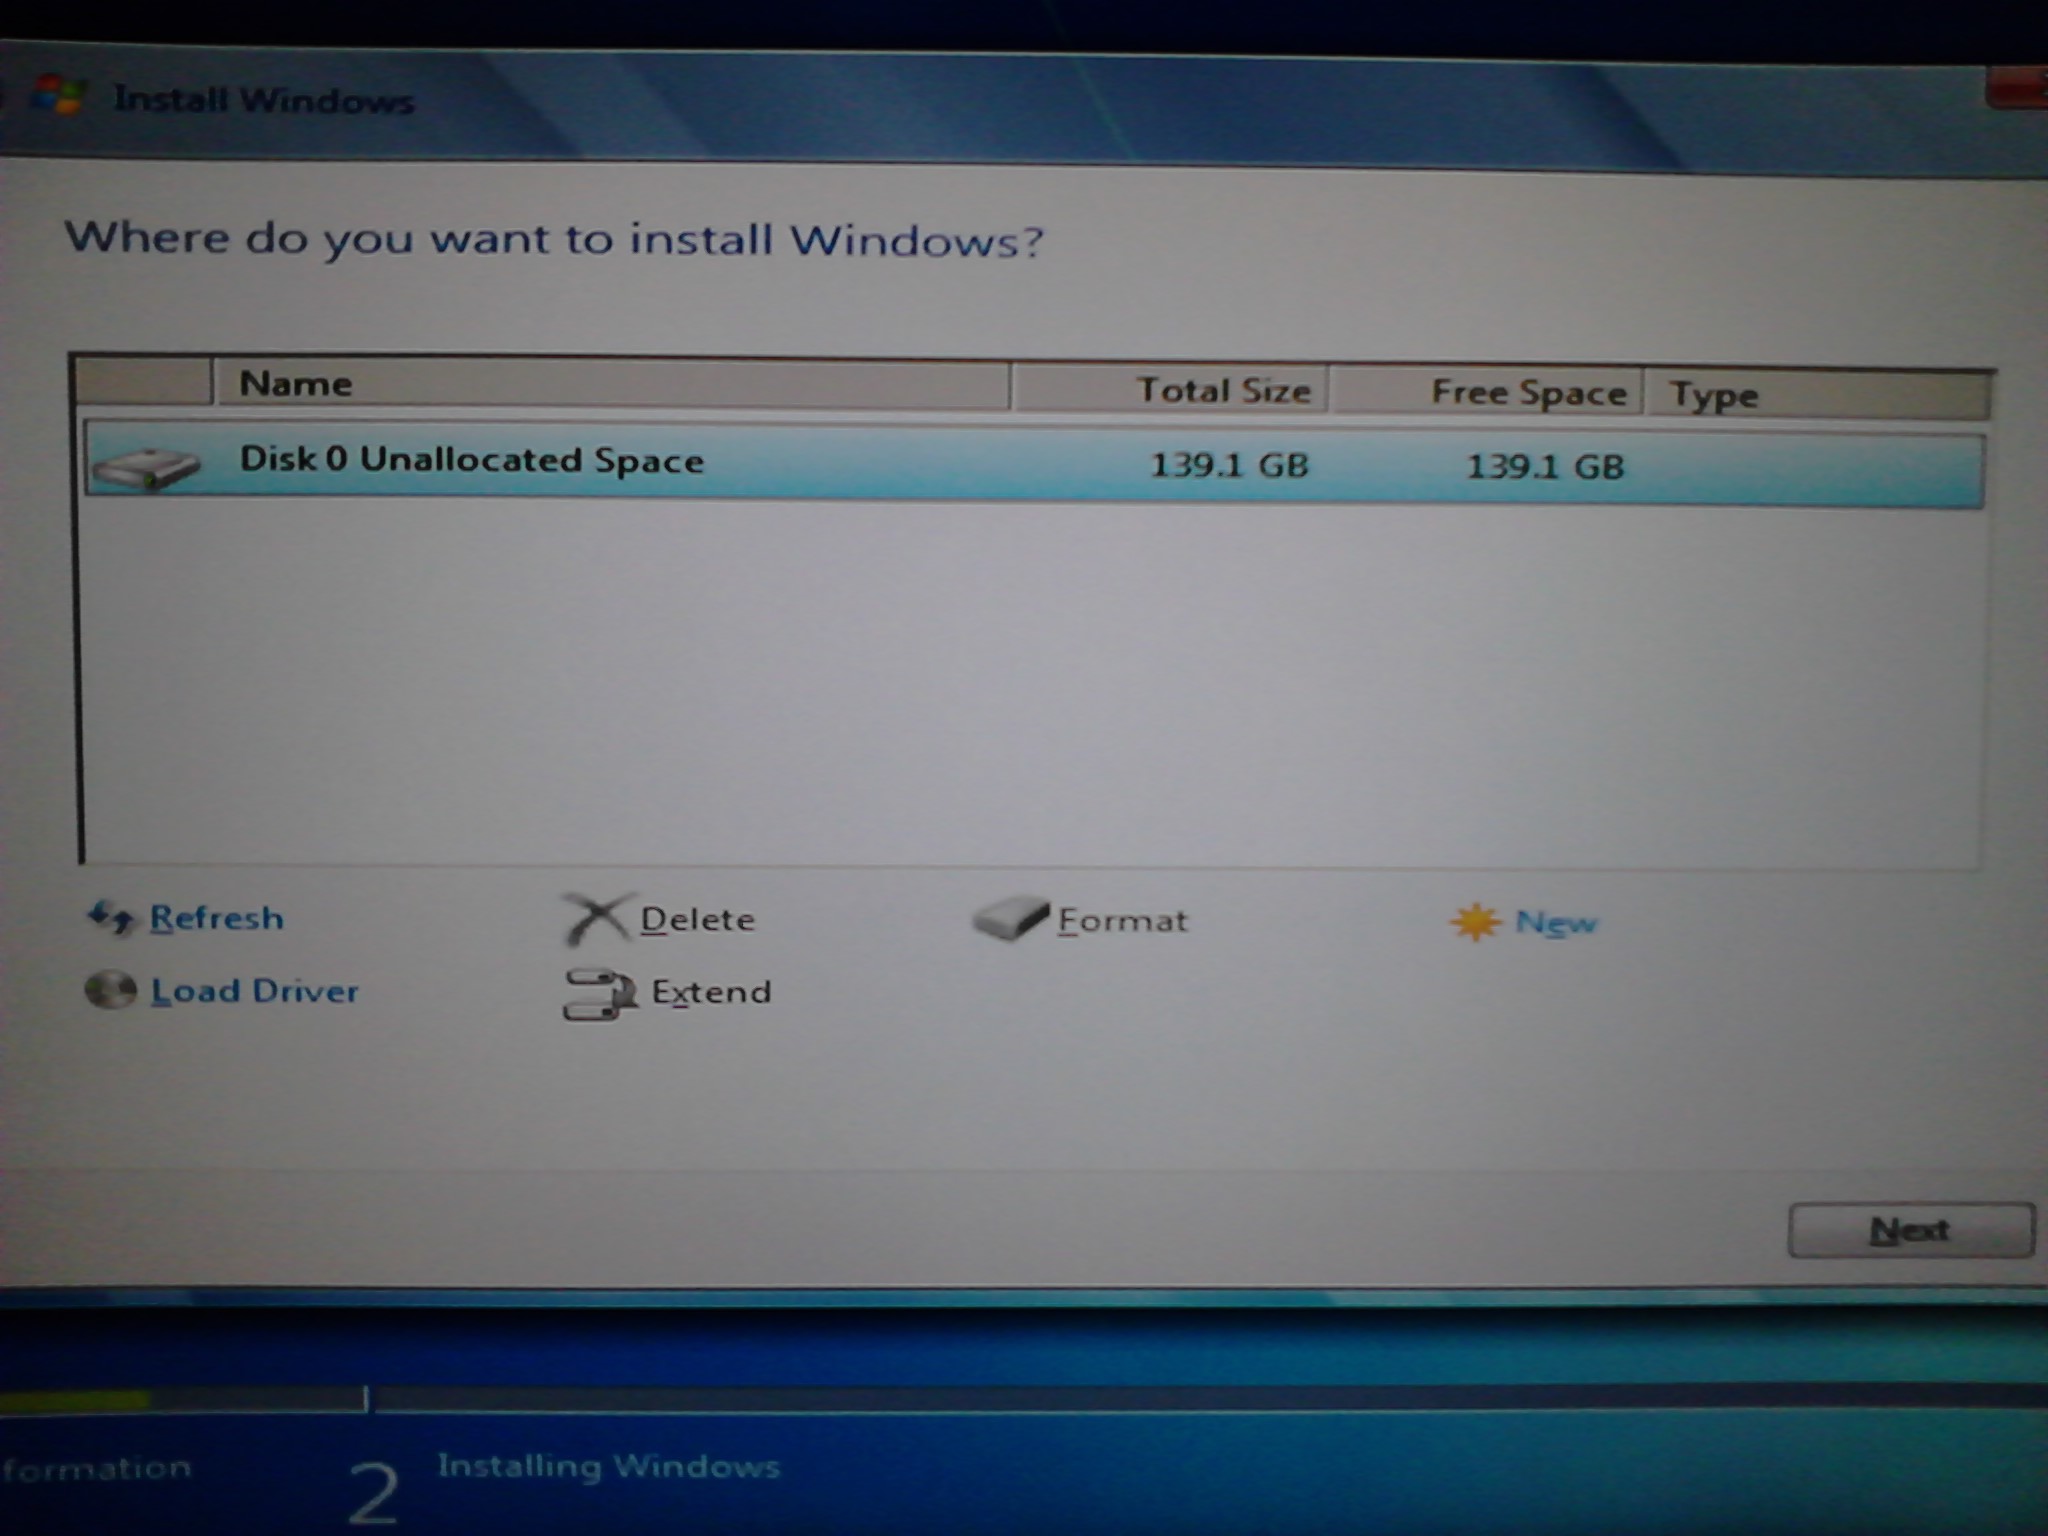
3. Then, I tried to install Windows 7. But, on the way windows asked me the following:
"Where do you want to install windows?" (I'm attaching the screenshot)
I have 750 GB HDD and 80 GB mSATA SSD. Why is the remaining space not displayed ? Should i install Windows in the displayed "139.1 GB" RAID space ?
Please help !
Regards,
Rajesh.
Werewolf_86
4 Posts
0
April 14th, 2015 10:00
Thanks everyone, I found out what i wanted by myself. I'm posting this for the benefit of someone going through my situation.
The following are the steps I followed to reinstall windows 7 and configure mSATA in RAID 0 Caching Mode.
-----------------
How to fusion HDD and SSD using Intel Rapid Storage Technology
Oct 21, 2013 4 Comments by erwinbantilan 5214 Views
Did you know that you can fusion your HDD (Hard Disk Drive) and SSD (Solid State Drive) to have bigger memory with a speed of SSD drive, you can see this on most laptop today like the apple’s Fusion Drive, CacheExpress or some company call it Hybrid drive. You can achieve this by using the Intel Rapid Storage Technology Driver that will cache your frequently used program to your SSD for faster load and booting time.
To get started, you need to have the following item:
On mine, I used motherboard ASUS-P8Z77-M PRO, 500GB WD Caviar Blue Harddrive and Patriot 32GB SSD.
So follow the step below for the installation:
1. Remove all attach SATA drive from your motherboard, except for the drive where you install the OS.
2. Boot your PC to your BIOS and enable the RAID at the Sata Configuration.
3. Install your Windows OS (XP, 7, 8 or 8.1), dont forget to install the driver of your motherboard especially the intel chipsets. After that restart your PC.
4. Install the Intel Rapid Storage Technology Driver, you can download it from intel website at (SetupRST.exe).
5. Shut down your PC
6. Insert now your SSD to your SATA port and turn on your PC.
7. On Windows, go to “Disk Management” and right click your SSD drive then select “Delete Volume”
8. After deleting the volume, open the “Intel Rapid Storage Technology”.
9. Go to Status Tab, then at the “Acceleration using solid-state drives” click “Enable”
10. You can then now select your configuration, then click “OK”
11. Congrats! you have now enable the Intel Rapid Storage Technology on your SSD and HDD.
At first attempt, I have hard time succeeding on installing the Intel RST. like the tab “Acceleration” is not showing on the menu and some site tells you, you need to have RAID harddrive in order to use Intel RST. But the workaround is only simple, you just need to reformat your PC while in SATA RAID mode for the RST to work.
----------------
Be happy !
Regards,
Rajesh.