PowerVault TL2000/TL4000: How to Configure the iSCSI Bridge
Summary: This article provides information about the "PowerVault TL2000/TL4000 - How to Configure the iSCSI Bridge."
Instructions
Table of Contents:
- Web Interface/Login
- iSCSI Network Configuration
- Target, Sessions, and Devices
- Operating System Configuration
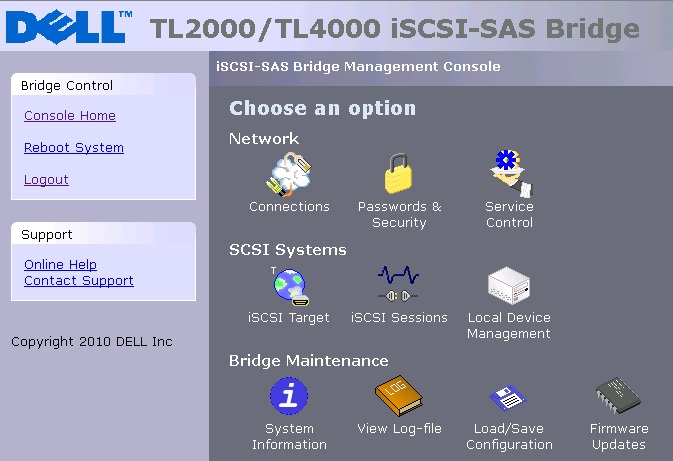
1. Web Interface/Login
First, for the PowerVault TL2000/TL4000 Tape Library the iSCSI bridge has to be installed into the library.
If your tape library came with iSCSI Bridge installed, skip this step.
Use the following link, if you must installed the iSCSI Bridge into the tape library:
1Gb iSCSI to SAS User's Guide
Use the following link for more information:
Learn how to Avoid ESD Damage
The initial IP Address for the iSCSI Bridge is 10.10.10.10. With this IP Address, you can access the iSCSI Bridge Web Interface. You must enter that IP Address into a web browser.
Once you have done this, or you have reconfigured the IP Address, you should see a login screen.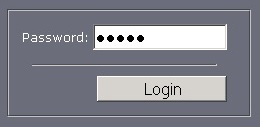
2. iSCSI Network Configuration
It is recommended that the IP Address used in the iSCSI Network Configuration is segmented from the rest of the network, and other unlike iSCSI devices on the network.
This can be accomplished by the use of VLANs on the network switch, or other different.
Assistance might be available through Dell Technical Support or Dell Professional Services. Depending on the depth of assistance, a service fee might be required.
Call Dell Technical Support, if you require this type of assistance.
Use the following steps to configure the iSCSI Network Connections:
-
From the Console Home screen, click the Connections icon under the Network section.
-
On this screen, you can configure several items:
-
Hostname:
In this field, you can enter a name for the iSCSI Bridge.
It is recommended that you use a name that is relevant to its location or purpose or both.DNS entry probably must be modified or created for the hostname to work properly.
-
Gateway: Enter the IP Address of the network gateway.
-
DNS Server: Enter the IP Address of the DNS Server with entry or records that point to the hostname entered above.
-
Network Port Fields:
- DHCP - this means that the bridge seeks out the DHCP-sever on your network and obtain an IP Address from the server each time it powers up. (Not Preferred)
- Static IP (Preferred Method) - the IP address set in this page is the IP address that the unit uses each time it powers up.
- Subnet-Mask - If the bridge is configured to use DHCP the net mask is issued from the DHCP-server. If you are using a static IP address, enter the IP-mask in this box.
- Broadcast-Address - Enter in this box your Broadcast-address for your network.
-
-
After the necessary fields have been configured, click the Save button.
Once done, click the reboot option in the upper left pane to reboot the bridge.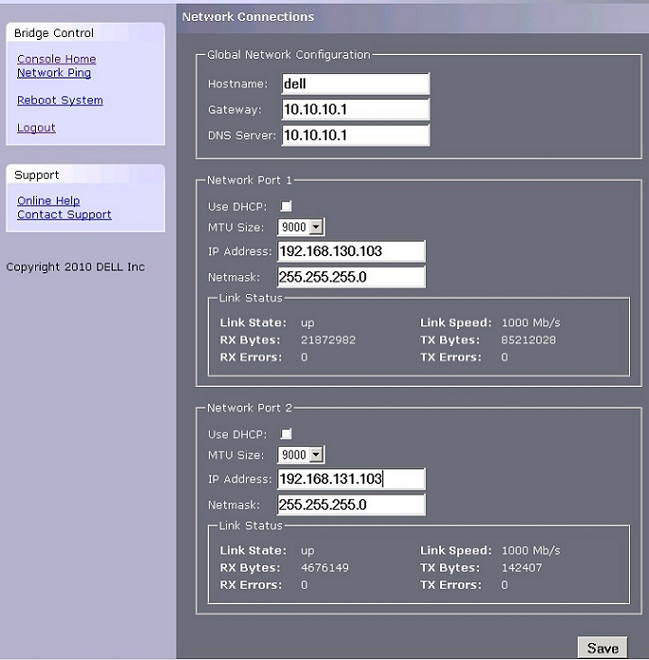 Note: Clicking this reboot option does not reboot the library. It only reboots the iSCSI Bridge.
 -
If you changed your computers network settings for the initial setup, return them to their previous setting and reconnect to the bridge using the IP address or hostname, depending on which addressing mode you selected.
-
Network Ping - From within the Network configuration page on the left side the user can access the ping facility. Click the Network Ping on the left side and you see the following screen.

This can be used to test a network connection to a configured Network Interface Card (NIC) within a server. This is particularly useful to verify the network connections and that a particular network port is viable.
-
On the Console home page, the password can be changed using the Password and Security icon.
-
In the Service Control icon, the Network Time Protocol (NTP) and Internet Storage Name Service (iSNS) IP Address can be submitted to the appropriate fields.
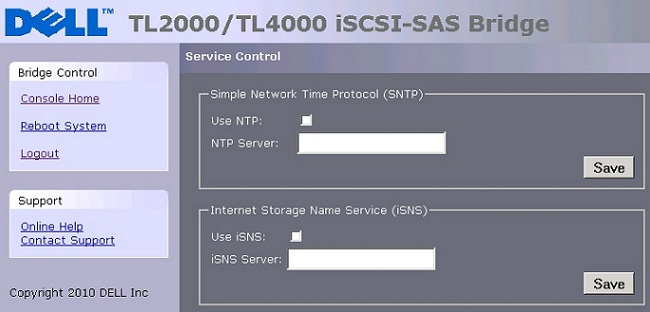
Each entry requires a click the Save button.
3. Target, Sessions, and Devices
The following discus iSCSI Targets, Sessions, and Devices:
-
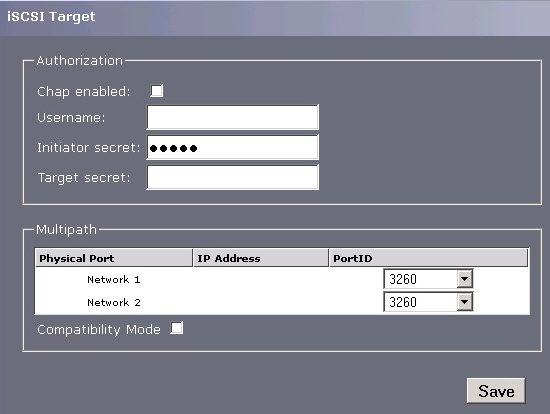
The iSCSI Target icon allows you to configure the iSCSI Targets, and Challenge Handshake Authentication Protocol (CHAP) authentication as well.
Note:Multipath - By default, the bridge allows up to 10 iSCSI connections per iSCSI Session.
However, some initiators only allow one iSCSI Connection per iSCSI Session and reject any login to an iSCSI Target that tries to negotiate more iSCSI Connections.If so, click the compatibility checkbox and this limit the number of connections to 1.
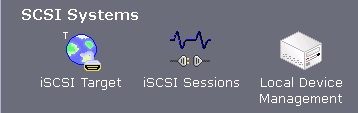
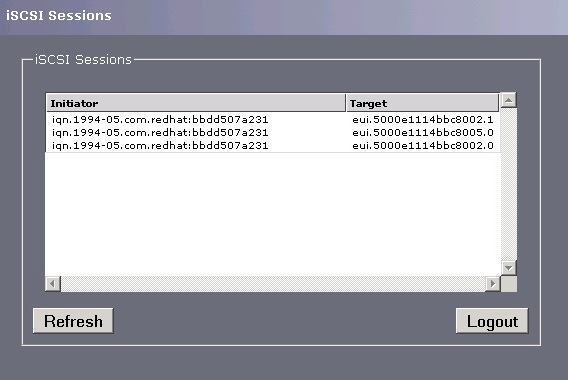
- iSCSI Sessions icon shows you iSCSI hosts logged on to the iSCSI Bridge.
-
Device Management icon allows you to see how many devices are being presented using the iSCSI Bridge.
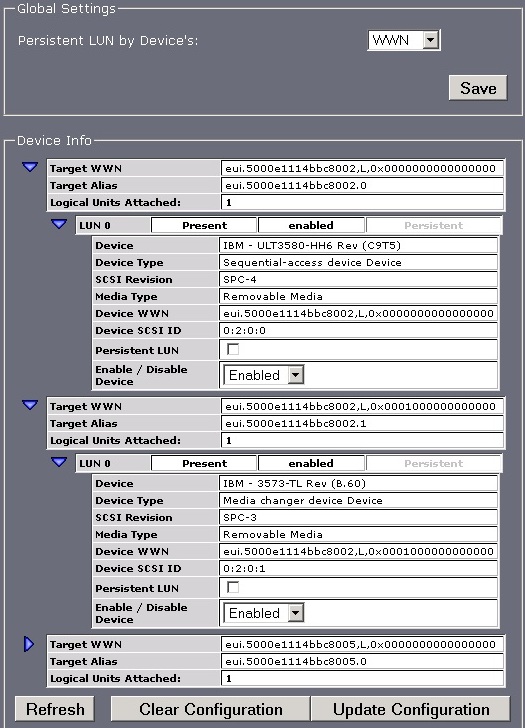
Also, it allows several configuration parameters such as persistency. Application resilience can be useful, for instance, if the iSCSI Bridge and its devices are being shared between multiple servers. This will allow the medium changer and its tape drive to come up in the same order, even after a reboot of the server.
Note: Other application resilience methods may have to be implemented on the Operating System with the backup software. See your backup software vendor's technical site for more information about this subject.
4. Operating System Configuration
Reference the iSCSI User's Guide, or see the following links:
Linux® (1 GB iSCSI to SAS bridge iSCSI initiators)