Empilement de commutateurs Dell Networking PowerConnect modèle 5500
Résumé: En savoir plus sur l’empilement des commutateurs Dell Networking PowerConnect modèle 5500.
Instructions
Objectifs
1. Vue d’ensemble
de l’empilement 2. Câblage de la pile
3. Attribution
de l’ID d’unité 4. Compléter la pile
Présentation de l’empilement
L’empilage Dell PowerConnect permet de gérer plusieurs commutateurs via un point unique, comme si tous les membres de la pile formaient une seule unité. Tous les membres de la pile sont accessibles via une seule adresse IP à travers laquelle la pile est gérée.
Chaque commutateur est un membre d’une pile, bien que la pile puisse se composer d’un seul commutateur. Jusqu’à huit commutateurs sont pris en charge par pile. Toutes les piles doivent disposer d’une unité principale, et peuvent avoir une unité de sauvegarde principale. Tous les autres commutateurs sont connectés à la pile en tant que membres.
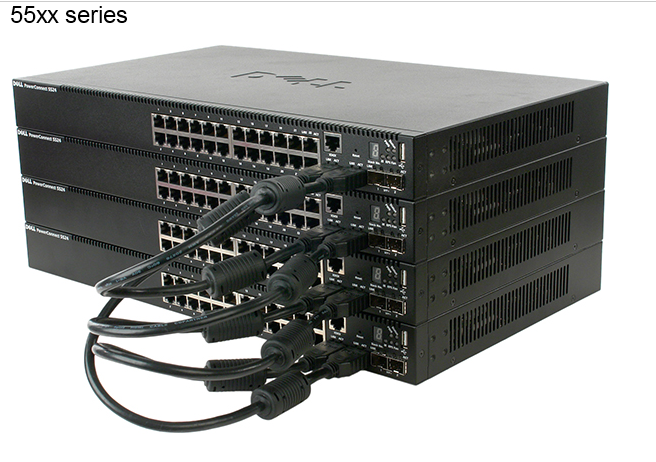
Câblage de la pile
Les commutateurs PowerConnect série 5500 utilisent deux ports HDMI 10G pour l’empilage.
Remarque : Il est vivement recommandé d’utiliser les câbles d’empilement Dell PowerConnect 55xx pris en charge. Tous les câbles HDMI universels version 1.4 ne fonctionnent pas.
1. Insérez une extrémité d’un câble HDMI dans le port HDMI gauche du commutateur situé en haut de la pile et l’autre extrémité dans le port HDMI droit du commutateur situé juste en dessous.
2. Répétez ce processus jusqu’à ce que tous les commutateurs soient connectés.
3. (Facultatif) Connectez le port HDMI gauche du commutateur inférieur de la pile au port HDMI droit du commutateur supérieur de la pile. Cette étape permet d’augmenter la bande passante et la redondance.
Attribution de l’ID d’unité
Affectation automatique
Le commutateur auquel l’ID d’unité 1 est attribué est l’unité principale par défaut. Le commutateur auquel l’ID d’unité 2 est attribué est l’unité de sauvegarde principale.
Affectation manuelle
- Connexion à la console du commutateur
- Allumez le commutateur pour lancer le démarrage automatique, puis appuyez sur Retour ou Échap pour accéder au menu Démarrer.
- Sélectionnez le menu Stack pour ouvrir le menu Stack.
- Sélectionnez Set unit stack id. Saisissez un ID d’unité ou 0. 0 indique que l’ID d’unité doit être attribué automatiquement.