How to Obtain the MSI Installer Package for Dell Command Update
Zusammenfassung: Learn more about retrieving the MSI installer package from the Dell Command | Update (DCU) executable.
Dieser Artikel gilt für
Dieser Artikel gilt nicht für
Dieser Artikel ist nicht an ein bestimmtes Produkt gebunden.
In diesem Artikel werden nicht alle Produktversionen aufgeführt.
Weisungen
MSI Installer Package
The following steps can be used to get the MSI installer package:
-
Go to Dell Command | Update product page.
-
Download the latest version available.
Note: The links in this table automatically identify the computer. If this is not the preferred choice, go to the installation section to install the preferred choice.DCU 5.7 for Computers with Intel or AMD Processors (Released April 2026) DCU 5.6 for Computers with ARM Processors (Released November 2025) -
Right-click the Windows start menu icon and select Run.

-
In the Run Box, type
CMDand press Ctrl + Shift + Enter keys simultaneously to run an elevated command prompt.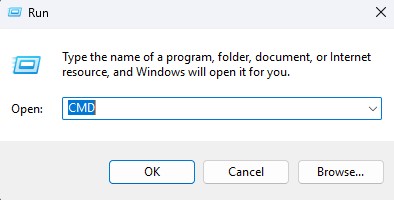
-
If prompted for the User Account Control (UAC), click Yes to proceed.
-
Browse to the folder location of the downloaded executable.
-
Type the following command, then press the Enter key:
Note: Switches are case-sensitive.Dell-Command-Update-Application_[VERSION].exe /passthrough /X /B”[EXTRACTION PATH]” Example: C:\Dell>Dell-Command-Update-Application_5CR1Y_WIN64_5.6.0_A00.exe /passthrough /X /B”C:\Dell\DCU_Extracted”
-
Click No if prompted to uninstall.

-
In Windows Explorer, go to the
[EXTRACTION PATH], and locate the MSI Installer Package.
Betroffene Produkte
Dell Command | UpdateArtikeleigenschaften
Artikelnummer: 000177292
Artikeltyp: How To
Zuletzt geändert: 08 Mai 2026
Version: 17
Antworten auf Ihre Fragen erhalten Sie von anderen Dell NutzerInnen
Support Services
Prüfen Sie, ob Ihr Gerät durch Support Services abgedeckt ist.