Activating Windows After the Motherboard Has Been Replaced
Summary: This article provides guidance and direction for activating Windows after a motherboard replacement in your Dell computer.
This article applies to
This article does not apply to
This article is not tied to any specific product.
Not all product versions are identified in this article.
Symptoms
For most computers, once the motherboard in your computer has been replaced, the replacement motherboard has a preinjected key in the motherboard firmware that automatically activates Windows.
In a few cases, for various reasons, this automatic activation process may fail and a replacement Service Product Key for Windows may be required to resolve the issue.
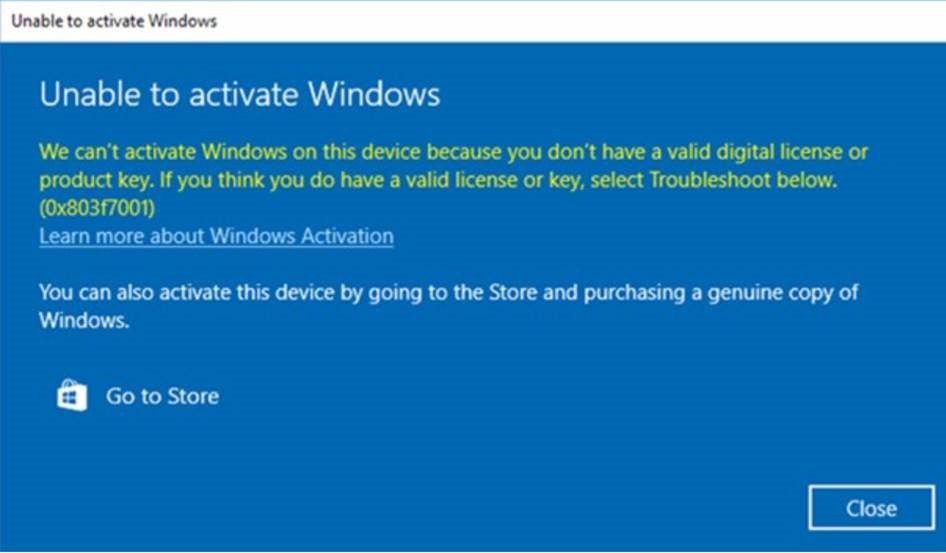
Note: In cases where a replacement motherboard does not have the preinjected key that automatically activates Windows, Dell tech support provides a Service Product Key for Windows.
Cause
No cause information is available.
Resolution
If Windows fails to activate after a motherboard replacement, Contact Dell Tech Support and allow the agent to troubleshoot the issue.
If Dell tech support advises they provide a Service Product Key for Windows, follow the steps below to access the product key through your My Account secure interface and activate Windows.
- To ensure that you can access My Account, you are asked to log in to the locker before the key request process is initiated. This ensures you can access the key once it is available.
- Log in to My Account following the instructions provided in the order information you received.
- Under Software Licenses and Subscriptions, select Software Licenses.
- Locate the Service Product Key for Windows. Use the Search option to filter items by service tag if you have multiple devices in your My Account
- Copy the Service Product Key for Windows from My Account.
- In Windows, select Start > Settings > Update & Security > Activation.
- Under Change product key, select Change and paste the key in when prompted to complete the activation process.
Affected Products
Chromebook, Alienware, Inspiron, Latitude, Vostro, XPS, Latitude Tablets, XPS TabletsArticle Properties
Article Number: 000177704
Article Type: Solution
Last Modified: 08 Oct 2025
Version: 15
Find answers to your questions from other Dell users
Support Services
Check if your device is covered by Support Services.