How to Install CyberLink PowerDirector and PhotoDirector from Dell
Summary: This article covers how to download and install CyberLink PowerDirector and PhotoDirector through Dell Digital Delivery.
This article applies to
This article does not apply to
This article is not tied to any specific product.
Not all product versions are identified in this article.
Instructions
Affected Products:
- CyberLink PowerDirector
- CyberLink PhotoDirector
- CyberLink PowerDirector 365
- CyberLink PhotoDirector 365
CyberLink PowerDirector/PhotoDirector can be purchased at Dell:
- When you purchase a Dell device:
- Software is accessible through the Dell Optimizer Purchased Apps Module, or through Dell Purchased Apps on Alienware devices.
- Purchased through Dell but separate from a Dell device:
- Software is stored in My Account, see How to Access Your Dell Software Licenses and Digital Subscriptions for more information.
Cyberlink Power Director / Photo Director purchased from Dell alphanumeric SKU (for example, 634-BYCS) can be accessed in My Account with the email that is used at the time of purchase.
- Software is stored in My Account, see How to Access Your Dell Software Licenses and Digital Subscriptions for more information.
This article covers only the Dell Optimizer or Dell Purchased Apps method.
Note: Before installing CyberLink PowerDirector/PhotoDirector:
- Log in to Windows with an account with administrator privileges.
- Ensure you have a consistent Internet connection.
- Install either Dell Optimizer or Dell Purchased Apps.
To install the software:
- In the Windows start menu, locate and select Dell Optimizer or Dell Purchased Apps (In Dell Optimizer, select the Purchased Apps module.
- Locate either:
- Cyberlink Power Director/Photo Director Bundle
- This is a perpetual (one-time) license.

- This is a perpetual (one-time) license.
- CyberLink Director Suite 365
- This is a perpetual (ongoing) license.

- This is a perpetual (ongoing) license.
- Cyberlink PowerDirector and PhotoDirector 365
- This is a subscription (ongoing) license.

- This is a subscription (ongoing) license.
- Cyberlink Power Director/Photo Director Bundle
Select the proper license type for further steps.
Note: A CyberLink PowerDirector/PhotoDirector 365 redemption code is offered through Dell Digital Delivery. A New User can redeem the code for 1 year or CyberLink PowerDirector/PhotoDirector 365 product access. After redemption, Existing Users can manage their product access and subscription directly with CyberLink.
Warning: The CyberLink PowerDirector/Photo Director 365 redemption can only be used once. Further attempts to use the redemption code result in an error.
- To the right of the Cyberlink Power Director/Photo Director Bundle, click Download.
 Note:
Note:- If CyberLink PowerDirector/PhotoDirector is not listed, that could indicate connectivity issues, or the software is not associated to your Dell Digital Delivery account.
- For assistance on resolving this issue, How to Get Support for CyberLink Products Sold at Dell.
- The License Key has been omitted from the above screenshots.
- If CyberLink PowerDirector/PhotoDirector is not listed, that could indicate connectivity issues, or the software is not associated to your Dell Digital Delivery account.
- Purchased Apps automatically downloads and installs the software. Post installation, CyberLink PowerDirector or CyberLink PhotoDirector, can be accessed through your Windows start menu or desktop shortcut.

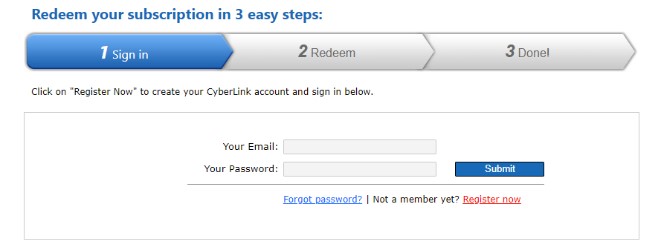
- Alternatively, you can Log in to CyberLink Member Zone
.
- Go to Redeem and enter your product key obtained in Dell Optimizer or Dell Purchased Apps.
- Click the Submit button and redeem the digital copy.
- Click Download Now in the Registered Products section to download your product.
- To the right of Cyberlink PowerDirector and PhotoDirector 365, click Redeem.

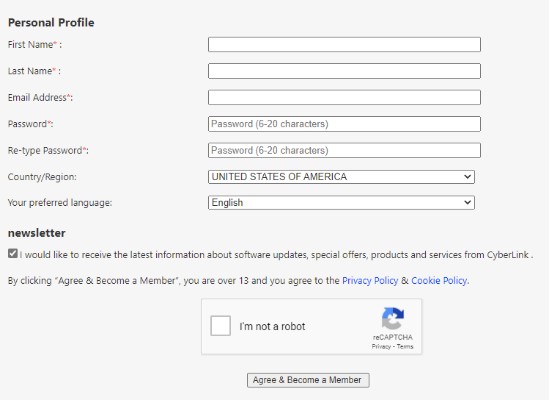
- In the web browser, click Register Now.

- In the Personal Profile:
- Populate First Name
- Populate Last Name
- Populate Email Address
- Populate and retype your Password.
- Check I’m not a robot.
- Click Agree & Become a Member.
- Close the CyberLink Members Zone web browser tab.
- Go to your email (step 5c) and then open the CyberLink Membership confirmation email.
- Click Activate My Account.

- To activate, Sign In to your CyberLink account.
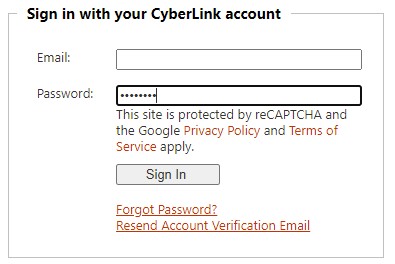
- Go back to the Redemption web browser tab and:
- Populate your Email (step 5c).
- Populate your Password (step 5d).
- Click Submit.
- Populate Your Product Key listed in the Dell Digital Delivery portal (step 3) and then click Submit.
 Note:
Note:- The product key is labeled as a license key in the Dell Digital Delivery portal.
- On Error: Your Product Key is not recognized, is out of date, or has already been activated, attempt to go through the Existing User activation listed above.
- If further assistance is required, document your Product Key, and then reference How to Get Support for CyberLink Products Sold at Dell.
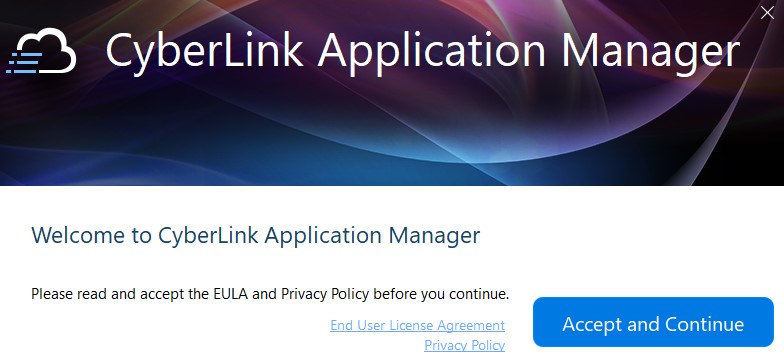
- The CyberLink Application Manager is automatically downloaded. On download, click ApplicationManager_[Version].exe to automatically install the application.
Note:
- [VERSION] = Product version of the installer
- The CyberLink Application Manager is required to access all subscription-based products.
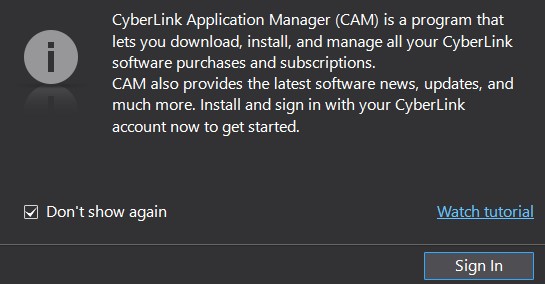
- CyberLink Application Manager automatically starts on install. Click Accept and Continue.
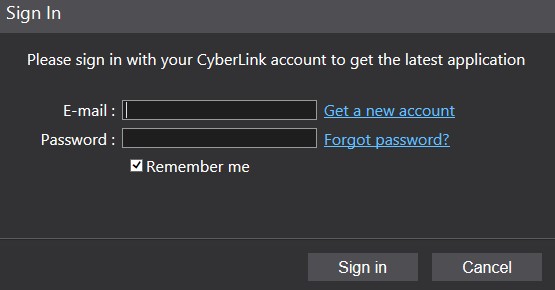
- Click Sign In.
- Populate the Email (step 5c), Password (step 5d), and then click Sign in.

- Determine if you would like to participate in the CyberLink Improvement Program.

- Install your desired product.

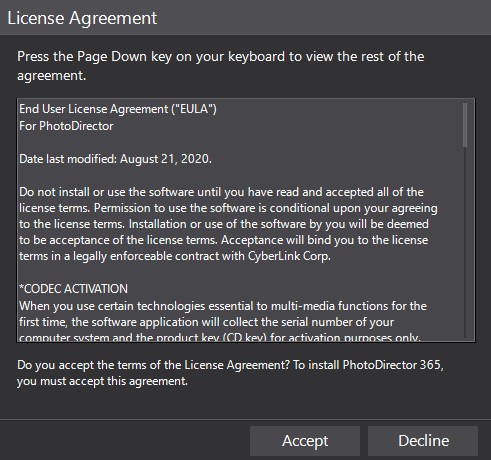
- Accept the License Agreement.

- The product automatically downloads and is installed. On install, click Open.

- Repeat the steps 17 through 19 for each product that you want to install.
- In a web browser, go to https://www.cyberlink.com/
- In the upper right corner, click the User icon.

- Sign In with your Email and Password.
 Note: Dell is unable to assist with CyberLink email or password issues. For CyberLink account assistance, contact CyberLink Support at https://www.cyberlink.com/support/index.html
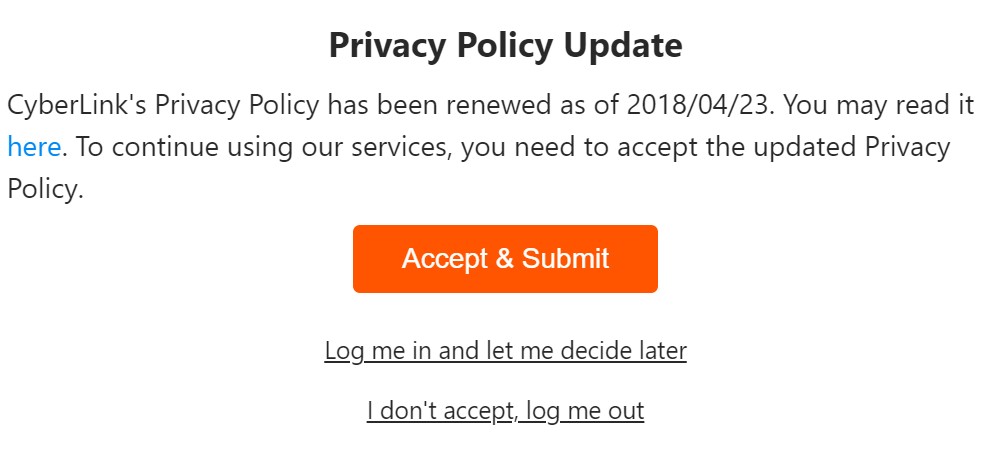
 - Accept & Submit the Privacy Policy Update.
- In the top menu, click Downloads.
- In the left menu, click Download CyberLink Application Manager for Your 365 Subscription.

- Click Download Now.

- Double-click ApplicationManager.exe to install the CyberLink Application Manager.
Note:
- [VERSION] = Product version of the installer
- The CyberLink Application Manager is required to access all subscription-based products.
- On install, CyberLink Application Manager automatically starts. Click Accept and Continue.

- Click Sign In.

- Populate the Email (step 5c), Password (step 5d), and then click Sign in.
- Determine if you would like to participate in the CyberLink Improvement Program.

- Install your product.

- Accept the License Agreement.
- The product automatically downloads and is installed. On install, click Open.

- Repeat the steps 15 through 17 for each product that you want to install.
Article Properties
Article Number: 000185038
Article Type: How To
Last Modified: 03 Nov 2025
Version: 16
Find answers to your questions from other Dell users
Support Services
Check if your device is covered by Support Services.