如何使用 Microsoft Configuration Manager 部署 Dell Client Device Manager
Summary: 本文指导 IT 管理员逐步为 Dell Client Device Manager (DCDM) 应用程序选择所需的模块,并使用 Microsoft Configuration Manager 进行部署。
Instructions
- 使用具有创建和部署应用程序所需权限的帐户打开 Microsoft Configuration Manager 控制台,然后导航到软件库→应用程序管理。
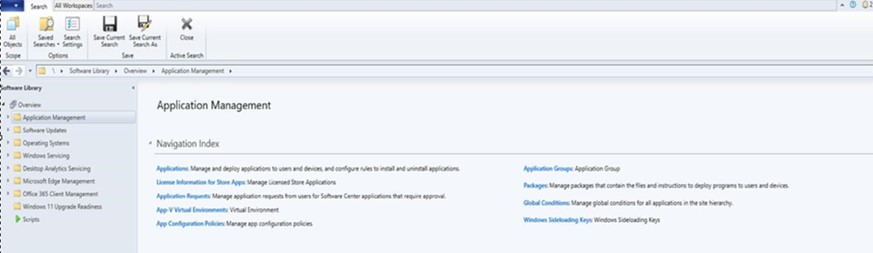
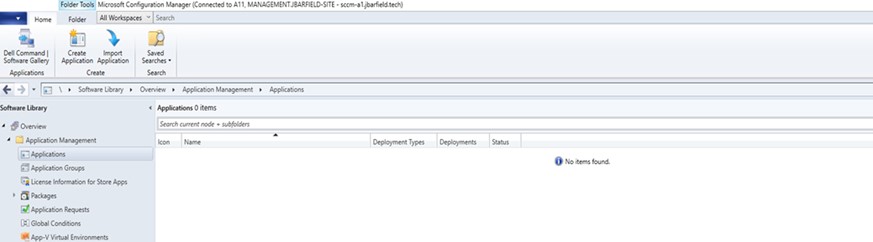
- 展开 应用程序管理,单击应用程序,然后单击 创建应用程序。
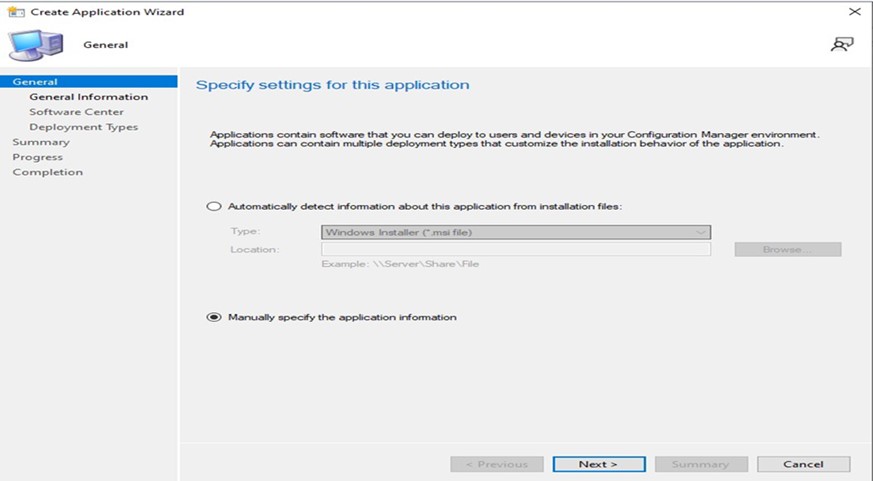
- 选择该单选按钮。手动指定应用程序信息,然后单击 下一步。
- 选择所需的操作系统,然后单击下一步。
- 名称: 提供应用程序的名称(例如,Dell Client Device Manager)
- 管理员备注: 添加说明(安装了安全模块的 Dell Client Device Manager)
- 发行商: 指定发布者(戴尔)
- 软件版本: 指定版本 (1.10)
- 所有者: 选择相应的用户或组。
- 支持联系人: 选择相应的用户或组。
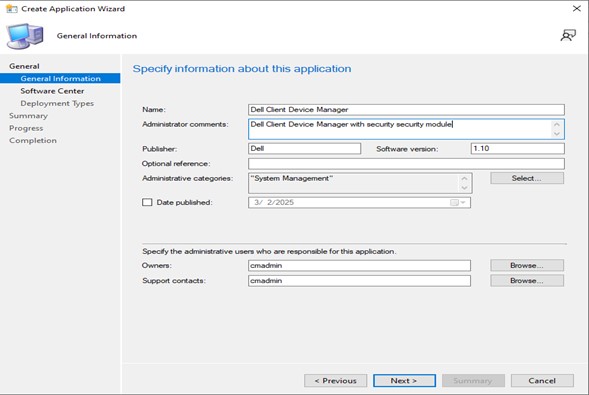
- 单击 NEXT。
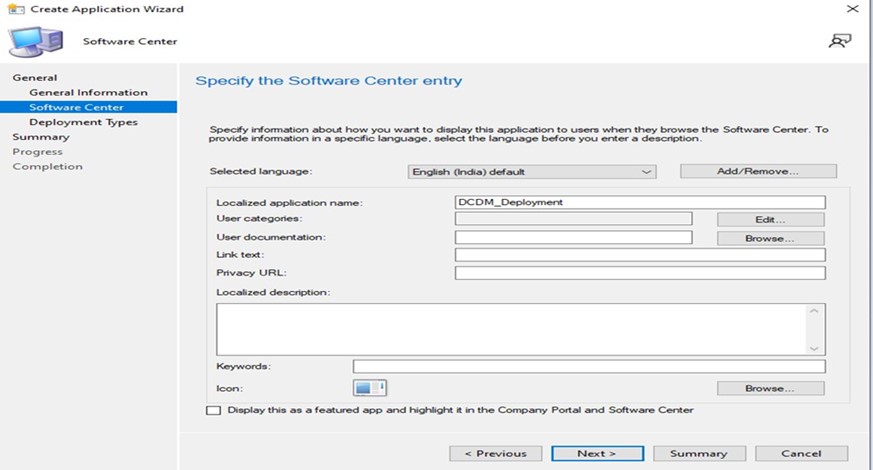
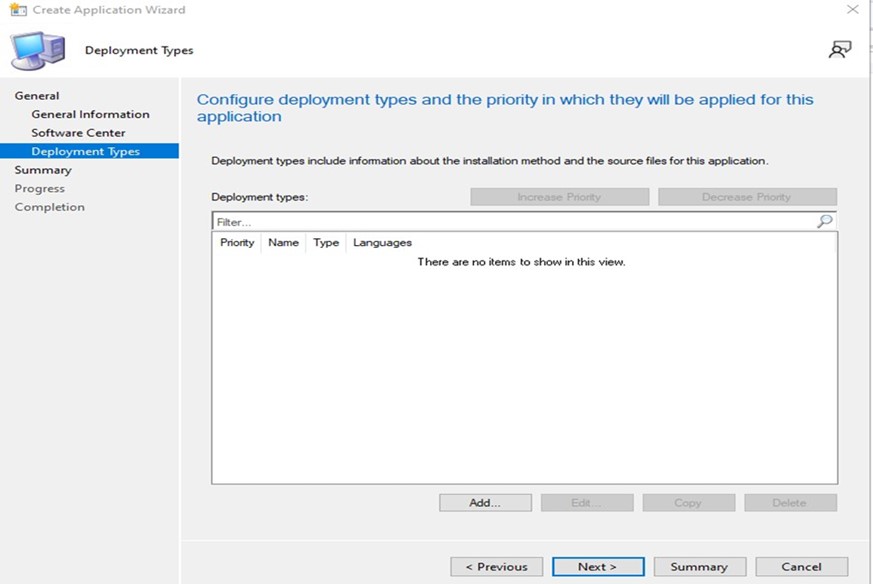
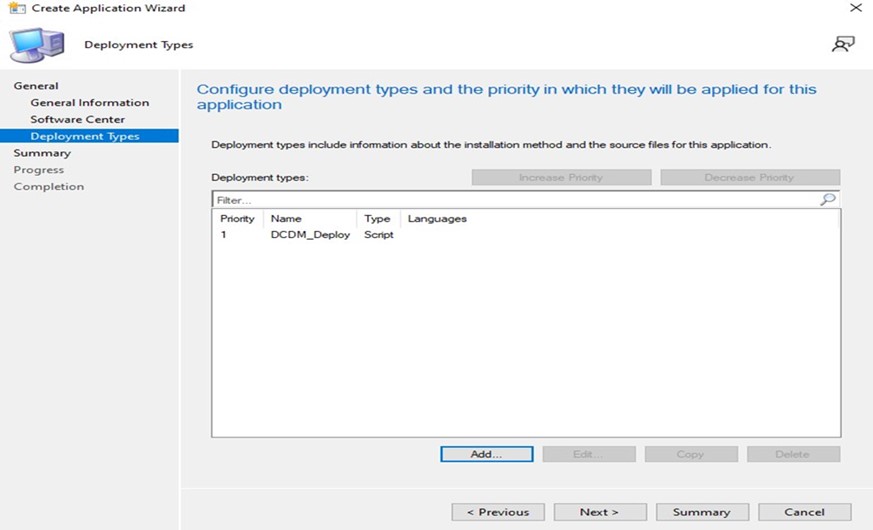
- 单击 ADD。
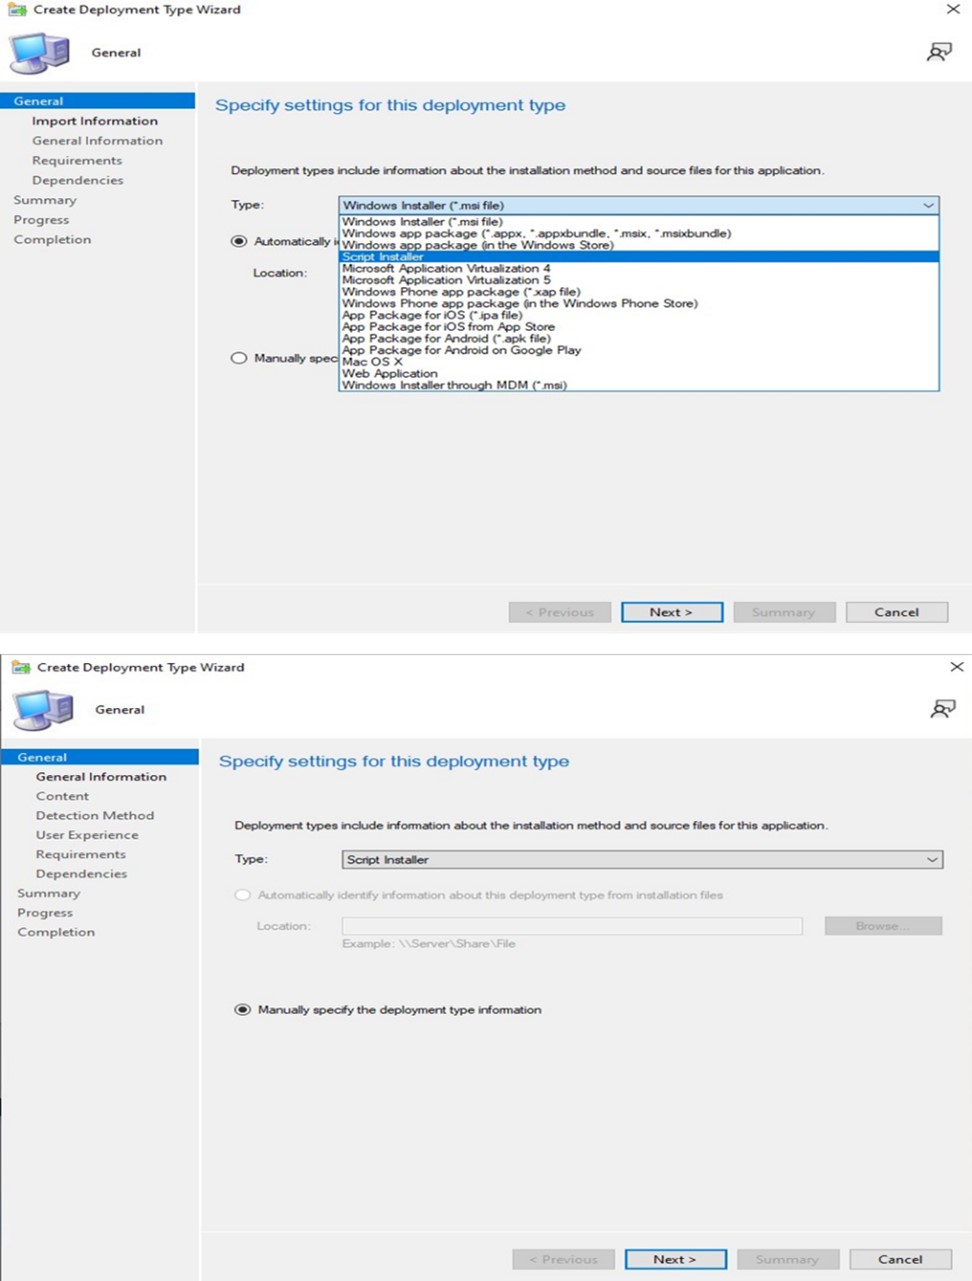
- 从 Type 下拉列表中选择 Script Installer,然后单击 NEXT。
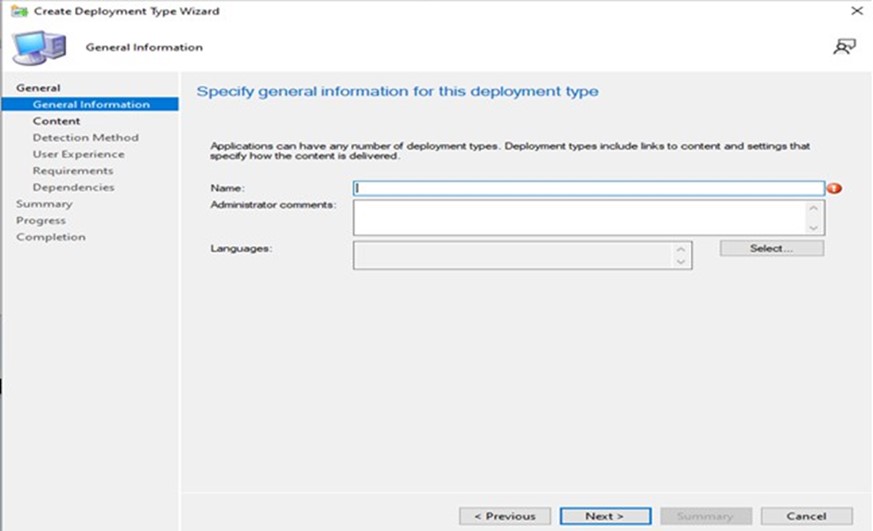
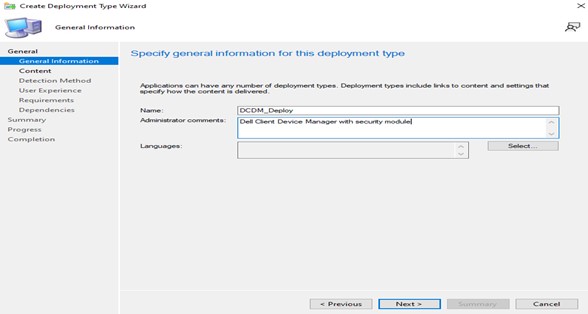
- 指定所需的 Name 和 Administrator Comments ,然后单击 NEXT。
- 添加用于放置内容以进行部署的内容位置,并指定用于在安装程序中安装内容的命令,然后单击复选框在 64 位客户端上将安装和卸载程序作为 32 位进程运行,然后单击下一步。
注意: 可以在下面找到安装参数、模块和示例的列表。
Install: powershell.exe -executionpolicy Bypass -windowstyle hidden -noninteractive -nologo -file "dcdm_deployment.ps1" -action < install / uninstall > -modules < modules to install >参数 描述 -help 可选:显示参数说明 -action 强制:指定要执行的操作(安装/卸载) 模块 可选:指定要包含的模块。默认(“DCDMCS”、“DCDMU”、“DCDMS”) -logpath 可选的默认值为“C:ProgramData\Dell\ClientDeviceManager”。指定日志文件的目录。 -verboselog 可选:在控制台中启用日志显示(True 或 False) -debuglevel 可选:默认值为“all”。指定调试信息的级别 -telemetryconsent 可选:默认值为“true”。表示遥测同意 模块 说明 模块依赖于 DCDMCS Dell Client Device Manager 核心服务(以前称为 Dell 核心服务(DCS)) 不适用 需要核心组件 DCDMS Dell Client Device Manager Security(以前称为戴尔可信设备 (DTD)) DCDMCS DCDMU Dell Client Device Manager Update(以前称为 Dell Command Update (DCU)) DCDMCS、DCDMS 示例:
安装/更新所有模块并为 DCDMU 发送遥测。
powershell.exe -executionpolicy Bypass -windowstyle hidden -noninteractive -nologo -file “dcdm_deployment.ps1” -操作 “install”在没有遥测的情况下安装/更新所有模块。
powershell.exe -executionpolicy Bypass -windowstyle hidden -noninteractive -nologo -file “dcdm_deployment.ps1” -操作 “install” -telemetryconsent “false”安装/更新 Dell Client Device Manager |Security (DCDMS)
powershell.exe -executionpolicy Bypass -windowstyle hidden -noninteractive -nologo -file “dcdm_deployment.ps1” -操作 “install” -modules “DCDMS”卸载 Dell Client Device Manager |Security (DCDMS)
powershell.exe -executionpolicy Bypass -windowstyle hidden -noninteractive -nologo -file “dcdm_deployment.ps1” -操作 “uninstall” -modules “DCDMS”卸载所有模块
powershell.exe -executionpolicy Bypass -windowstyle hidden -noninteractive -nologo -file “dcdm_deployment.ps1” -操作 “uninstall”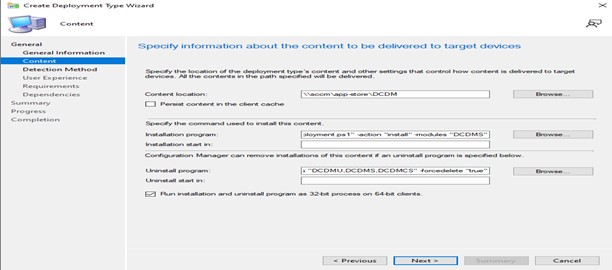
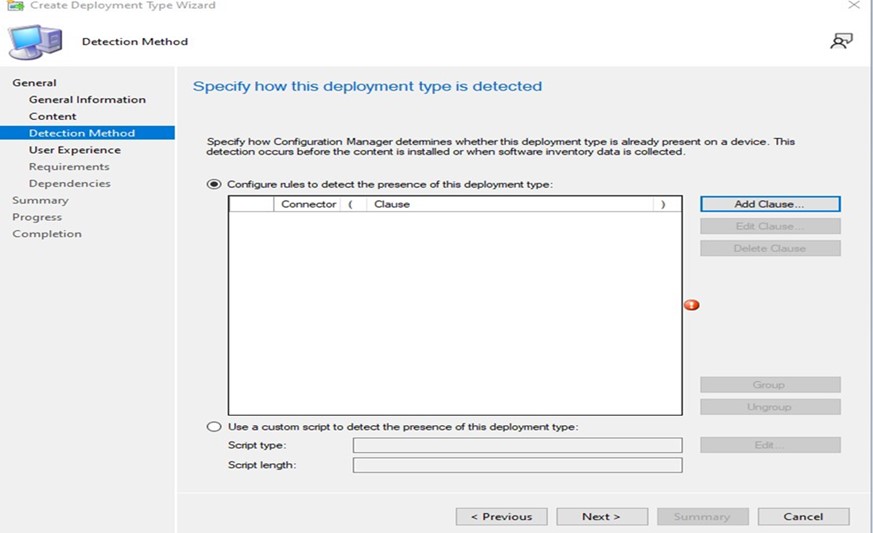
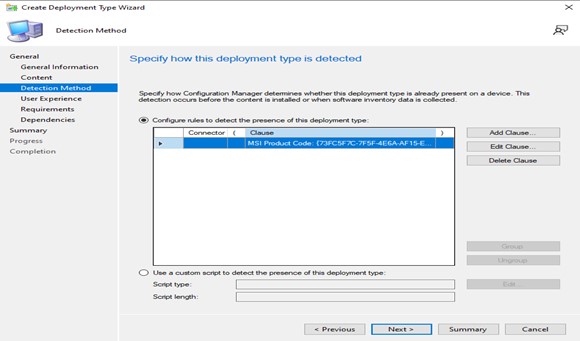
- 单击Add Clause。
- 将 Type 选为 DISK。
- B) 通过单击“ 浏览 ”按钮添加内容所在的路径,然后在填充所有数据后,确定。
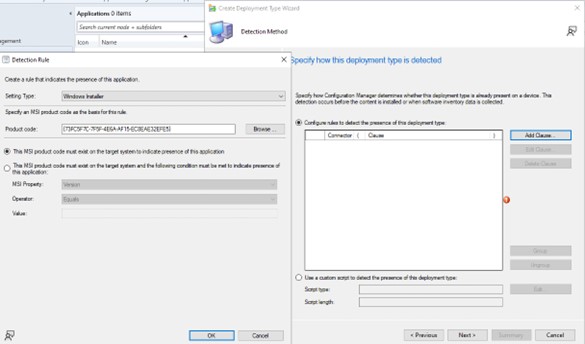
- 添加子句后,单击 NEXT。
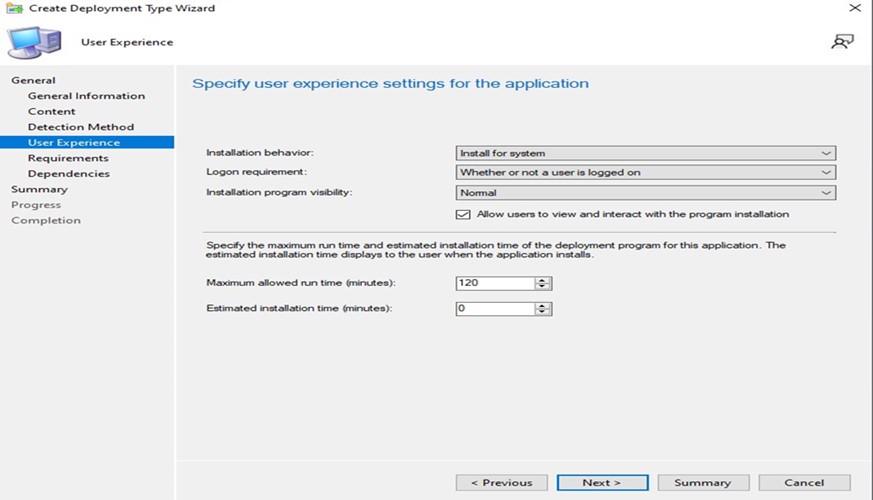
- 从安装行为下拉列表中选择为系统安装,从登录要求下拉列表中选择用户是否登录,从安装程序可见性中选择正常,然后单击 下一步。
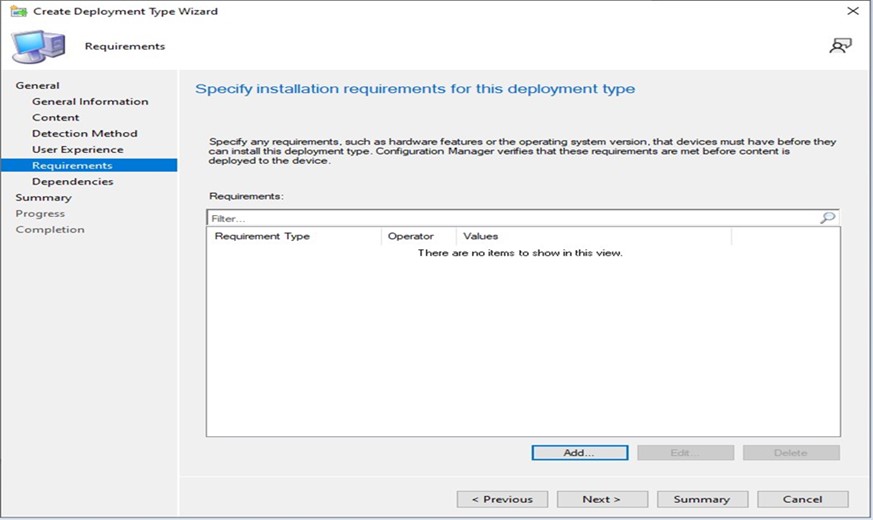
- 指定此部署类型的安装要求窗口,单击 下一步。
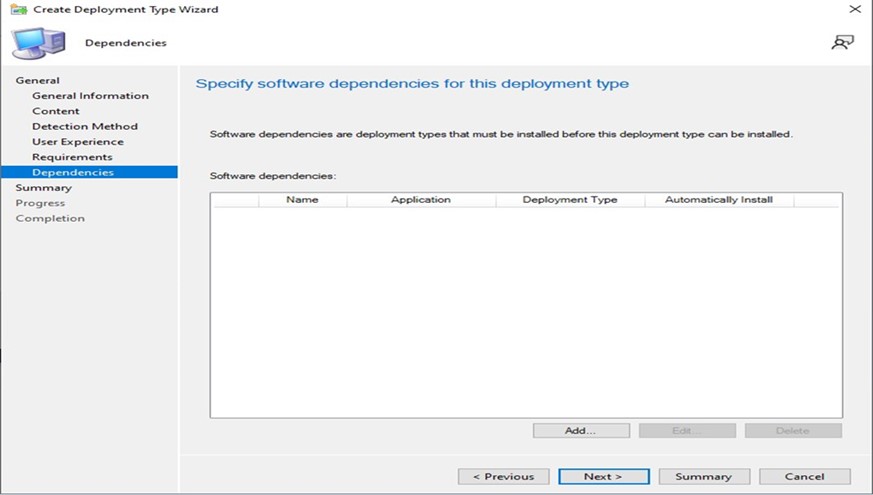
- 指定此部署类型的软件依赖关系,单击 下一步。
注意: Dell Client Device Manager需要 Microsoft .NET 8 Desktop Runtime 和 ASP.Net Core 作为依赖项。
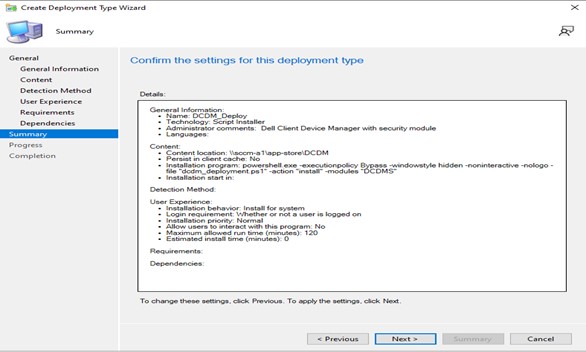
- 摘要窗口会读取所有数据,然后单击 下一步。
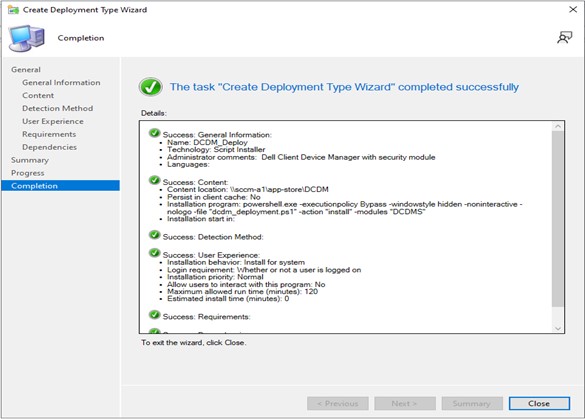
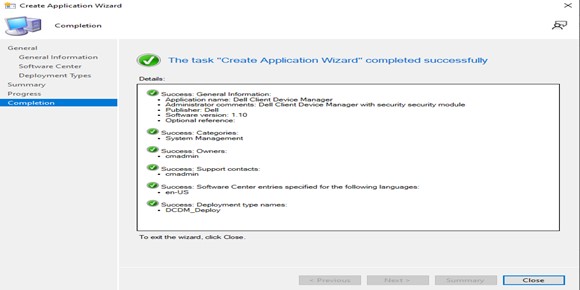
- 软件包已创建,单击“ 关闭”按钮可关闭下面的窗口。
- 单击 NEXT。
- 在欢迎屏幕上单击下一步。
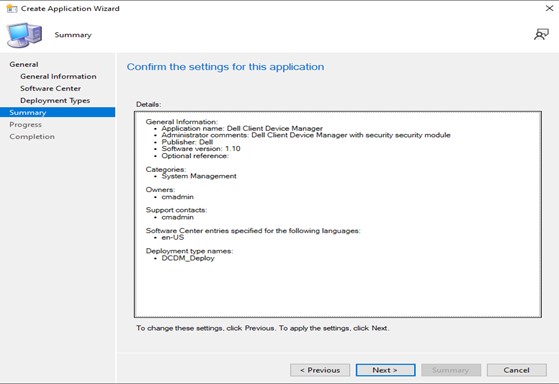
- 单击 关闭以 退出创建 应用程序向导。
- 确保在 控制台中列出应用程序。
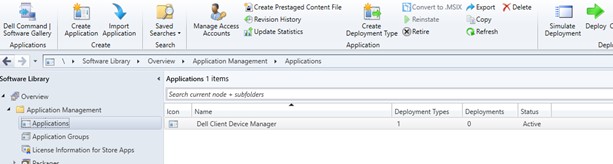
- 单击顶部功能区中的 部署按钮 以部署到相应的端点。