How to Collect CrowdStrike Falcon Sensor Logs
Summary: Learn how to collect CrowdStrike Falcon Sensor logs for troubleshooting. Step-by-step guides are available for Windows, Mac, and Linux.
Instructions
This article discusses the methods for collecting logs for the CrowdStrike Falcon Sensor.
Affected Products:
- CrowdStrike Falcon Sensor
Affected Operating Systems:
- Windows
- Mac
- Linux
It is highly recommended to collect logs before troubleshooting CrowdStrike Falcon Sensor or contacting Dell support.
Click Windows, Mac, or Linux for relevant logging information.
Windows
CrowdStrike Falcon Sensor can be troubleshot on Windows by manually collecting logs for:
- MSI logs: Used to troubleshoot installation issues.
- Product logs: Used to troubleshoot activation, communication, and behavior issues.
Click the appropriate logging type for more information.
MSI
- Log in to the affected endpoint.
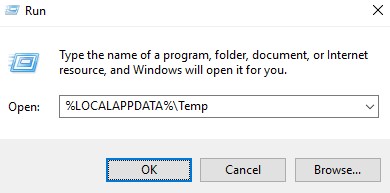
- Right-click the Windows start menu and then select Run.

- In the Run user interface (UI), type either:
- If installed by user: Type the following command and then click OK.
%LOCALAPPDATA%\Temp - If Installed by auto update: Type the following command and then click OK.
%SYSTEMROOT%\Temp
- If installed by user: Type the following command and then click OK.
- Collect:
CrowdStrike Window Sensor_<TIMESTAMP>_<BIT>.logCrowdStrike Window Sensor_<TIMESTAMP>.log
 Note:
Note:<TIMESTAMP>= Date & time of Installation<BIT>= Represents either Agent32 or Agent64
Product
Dell Technologies recommends to Enable verbosity and then reproduce the issue before the Capture of product logs. Once the issue is resolved, Dell Technologies recommends to Disable verbosity. Click the appropriate process for more information.
Enable
- Dell Technologies recommends enabling verbosity only when troubleshooting an issue.
- Dell Technologies recommends disabling verbosity after the issue is resolved.
- Endpoints may experience performance degradation while verbosity is enabled.
- Log in to the affected endpoint.
- Right-click the Windows start menu and then select Run.
- In the Run user interface (UI), type the following command and then press CTRL+SHIFT+ENTER to run the Registry Editor as an administrator.
regedit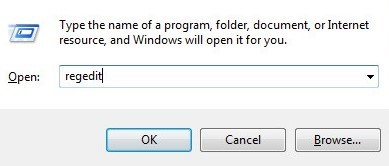
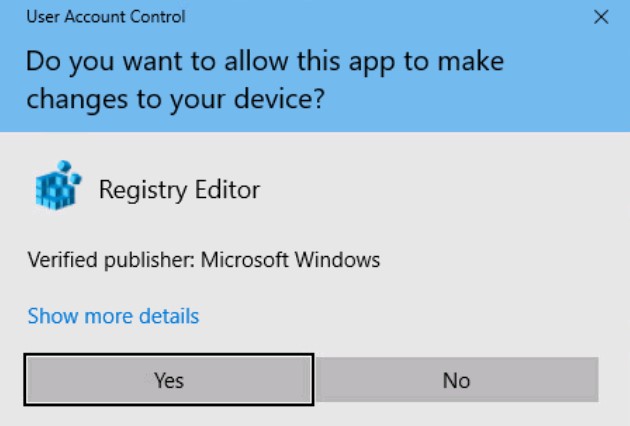
- If User Account Control (UAC) is enabled, click Yes. Otherwise, go to Step 5.
- Go to
[HKEY_LOCAL_MACHINE\SYSTEM\CrowdStrike\{9b03c1d9-3138-44ed-9fae-d9f4c034b88d}\{16e0423f-7058-48c9-a204-725362b67639}\Default].
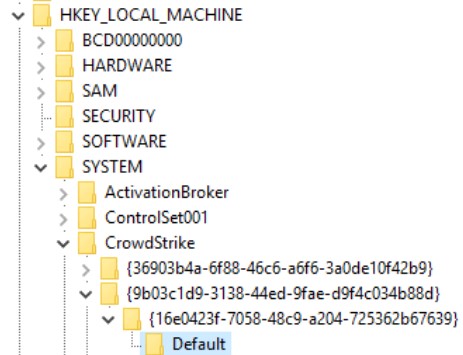
- Double-click
AFLAGS.
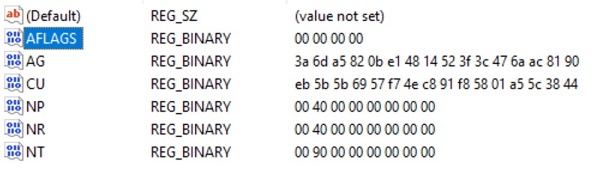
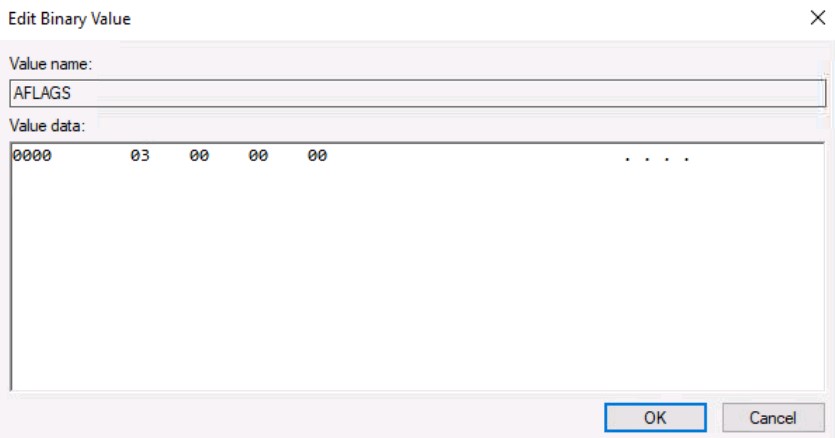
- Press Delete, type 03, and then click OK.
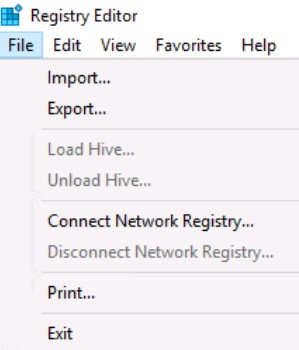
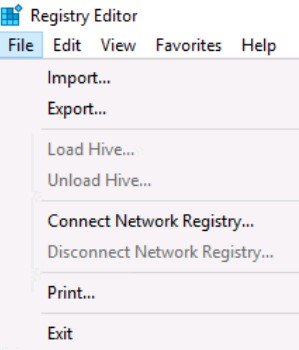
- Click File and then select Exit.
 Note: Once logging is enabled, reproduce the issue.
Capture
- Log in to the affected endpoint.
- Right-click the Windows start menu and then select Run.

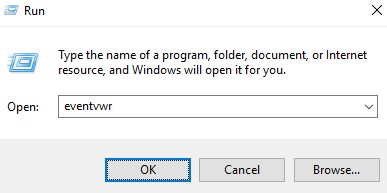
- In the Run user interface (UI), type the following command and then click OK.
eventvwr
- In Event Viewer, expand Windows Logs and then click System.
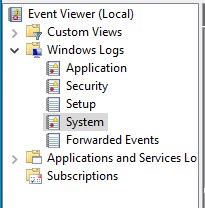
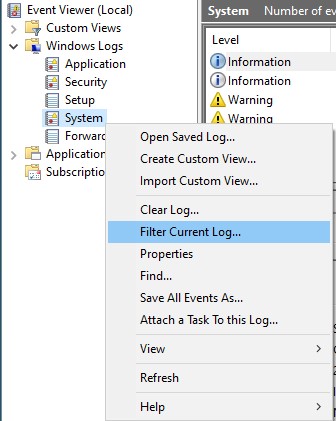
- Right-click the System log and then select Filter Current Log.
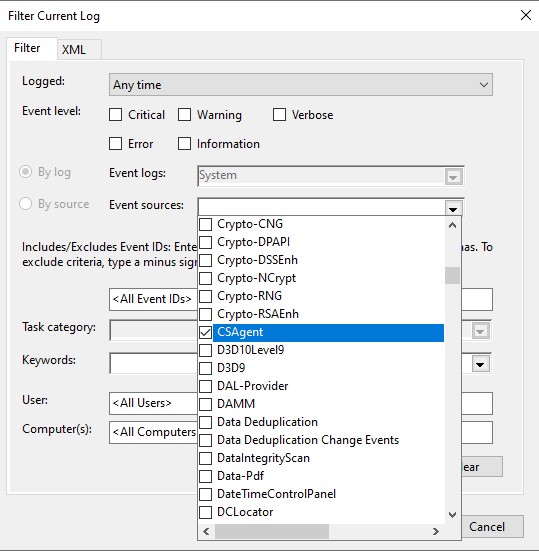
- Set the Source to CSAgent.
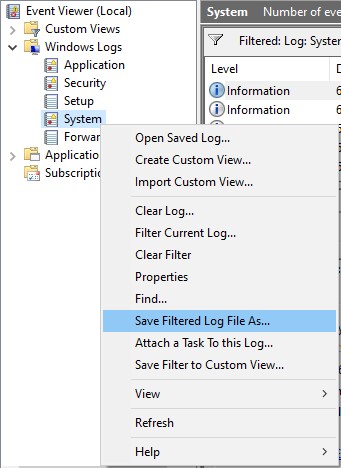
- Right-click the System log and then select Save Filtered Log File As.
- Change the File Name to
CrowdStrike_<WORKSTATIONNAME>.evtxand then click Save.
 Note: Dell Technologies recommends specifying the
<WORKSTATIONNAME>in case the issue is happening on multiple endpoints.
Disable
- Log in to the affected endpoint.
- Right-click the Windows start menu and then select Run.

- In the Run user interface (UI), type the following command and then press CTRL+SHIFT+ENTER to run the Registry Editor as an administrator.
regedit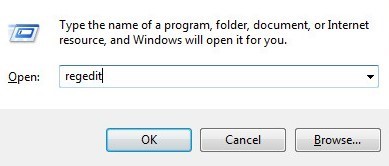
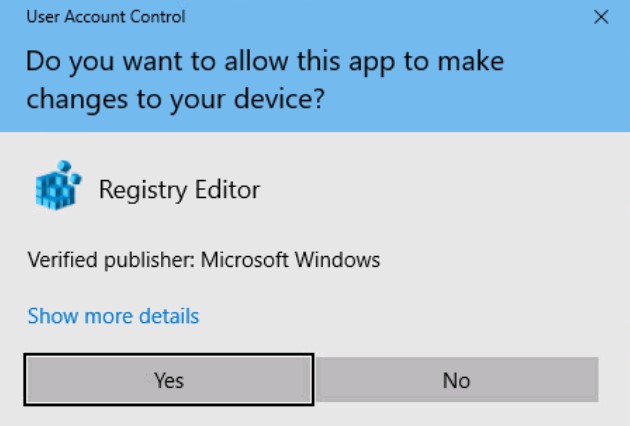
- If User Account Control (UAC) is enabled, click Yes. Otherwise go to Step 5.
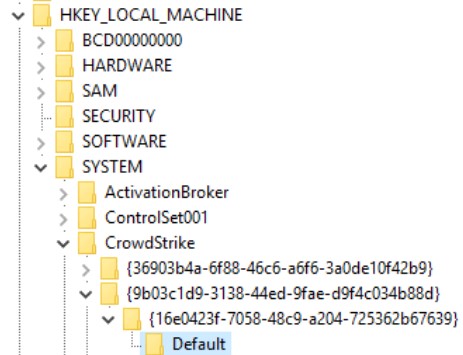
- Go to
[HKEY_LOCAL_MACHINE\SYSTEM\CrowdStrike\{9b03c1d9-3138-44ed-9fae-d9f4c034b88d}\{16e0423f-7058-48c9-a204-725362b67639}\Default].
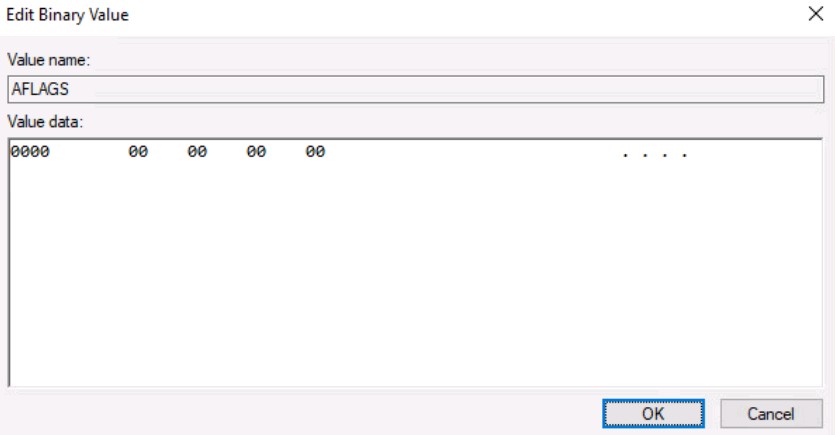
- Press Delete, type 0, and then click OK.
- Click File and then select Exit.
Mac
CrowdStrike Falcon Sensor can be troubleshot on Mac by collecting:
- Install logs: Used to troubleshoot installation issues.
- Product logs: Used to troubleshoot activation, communication, and behavior issues.
Click the appropriate log type for more information.
Install
CrowdStrike Falcon Sensor uses the native install.log to document install information.
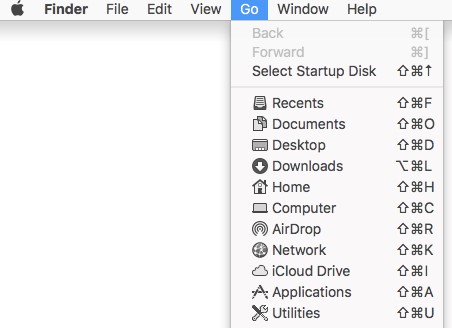
- From the Apple menu, click Go and then select Go to Folder.
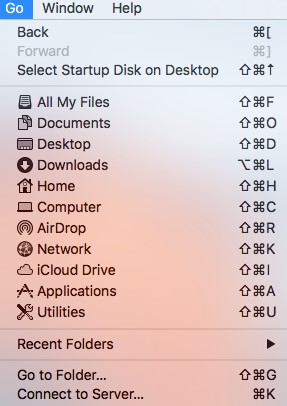
- Type the following command and then click Go.
/var/log

- Copy
Install.logto a readily available location for further investigation.
 Note: Dell Technologies recommends searching for "CrowdStrike" to ensure that the information is relevant to CrowdStrike.
Product
Dell Technologies recommends to Enable verbosity and then reproduce the issue before the Capture of product logs. Once the issue is resolved, Dell Technologies recommends to Disable verbosity. Click the appropriate process for more information.
Enable
- Dell Technologies recommends enabling verbosity only when troubleshooting an issue.
- Dell Technologies recommends disabling verbosity after the issue is resolved.
- Endpoints may experience performance degradation while verbosity is enabled.
- Log in to the affected endpoint.
- In the Apple menu, click Go and then select Utilities.
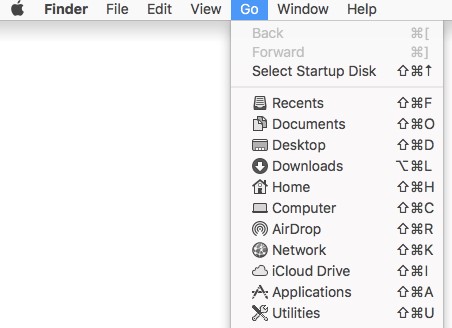
- Double-click Terminal.

- In Terminal, type the following command and then press Enter.
sudo sysctl cs.feature=3 - Populate the password for
sudoand then press Enter.

- Confirm
cs.feature=3.
 Note: Once logging is enabled, reproduce the issue.
Capture
- Log in to the affected endpoint.
- In the Apple menu, click Go and then select Utilities.
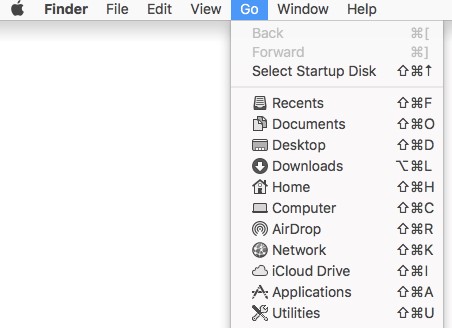
- Double-click Terminal.

- In Terminal, type the following command and then press Enter.
sudo /Library/CS/falconctl diagnose - Populate the password for
sudo, and then press Enter.

- After several minutes,
falconctl_diagnose.tgzwill be generated in/private/tmp.
Disable
- Log in to the affected endpoint.
- In the Apple menu, click Go and then select Utilities.
- Double-click Terminal.

- In Terminal, type the following command and then press Enter.
sudo sysctl cs.feature=0 - Populate the password for
sudo, and then press Enter.

- Confirm
cs.feature=0.

Linux
- Log in to the affected endpoint.
- Open the Linux Terminal.
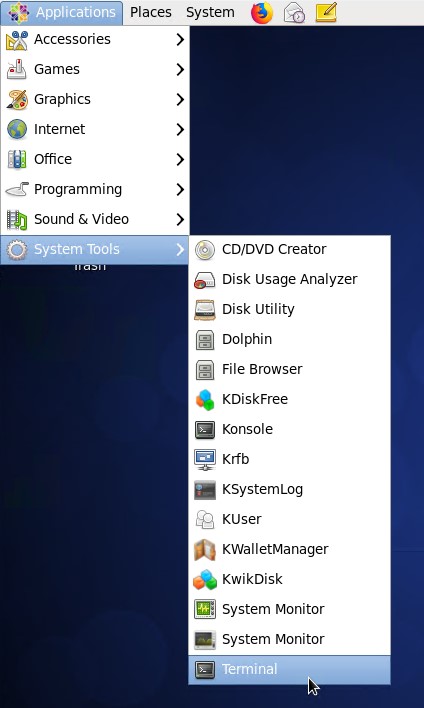 Note: The user interface (UI) layout may differ between Linux distributions.
 - In Terminal, type the following command and then press Enter.
su root - Populate the password for
sudo, and then press Enter.

- Type the following command and then press Enter.
sudo mkdir /tmp/CrowdStrike Note: The example
/tmp/CrowdStrikedirectory can be modified in your environment. - Type the following command and then press Enter.
sudo grep falcon /var/log/messages > /tmp/CrowdStrike/log_messages.txt - Type the following command and then press Enter.
sudo grep falcon /var/log/syslog > /tmp/CrowdStrike/log_syslog.txt - Type the following command and then press Enter.
sudo grep falcon /var/log/rsyslog > /tmp/CrowdStrike/log_rsyslog.txt - Type the following command and then press Enter.
sudo grep falcon /var/log/daemon > /tmp/CrowdStrike/log_daemon.txt Note: Linux distributions may not have all listed directories.
 - Capture all output files within
/tmp/CrowdStrike(Step 5) using SSH.
 Note:
Note:- By default, SSH is disabled on Linux distributions.
- Once SSH is enabled, third-party software (such as PuTTY) can be used to connect to the Linux endpoint.