PowerEdge: How to Create a Virtual Disk Using iDRAC9
Summary: This article explains how to create a virtual disk using the iDRAC9 web management interface with PERC 10,11,12 series.
Instructions
Create a Virtual Disk Using iDRAC9.
Duration: 00:00:53
Closed caption (subtitles) language settings can be chosen using the CC icon on this video player.
Connection to the iDRAC web interface
To start, connect to the iDRAC web interface using the defined IP Address with the admin credentials.Virtual disk creation:
- In the iDRAC Web Interface, go to Configuration and then click Storage Configuration.

Figure 1: Storage Configuration
Go to Storage and then click Physical Disks.
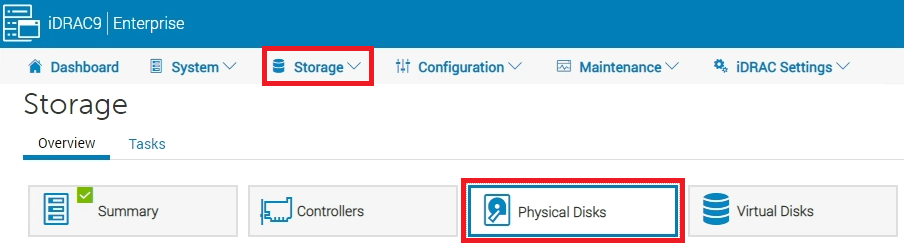
Figure 2: Physical Disks
- Select the RAID controller for which you want to create the virtual disk from the Controller drop-down menu (Only for versions before 5.10.00.00).
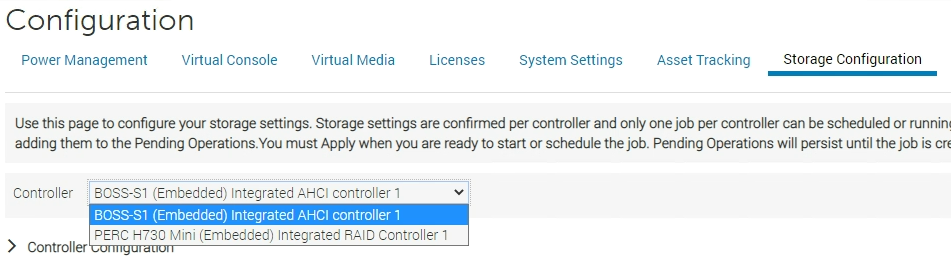
Figure 3: Selecting a RAID controller
- Check that available disks are listed in the Physical Disk Configuration section.
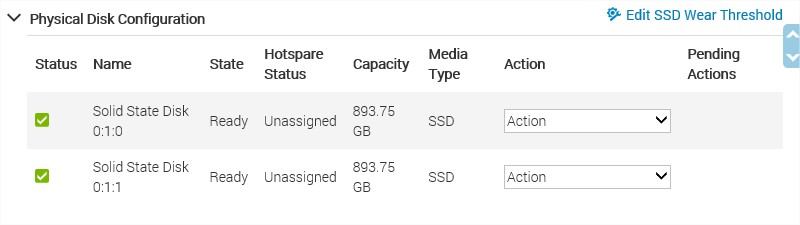
Figure 4: Before 5.10.00.00 Physical Disk Configuration
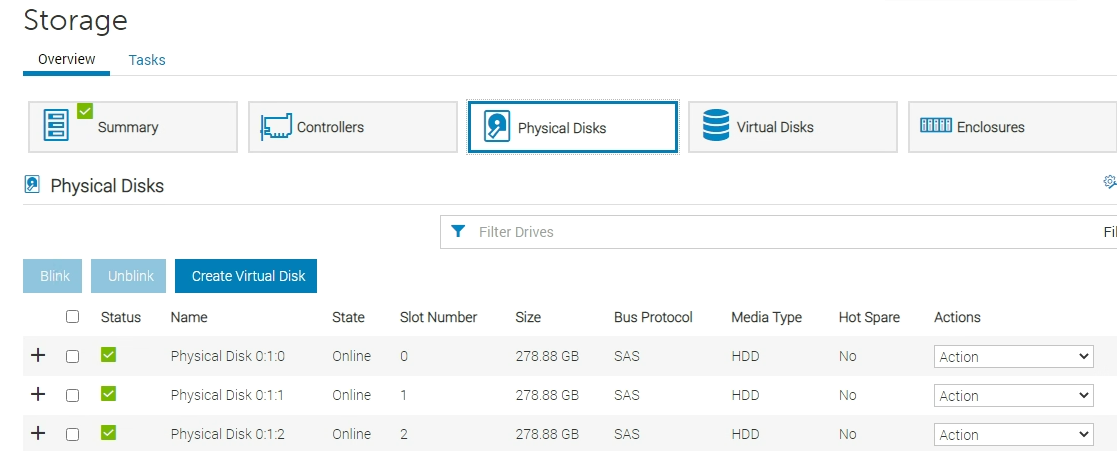
Figure 5: 5.10.00.00 and later Physical Disk Selection
- Open the Virtual Disk Configuration menu and click the button Create Virtual Disk.

Figure 6: Before 5.10.00.00 Create Virtual Disk button.
For version 5.10.00.00 and later only, click the Create Virtual Disk button from the Physical Disks menu.
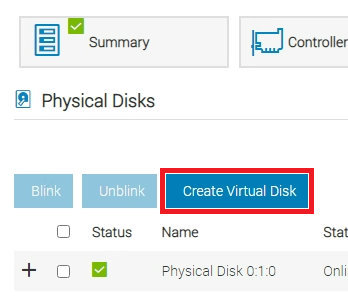
Figure 7: 5.10.00.00 and later Create Virtual Disk button.
- The creator wizard appears to configure the Virtual Disk properties.
In the Capacity field, enter the size of the virtual disk. The maximum size is displayed and then updated as disks are selected. Click Add to Pending Operations when ready.
You can use alphanumeric characters, spaces, dashes, and underscores in the disk name. Any other special characters that you enter are removed while creating the virtual disk.
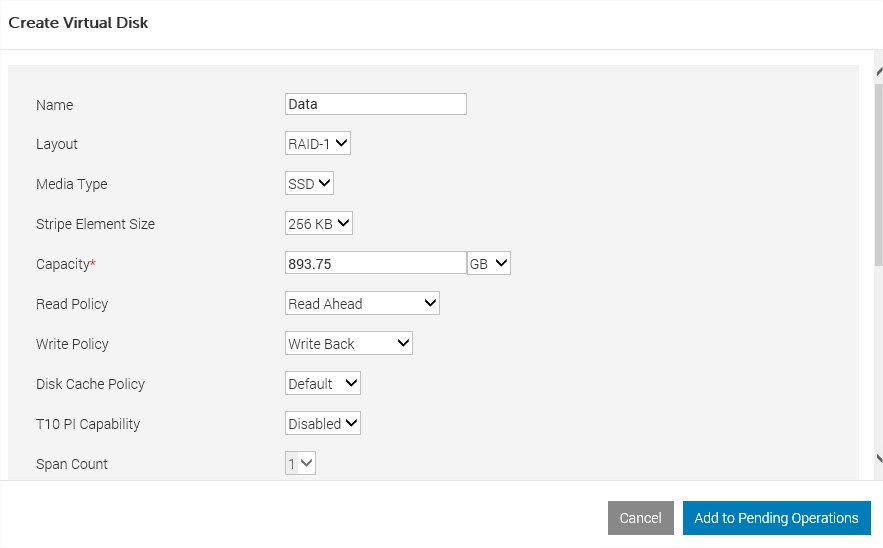
Figure 8: Before 5.10.00.00 Create Virtual Disk Properties.
For version 5.10.00.00 and later only, if there are multiple controllers, select the controller where the disk to be added resides. Select the physical disk to be added with Next and complete the four steps.
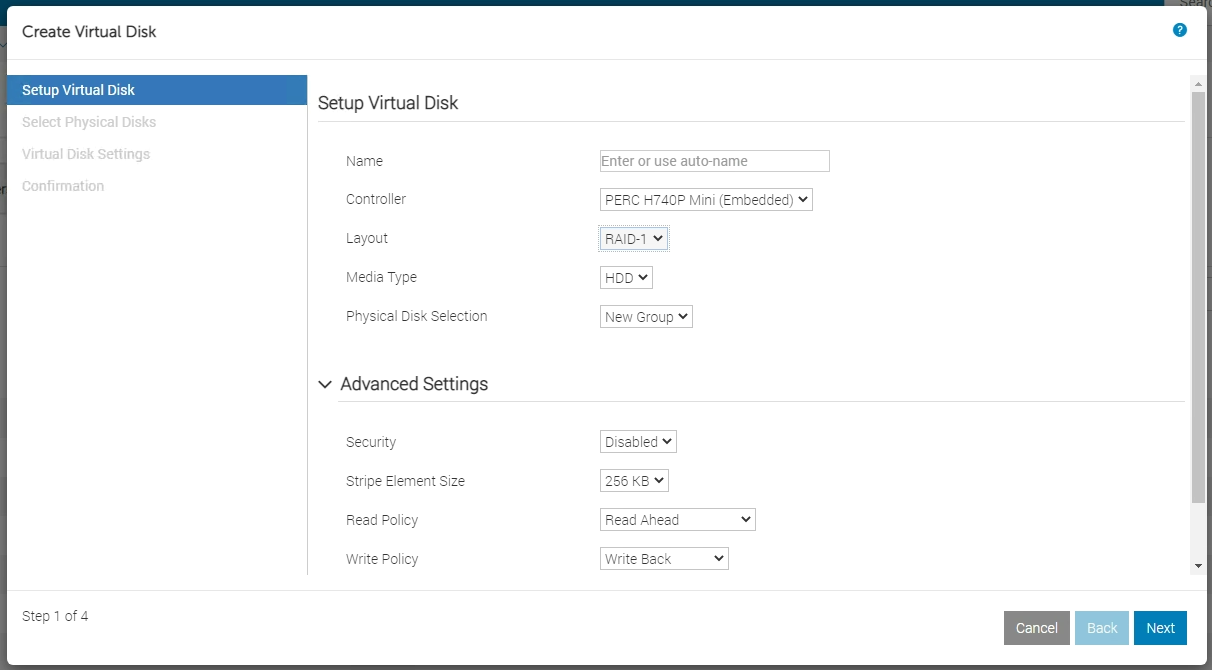
Figure 9: 5.10.00.00 and later Create Virtual Disk Properties.
- The message "RAC0685: A pending operation has been created for this Create Virtual Disk operation" appears to confirm the task creation.
- To perform this creation task, go to the bottom of the page and select Apply Now. If needed, the task can be scheduled.
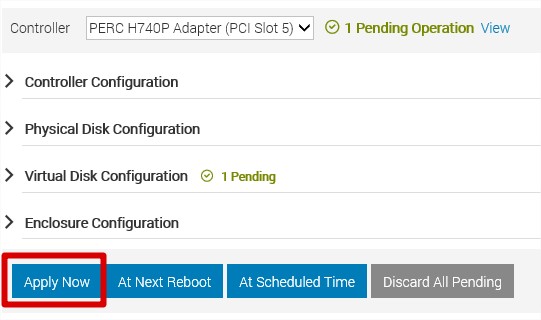
Figure 10: Before 5.10.00.00 Apply Now button.

Figure 11: 5.10.00.00 and later Apply Now button.
- The raid configuration task starts. It is possible to monitor the status by selecting the menu Maintenance and then clicking Job Queue.
- When the task is completed, the Virtual Disk is listed by selecting the menu Storage and then clicking Virtual Disks.
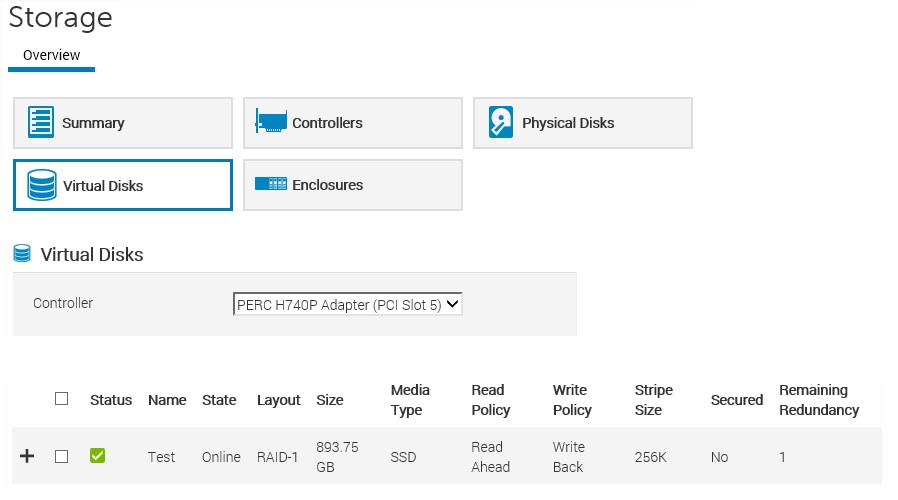
Figure 12: Storage Virtual Disks
The virtual disk is now ready for use and formatting from the operating system.
For older legacy systems with iDRAC6, iDRAC7, and iDRAC8, this option is not available. Create a virtual disk in the RAID BIOS or using Dell Open Manage Server Administrator.
Additional Information
Alternatively, the Virtual Disk can also be created from the System Settings menu. For more information, reference How to Create a Virtual Disk on a Dell RAID Controller Series 10 and 11.
Refer to this video:
Create or Delete a Virtual Disk in iDRAC 9
Duration: 00:02:08 (hh:mm:ss)
When available, closed caption (subtitles) language settings can be chosen using the CC icon on this video player.
You can also view this video on YouTube.