如何打包和上传 ASP.NET Core Runtime 8.0 x64,以便在 Microsoft Intune 中使用
Summary: 本文提供有关如何打包和上传 ASP.NET Core Runtime 8.0 x64 以用于 Microsoft Intune 的信息。
This article applies to
This article does not apply to
This article is not tied to any specific product.
Not all product versions are identified in this article.
Instructions
按照以下步骤 ASP.NET Core Runtime 8.0 x64 和 Win32 内容准备工具Microsoft并上传 aspnetcore-runtime-8.0.16-win-x64.intunewin 以便在 Microsoft Intune 中使用,作为戴尔软件解决方案的前提条件。
受影响的产品:
- Dell Pro AI Studio
- 戴尔可信设备
- Dell 客户端设备管理器
前提条件
- 从 Microsoft 的 GitHub 下载 Microsoft Win32 内容准备工具
 并将其解压到临时文件夹。示例 C:\Temp
 - 下载 ASP.NET Core Runtime 8.0 x64 并将其放在临时文件夹中。示例 C:\Temp\App
- 在临时文件夹中,创建名为“输出”的文件夹。示例 C:\Temp\Output
使用 Microsoft Win32 内容准备工具创建 .intunewin 文件
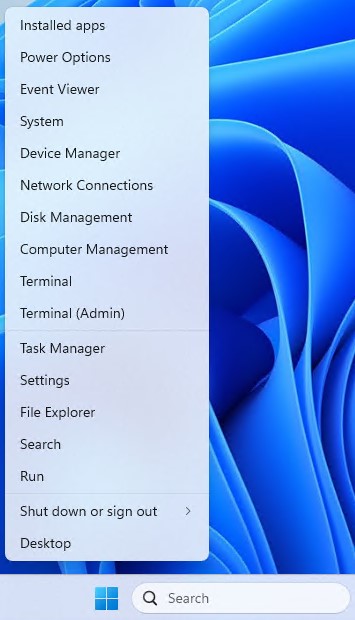
- 右键单击 Windows 开始菜单,然后选择 终端。
- 将终端中的目录更改为您解压文件的目标位置。示例 键入 cd C:\Temp\ 并按 Enter 键。

- 类型。\IntuneWinAppUtil.exe -c C:\Temp\App\ -s C:\Temp\App\aspnetcore-runtime-8.0.16-win-x64.exe -o C:\Temp\Output\

正在上传 aspnetcore-runtime-8.0.16-win-x64。Intunewin 到 Microsoft Intune
- 打开 浏览器 并转到 https://intune.microsoft.com/

- 单击应用

- 单击“所有应用”

- 单击“Create”

- 在“应用类型”下的“选择应用类型”窗格中,选择“Windows 应用 (Win32)”,然后单击“选择”。

- 单击 “选择应用包文件 ”,然后找到在步骤 3 中创建的 aspnetcore-runtime-8.0.16-win-x64.intunewin 。然后单击OK(确定)。

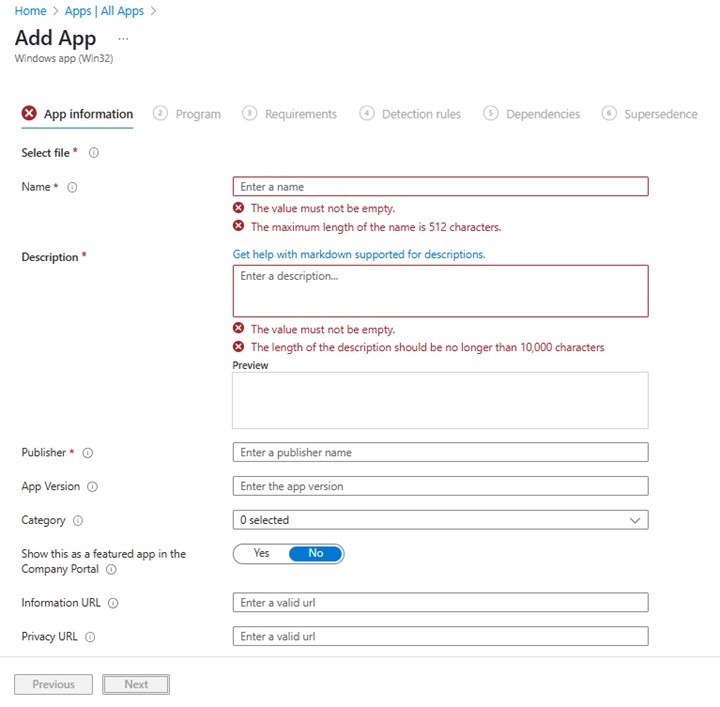
- 在“应用信息”页上,输入 “名称”、“说明”、“发布者 ”和任何其他详细信息。然后单击 “下一步”。
- 在程序页面上,输入以下信息,然后单击 下一步。
- 安装命令: aspnetcore-runtime-8.0.16-win-x64.exe /install /quiet /norestart
- 卸载命令: aspnetcore-runtime-8.0.16-win-x64.exe /uninstall /quiet /norestart

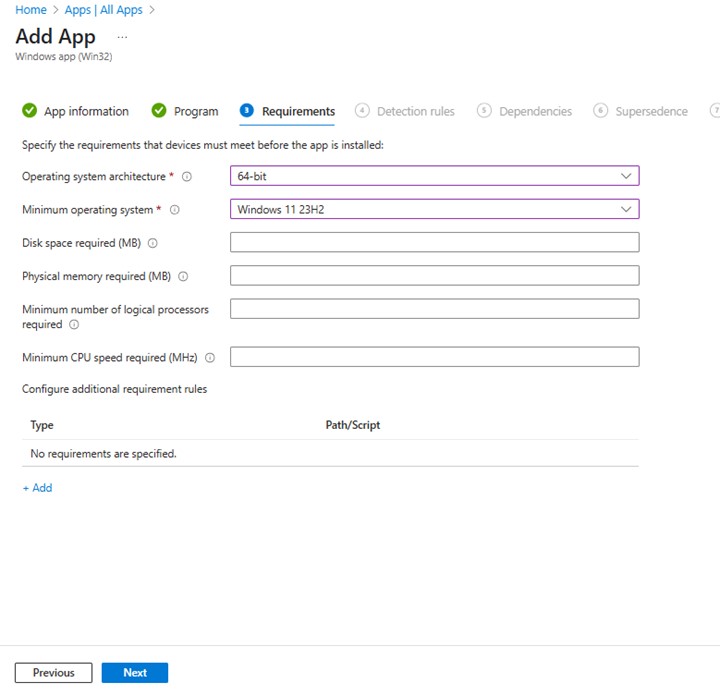
- 在要求屏幕上,设置作系统体系结构的任何所需要求 和最低作系统,然后单击 下一步。
- 在 Detection Rules上,选择 Manually Configure Detection Rules ,然后单击 Add
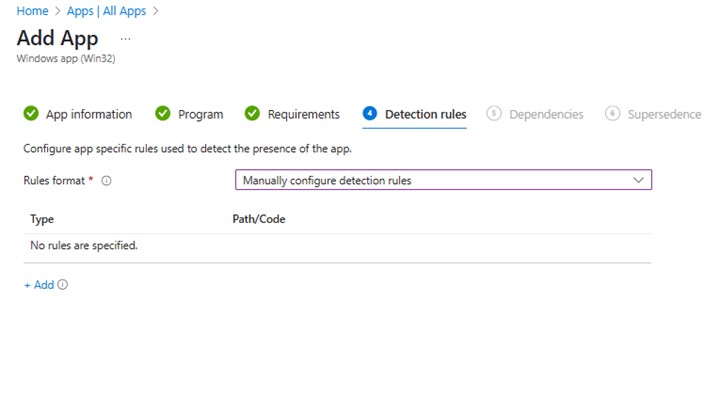
- 在 “检测规则”窗格中,输入以下信息,然后单击 “确定”。
- 规则类型:MSI
- 微星产品代码:{2B76FF3A-309D-3050-9C41-C98FB593258D}

- 返回“Detection rules”页面,单击 “Next”。

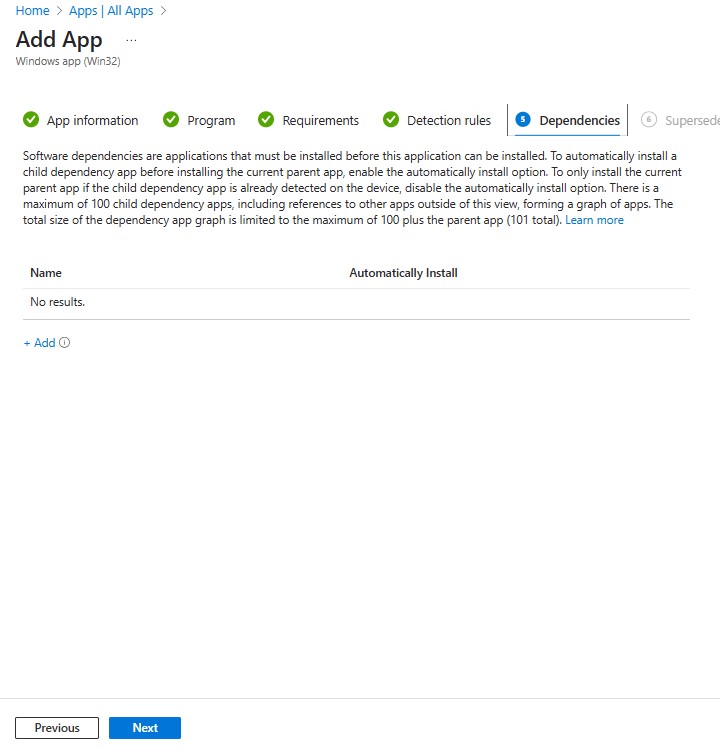
- 在 “依赖项”上,单击 “下一步”。
- 在 取代上,单击 下一步。

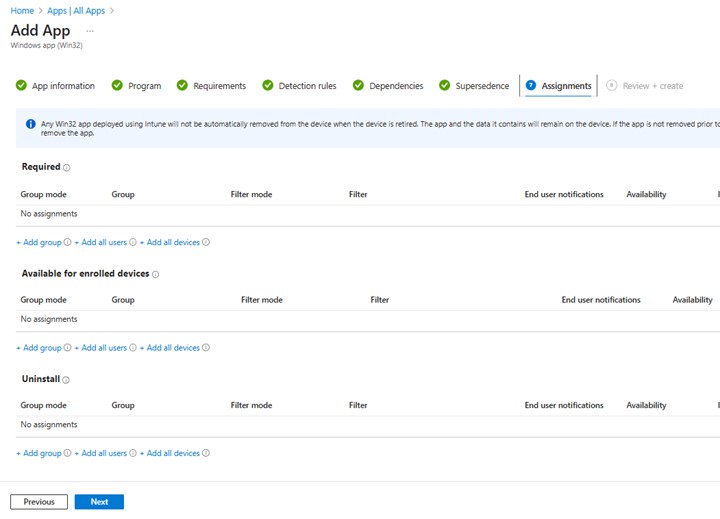
- 在 “Assignments”(分配)上,为您的环境选择所需的任何配置,然后单击 “Next”(下一步)。
- 在“查看 + 创建”中,确认配置,然后单击“创建”

Affected Products
Dell Client Device Manager, Dell Pro AI Studio, Dell Trusted DeviceArticle Properties
Article Number: 000322630
Article Type: How To
Last Modified: 22 May 2025
Version: 1
Find answers to your questions from other Dell users
Support Services
Check if your device is covered by Support Services.