Dell Encryption Enterprise 缺少本地缓存的 MSI 错误在升级过程中发生
Summary: 在升级 Dell Encryption Enterprise(以前称为 Dell Data Protection |Enterprise Edition),您可能会收到错误“当前安装的 Dell Encryption 缺少本地缓存的 MSI”或“当前安装的 Dell Data Protection |加密缺少本地缓存的 MSI。
This article applies to
This article does not apply to
This article is not tied to any specific product.
Not all product versions are identified in this article.
Symptoms
受影响的产品:
- Dell Encryption Enterprise
- Dell Data Protection | Enterprise Edition
受影响的版本:
- v8.0.0 及更高版本
Cause
不适用
Resolution
解决方案会有所不同,具体取决于错误是引用 Dell Encryption 还是 Dell Data Protection |加密。单击引用的产品名称以了解更多信息。
要更换 MSI,请执行以下操作:
- 请联系 Dell Data Security ProSupport,以请求
DDPE_[bitdepth]_setup.exe

图 1:(仅限英文)Dell Encryption 升级错误
提醒:
- 有关联系信息,请参阅 Dell Data Security 国际支持电话号码。
[bitdepth]表示操作系统处理器位。- 在此示例图像中,.exe安装程序适用于版本 8.18.0。
- 版本和文件名可能与示例图像不同。
- 运行
DDPE_[bitdepth]_setup.exe加载 “欢迎使用安装向导” 屏幕, 但不要 按“下一步”。
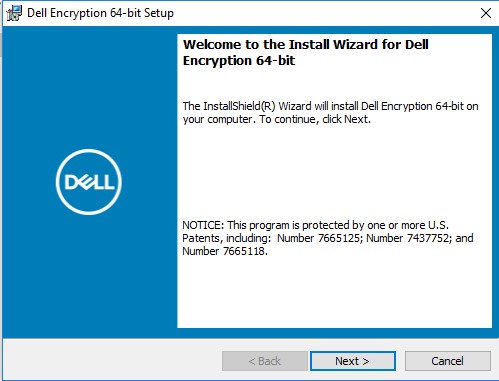
图 2:(仅限英文)Dell Encryption 64 位设置
- 右键单击 Windows 的“开始”菜单,然后单击运行。
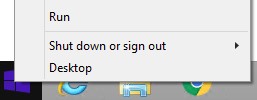
图 3:(仅英文)运行
- 在“运行”UI中,键入
%temp%然后按 OK。这将打开用户的临时目录。
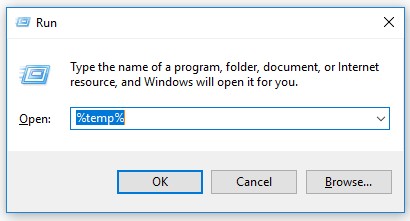
图 4:(仅限英文) %temp%
- 从 Windows 资源管理器中:
- 按 修改日期排序。

图 5:(仅限英文)排序依据 修改日期
- 确定满足以下条件的日期和时间范围:
DDPE_[bitdepth]_setup.exe - 找到时间戳接近步骤 2 的 [DELL ENCRYPTION] 文件。

图 6:(仅限英文)Dell Encryption 64-bit.msi
提醒:
- [DELL ENCRYPTION] =
- x86 = 戴尔Encryption.msi
- x64 = Dell Encryption 64-bit.msi
- [DELL ENCRYPTION] 可能包含在 Temp 文件夹内的另一个文件夹中。
- 将 [DELL ENCRYPTION] (步骤 5c)复制到 C:\Windows\Installer。
- 重命名 [DELL ENCRYPTION] (步骤 5c)以匹配收到错误的.msi的文件名(步骤 1)。

图 7:(仅限英文)重命名文件
提醒:示例错误图像(步骤 1)需要将文件重命名为 37969bd7.msi。此文件名在您的环境中可能会有所不同。
- 关闭 安装向导。
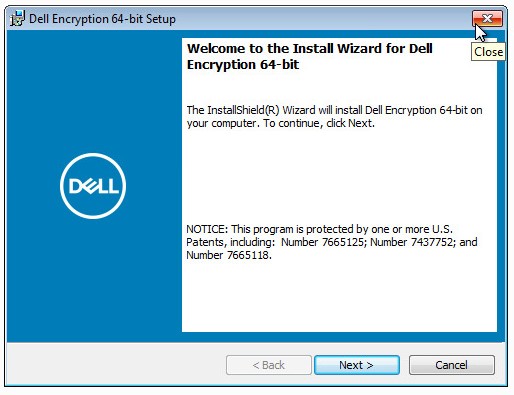
图 8:(仅限英文)Dell Encryption 64 位设置
- 重试升级。
要更换 MSI,请执行以下操作:
- 请联系 Dell Data Security ProSupport,以请求
DDPE_[bitdepth]_setup.exe
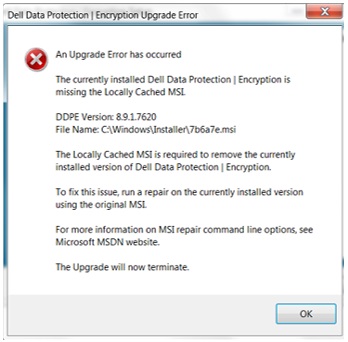
图 9:(仅限英文)Dell Data Protection |加密升级错误
提醒:
- 有关联系信息,请参阅 Dell Data Security 国际支持电话号码。
[bitdepth]表示操作系统处理器位。- 在此示例图像中,.exe安装程序适用于版本 8.9.1。
- 版本和文件名可能与示例图像不同。
- 运行
DDPE_[bitdepth]_setup.exe加载 “欢迎使用安装向导” 屏幕, 但不要 按“下一步”。
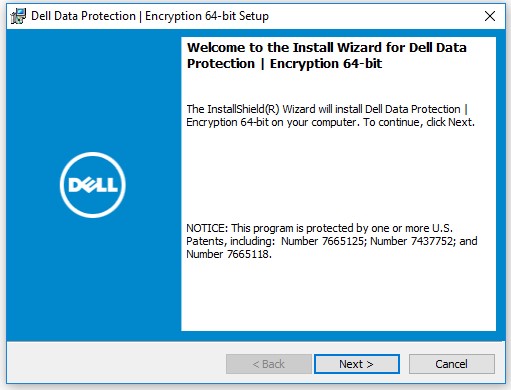
图 10:(仅限英文)Dell Data Protection |加密 64 位设置
- 右键单击 Windows 的“开始”菜单,然后单击运行。

图 11:(仅英文)运行
- 在“运行”UI中,键入
%temp%然后按 OK。这将打开用户的临时目录。

图 12:(仅限英文) %temp%
- 从 Windows 资源管理器中:
- 按 修改日期排序。

图 13:(仅限英文)排序依据 修改日期
- 确定满足以下条件的日期和时间范围:
DDPE_[bitdepth]_setup.exe - 找到时间戳接近步骤 2 的 [DELL DATA PROTECTION] 文件。
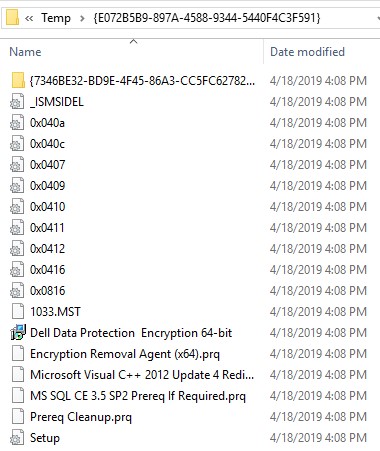
图 14:(仅限英文)Dell Data Protection Encryption 64 位
提醒:
- [DELL DATA PROTECTION] =
- x86 = Dell Data Protection Encryption.msi
- x64 = Dell Data Protection Encryption 64-bit.msi
- [DELL DATA PROTECTION] 可能包含在 Temp 文件夹内的另一个文件夹中。
- 将 [DELL DATA PROTECTION](步骤 5c)复制到 C:\Windows\Installer。
- 重命名 [DELL DATA PROTECTION] (步骤 5c)以匹配收到错误的.msi的文件名(步骤 1)。
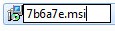
图 15:(仅限英文)重命名文件
提醒:示例错误图像(步骤 1)需要将文件重命名为 7b6a7e.msi。此文件名在您的环境中可能会有所不同。
- 关闭 安装向导。
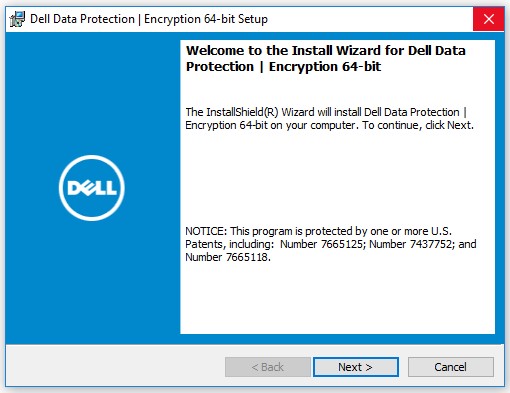
图 16:(仅限英文)Dell Data Protection |加密 64 位设置
- 重试升级。
要联系支持部门,请参阅 Dell Data Security 国际支持电话号码。
转至 TechDirect,在线生成技术支持请求。
要获得更多见解和资源,请加入戴尔安全社区论坛。
Additional Information
Videos
Affected Products
Dell EncryptionArticle Properties
Article Number: 000124941
Article Type: Solution
Last Modified: 11 Apr 2024
Version: 8
Find answers to your questions from other Dell users
Support Services
Check if your device is covered by Support Services.