如何安装 Netskope Client
Summary: 按照这些适用于 Windows、Mac 或 ChromeOS 的说明,了解安装 Netskope Client 的分步说明。
This article applies to
This article does not apply to
This article is not tied to any specific product.
Not all product versions are identified in this article.
Instructions
本文提供了安装 Netskope Client 的步骤。
受影响的产品:
- Netskope Client
受影响的操作系统:
- Windows
- Mac
- ChromeOS
提醒:安装之前,请确保已验证系统要求。有关详细信息,请参阅 Netskope Client 系统要求。
Windows、Mac 和 ChromeOS 的 Netskope Client 安装过程有所不同。有关安装 Netskope Client 的步骤,请单击相应的作系统平台。
Windows
- 双击
NSClient_addon-[TENANT]_[VERSION]_ [LICENSE].msi。 提醒:
提醒:[TENANT]= 适合您环境的租户的名称[VERSION]= Netskope Client 的版本[LICENSE]= 用户的唯一许可证密钥- 要获取安装程序,请参阅 如何下载 Netskope Client。
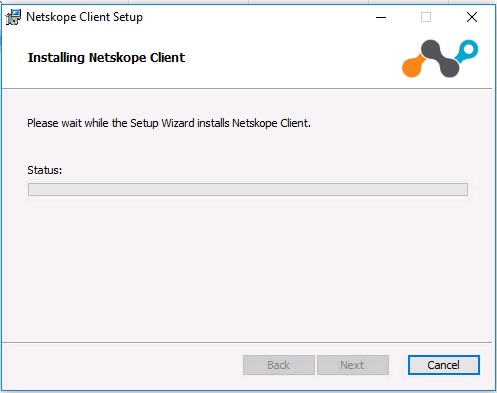
- 此时将运行 Netskope Client 安装程序 。
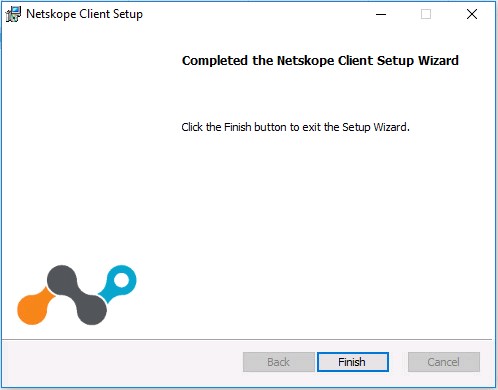
- 单击 Finish。
Mac
- 双击
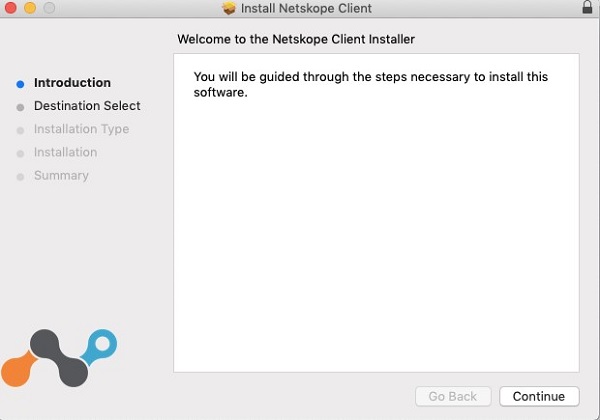
NSClient_addon-[TENANT]_[VERSION]_ [LICENSE].pkg。提醒:[TENANT]= 适合您环境的租户的名称[VERSION]= Netskope Client 的版本[LICENSE]= 用户的唯一许可证密钥- 要获取安装程序,请参阅 如何下载 Netskope Client。
- 单击 Continue。
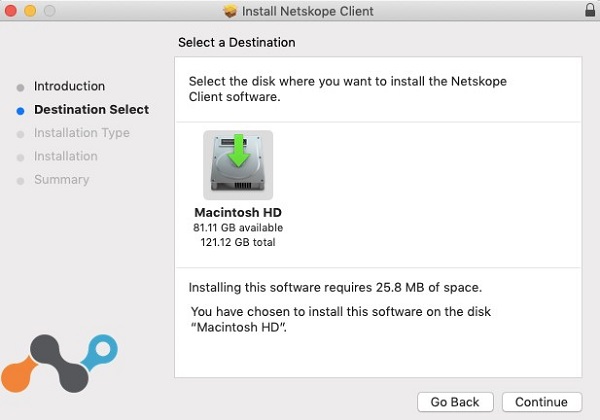
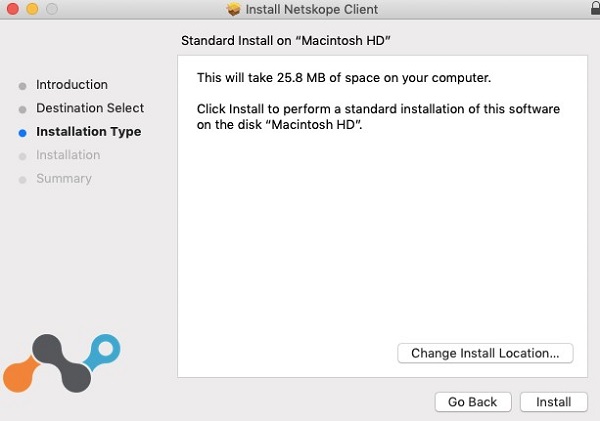
- 选择要安装的磁盘,然后单击 Continue。
- (可选)更改安装位置,然后单击 Install。
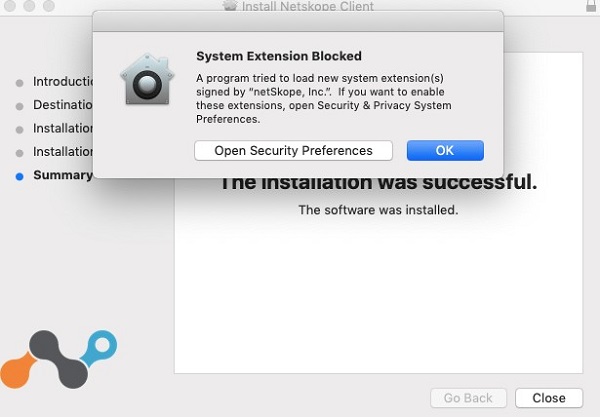
- 如果提示 System Extension Blocked,请单击 Open Security Preferences,然后转至步骤 6。否则,请转至步骤 7。
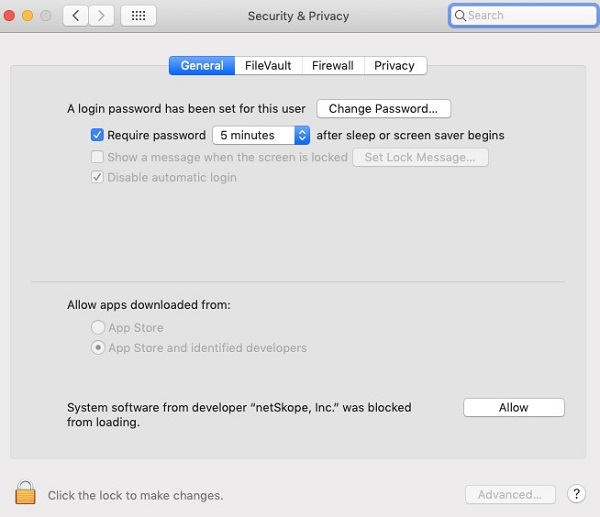
- 单击 Allow。
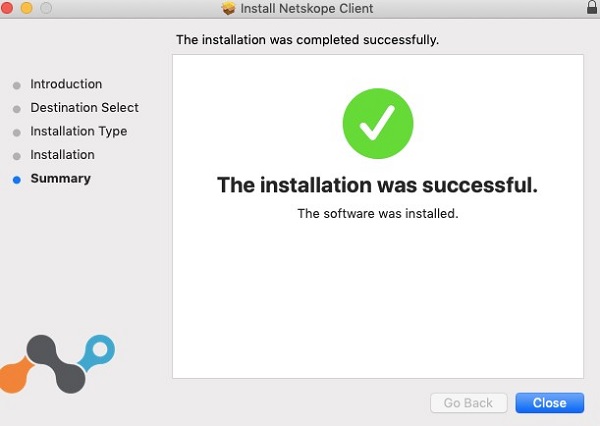
- 单击 Close。
ChromeOS
提醒:ChromeOS 需要先发送邀请电子邮件,然后才能完全配置。有关如何发送邀请电子邮件的详细信息,请参阅如何下载 Netskope Client。
- 打开邀请电子邮件,然后单击 ChromeOS Client 下载链接。
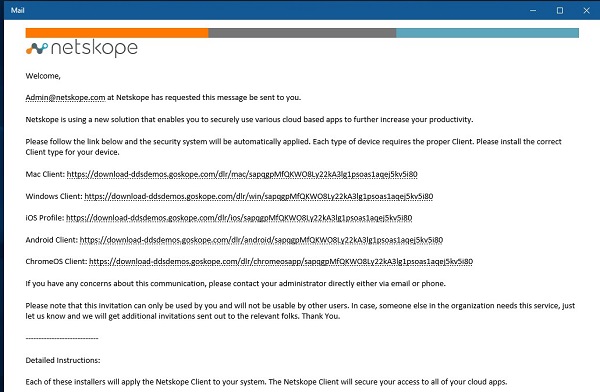 提醒:下载链接是唯一的。安装已绑定到与该链接关联的用户。
 - ChromeOS 设备上安装的浏览器将启动。单击 Install。
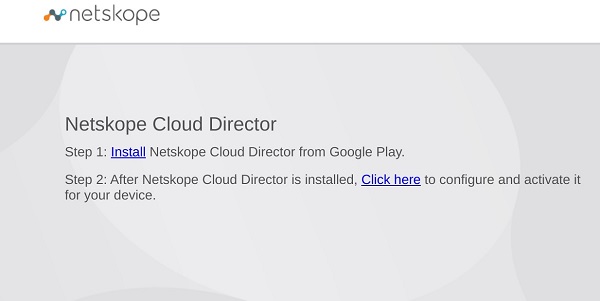
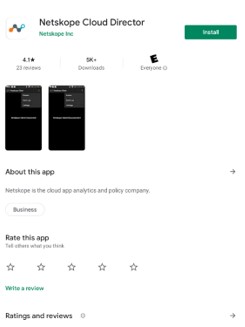
- 设备会定向到 Netskope Cloud Director 应用程序的 Google Play Store 页面。单击 Install。
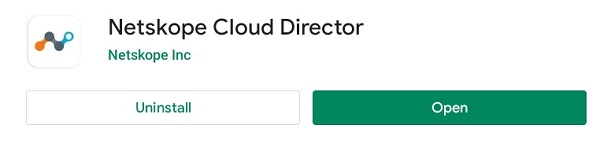
- 安装该应用程序后,单击 Open。
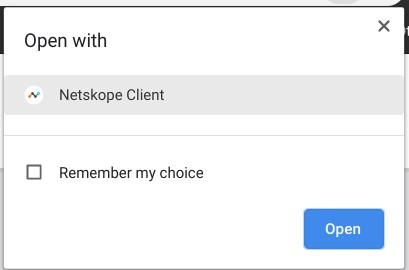
- 返回到步骤 2 中的网页,然后选择 Click here。

- 此时将显示Open with对话框。确保选择了 Netskope Client ,然后单击 Open。
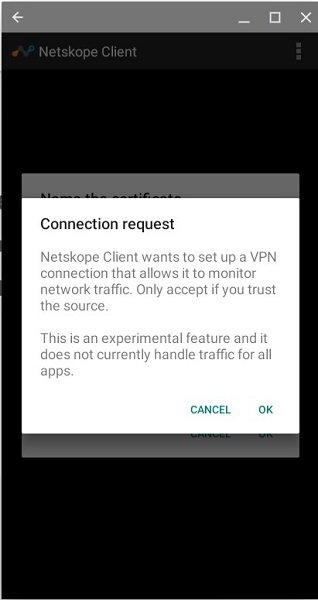
- Netskope 客户端应用程序将启动,并显示 连接请求 对话框。单击 OK。
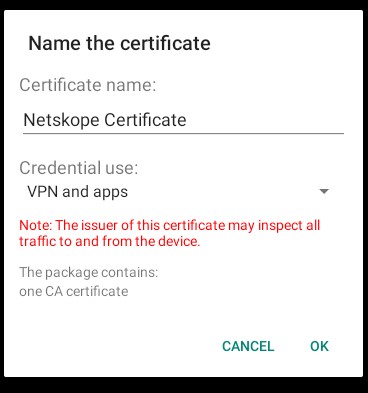
- 如果您的设备或组织尚未信任 Netskope 证书,则会显示命名证书的提示。单击 OK。
- 成功后,将显示 Netskope Client Connected。

要联系支持部门,请参阅 Dell Data Security 国际支持电话号码。
转至 TechDirect,在线生成技术支持请求。
要获得更多见解和资源,请加入戴尔安全社区论坛。
Additional Information
Videos
Affected Products
NetskopeArticle Properties
Article Number: 000130554
Article Type: How To
Last Modified: 04 Sept 2025
Version: 10
Find answers to your questions from other Dell users
Support Services
Check if your device is covered by Support Services.