Article Number: 000182859
How to Create Exclusions or Inclusions for VMware Carbon Black Cloud
Summary: VMware Carbon Black exclusions and inclusions may be configured by following these instructions.
Article Content
Instructions
VMware Carbon Black uses Reputation and Permission rules to handle next generation anti-virus (NGAV) exclusions (approved lists) and inclusions (banned lists). VMware Carbon Black Standard, VMware Carbon Black Cloud Advanced, and VMware Carbon Black Cloud Enterprise use Endpoint detection and response (EDR). EDR is also affected by Reputation and Permission rules. This article walks administrators through setting these values along with any caveats that may be relevant.
Affected Products:
VMware Carbon Black Cloud Prevention
VMware Carbon Black Cloud Standard
VMware Carbon Black Cloud Advanced
VMware Carbon Black Cloud Enterprise
Affected Operating Systems:
Windows
Mac
Linux
VMware Carbon Black Onboarding Part 3: Policies and Groups
Duration: 03:37
Closed captions: Available in multiple languages
VMware Carbon Black Cloud uses a combination of Policies and Reputation to determine what operations take place.
Click the appropriate topic for more information.
VMware Carbon Black Cloud Prevention policies differ from the policies of VMware Carbon Black Cloud Standard, Advanced, and Enterprise. Click the appropriate product for more information.
VMware Carbon Black Cloud Prevention provides a streamlined approach to Permissions Rules as well as Blocking and Isolation Rules because it does not use EDR.
Click the appropriate topic for more information.
Permissions rules determine what operations applications at specified paths can perform.
Permissions rules are path-based and take precedence over both Blocking and Isolation rules as well as Reputation.
To create a Permissions rule:
- In a web browser, go to [REGION].conferdeploy.net.
- Americas = https://defense-prod05.conferdeploy.net
- Europe = https://defense-eu.conferdeploy.net/
- Asia Pacific = https://defense-prodnrt.conferdeploy.net/
- Australia and New Zealand = https://defense-prodsyd.conferdeploy.net
- Sign In to the VMware Carbon Black Cloud.

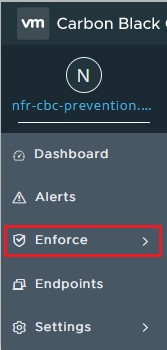
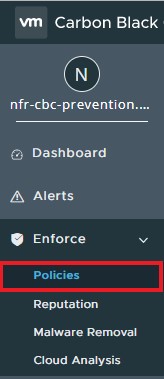
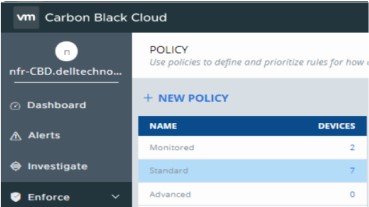
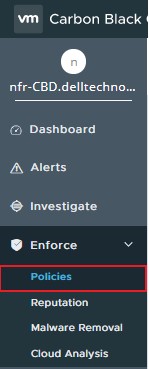
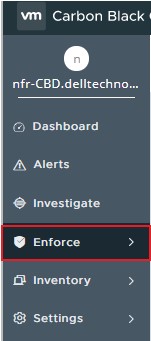
- In the left menu pane, click Enforce.
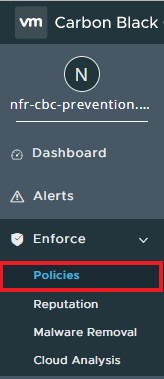
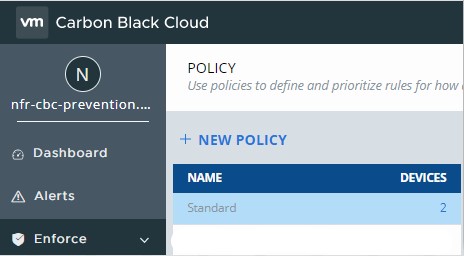
- Click Policies.
- Select the policy set you want to modify.

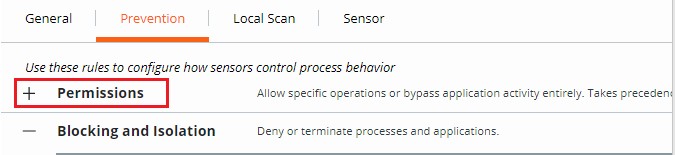
- In the right menu pane, click Prevention.

- Click to expand Permissions.
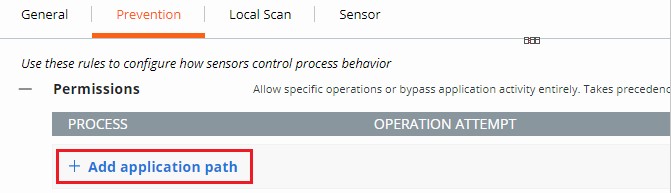
- Click to expand Add application path.
- Populate the intended path to set a bypass on.

- The example image uses the following paths:
*:\program files\dell\dell data protection\***:\programdata\dell\dell data protection\**
- In this example, the actions that are applied affect all files on all drives containing the paths
\program files\dell\dell data protection\and\programdata\dell\dell data protection\. - VMware Carbon Black’s Permissions list leverages a glob-based formatting structure.
- Environmental variables such as
%WINDIR%are supported. - A single asterisk (*) matches all characters within the same directory.
- Double asterisks (**) match all characters within the same directory, multiple directories, and all directories above or below the specified location or file.
- Examples:
- Windows:
**\powershell.exe - Mac:
/Users/*/Downloads/**
- Windows:
- Select the Action to be enforced.
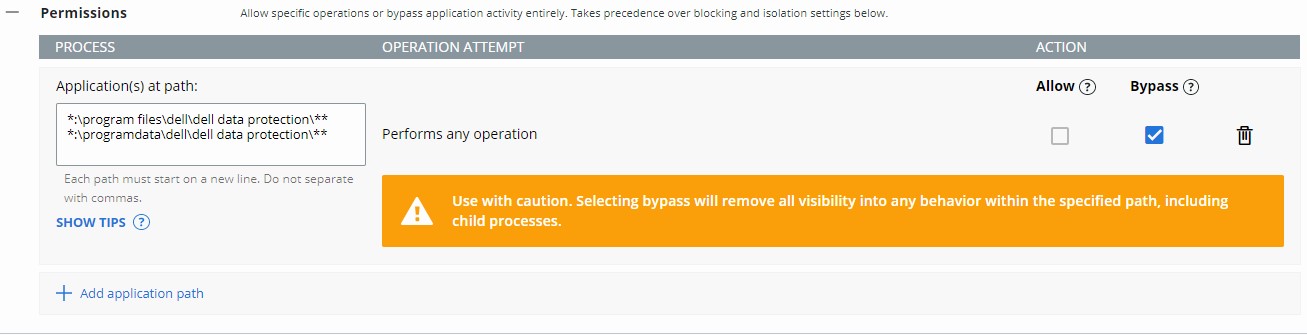
- In the example image, operation attempts are given different actions by selecting either Allow or Bypass.
- When the operation attempt of Performs any operation is selected, this overrides any other operation attempt and disables the selection of any other option.
- Action definitions:
- Allow - Allows the behavior in the specified path with information about the action being logged by VMware Carbon Black Cloud.
- Bypass - All behavior is allowed in the specified path. No information is collected.
- Click Save in the upper right, or at the bottom of the page.
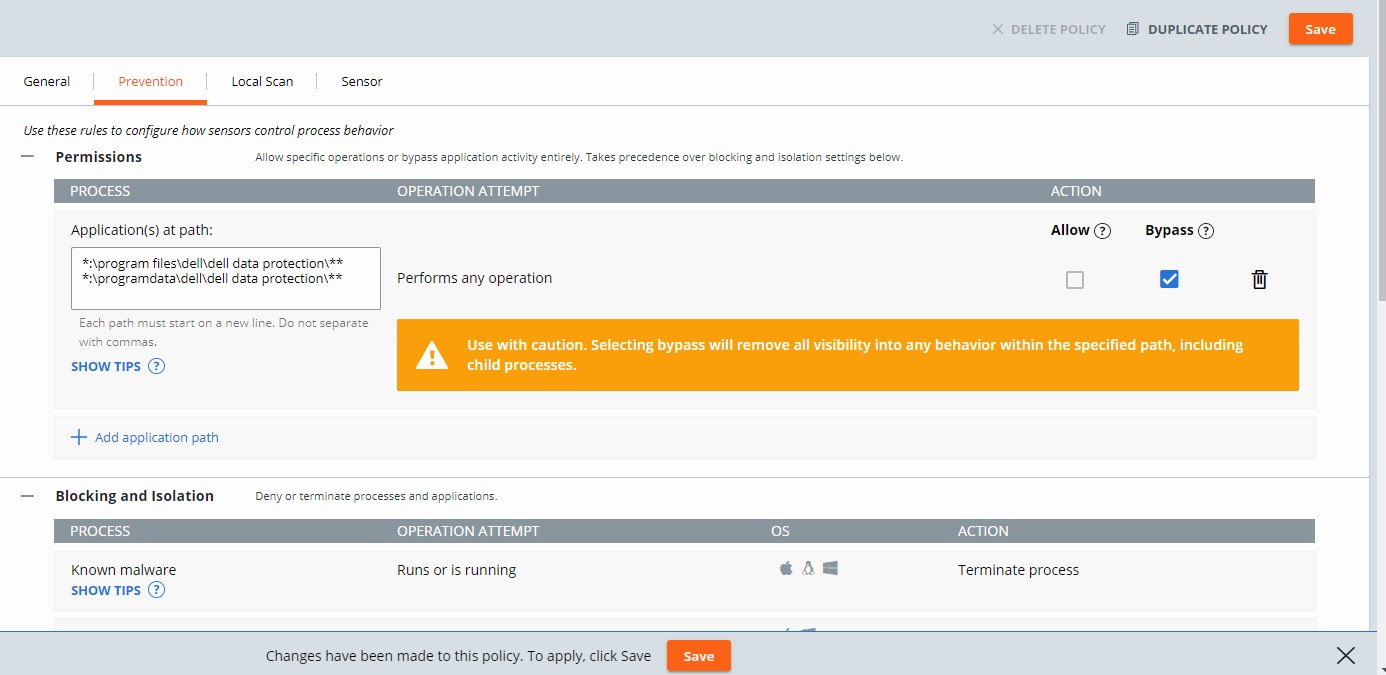
Blocking and Isolation rules are path-based and take precedence over Reputation. Blocking and Isolation rules allow us to set a "Deny operation" or "Terminate process" action when a specific operation is attempted.
To create a Blocking and Isolation rule:
- In a web browser, go to [REGION].conferdeploy.net.
- Americas = https://defense-prod05.conferdeploy.net
- Europe = https://defense-eu.conferdeploy.net/
- Asia Pacific = https://defense-prodnrt.conferdeploy.net/
- Australia and New Zealand = https://defense-prodsyd.conferdeploy.net
- Sign In to the VMware Carbon Black Cloud.

- In the left menu pane, click Enforce.

- Click Policies.
- Select the policy set you want to modify.
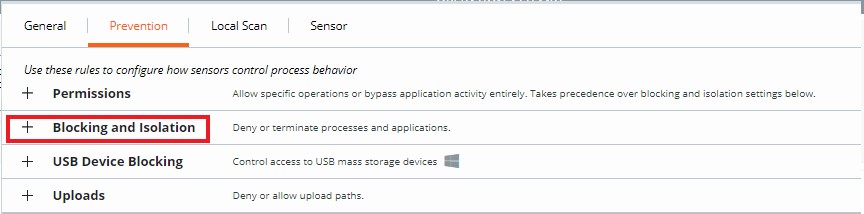
- In the right menu pane, click Prevention.

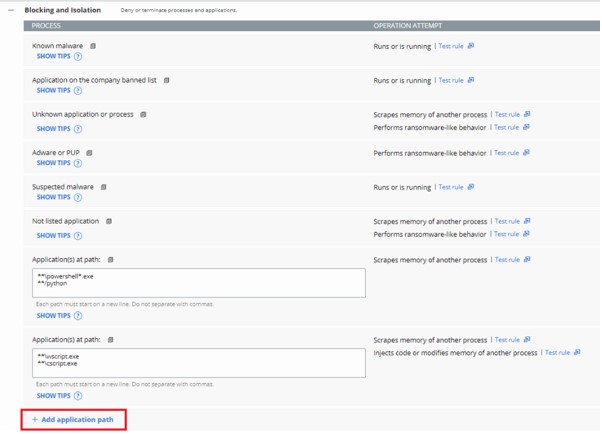
- Click to expand Blocking and Isolation.

- Populate the application path to set a Blocking and Isolation rule on.

- The example image uses excel.exe.
- The actions set apply to the application with the name excel.exe ran from any directory.
- VMware Carbon Black’s Permissions list leverages a glob-based formatting structure.
- Environmental variables such as
%WINDIR%are supported. - A single asterisk (*) matches all characters within the same directory.
- Double asterisks (**) match all characters within the same directory, multiple directories, and all directories above or below the specified location or file.
- Examples:
- Windows:
**\powershell.exe - Mac:
/Users/*/Downloads/**
- Windows:
- Click Save in the upper right.

VMware Carbon Black Cloud Standard, VMware Carbon Black Cloud Advanced, and VMware Carbon Black Cloud Enterprise provide options with Permissions Rules, as well as Blocking and Isolation Rules, due to inclusion of EDR.
Click the appropriate topic for more information.
Permissions rules determine what operations applications at specified paths can perform.
Permissions rules are path-based and take precedence over both Blocking and Isolation rules as well as Reputation.
To create a Permissions rule:
- In a web browser, go to [REGION].conferdeploy.net.
- Americas = https://defense-prod05.conferdeploy.net
- Europe = https://defense-eu.conferdeploy.net/
- Asia Pacific = https://defense-prodnrt.conferdeploy.net/
- Australia and New Zealand = https://defense-prodsyd.conferdeploy.net
- Sign In to the VMware Carbon Black Cloud.

- In the left menu pane, click Enforce.

- Click Policies.

- Select the policy set you want to modify.
- In the right menu pane, click Prevention.

- Click to expand Permissions.

- Click to expand Add application path.

- Populate the intended path to set a bypass on.
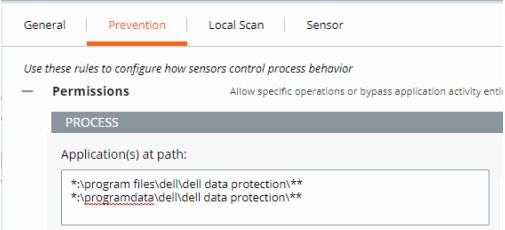
- The example image uses the following paths:
*:\program files\dell\dell data protection\***:\programdata\dell\dell data protection\**
- In this example, the actions that are applied affect all files on all drives containing the paths \program files\dell\dell data protection\ and \programdata\dell\dell data protection\.
- VMware Carbon Black’s Permissions list leverages a glob-based formatting structure.
- Environmental variables such as %WINDIR% are supported.
- A single asterisk (*) matches all characters within the same directory.
- Double asterisks (**) match all characters within the same directory, multiple directories, and all directories above or below the specified location or file.
- Examples:
- Windows:
**\powershell.exe - Mac:
/Users/*/Downloads/**
- Windows:
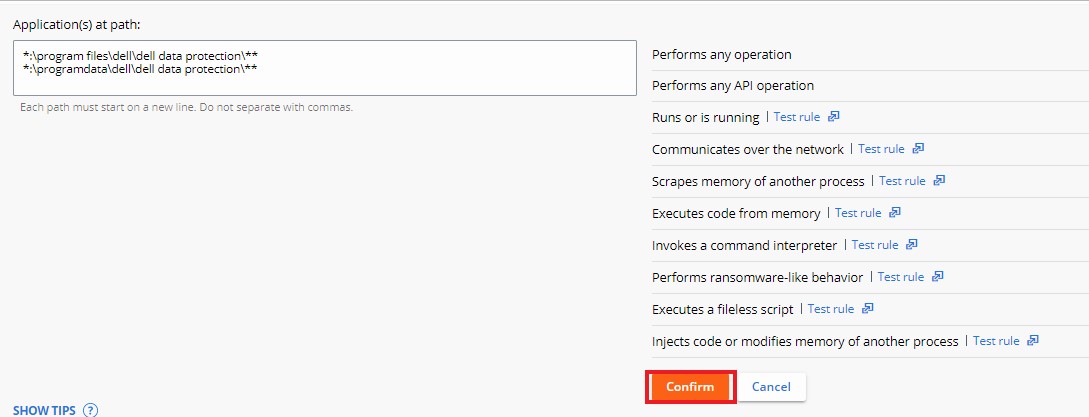
- Select the Action to be enforced.

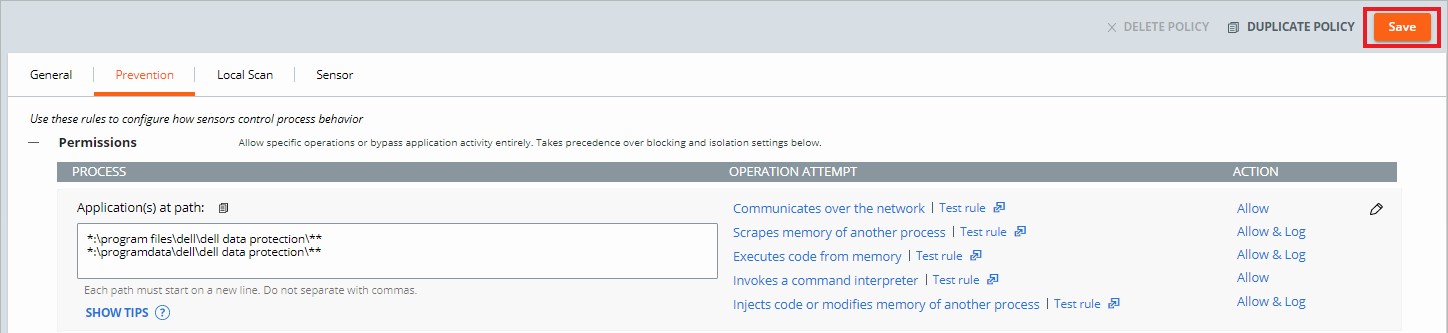
- In the example image, operation attempts are given different actions by selecting either Allow, Allow & Log, or Bypass.
- When the operation attempt of Performs any operation is selected, this overrides any other operation attempt and disables the selection of any other option.
- Every action except Performs any operation can be applied to multiple operation attempts.
- Action definitions:
- Allow - Allows the behavior in the specified path; none of the specified behavior at the path is logged. No data is sent to the VMware Carbon Black Cloud.
- Allow & Log - Allows the behavior in the specified path; all activity is logged. All data is reported to the VMware Carbon Black Cloud.
- Bypass - All behavior is allowed in the specified path; nothing is logged. No data is sent to the VMware Carbon Black Cloud.
- Click Confirm at the bottom of the Permissions to set the policy change.
- Click Save in the upper right.
Blocking and Isolation rules are path-based and take precedence over Reputation. Blocking and Isolation rules allow us to set a "Deny operation" or "Terminate process" action when a specific operation is attempted.
To create a Blocking and Isolation rule:
- In a web browser, go to [REGION].conferdeploy.net.
- Americas = https://defense-prod05.conferdeploy.net
- Europe = https://defense-eu.conferdeploy.net/
- Asia Pacific = https://defense-prodnrt.conferdeploy.net/
- Australia and New Zealand = https://defense-prodsyd.conferdeploy.net
- Sign In to the VMware Carbon Black Cloud.

- In the left menu pane, click Enforce.

- Click Policies.
- Select the policy set you want to modify.

- In the right menu pane, click Prevention.

- Click to expand Blocking and Isolation.
- Click to expand Add application path.
- Populate the application path to set a Blocking and Isolation rule on.

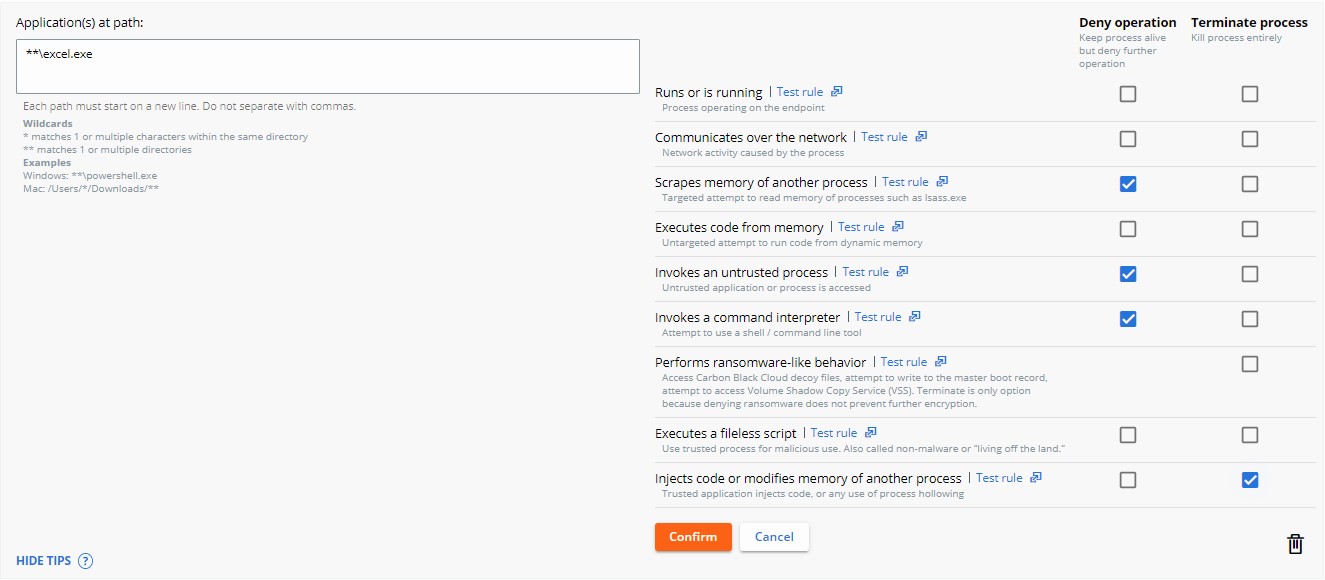
- The example image uses excel.exe.
- The actions set apply to the application with the name excel.exe ran from any directory.
- VMware Carbon Black’s Permissions list leverages a glob-based formatting structure.
- Environmental variables such as
%WINDIR%are supported. - A single asterisk (*) matches all characters within the same directory.
- Double asterisks (**) match all characters within the same directory, multiple directories, and all directories above or below the specified location or file.
- Examples:
- Windows:
**\powershell.exe - Mac:
/Users/*/Downloads/**
- Windows:
- Select the Action to be taken when the operation attempt is met and then click Confirm.
- Click Save in the upper right.

- Deny operation prevents the listed application from performing the specified operation that it attempted to perform.
- Terminate process ends the process once the specified operation attempts to run.
VMware Carbon Black assigns a Reputation to every file that is run on a device with the sensor installed. Pre-existing files begin with an effective reputation of LOCAL_WHITE until run or until the background scan has processed them and gives a more definitive reputation.
Either Add an Application to the Reputation List or reference Reputation Descriptions. Click the appropriate topic for more information.
An application may be added to the reputation list through either the Reputations Page or the Alerts Page. Click the appropriate option for more information.
To add an application to the reputations list through the reputations page:
- In a web browser, go to [REGION].conferdeploy.net.
- Americas = https://defense-prod05.conferdeploy.net
- Europe = https://defense-eu.conferdeploy.net/
- Asia Pacific = https://defense-prodnrt.conferdeploy.net/
- Australia and New Zealand = https://defense-prodsyd.conferdeploy.net
- Sign In to the VMware Carbon Black Cloud.
- In the left menu pane, click Enforce.
- Click Reputation.

An administrator may add an application to the reputation list using the SHA256 Hash, IT Tool, or Signing Certificate. Click the appropriate option for more information.
To manually add a SHA256 hash:
- Click Add.

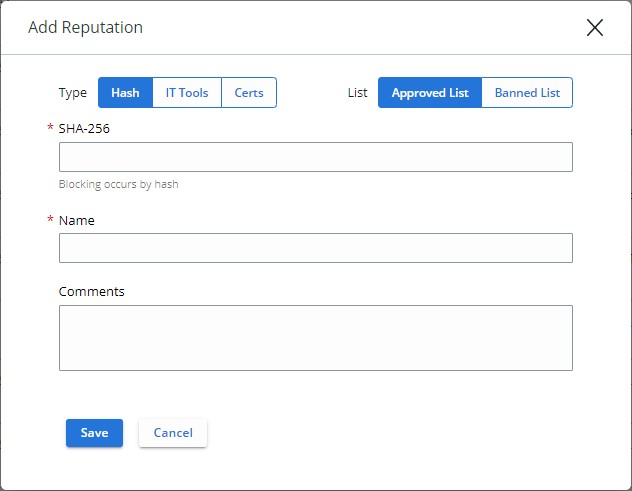
- From Add Reputation:
- Select Hash for the Type.
- Select either Approved List or Banned List for the List.
- Populate the SHA-256 hash.
- Populate a Name for the entry.
- Optionally, populate Comments.
- Click Save.
- Approved List automatically sets any affected and known file to have a reputation of Company Approved.
- Banned List automatically sets any affected and known file to have a reputation of Company Banned.
To manually add an IT tool:
- Click Add.

- From Add Reputation:
- Select IT Tools for the Type.
- Populate the relative Path of trusted IT tool.
- Optionally, select Include all child processes.
- Optionally, populate Comments.
- Click Save.

- IT Tools may only be added to the Approved List. Approved List automatically sets any affected and known file to have a reputation of Local White.
- The option Include all child processes notes that, if selected, all files that are dropped by child processes of the newly defined trusted IT tool also receive the initial trust.
- Relative paths for IT tools indicate that the path defined can be fulfilled by the defined pathing.
Example:
For the following examples, the Path of trusted IT tool is set to:
\sharefolder\folder2\application.exe
If an administrator attempts to run the file in these locations, the exclusion succeeds:
\\server\tools\sharefolder\folder2\application.exeD:\ITTools\sharefolder\folder2\application.exe
If an administrator attempts to run the file in these locations, the exclusion fails:
E:\folder2\application.exeH:\sharefolder\application.exe
In the failed examples, the path cannot be fulfilled entirely.
To manually add a signing certificate:
- Click Add.

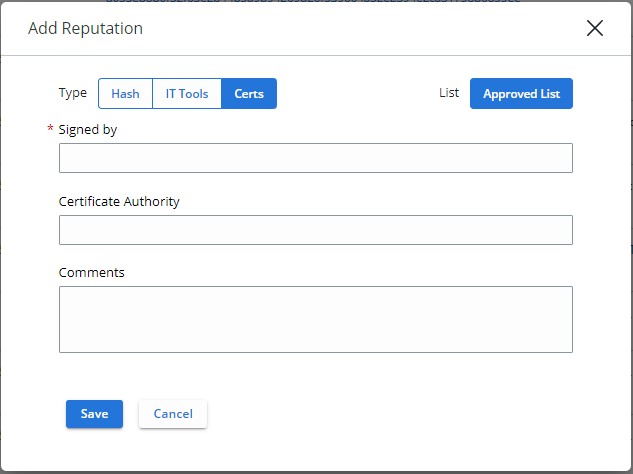
- From Add Reputation:
- Select Certs for the Type.
- Populate the Signed by field.
- Optionally, populate the Certificate Authority.
- Optionally, populate the Comments.
- Click Save.
- A signing certificate may only be added to the Approved List. Approved List automatically sets any affected and known file to have a reputation of Local White.
- For more information about adding signing certificates for reputation, reference How to Add a Signing Certificate into the VMware Carbon Black Cloud Reputation List.
To add an application to the reputations list through the alerts page:
- In a web browser, go to [REGION].conferdeploy.net.
- Americas = https://defense-prod05.conferdeploy.net
- Europe = https://defense-eu.conferdeploy.net/
- Asia Pacific = https://defense-prodnrt.conferdeploy.net/
- Australia and New Zealand = https://defense-prodsyd.conferdeploy.net
- Sign In to the VMware Carbon Black Cloud.

- Click Alerts.
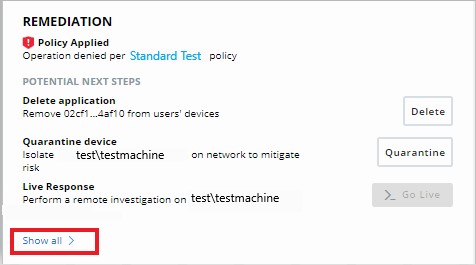
- Select the chevron next to the alert for which you want to approve the application.

- Click Show all under the Remediation subsection.
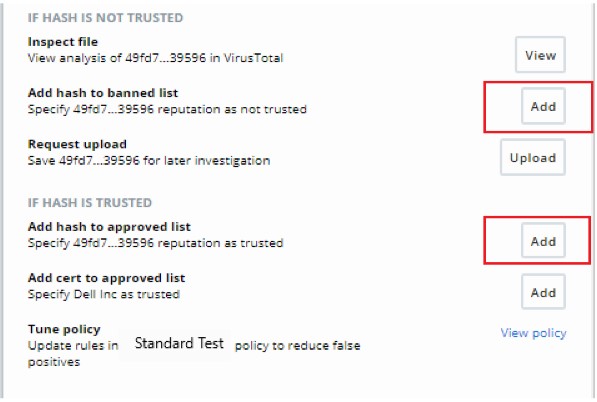
- Click to Add the file to either the banned list or to the approved list depending on whether the hash is untrusted or trusted.
| Priority | Reputation | Reputation Search Value | Description |
|---|---|---|---|
| 1 | Ignore | IGNORE | Self-check reputation that Carbon Black Cloud assigns to product files and grants them with full permissions to run.
|
| 2 | Company Approved List | COMPANY_WHITE_LIST | Hashes manually added into Company Approved List by going to Enforce > Reputations |
| 3 | Company Banned List | COMPANY_BLACK_LIST | Hashes manually added into Company Banned List by going to Enforce > Reputations |
| 4 | Trusted Approved List | TRUSTED_WHITE_LIST | Known good by Carbon Black from either the cloud, local scanner, or both |
| 5 | Known Malware | KNOWN_MALWARE | Known bad by Carbon Black from either the cloud, local scanner, or both |
| 6 | Suspect/Heuristic Malware | SUSPECT_MALWARE HEURISTIC | Suspect malware that is detected by Carbon Black, but not necessarily malicious |
| 7 | Adware/PUP Malware | ADWARE PUP | Adware and Potentially Unwanted Programs that are detected by Carbon Black |
| 8 | Local White | LOCAL_WHITE | File has met any of the following conditions:
|
| 9 | Common Approved List | COMMON_WHITE_LIST | File has met any of the following conditions:
|
| 10 | Not Listed/Adaptive Approved List | NOT_LISTEDADAPTIVE_WHITE_LIST | The Not Listed reputation indicates that after the sensor checks the application hash with Local Scanner or Cloud, no record can be found about it - it is not listed in the reputation database.
|
| 11 | Unknown | RESOLVING | The Unknown reputation indicates that there is no response from any of the reputation sources the sensor uses.
|
To contact support, reference Dell Data Security International Support Phone Numbers.
Go to TechDirect to generate a technical support request online.
For additional insights and resources, join the Dell Security Community Forum.
Additional Information
Videos
Article Properties
Affected Product
VMware Carbon Black
Last Published Date
04 Jan 2023
Version
32
Article Type
How To