14G servers install Windows Server 2016 through F11
摘要: 14G servers install Windows Server 2016 through F11
本文章適用於
本文章不適用於
本文無關於任何特定產品。
本文未識別所有產品版本。
症狀
1. First, insert a USB flash drive or CD-ROM disk, turn on POST, and press [F11] to enter [Boot Manager] settings according to the prompts in the upper right corner of
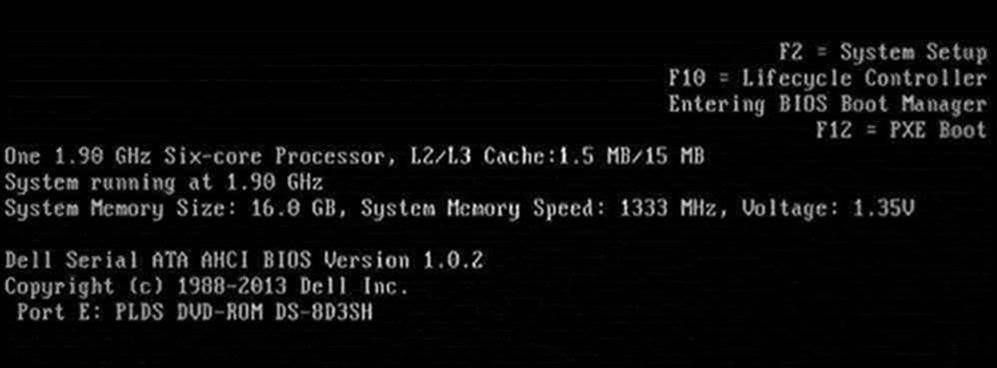
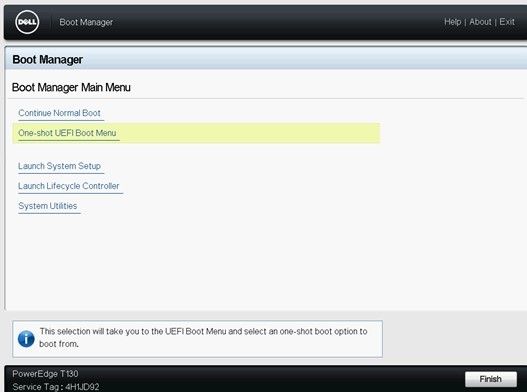
the screen2. Select [BIOS Boot Menu] in the setup screen, select [One-shot UEFI Boot Menu] or [One-shot BIOS Boot Menu]
3. Select the corresponding boot mode according to your system media type, select DVD boot if it is an operating system CD, or USB boot
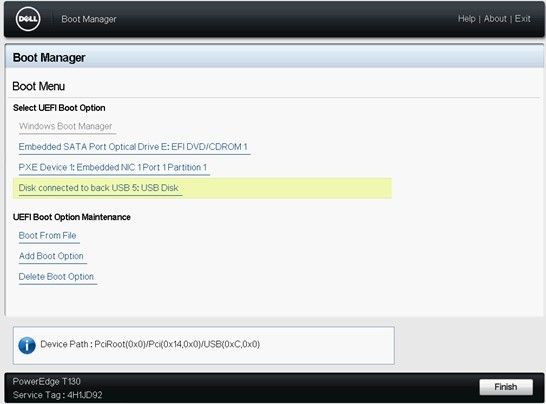
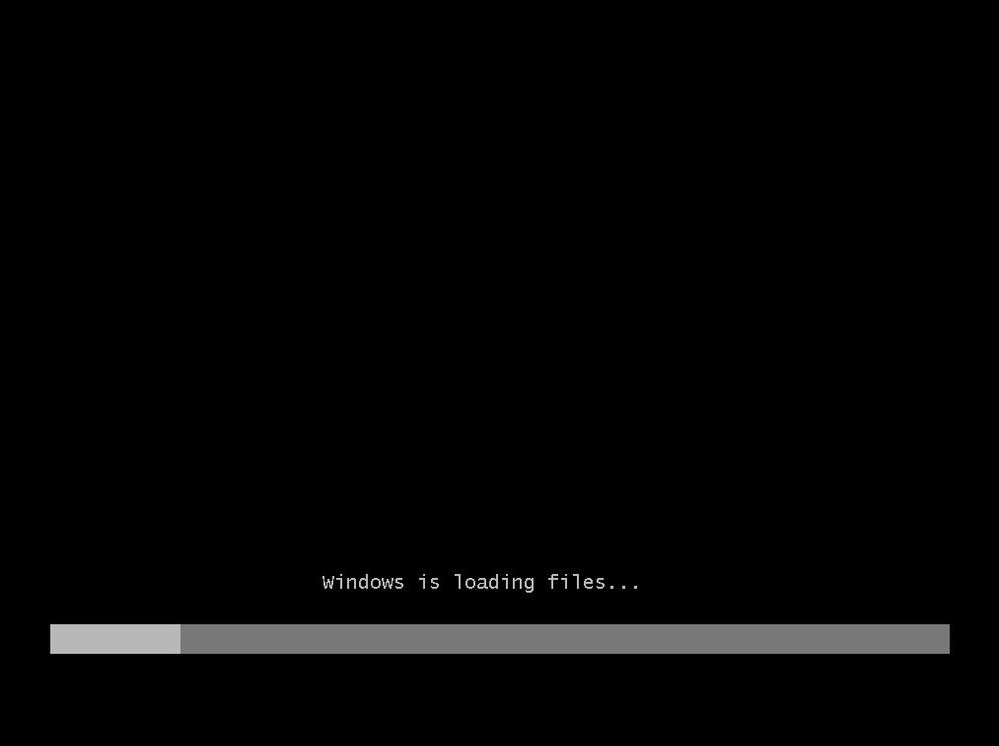
if it is a USB flash drive4. After selecting the corresponding boot item, the server will automatically restart and start the installation of the operating system. The Windows file loading process takes 5-10 minutes, please wait patiently.
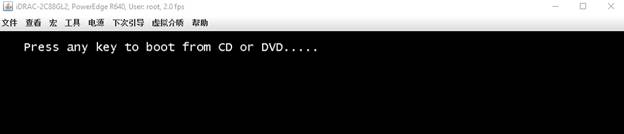
Note: If you already have an old system on your server, the monitor will display "Press any key to boot from CD/DVD rom" during the restart process, please press any to continue, otherwise you will enter the old system. If the server does not have a system, you can start the installation directly from the current optical drive.
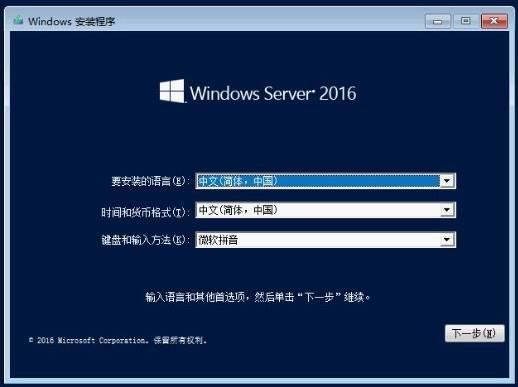
5. The file is loaded, confirm the language information, and click [Next]
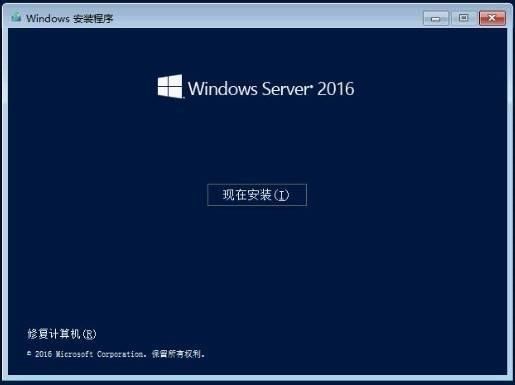
 6. Click [Install Now] to continue7
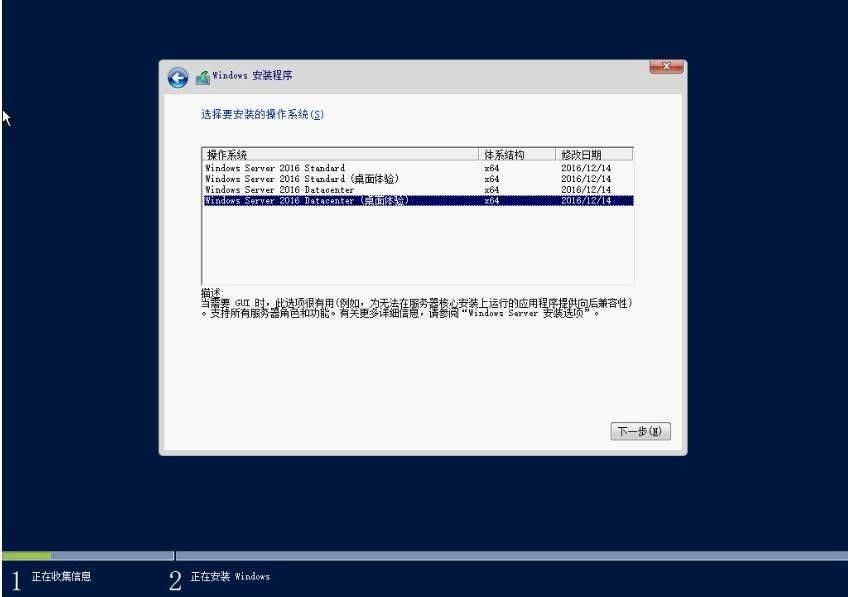
 . Select the operating system you want to install, select the operating system version with "Desktop Experience" to install and click [Next]
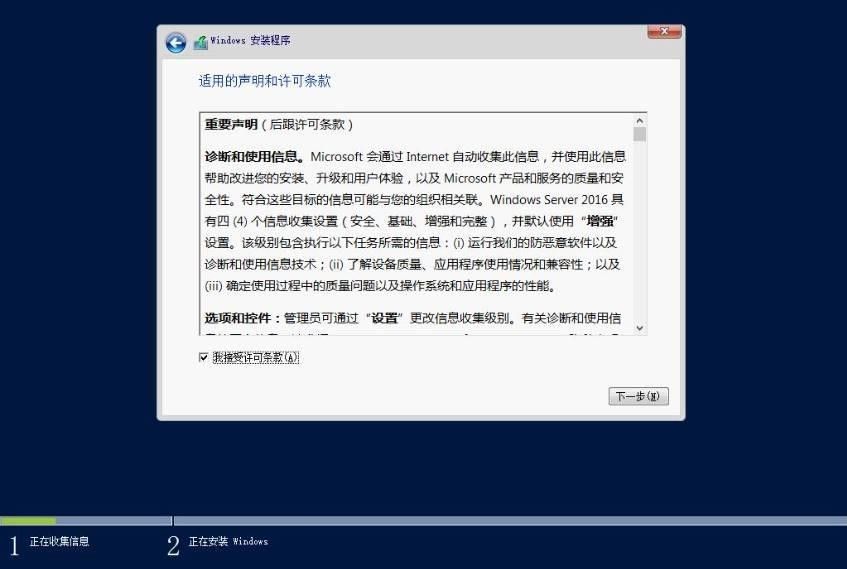
8. Read the license agreement and check "I accept the license terms" and click [Next] Continue 9
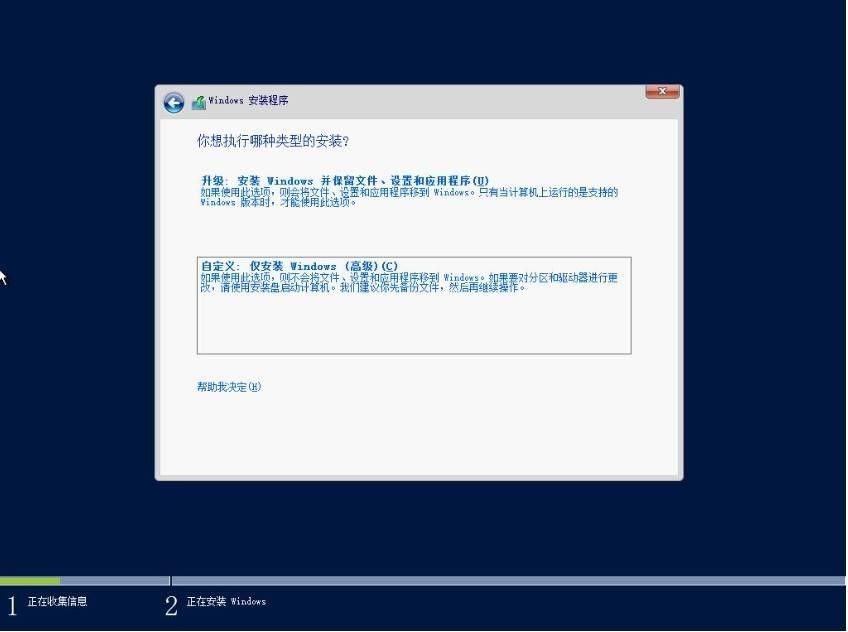
 . Select the installation type as [Custom Installation]
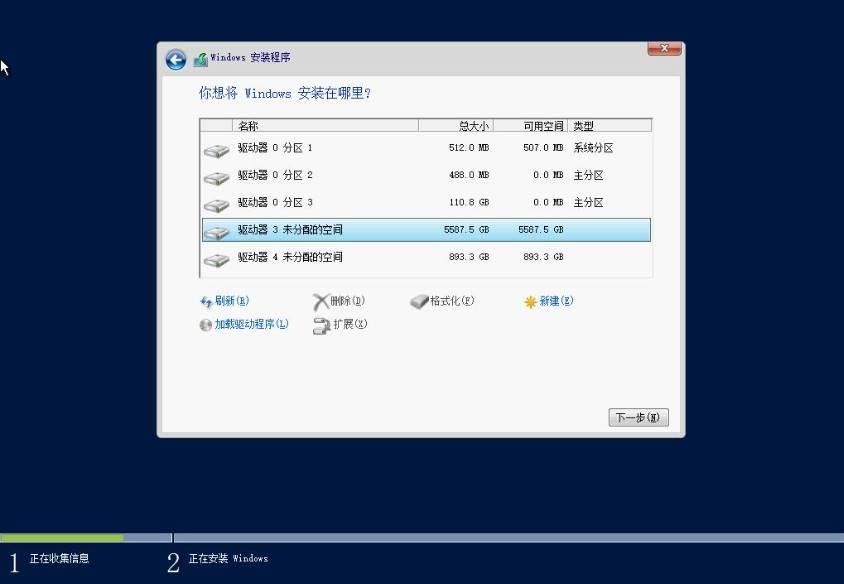
10. Click "Drive Options (Advanced)" to partition it, select the partition where you want to install the operating system, and click [Next] to continue.
Note: If this step does not identify the hard drive, it is due to a missing array card driver and requires manual loading. The array card driver needs to be downloaded in advance, and the downloaded driver file should be double-clicked and pressurized, and put it in the root directory of the USB flash drive. Click [Load Driver], then select [Browse] to find the corresponding array card driver and select Load.
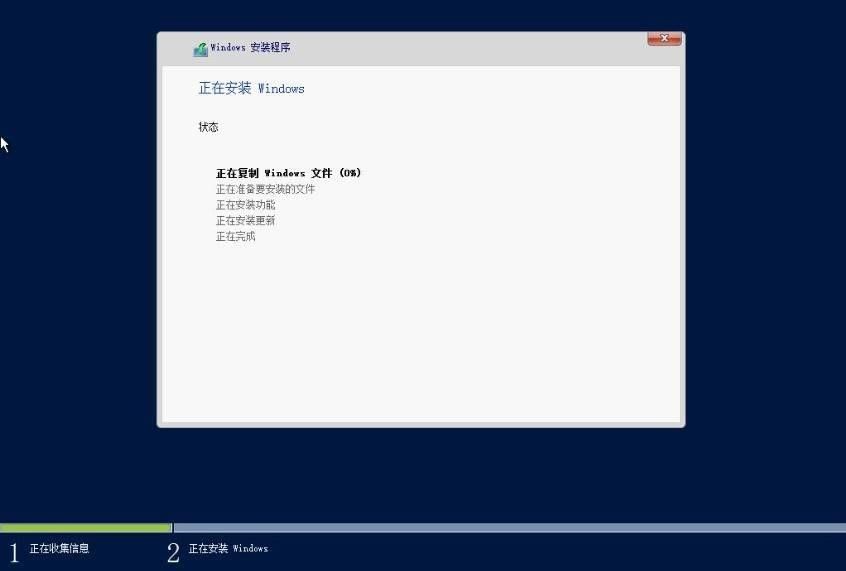
11. Wait for the system installation to complete. This process will take 15-30 minutes, please be patient.
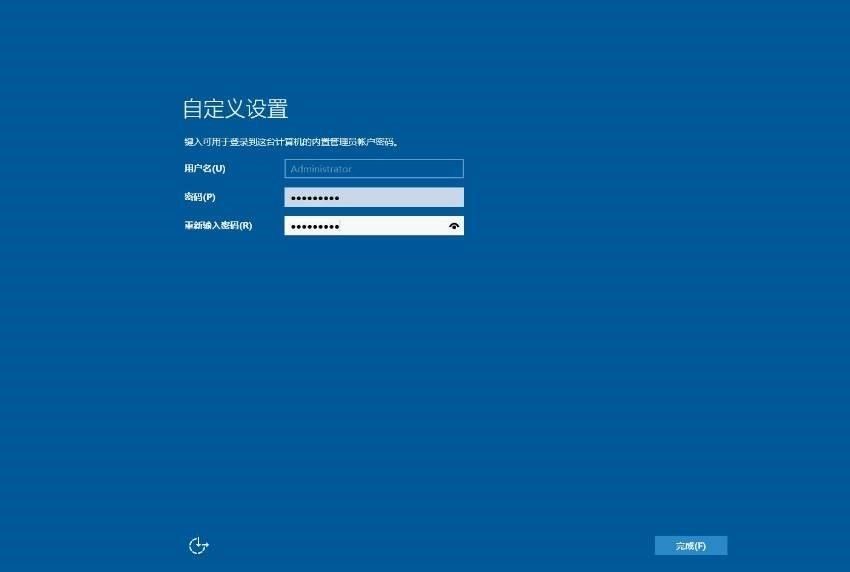
12. After the system is installed, it will automatically restart and enter the system setup interface.
Note: The operating system password setting needs to comply with the password specification: at least three character types are required, including uppercase and lowercase English, numbers, and special characters. The password length requires a minimum of 6 characters.
the screen2. Select [BIOS Boot Menu] in the setup screen, select [One-shot UEFI Boot Menu] or [One-shot BIOS Boot Menu]
3. Select the corresponding boot mode according to your system media type, select DVD boot if it is an operating system CD, or USB boot
if it is a USB flash drive4. After selecting the corresponding boot item, the server will automatically restart and start the installation of the operating system. The Windows file loading process takes 5-10 minutes, please wait patiently.
Note: If you already have an old system on your server, the monitor will display "Press any key to boot from CD/DVD rom" during the restart process, please press any to continue, otherwise you will enter the old system. If the server does not have a system, you can start the installation directly from the current optical drive.
5. The file is loaded, confirm the language information, and click [Next]
6. Click [Install Now] to continue7
. Select the operating system you want to install, select the operating system version with "Desktop Experience" to install and click [Next]
8. Read the license agreement and check "I accept the license terms" and click [Next] Continue 9
. Select the installation type as [Custom Installation]
10. Click "Drive Options (Advanced)" to partition it, select the partition where you want to install the operating system, and click [Next] to continue.
Note: If this step does not identify the hard drive, it is due to a missing array card driver and requires manual loading. The array card driver needs to be downloaded in advance, and the downloaded driver file should be double-clicked and pressurized, and put it in the root directory of the USB flash drive. Click [Load Driver], then select [Browse] to find the corresponding array card driver and select Load.
11. Wait for the system installation to complete. This process will take 15-30 minutes, please be patient.
12. After the system is installed, it will automatically restart and enter the system setup interface.
Note: The operating system password setting needs to comply with the password specification: at least three character types are required, including uppercase and lowercase English, numbers, and special characters. The password length requires a minimum of 6 characters.
原因
NA
解析度
NA
受影響的產品
Servers文章屬性
文章編號: 000181478
文章類型: Solution
上次修改時間: 20 2月 2026
版本: 7
向其他 Dell 使用者尋求您問題的答案
支援服務
檢查您的裝置是否在支援服務的涵蓋範圍內。