ML3 Tape Library: Drive and Module Numbering Guidance
Summary: When replacing tape drives in the ML3 chassis, there is no indication or labeling to inform of the drive order or module order.
Symptoms
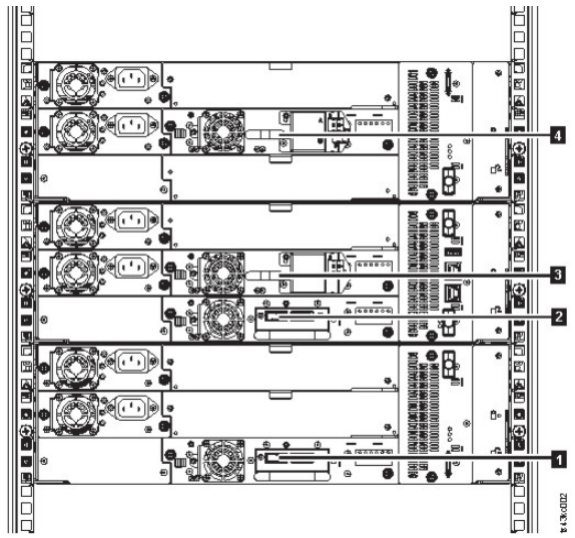
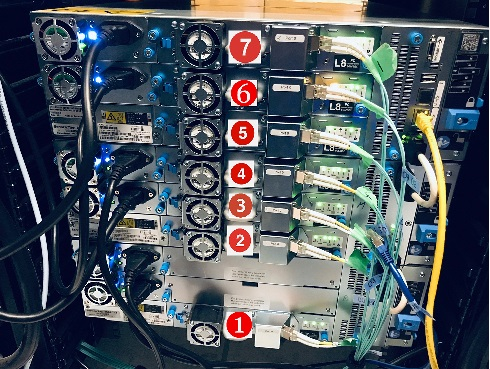
The ML3 tape library drives and modules are numbered from the bottom up.
Cause
During troubleshooting and drive replacement, the drives are enumerated in the ML3 from bottom up.
Resolution
The physical numbering is bottom up on all drives and modules. This information is shown on the drives page of the management user interface and can also be found in the ML3 User's Guide.
Additionally, the drive Identifier can be turned on to identify a drive using the ML3 Management GUI:
Steps:
1. Activate the UID LEDs from the Library > Actions > Turn Identifier Light On or Off screen.
This action illuminates the blue LED on the front and rear of the Base Module to identify the library that contains the failed module or component.
2. Identify the module within the library that contains the failed component.
a. In the upper left of the Home screen, locate the module that indicates an error.
b. Click or tap the module for information on the failed component.
Additional Information
Figure 22. Physical numbering of drives