How to Install Dell Trusted Device
요약: Learn step-by-step instructions to install Dell Trusted Device using the Dell Update Package that can be downloaded from Dell Support.
이 문서는 다음에 적용됩니다.
이 문서는 다음에 적용되지 않습니다.
이 문서는 특정 제품과 관련이 없습니다.
모든 제품 버전이 이 문서에 나와 있는 것은 아닙니다.
지침
The Dell Trusted Device installer requires administrative rights. The bit rate of the utility must match the architecture of the host computer operating system.
Affected Products:
- Dell Trusted Device
Affected Operating Systems:
- Windows
For information about where to download the Dell Trusted Device Dell Update Package from, refer to How to Download Dell Trusted Device.
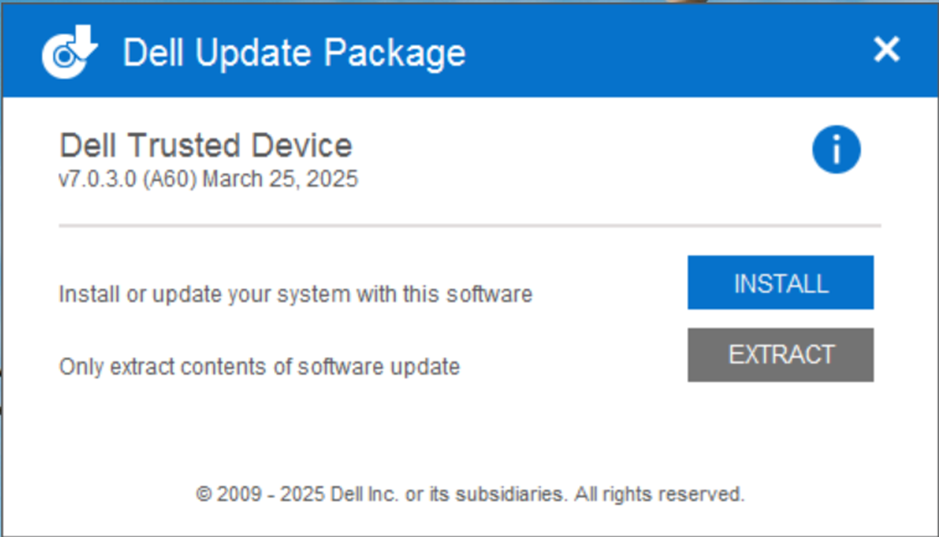
- Double-click the Dell Trusted Device Dell Update Package file.
- Click INSTALL to start the installation wizard.
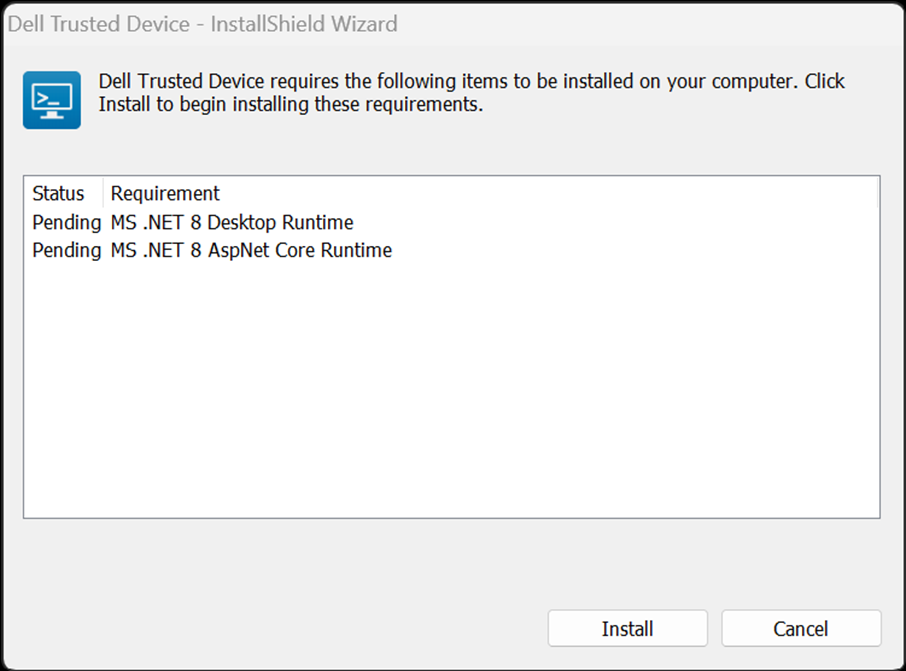
- Click Install to start the installation of the pre-requisites.
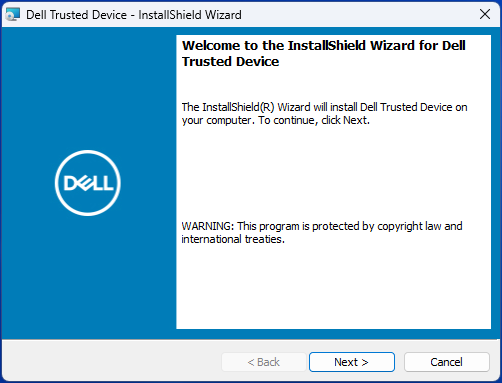
- Click Next at the Welcome screen.
- Read the License Agreement, agree to the terms, and click Next.

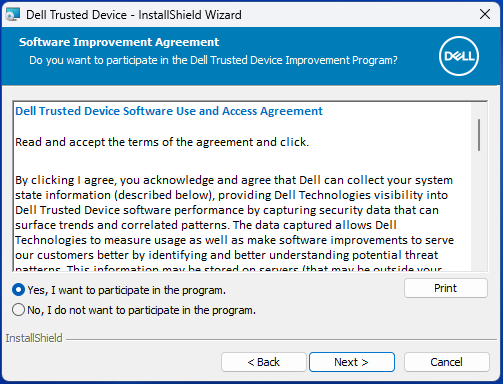
- Read the Dell Trusted Device Software Use and Access Agreement, select Yes, I want to participate in the program or No, I do not want to participate in the program, and then click Next.
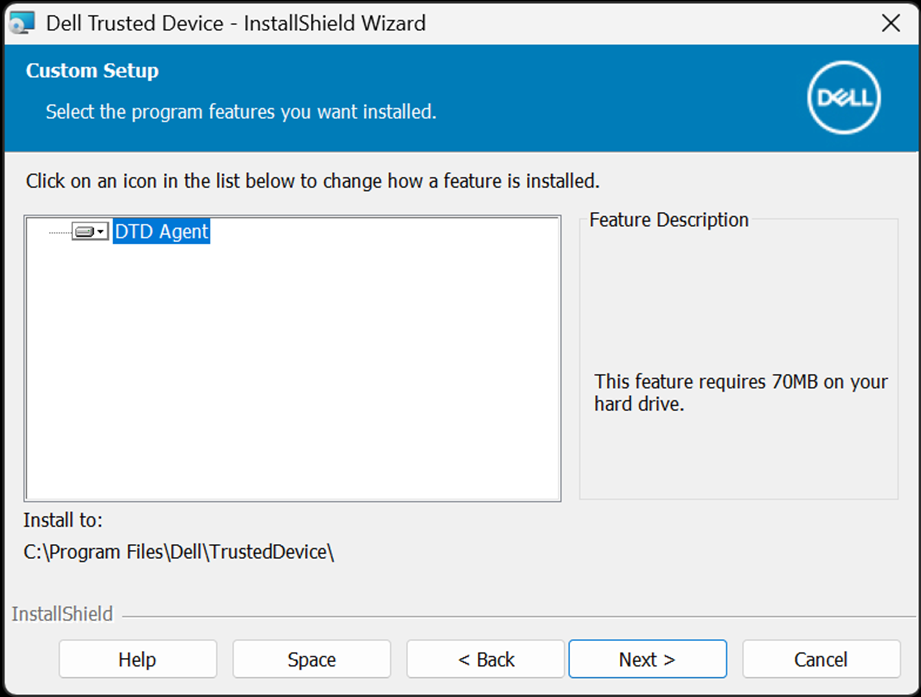
- By default, the Dell Trusted Device installer does not install shortcuts. To install shortcuts, click the Dell Trusted Device - Shortcuts feature tree menu and select This feature will be installed on the local hard drive. Click Next to continue.
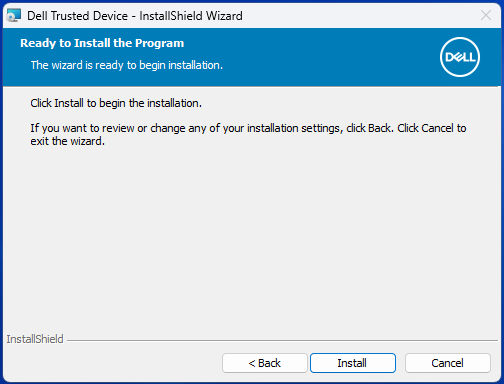
- Click Install to begin the installation.
- A status window displays but may take several minutes.

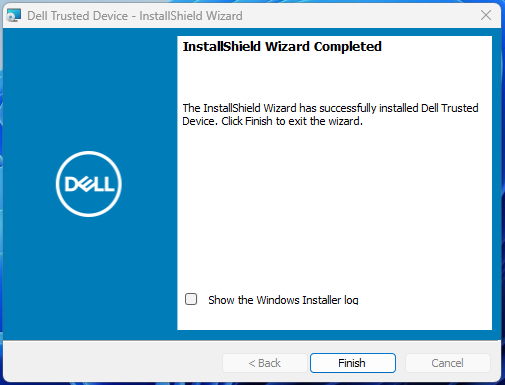
- Click Finish.
- Click CLOSE to close the window.

To contact support, reference Dell Data Security International Support Phone Numbers.
Go to TechDirect to generate a technical support request online.
For additional insights and resources, join the Dell Security Community Forum.
해당 제품
Dell Trusted Device문서 속성
문서 번호: 000123670
문서 유형: How To
마지막 수정 시간: 11 9월 2025
버전: 12
다른 Dell 사용자에게 질문에 대한 답변 찾기
지원 서비스
디바이스에 지원 서비스가 적용되는지 확인하십시오.