iDRAC9: How to Use RACADM systemerase to Erase Server Data and Components
Summary: This article explains how to use the RACADM systemerase command to securely erase data and reset components on a Dell PowerEdge server with iDRAC9. It includes the full component list, command syntax, server behavior during the erase process, and a step-by-step lab walkthrough demonstrating Lifecycle Controller data erasure via SSH. ...
Instructions
Overview
Dell PowerEdge servers support System Erase to securely remove data and reset components when repurposing or retiring a server. The erase operation can be performed through the F10 Lifecycle Controller GUI (Repurpose or Retire System) or through the RACADM command-line interface (CLI). In certain situations or for specific customer requirements, the CLI method is required.
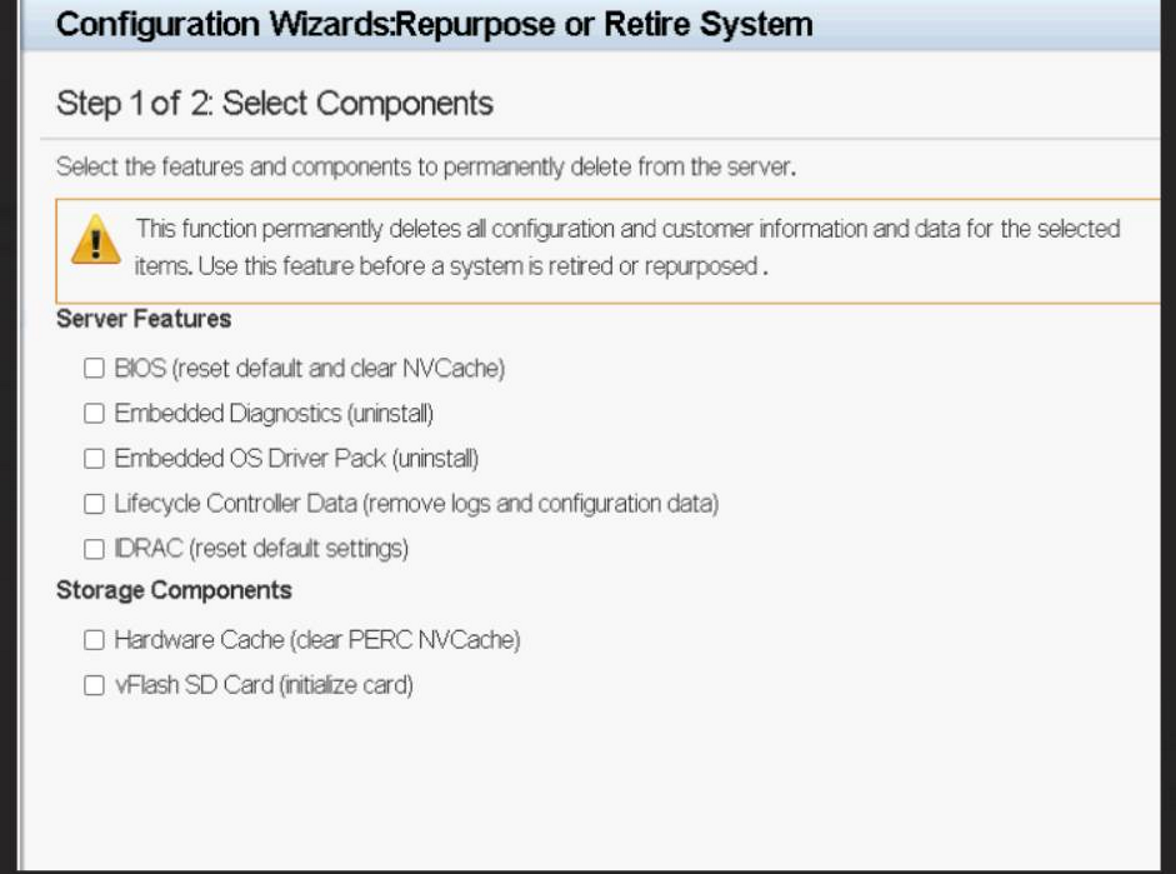
RACADM systemerase Command Reference
Refer to the iDRAC9 RACADM CLI Guide — systemerase command reference for full documentation.
racadm sekm disable before using systemerase. Failure to do so may result in storage devices secured by iDRAC becoming permanently locked.
Command syntax
To erase a specific component:
racadm systemerase <component>
To erase multiple components:
racadm systemerase <component>,<component>,<component>
Valid component types
bios— To reset the BIOS to default.diag— To erase embedded diagnostics.drvpack— To erase the embedded OS driver pack.idrac— To reset the iDRAC to default.lcdata— To erase Lifecycle Controller data.Note: Thesystemerase lcdatacommand does not erase iDRAC rollback firmware from the partition.allapps— To clear all OS applications.secureerasepd— To erase hard drives, SSDs, NVMe drives, and PCIe cards that support Instant Secure Erase (ISE).overwritepd— To overwrite physical disks that do not support Instant Secure Erase. Supports SAS and SATA drives.percnvcache— To erase NV cache.vflash— To erase vFlash.nvdimm— To erase all non-volatile memory (NVDIMM).
Server behavior during System Erase
racadm systemerase command is executed, the iDRAC takes the following actions depending on the server state:
- Server is powered off — it is powered on.
- Server is powered on — a graceful system reboot is executed.
- ACPI is enabled on the server — a graceful shutdown occurs within a minute or two.
- ACPI is not enabled — a forced shutdown occurs and may require up to ten minutes to complete.
Following the server reboot, the Lifecycle Controller executes the System Erase job to carry out the requested actions. All actions performed by the System Erase operations are recorded to the Lifecycle Log, including details of all devices erased. When these actions are completed, the server is powered off and remains in this state, allowing service personnel to perform any needed post-erase actions such as drive removal or hardware reconfiguration. When the server is powered on to return to service, the Lifecycle Controller collects the system inventory and reflects any hardware or firmware changes made after the System Erase.
Lab Walkthrough: Erasing Lifecycle Controller Data
The following example demonstrates how to erase Lifecycle Controller data (lcdata) using RACADM over SSH.
- Connect to iDRAC via SSH. Log in to the iDRAC IP address using an SSH client.
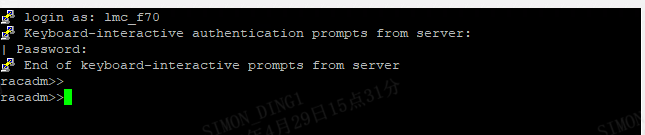
- Run the systemerase command. Execute the following command to erase Lifecycle Controller data:
racadm systemerase lcdata

- Verify the System Erase job. Check the job queue to confirm the erase job has been created.
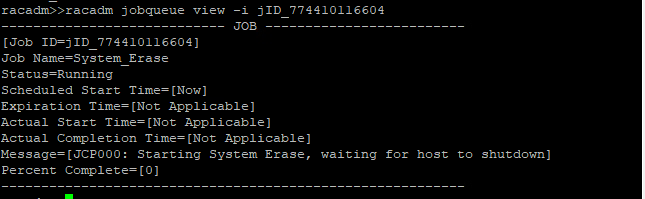
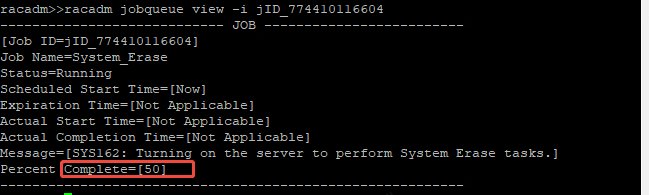
- Server shuts down and powers on. The server performs a shutdown and power cycle to begin the erase process.
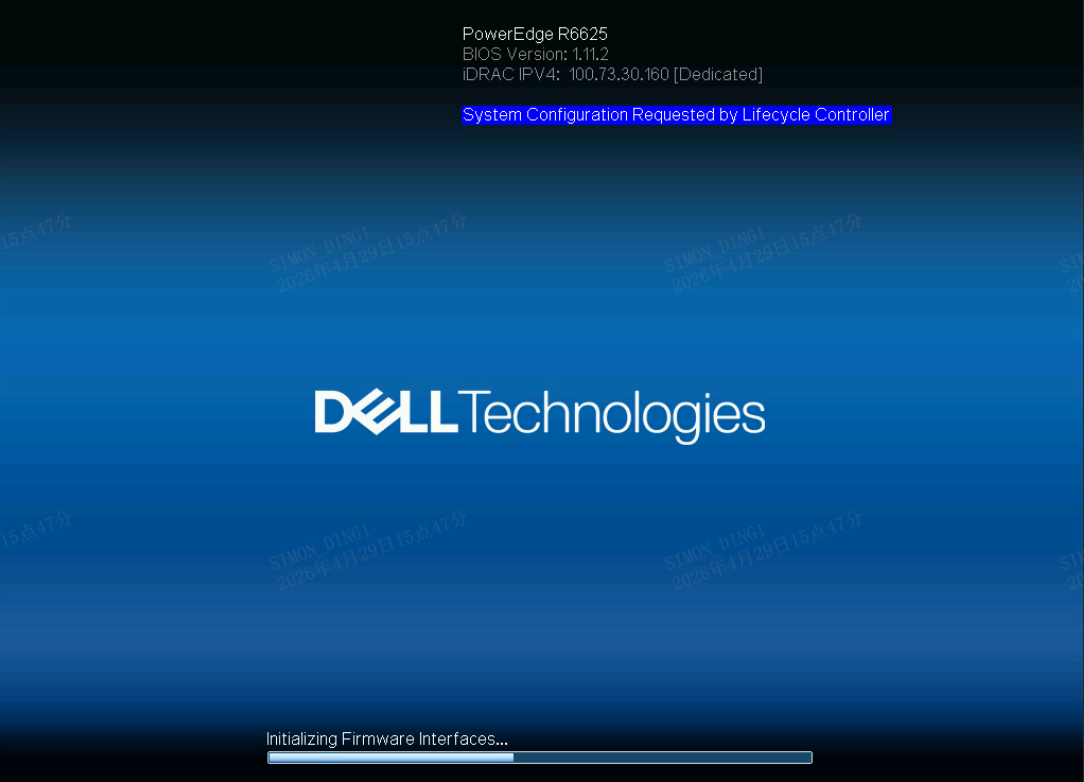
- Lifecycle Controller data erase in progress. The Lifecycle Controller executes the erase operation.
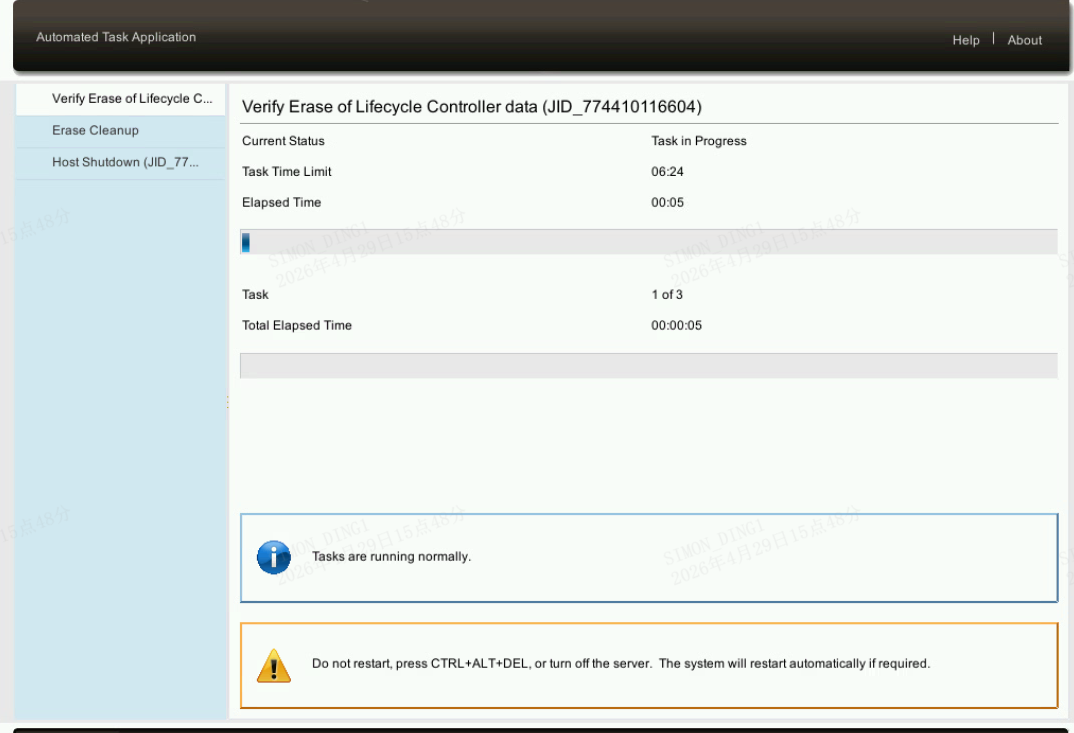
- Server shuts down and powers on again; iDRAC disconnects. The server performs another power cycle, and the SSH session to iDRAC is disconnected during the reset.

- Log in to iDRAC again and verify completion. After the server completes the erase process, log in to iDRAC to confirm the e