如何确定 Dell Endpoint Security Suite Enterprise 版本
Summary: 可以按照以下说明确定 Dell Endpoint Security Suite Enterprise 的版本。
This article applies to
This article does not apply to
This article is not tied to any specific product.
Not all product versions are identified in this article.
Symptoms
提醒:
- 从 2022 年 5 月起,Dell Endpoint Security Suite Enterprise 停止维护。戴尔不再更新本文。有关详细信息,请参阅 戴尔数据安全产品生命周期(支持终止和停售)政策。如果您对其他文章有任何疑问,请联系您的销售团队或联系 endpointsecurity@dell.com。
- 请参阅端点安全性,了解有关当前产品的其他信息。
通过了解 Dell Endpoint Security Suite Enterprise 版本,您可以:
- 识别已知问题
- 确定 UI 差异
- 了解工作流程更改
- 系统要求
受影响的产品:
- Dell Endpoint Security Suite Enterprise
受影响的版本:
- v1.0 及更高版本
受影响的操作系统:
- Windows
- Mac
- Linux
Cause
不适用
Resolution
单击 Windows、 Mac 或 Linux 了解版本信息。
Windows
可以通过以下任一方法确定版本:
单击相应方法以了解更多信息。
UI
提醒:必须先安装 Dell Endpoint Security Suite Enterprise,然后才能通过 UI 确定版本。有关详细信息,请参阅如何安装适用于 Windows 的 Dell Endpoint Security Suite Enterprise。
- 在桌面上,双击 DDP 控制台 图标。

- 单击 Advanced Threat Protection (高级威胁防护) 磁贴。
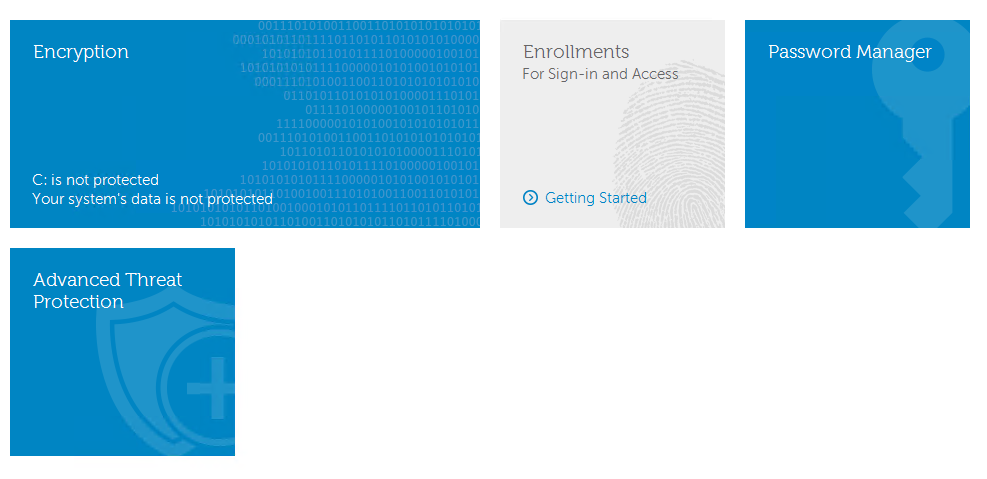
- 在 UI 的左下角,记下版本。
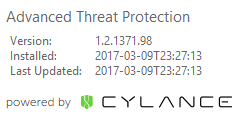
提醒:
- 最重要的数字是第三个数字。在示例中,第三个数字是 1371。
- 示例中的版本在您的环境中可能会有所不同。
安装程序
提醒:有关下载安装程序的信息,请参阅如何下载 Dell Endpoint Security Suite Enterprise。
- 从主套件中解压 ATP 组件。
提醒:有关解压步骤,请参阅如何从 Dell Data Security 主安装程序中解压子安装程序。
- 转至解压的 ATP 组件的位置。
- 如果从 DDSSuite.exe 中解压:
[EXTRACTION PATH]\ Advanced Threat Prevention\WinNtAll\ATP_AgentSetup.exe
- 如果从 DDPSuite.exe 中解压:
- 64 位:[提取路径]
\ Advanced Threat Protection\Win64R\AdvancedThreatProtectionAgentSetup.exe - 32 位:[提取路径]
\ Advanced Threat Protection\WinNtR\AdvancedThreatProtectionAgentSetup.exe
- 64 位:[提取路径]
- 如果从 DDSSuite.exe 中解压:

提醒:[EXTRACTION PATH] 基于终端用户选择的目录。在屏幕截图中,
C:\Extracted 是 [EXTRACTION PATH]。
- 右键单击 ATP 组件 (
ATP_AgentSetup或AdvancedThreatProtectionAgentSetup),然后选择 属性 。
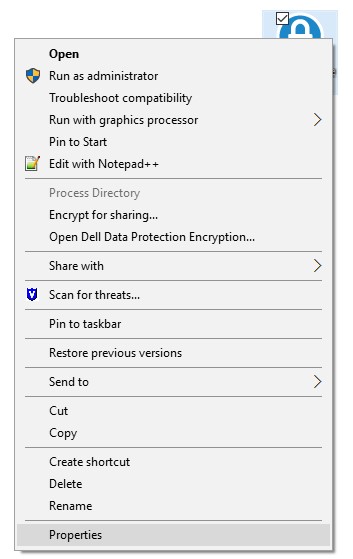
- 单击 Details 选项卡。

- 记下产品名称下的编号。
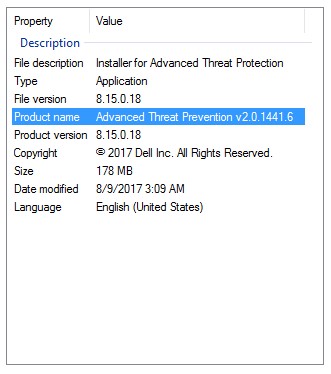
提醒:
- 最重要的数字是第三个数字。在示例中,第三个数字是 1441。
- 示例中的版本在您的环境中可能会有所不同。
Mac
提醒:必须先安装 Dell Endpoint Security Suite Enterprise,然后才能通过 UI 确定版本。有关详细信息,请参阅如何安装适用于 Mac 的 Dell Endpoint Security Suite Enterprise。
- 在“Status Menu”(屏幕顶部)中,右键单击 Dell Data Protection | Endpoint Security Suite Enterprise 图标,然后选择 About。
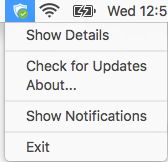
- 记下版本。
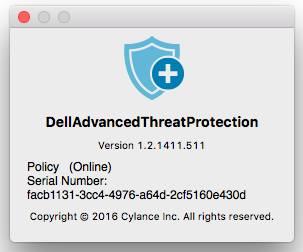
提醒:
- 最重要的数字是第三个数字。在示例中,第三个数字是 1411。
- 示例中的版本在您的环境中可能会有所不同。
Linux
提醒:必须先安装 Dell Endpoint Security Suite Enterprise,然后才能确定版本。有关详细信息,请参阅《如何安装适用于 Linux 的 Dell Endpoint Security Suite Enterprise》。
- 在目标端点上,打开终端。

- 在终端中,键入
atp –v,然后按 Enter 键。

- 记下版本。
提醒:
- 最重要的数字是第三个数字。在示例中,第三个数字是 1471。
- 示例中的版本在您的环境中可能会有所不同。
要联系支持部门,请参阅 Dell Data Security 国际支持电话号码。
转至 TechDirect,在线生成技术支持请求。
要获得更多见解和资源,请加入戴尔安全社区论坛。
Additional Information
Videos
Affected Products
Dell Endpoint Security Suite EnterpriseArticle Properties
Article Number: 000124632
Article Type: Solution
Last Modified: 26 Oct 2023
Version: 14
Find answers to your questions from other Dell users
Support Services
Check if your device is covered by Support Services.