PowerFlex: Enable Secure Boot Enforcement for PowerFlex Compute Nodes
Summary: This article provides step-by-step instructions to enable Unified Extensible Firmware Interface (UEFI) secure boot enforcement on Dell PowerFlex compute nodes running ESXi or Linux.
Instructions
To enable secure boot on Dell PowerFlex Compute Only (CO)nodes, you must meet the following prerequisites:
-
Boot mode must be set to Unified Extensible Firmware Interface (UEFI) in the System BIOS Settings > Boot Settings.
Note: If the host is not in this mode, you may not be able to change it without reinstalling the operating system.
- The server must have Trusted Platform Module (TPM) 2.0 installed.
- BIOS should be at the required version for the specific PowerEdge model to support enabling secure boot. Information can be found on the Dell support site.
- RPQ is required to enable Secure Boot, contact your Dell Technologies account representative to evaluate and enable the secure boot option for PowerFlex nodes through a request for product qualification (RPQ) process.
Configure Dell PowerEdge iDRAC for secure boot:
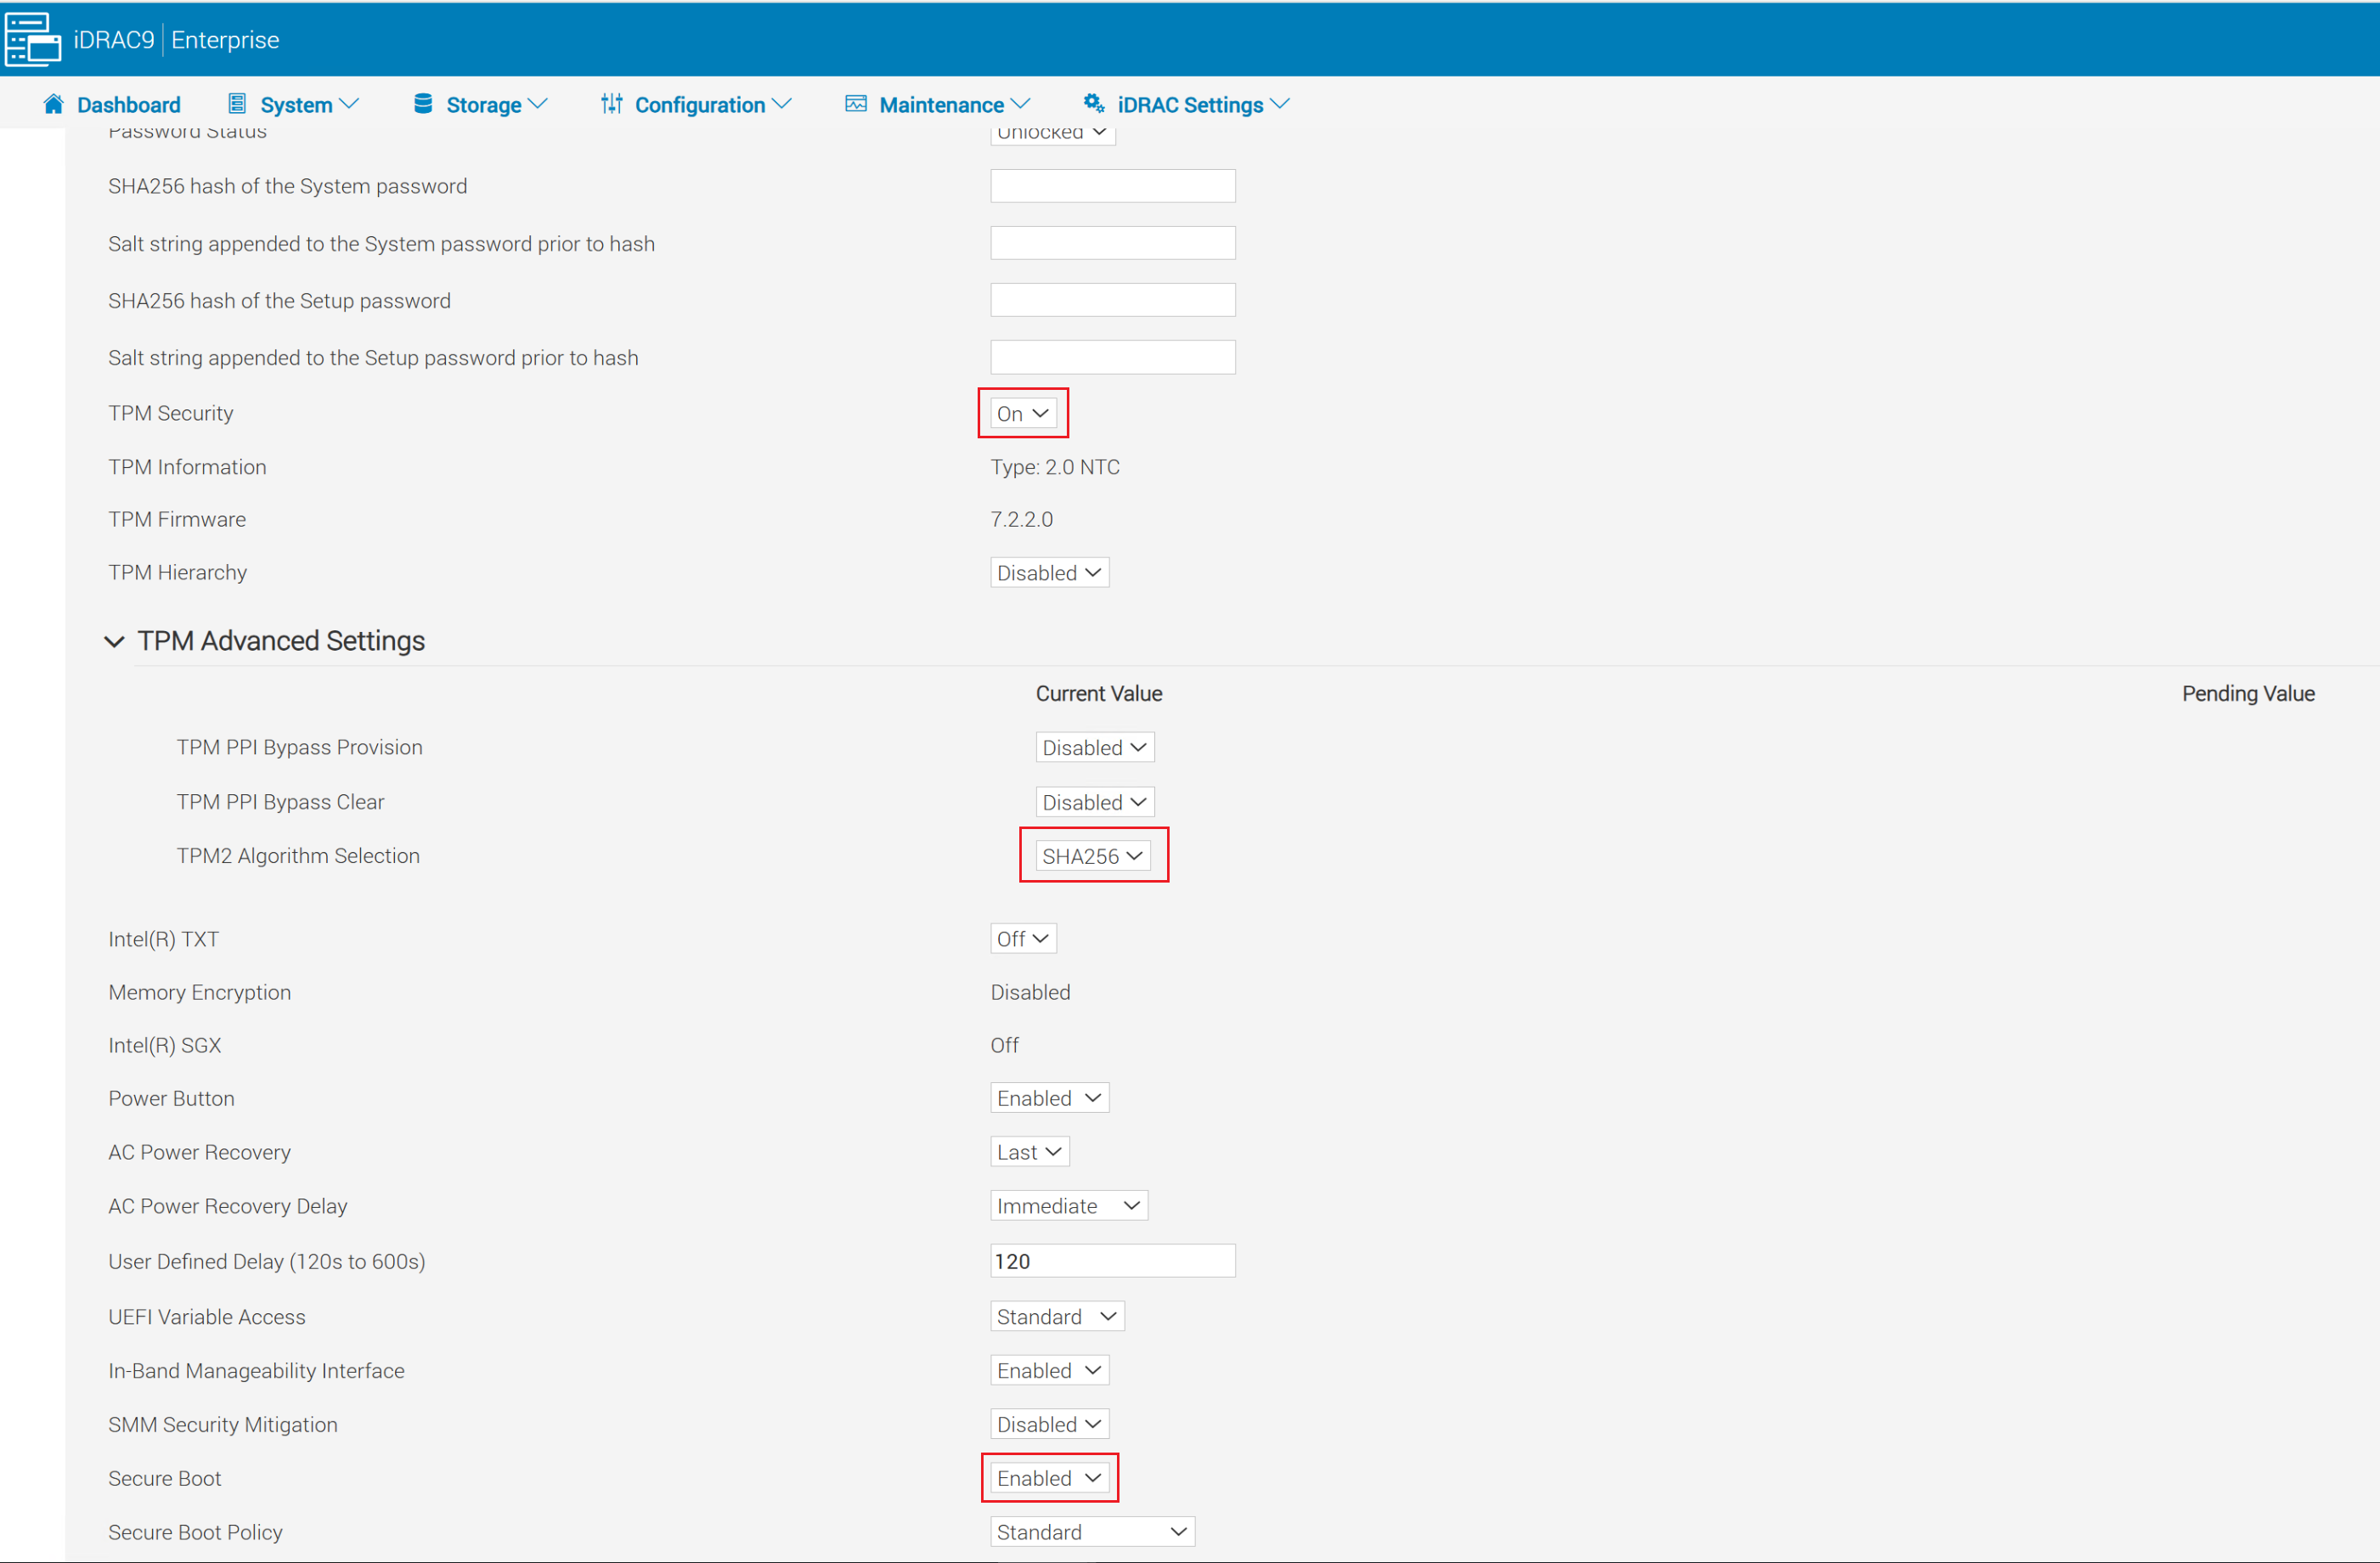
- Log in to the iDRAC web interface and go to Configuration > BIOS Settings > System Security
- Set TPM Security to On
- Expand TPM Advanced Settings and set TPM2 Algorithm Selection to SHA256
- Set Secure Boot to Enabled
- Click Apply at the bottom of the system security settings screen.
- Click Apply and Reboot button in the bottom left corner of the screen.
Enable Secure Boot for ESXi:
Partial Support: Trusted Boot with Attestation.
- UEFI Secure Boot: Verifies bootloader and kernel modules at boot
- TPM Measurements: Stores boot hash measurements in TPM PCRs (used for attestation)
- TPM-Backed Encryption: VM, vSAN, and Core Dump
- vCenter Attestation: Detects if the host booted in a tampered or untrusted state
- vTPM Support on VMs: VMs can be given a virtual TPM for in-guest security functions (also requires vCenter KMS server)
Full Support: Execution Control Lockdown
- Includes all features of Partial Support
- Signed VIB Enforcement: Ensures VIBs are not tampered with
- Only VMware signed VIBs can be installed
- Signed VIBs can only be loaded during ESXi boot
Enable Partial Support in ESXi:
For PowerFlex Rack and Appliance nodes, secure boot must be enabled after PowerFlex Manager deploys the nodes. If it is enabled beforehand, deployments using PowerFlex Manager fail.
Enable partial support, follow these steps:
-
Run the validation script:
/usr/lib/vmware/secureboot/bin/secureBoot.py -c- If it passes, you see "Secure Boot CAN be enabled."
- If it fails, it lists unsigned VIBs. You must remove these before proceeding or the host experiences a Purple Screen on the next boot.
- Enable SSH on the ESXi host and use any SSH client to connect to the ESXi host using the root user.
- Verify security level:
esxcli system settings encryption get- Output should show:
- Mode: None
- Installed VIBs: False
- Require Secure Boot: False
- Output should show:
- Enable TPM mode:
esxcli system settings encryption set --mode=TPM --require-secure-boot=true - Reboot the host.
- Once the host is back online, verify the security level:
esxcli system settings encryption get- Output should now show:
- Mode: TPM
- Installed VIBs: False
- Secure Boot: True
- Output should now show:
- Sync the configuration to the
Bootbank: /bin/backup.sh 0
Enable Full Support in ESXi:
- Enable SSH on the ESXi host and use any SSH client to connect to the ESXi host using the root user.
- Verify security level:
- Output should show:
- Mode: TPM
- Installed VIBs: False
- Require Secure Boot: True
- If the output does not match the above, enable partial support following the instructions above before proceeding.
- Run
esxcli system settings encryption get- Allow kernel to accept VIB enforcement:
esxcli system settings kernel set -s execInstalledOnly -v TRUE - Power off the host and then power the host on (do not use reboot).
- Enable the VIB enforcement by running:
esxcli system settings encryption set --require-exec-installed-only=T - Reboot the node to enforce signed VIBs.
- Once the node is back online, verify the security level:
esxcli system settings encryption get - Sync the running configuration to the
Bootbank:/bin/backup.sh 0
Backup Keys and Configurations:
- SSH to the ESXi host as root
- Display the backup key and copy to a secure location off of the node:
esxcli system settings encryption recovery list- Copy the Recovery Key (second column) and paste into a text file to save for future recovery. Recovery ID can be omitted.
- Generate a host-level backup bundle:
vim-cmd hostsvc/firmware/backup_config - Copy the web URL provided to download the backup bundle. Store this bundle in the same location as the recovery key backup text file.
Enable Secure boot for Linux:
-
SSH to your Linux host as root and validate secure boot is enabled on your machine:
mokutil --sb-stat- The output should have
SecureBootenabled
- The output should have
- If SDC is already installed, continue to step 4.
- If SDC is not installed, install the SDC RPM. The installation should be successful, but the
scinidriver should fail to load. You should get the error message"scini service failed because the control process exited with error code".- To check for details on the error:
- Run
systemctl status scini.service - Run
journalctl -xe
- Run
- If you check
dmesg, you should see: Loading of module with unavailable key is rejected
- To check for details on the error:
- Change directory to
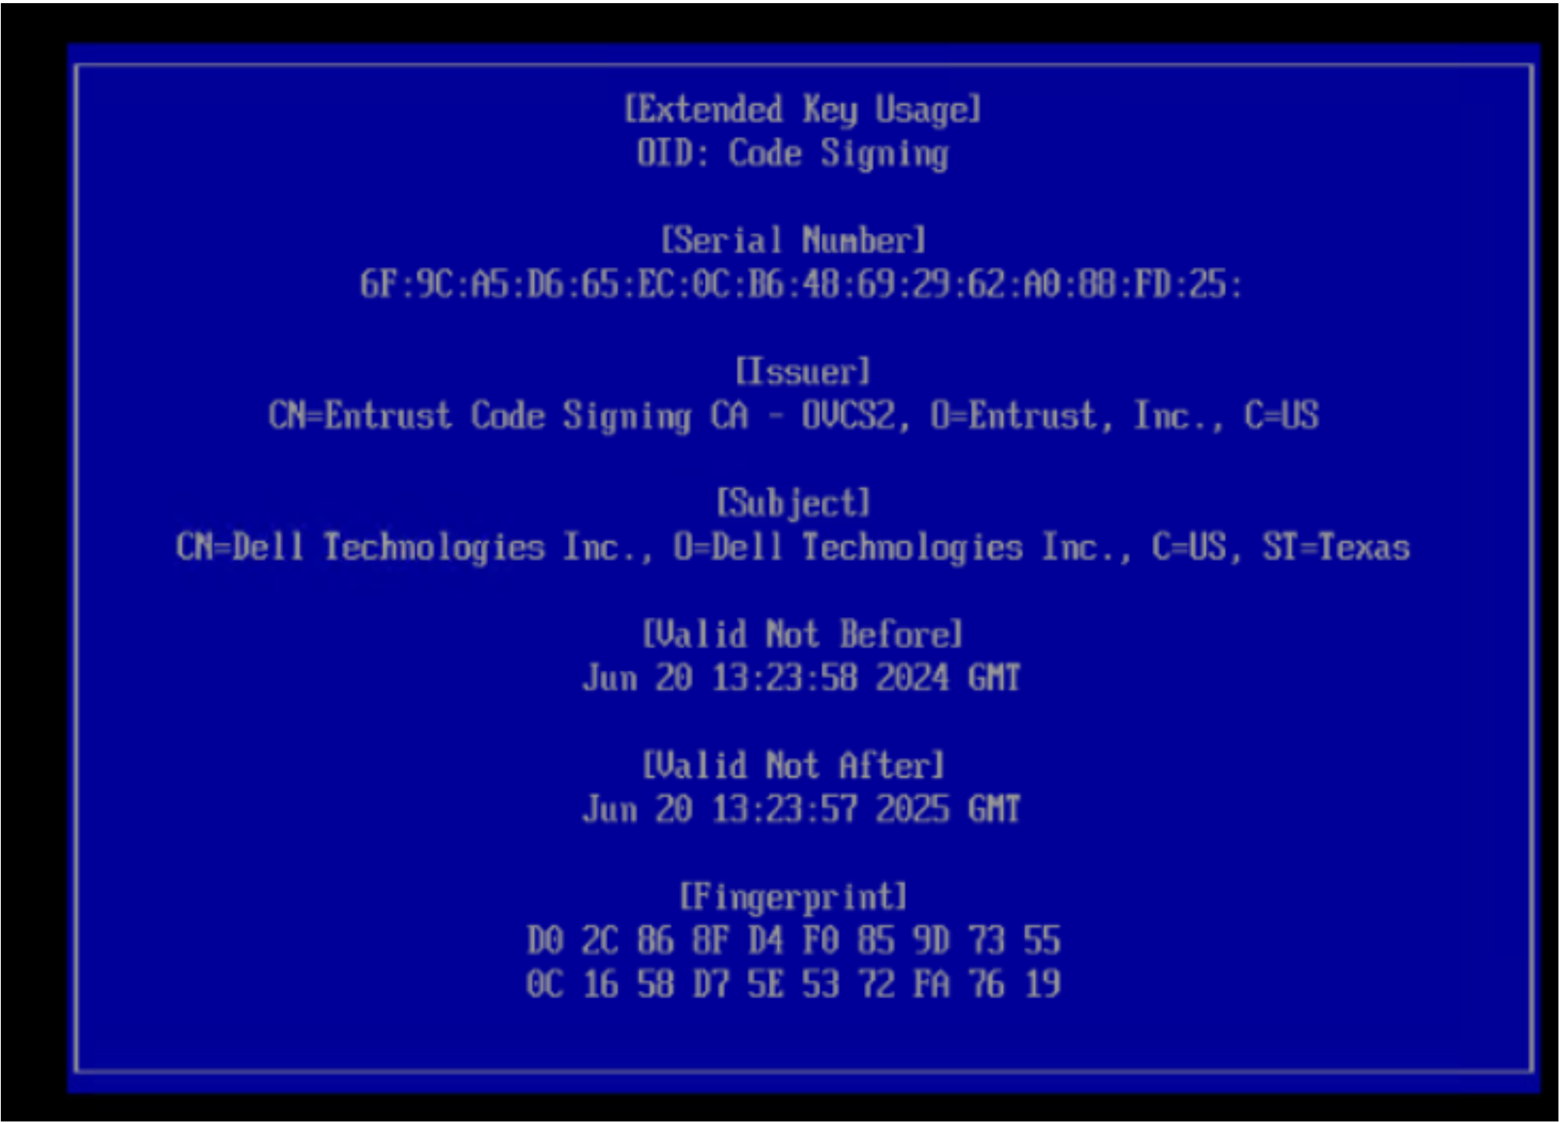
/bin/emc/scaleio/scini_sync/certs/.In this directory you find the SDC certificates. - Run the following command to confirm that they are valid and not expired:
openssl x509 -in <.pem file from directory> -noout -enddate | cut -d= -f2- If the certificate is valid, use the
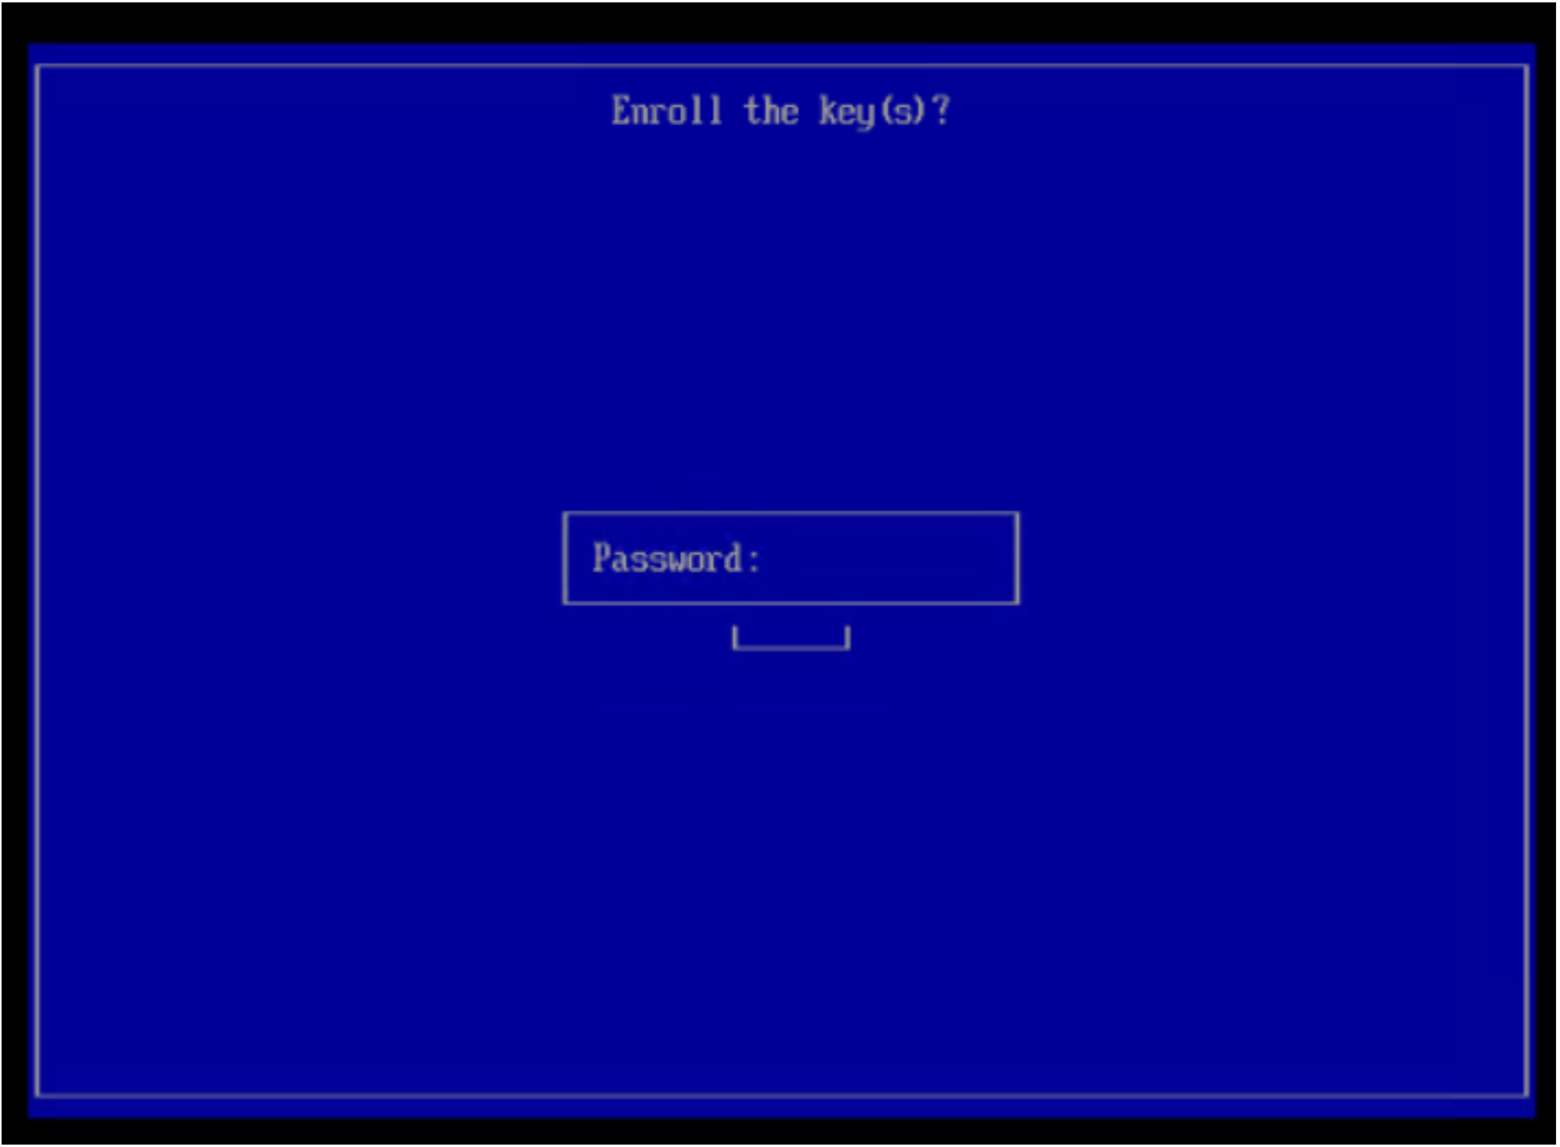
mokutil tookto import the.derfile. You are required to generate a password:
mokutil --import <.der file from directory> (Example: emc_scaleio2026.der)- If the certificate supplied with the SDC package is expired, you may be supplied a certificate in
.pemformat which you must convert to.derformat using the following command:
openssl x509 -in /usr/src/<file.pem> -outform DER -out /usr/src/<file.der>If needed contact Dell support team to get the new signed SDC package and related certificates
- Reboot the host.
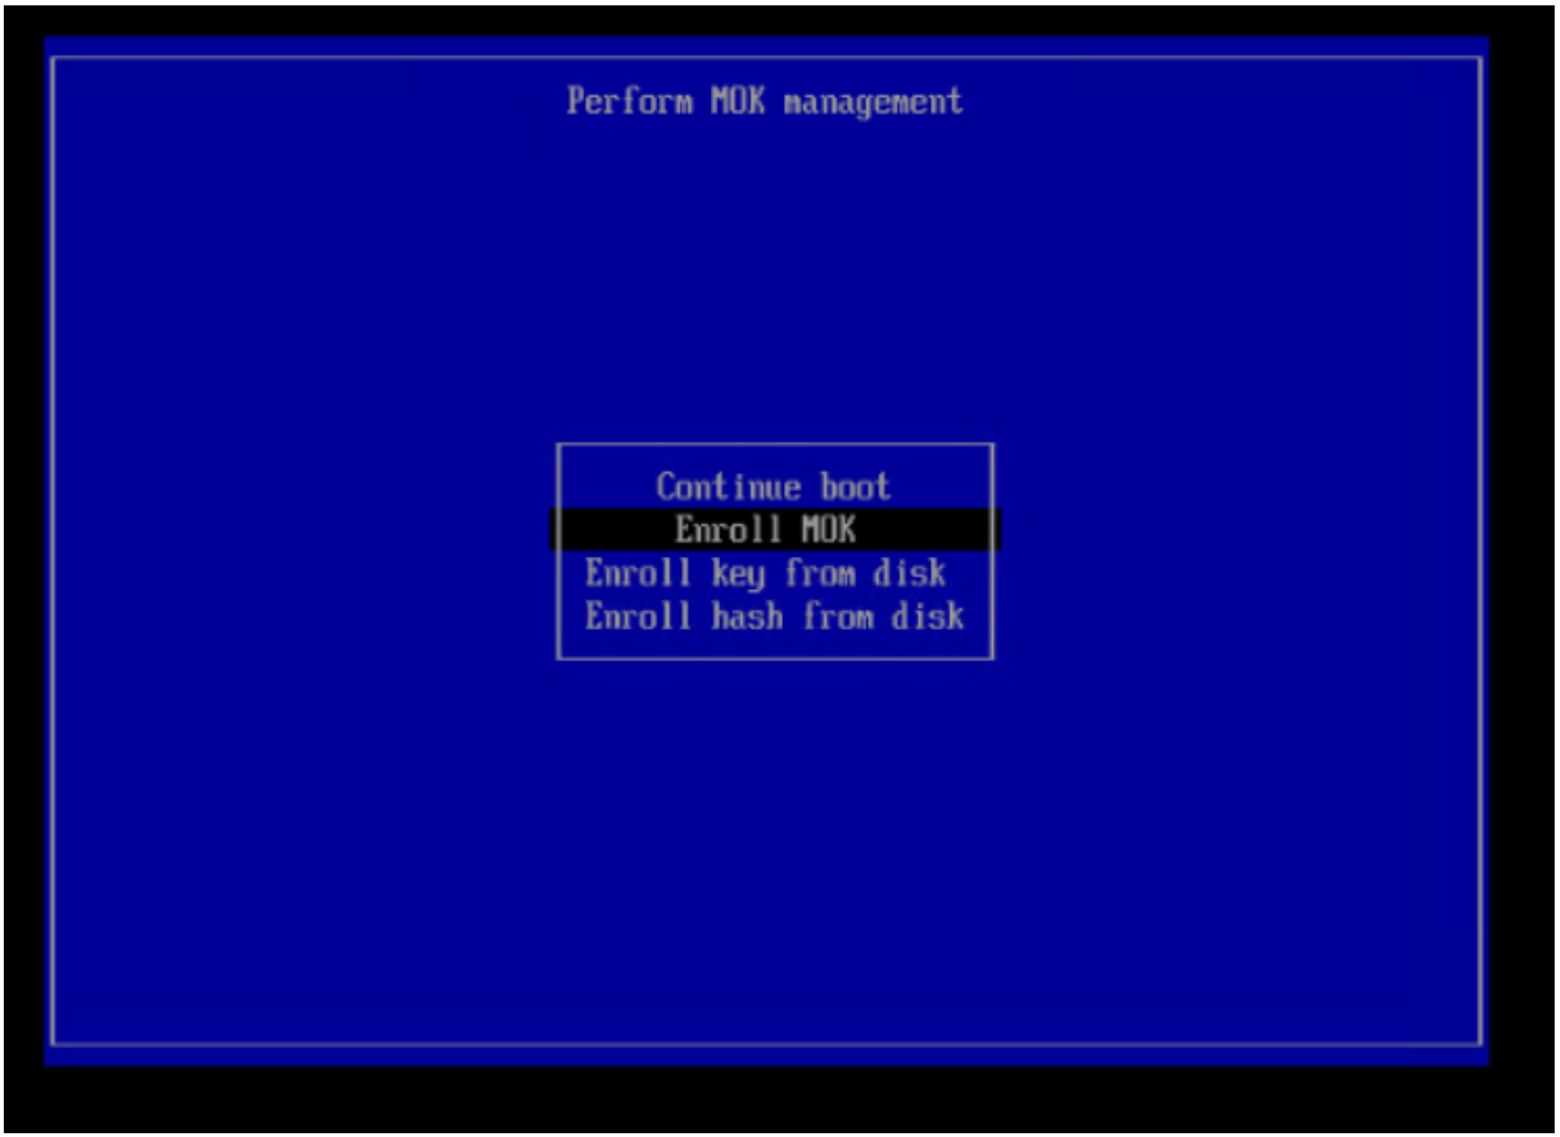
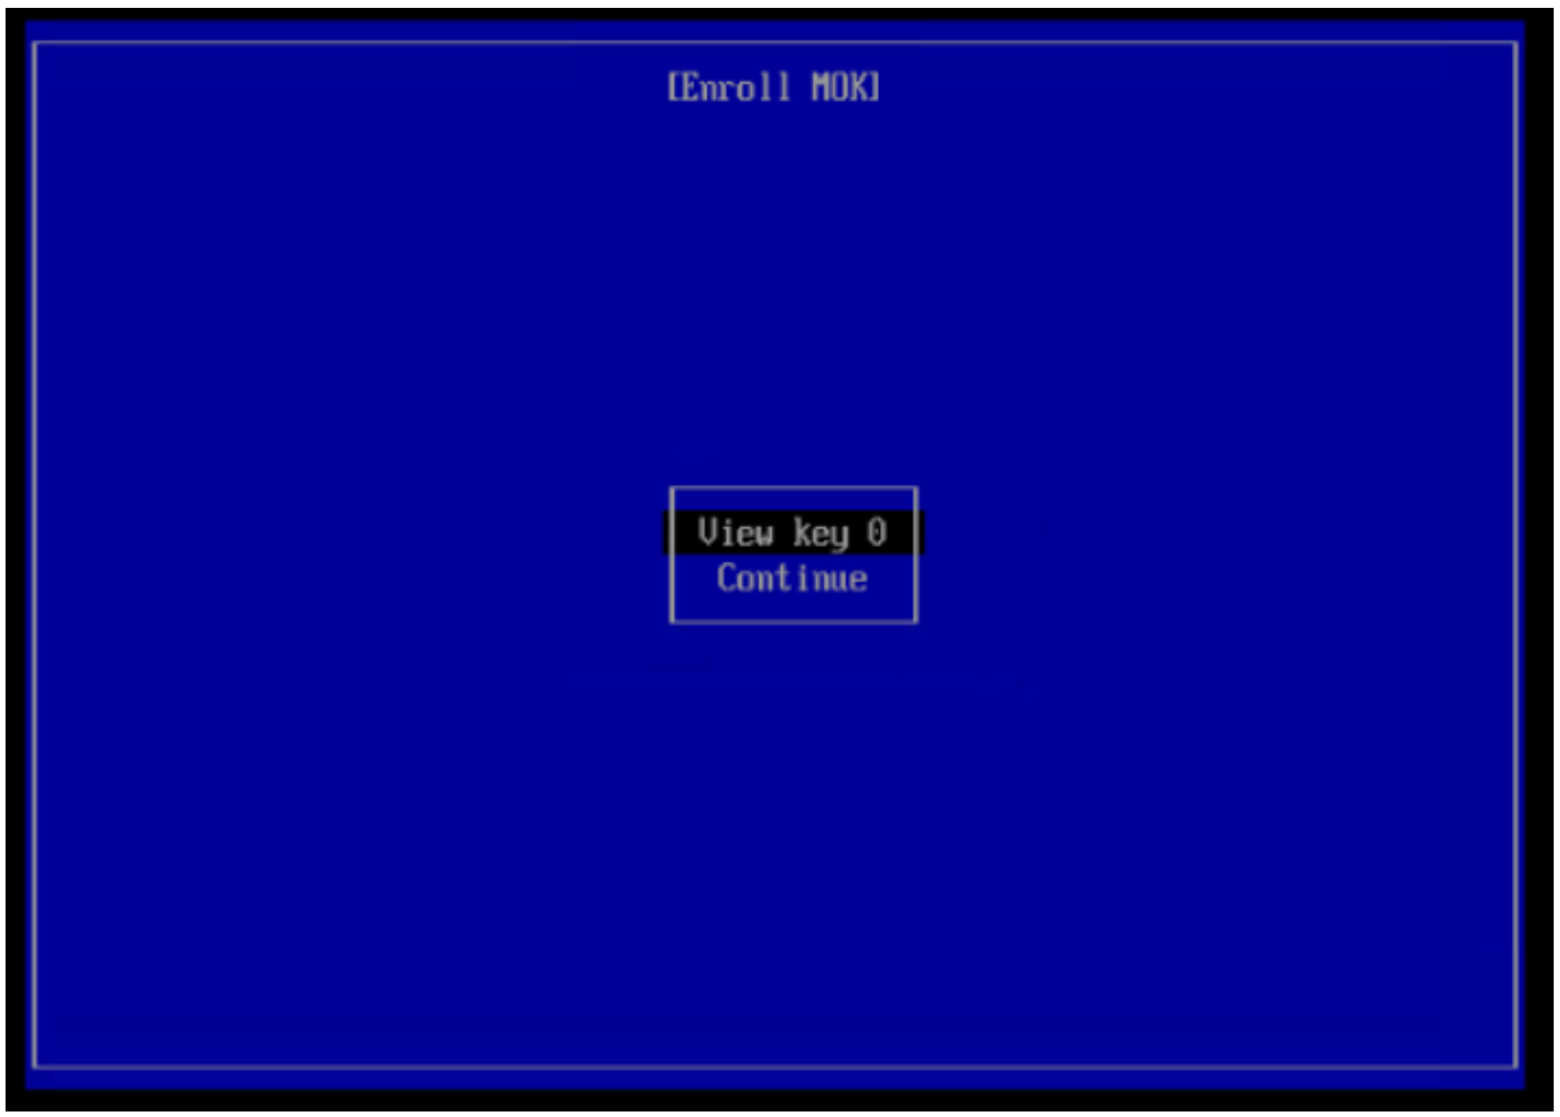
- On boot, before the Linux OS boots, you must enter the Perform MOK management menu. Enter the MOK management and choose Enroll MOK.
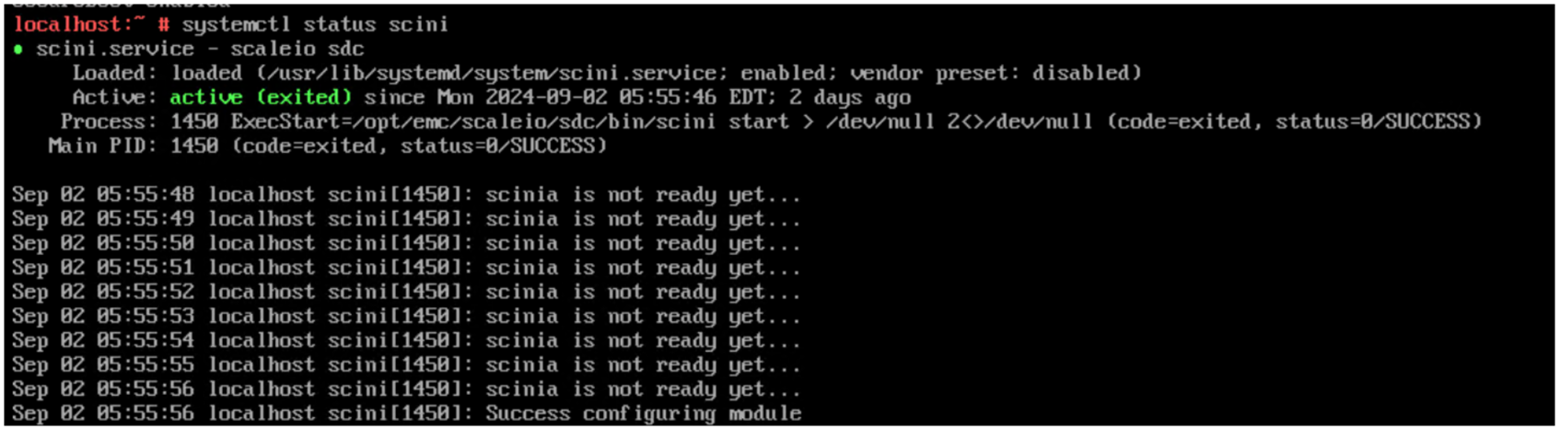
- Log in to the host after reboot and run this command to validate the SDC is up and running:
systemctl status scini.service