VxRail: How to upgrade external vCenter appliance
Summary: This is a How-To KB for how to upgrade an external vCenter prior to upgrading the VxRail Cluster.
Instructions
-Introduction
VxRail requires a minimum vCenter version to be installed before upgrading to find the specific vCenter build required for each VxRail code level refer to the VxRail Support Matrix Support for VxRail Appliance Series | Documentation | Dell US and look up the VxRail code you are planning to upgrade to or also refer to VxRail and external vCenter interoperability matrix https://www.dell.com/support/kbdoc/en-us/000157682/vxrail-vxrail-and-external-vcenter-interoperability-matrix

This How to KB does NOT cover upgrading vSphere environments where the vCenter uses an external database or uses an external update manager refer to the notes section of this KB for articles on upgrading such environments.
*If you run into any issues or have any questions or concerns about upgrading external vCenter please reach out to VMware directly as external vCenter is out of VxRail support scope.
*Verify that your installed plugins ex: RP4VM is upgraded(if required) before upgrading vCenter.
FIRST, confirm if your vCenter is internal/embedded in VxRail.
If internal/embedded vCenter vCenter is upgraded as part of the VxRail upgrade, follow the standard VxRail upgrade process to upgrade vCenter.
This can be confirmed in two ways.
- VxRail vCenter plugin
- Log in to vCenter
- Go to host + clusters (ctrl + alt +2)
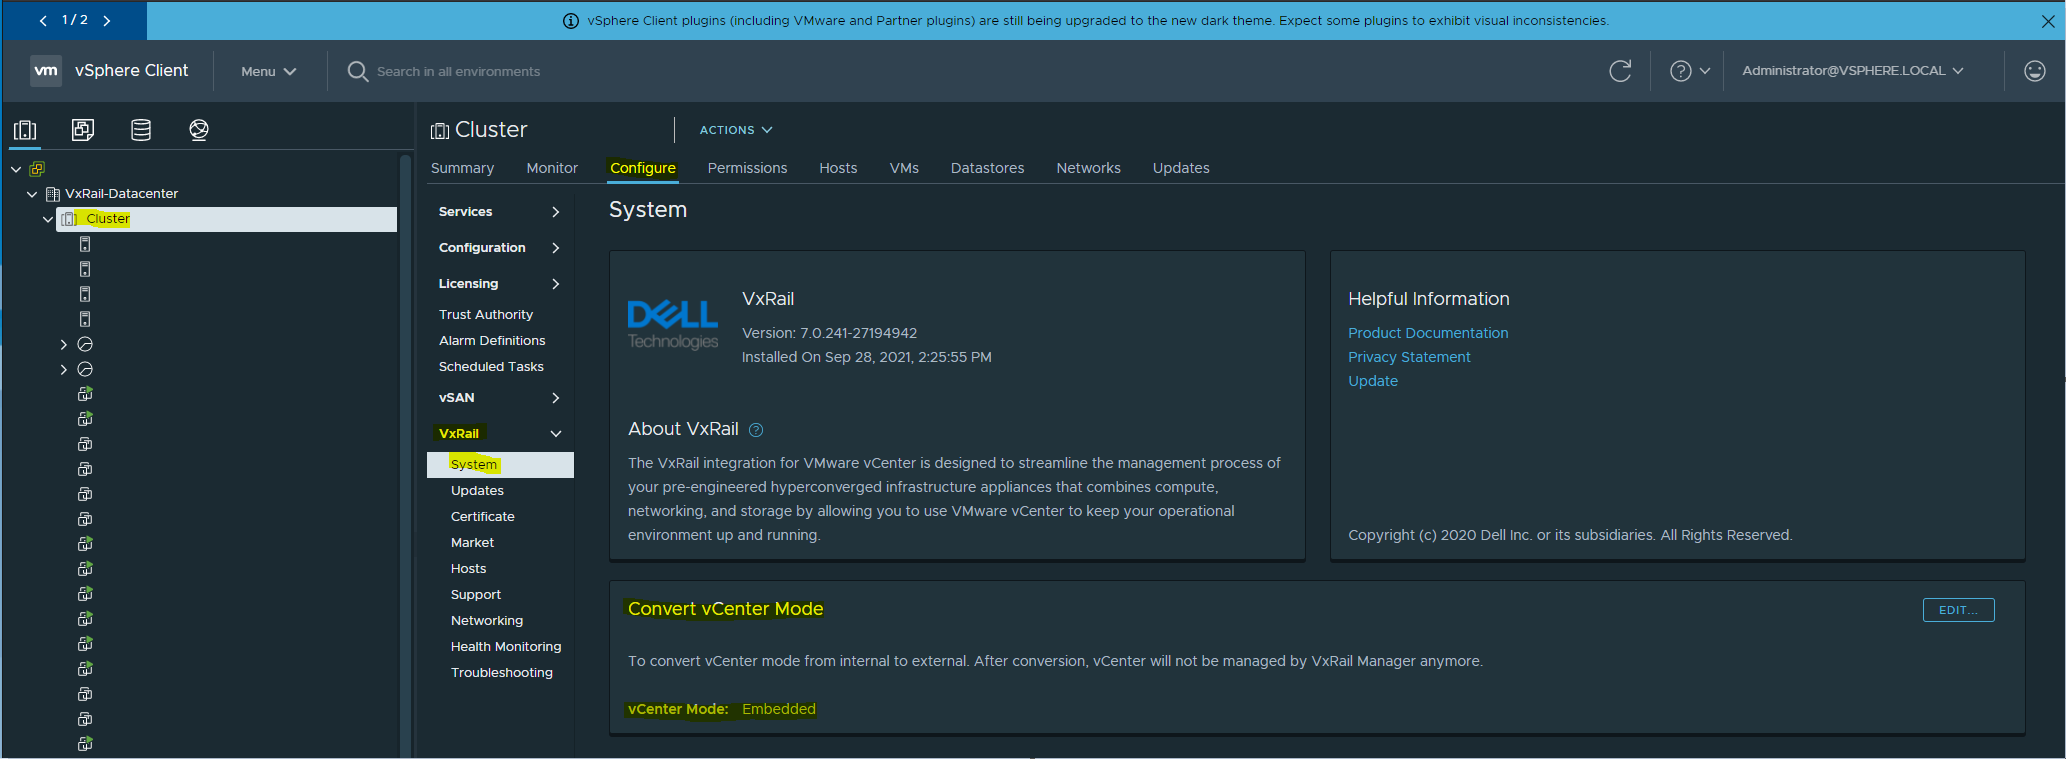
- Select the VxRail cluster then configure the tab
- Scroll down to under the VxRail header and select system
- If vCenter is external, Convert vCenter Mode will not be present within this view
- If vCenter is internal, Convert vCenter mode will be present
- VxRail CLI
- SSH to VxRail Manager virtual machine (VM) with mystic credentials
- For VxRail code on 4.7 or later than 7.0.010 run command
grep data.joinExternalVC= /var/lib/vmware-marvin/runtime.properties
- If the returned value = 0 or is blank, then vCenter is internal to VxRail
- If the returned value = 1 then vCenter is external
Once vCenter is confirmed external to VxRail, proceed with the upgrade.
There are three ways to upgrade vCenter, one is through the vCenter installation .iso, vCenter patch iso, or in vSphere 6.5 and above through the vCenter server Appliance Management (VAMI)
If upgrading laterally or horizontally (upgrading to a build within the same platform such as 6.5 U2 8307201 to 6.5 U2e 11347054)
- vCenter appliance patch iso
- vCenter Server Appliance Management (VAMI)
If upgrading vertically (upgrading to a new platform such as 6.5 to 6.7)
- Upgrade through new vCenter appliance installation iso
-Build Upgrade
As there are two ways to upgrade the vCenter build either through a VMware patch iso or through the VAMI page.
- The patch iso path should be considered if you must upgrade to a specific build number within the same major version number ex: 6.7 7.0
- The VAMI path should be considered if you want to upgrade to the latest version regardless of the build
-Platform Upgrade
If upgrading vertically (upgrading to a new platform such as 6.5 to 6.7), you must download the new vCenter installation iso from your company's MyVmware account.
Once downloaded mount it to your local machine.
- vCenter installer upgrade is the only path to conduct a platform upgrade, keep in mind it may require you to do a build upgrade after deployment depending on the version of the installation iso
-Patch ISO
- Go to https://my.vmware.com/group/vmware/patch
log in with your company's MyVmware account and select VC from the Search by Product field
- Select which build number you want to upgrade to and download the respective patch iso
- Take the necessary backups and/or snapshots of the vCenter appliance and platform service controller(if applicable)
- Upload the ISO to the vSan datastore
- Attach patch ISO to the cd drive of the vCenter appliance
- Once attached open a console through the web or ssh login at vCenter root
- Once logged in and at the shell (enter shell after logging in as root) issue command software-packages stage --iso
- After vCenter finishes staging the patches issue software-packages install --staged
- Once the patch completes issue shutdown reboot -r "patch reboot" to restart vCenter to complete the patch installation then detach the patch iso from the vCenter cd drive
(if you have external platform service controller repeat steps 5 to 9 but on the Platform Service Controller)
-vCenter Server Appliance Management (VAMI)
- Go to https://ip_or_fqdn_of_vcenter_applaince:5480
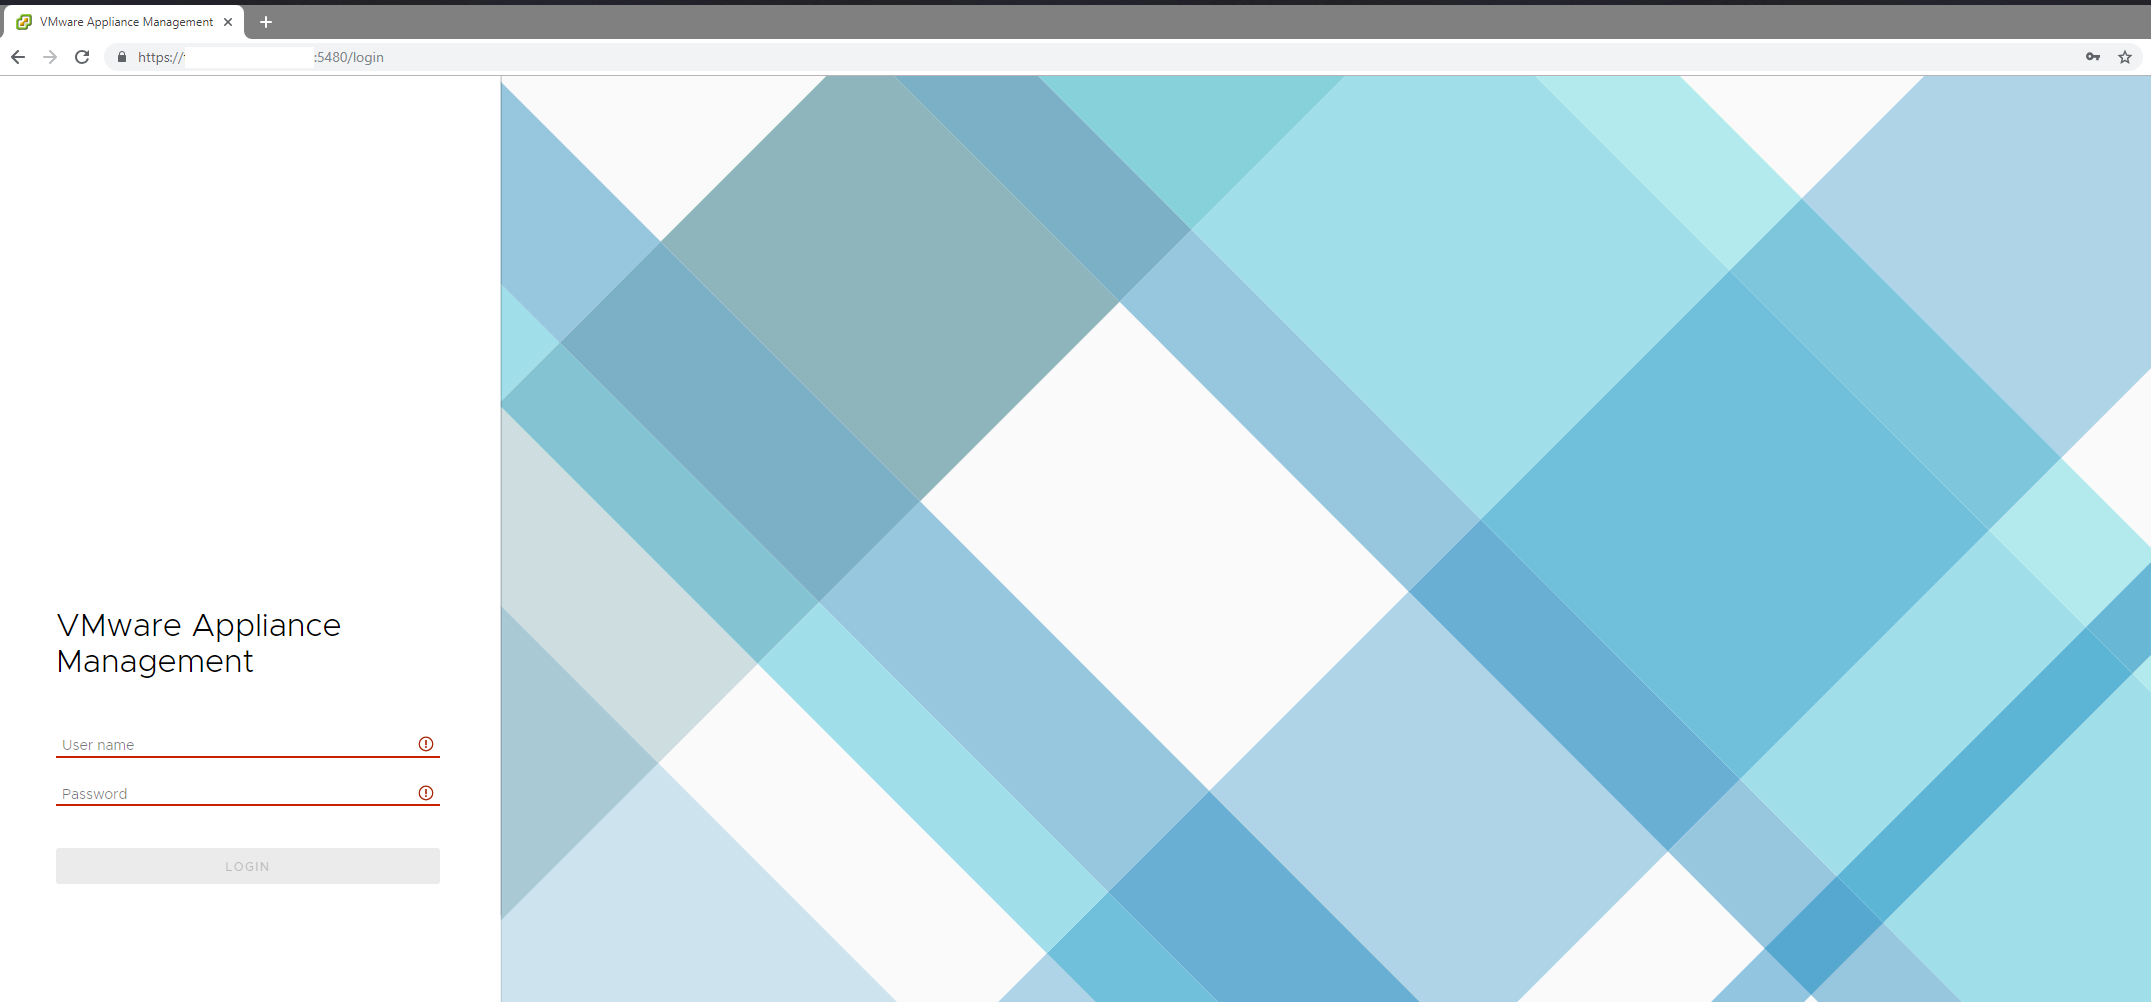
- Login as vCenter root
- At the Appliance Management page, go to update > check update > check CD ROM + URL
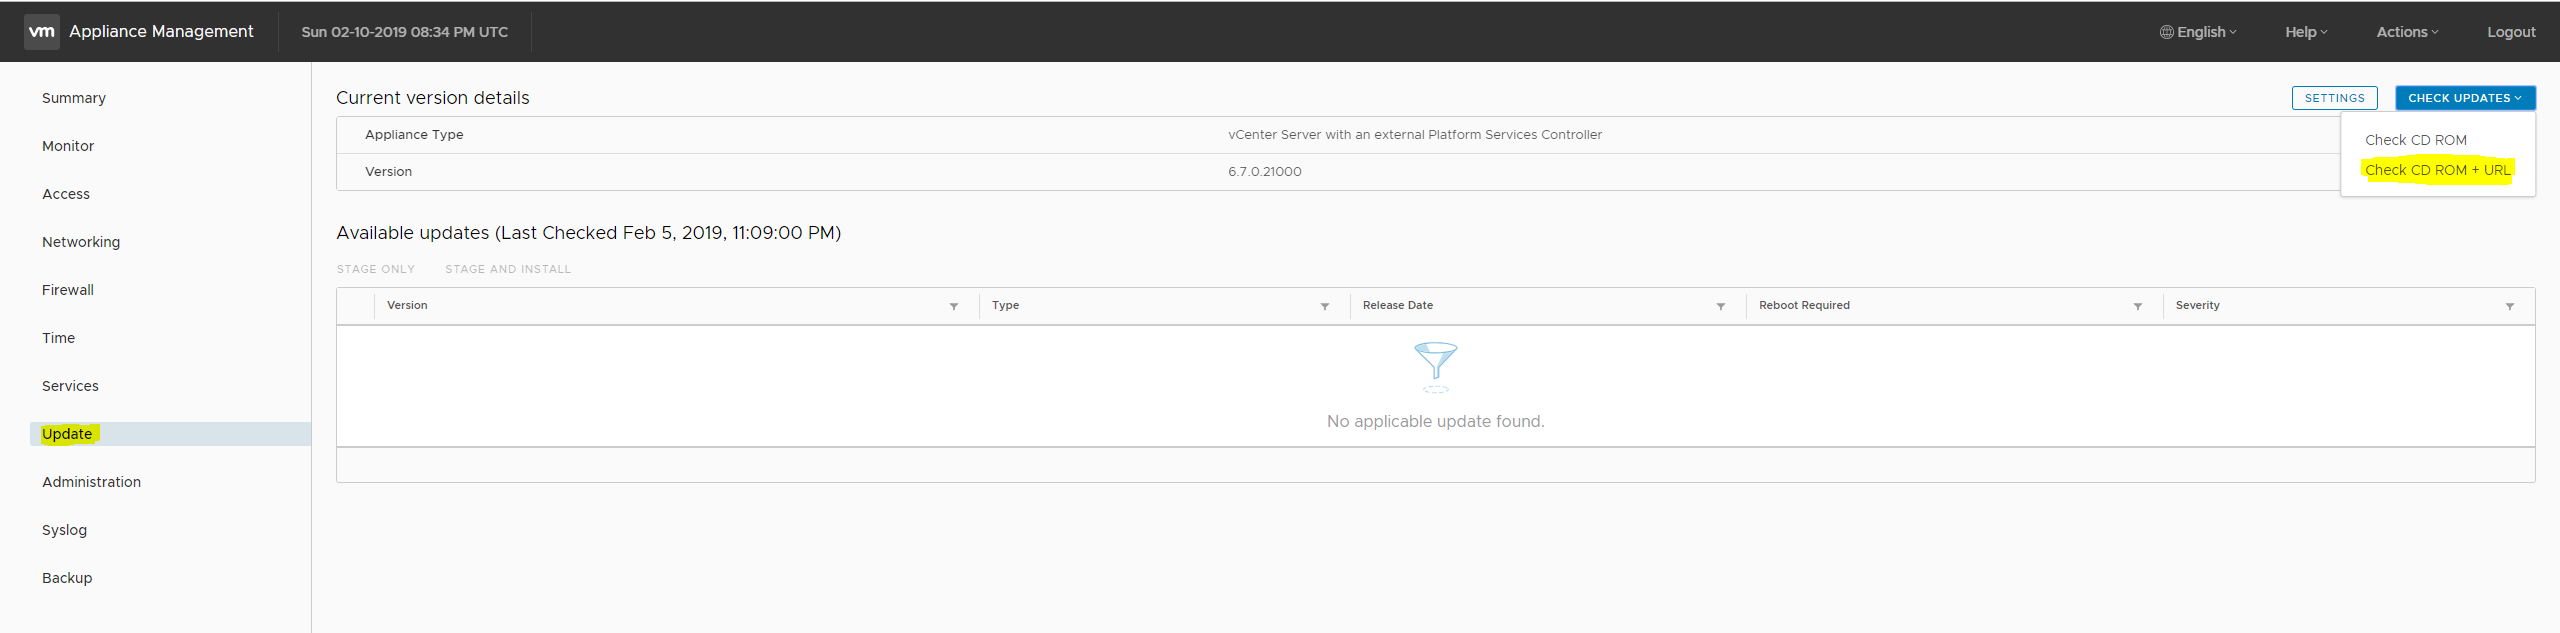
- After the Available updates populate, take the necessary backups and/or snapshots of vCenter and platform service controller(if applicable)
- Click on install updates and install all updates
- Accept the EULA
- After installation completes click ok then reboot vCenter and platform service controller
enter Installer upgrade
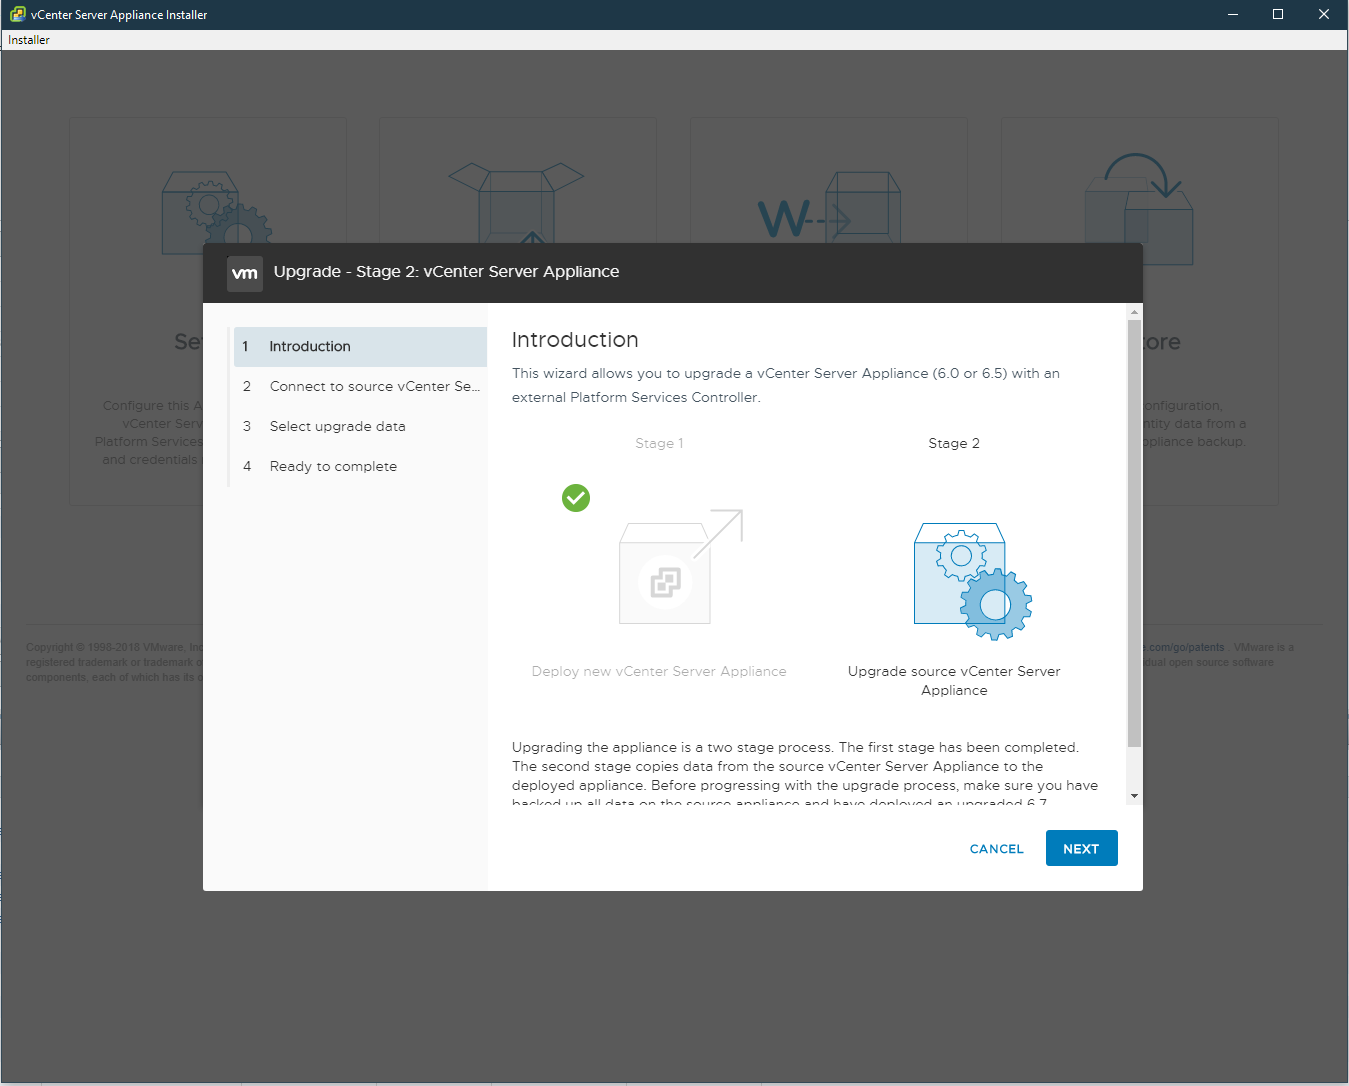
This is a two-stage process, stage one deploys the new vCenter and platform service controller(if applicable) stage two copies configurations, users, and identity of the original appliance
It is important to disable DRS in the cluster before upgrading via the vCenter installer.
If you have an external Platform Service Controller, you must upgrade it first before the vCenter appliance.
Stage 1 (Platform Service controller skip this if you have vCenter with embedded Platform Service Controller)
- Take the necessary backups and/or snapshots of the vCenter appliance and platform service controller(if applicable)
- Download the installation iso of the upgraded version of vCenter from your company's MyVmware account 6.5: https://my.vmware.com/group/vmware/info?slug=datacenter_cloud_infrastructure/vmware_vsphere/6_5
- Once you have downloaded the installer iso mount it to your local computer
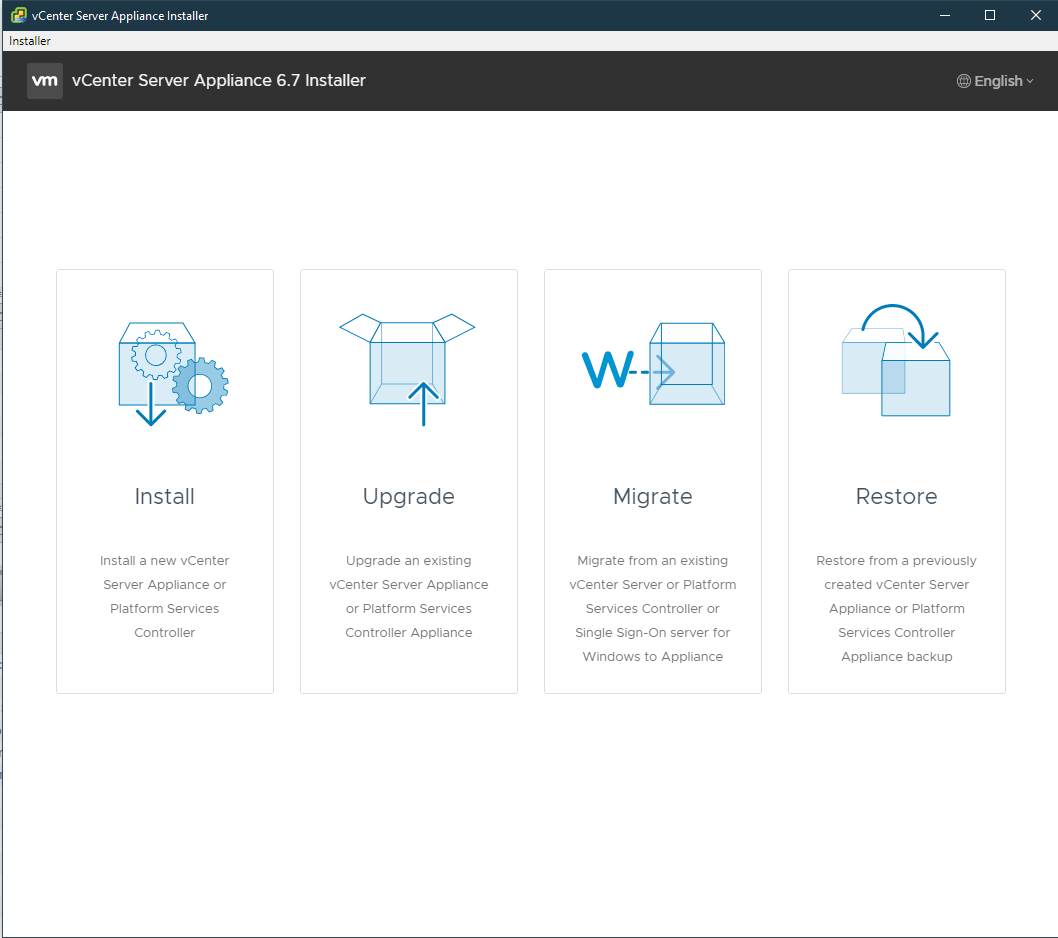
- Once mounted go vcsa-UI-installer > win32 > installer.exe
- At the main installer page , click on the upgrade
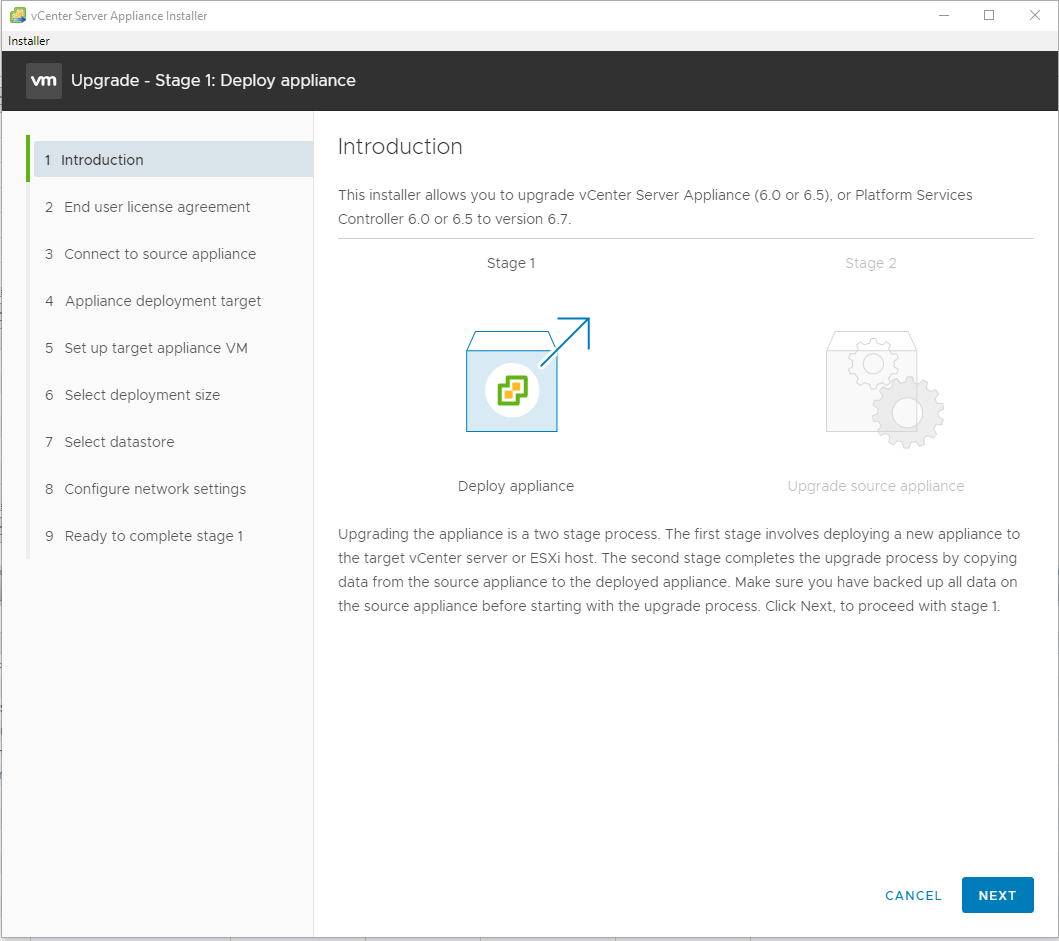
- At the introduction, click next
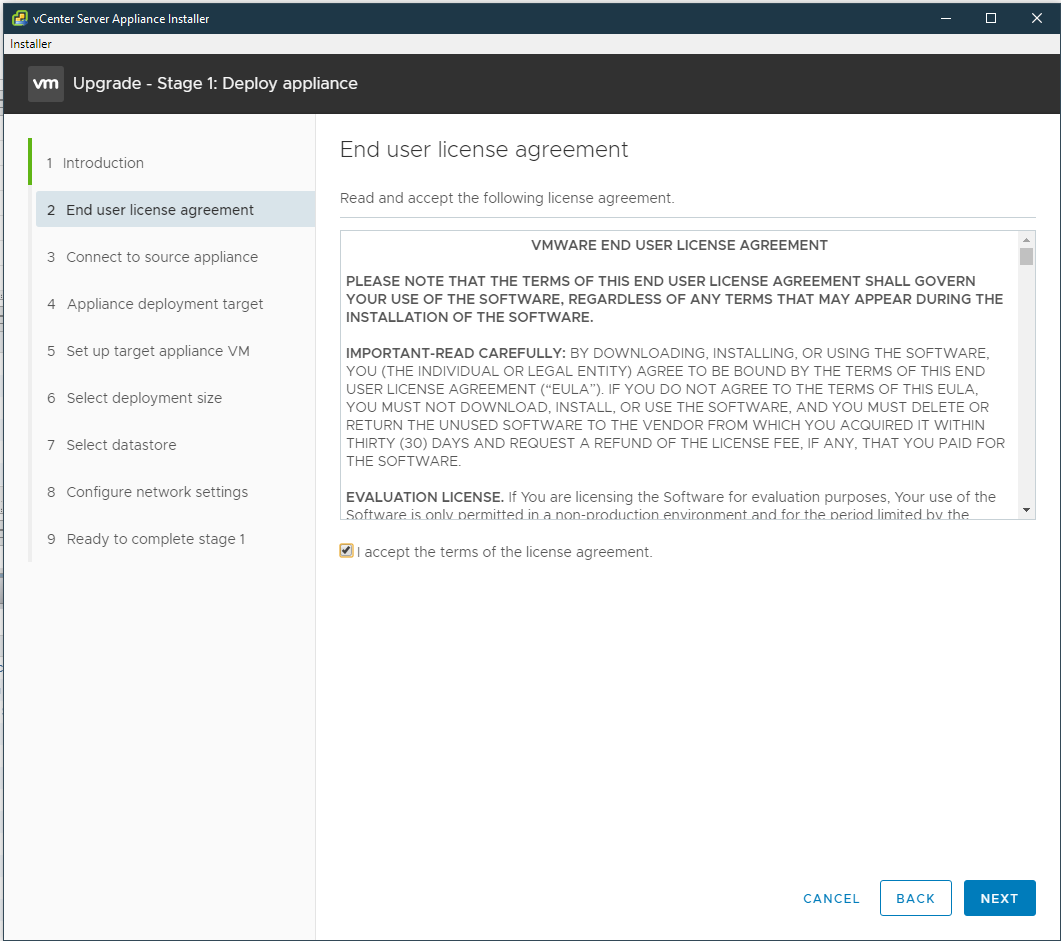
- Accept the EULA then click next

- Enter the IP, or the FQDN of the Platform Service Controller then click next
- Enter administrator@vsphere.local credentials for SSO User Name, Platform Service Controller (PSC) root password for Appliance (OS) root password. The host IP or fqdn of where the PSC VM is currently running on, and host root credentials then click next

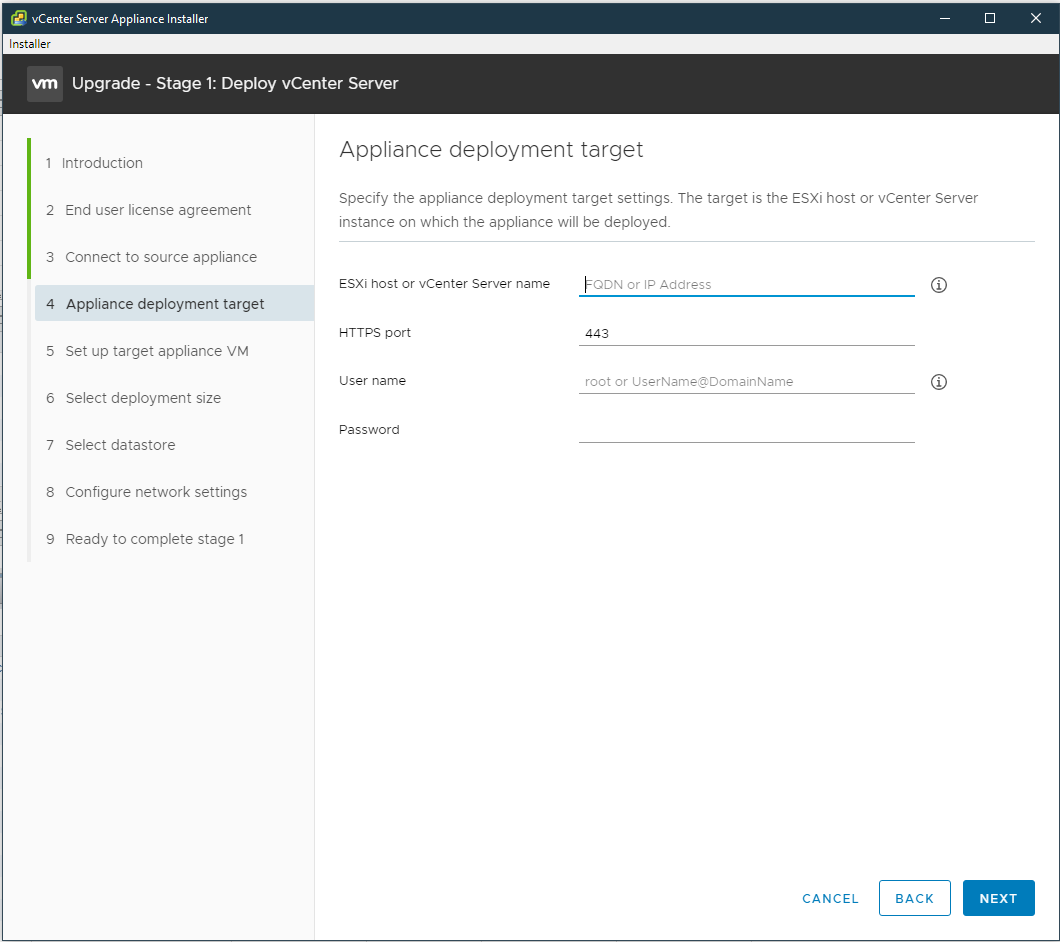
- At Appliance deployment target, enter the vCenter IP or fqdn into "ESXi host or vCenter Server name," and administrator@vsphere.local credentials for username and password then click next
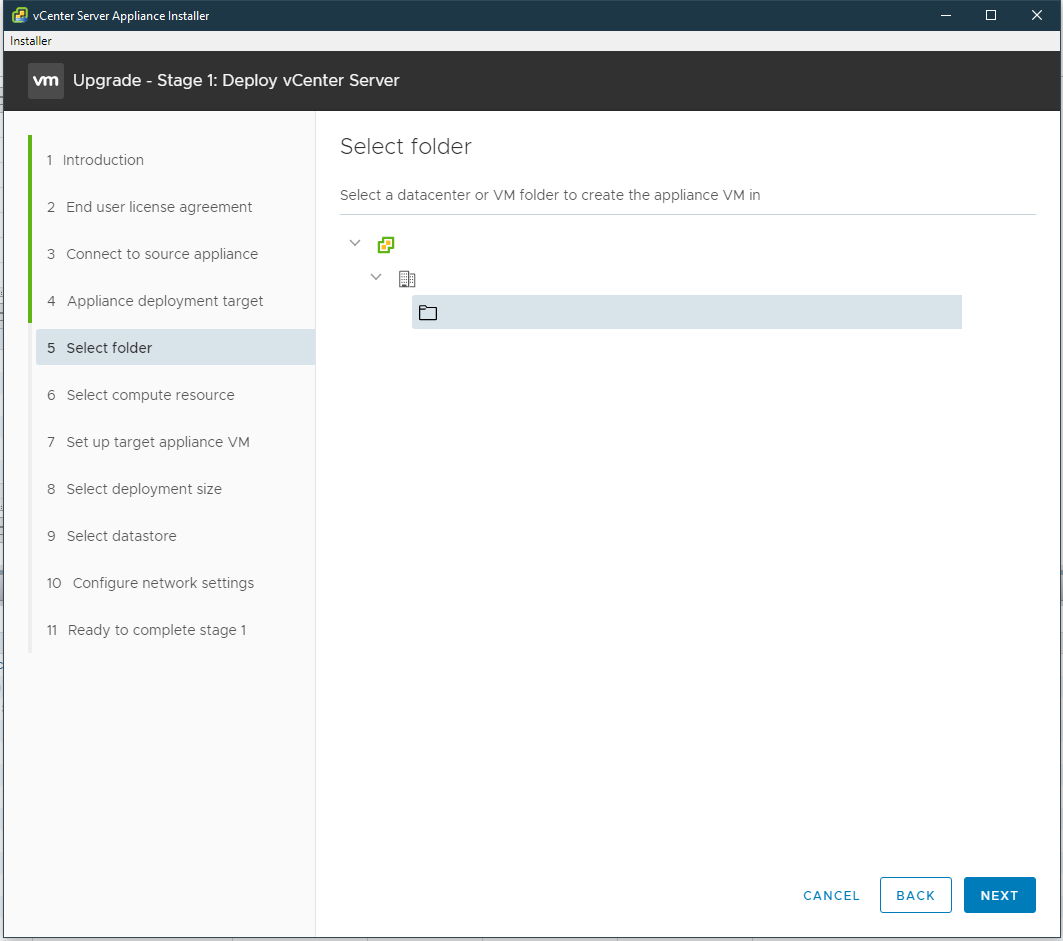
- At Select folder drill down, vCenter > Datacenter > Discovered virtual machine(if you already have a user created VM container choose that instead) then click next

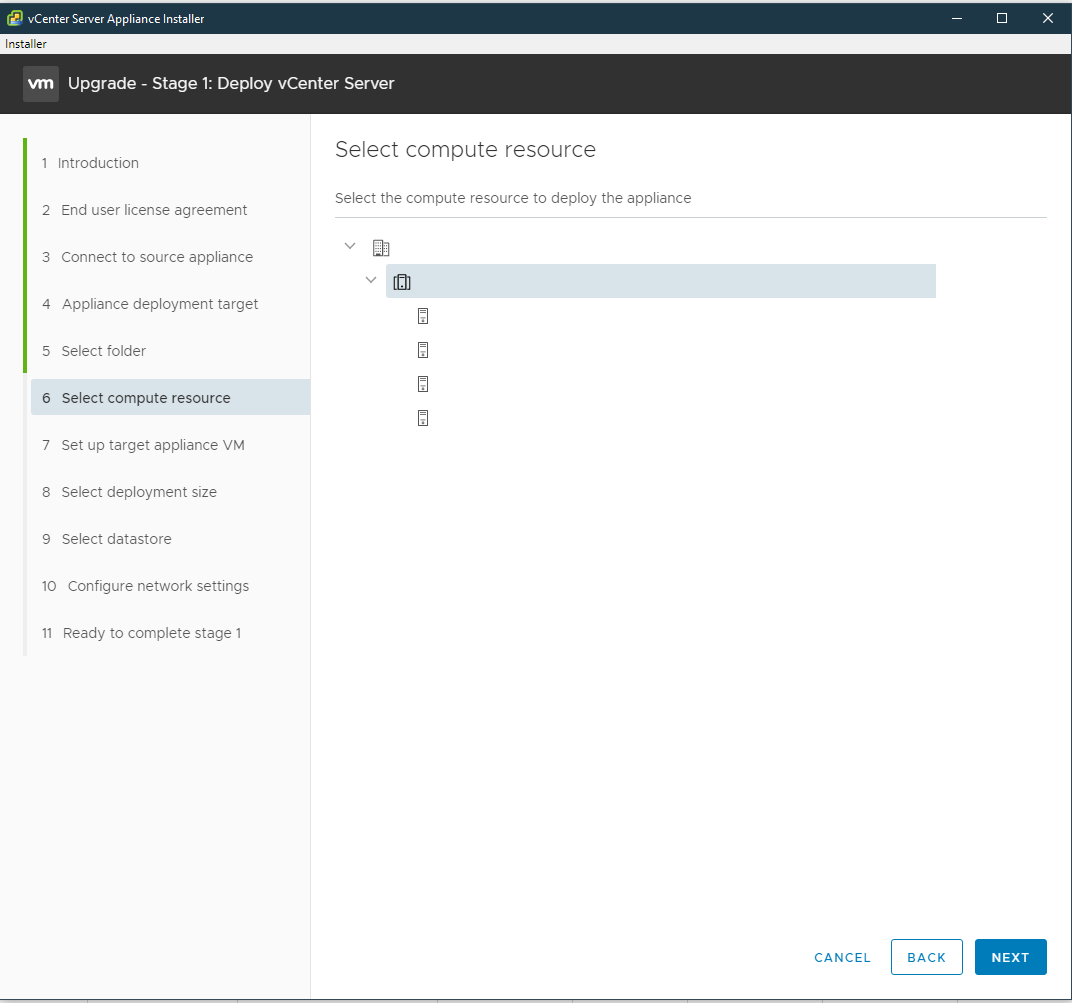
- At select compute resource select a host to house the newly deployed appliance then click next
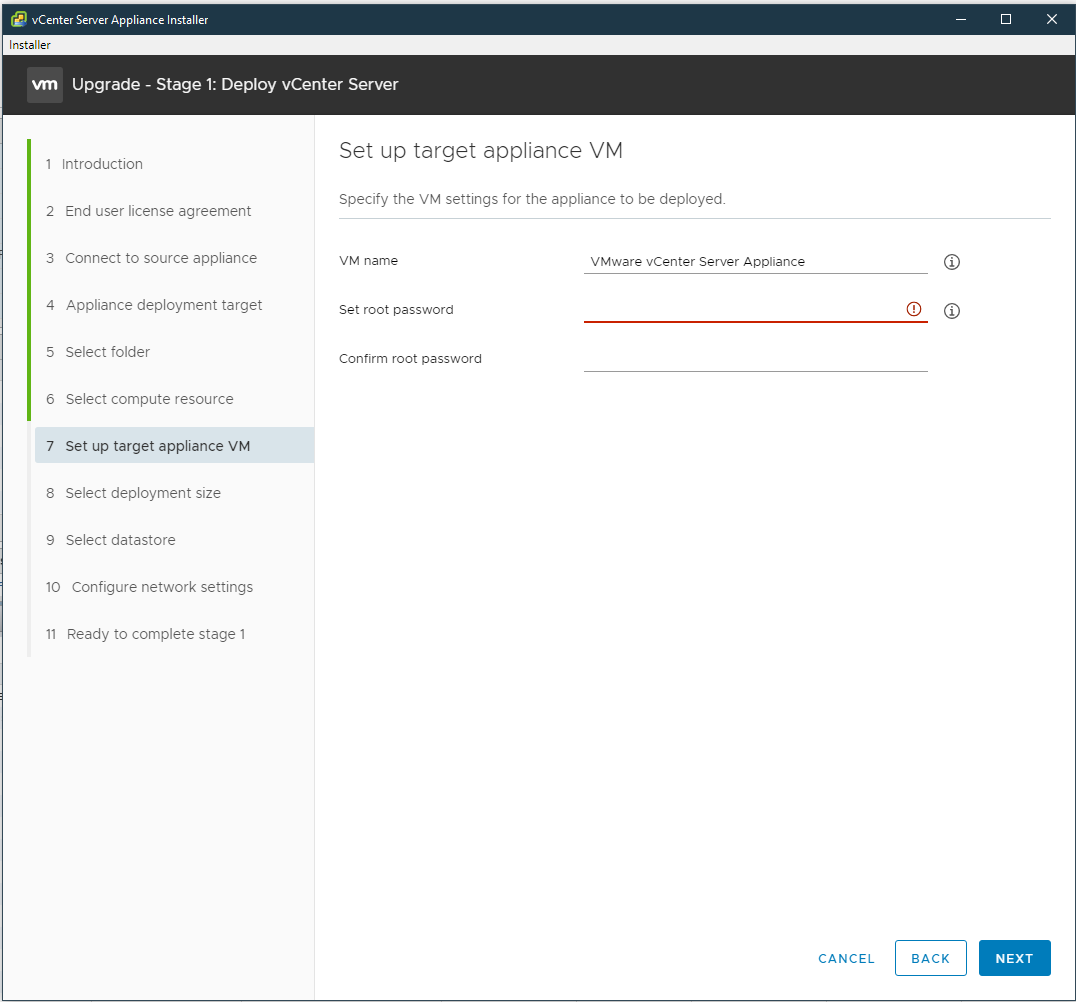
- At the Step up target appliance VM, enter the same name the original PSC VM with either 6.5 or 6.7 at the end then click next
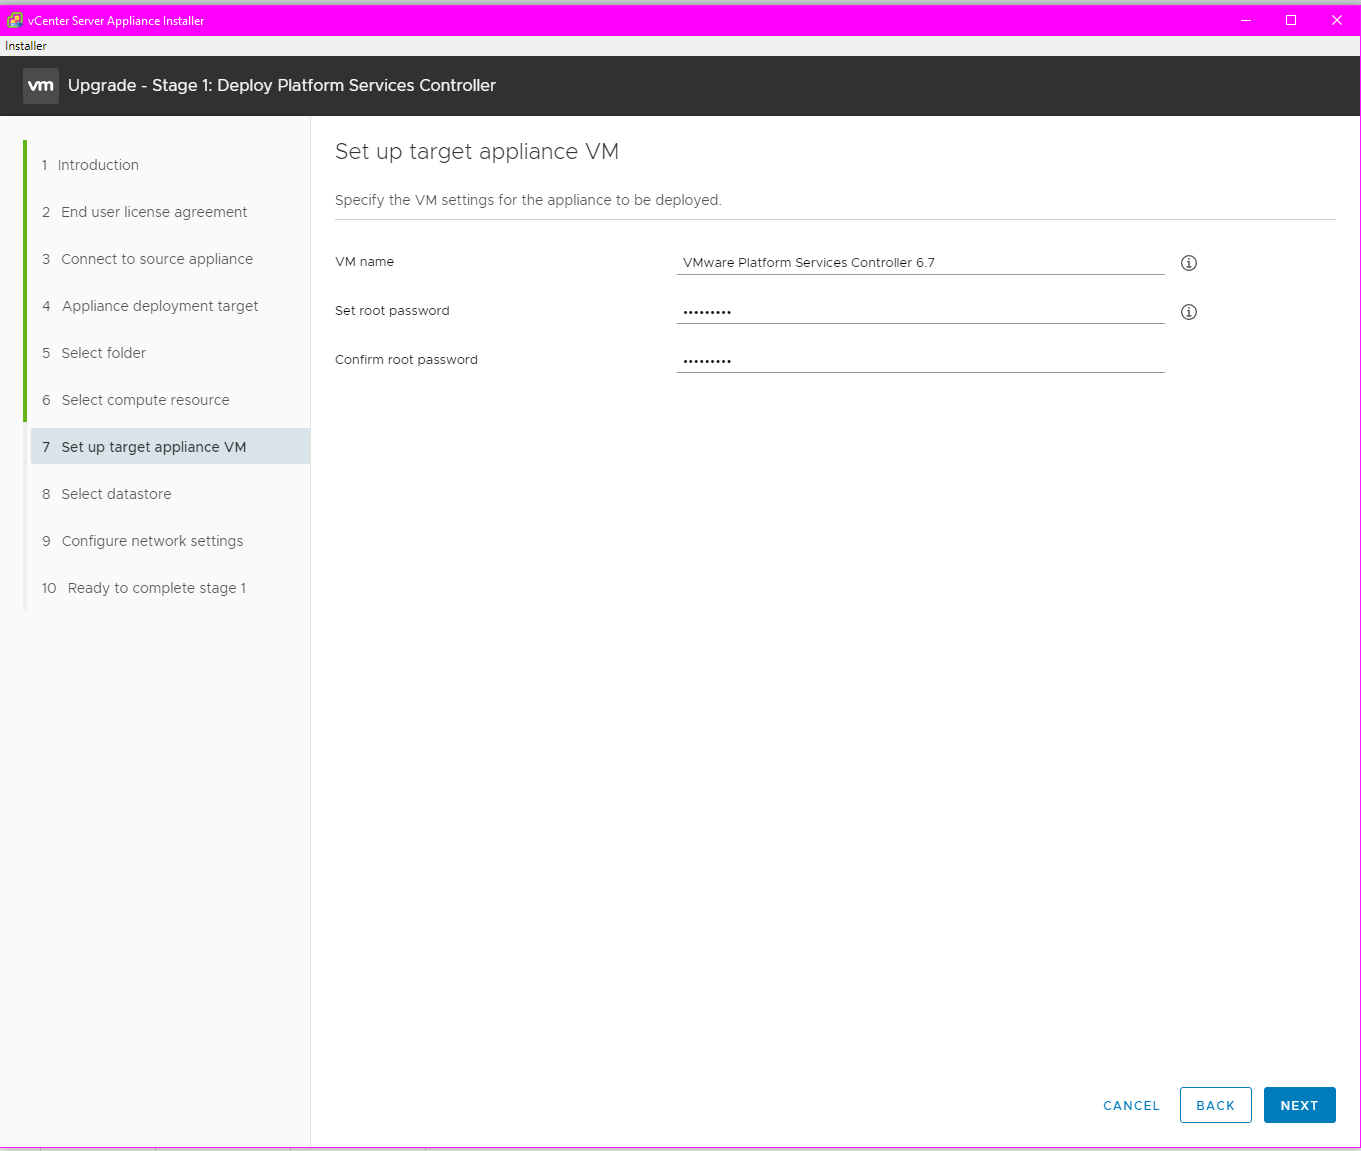
- At select datastore, select the vSAN datastore and check to enable thin disk mode then click next

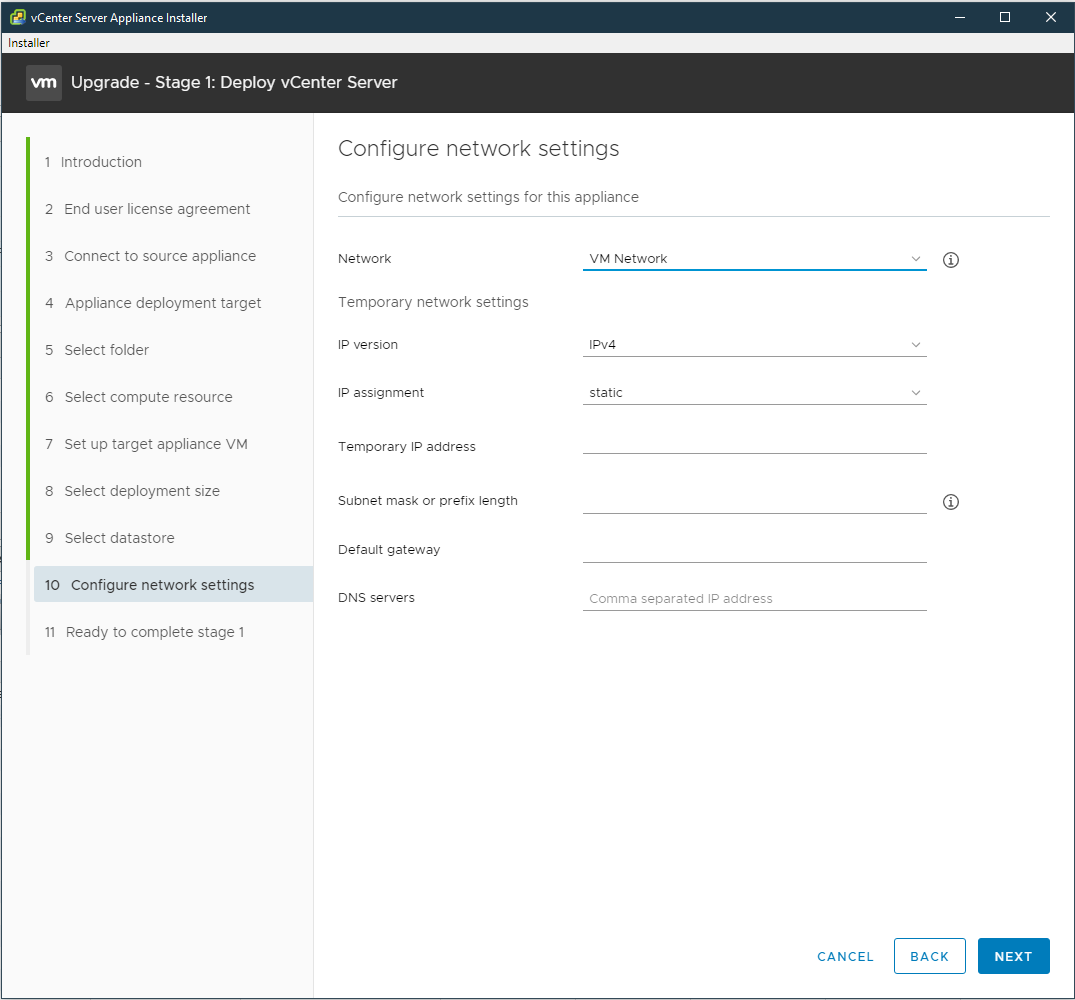
- At Configure network settings for Network select the same port-group of the original Platform Service Controller, for Temporary network settings enter a static IP that can reach out to the original Platform Service Controller on and a default gateway and DNS servers this temporary address is used only during the data transfer between the original and the new appliance.
- At the Ready to complete stage 1 review and confirm the information and click finish
- Wait for the Platform Service Controller to finish deploying
- After it is finished, proceed to stage two of the Platform Service Controller upgrade
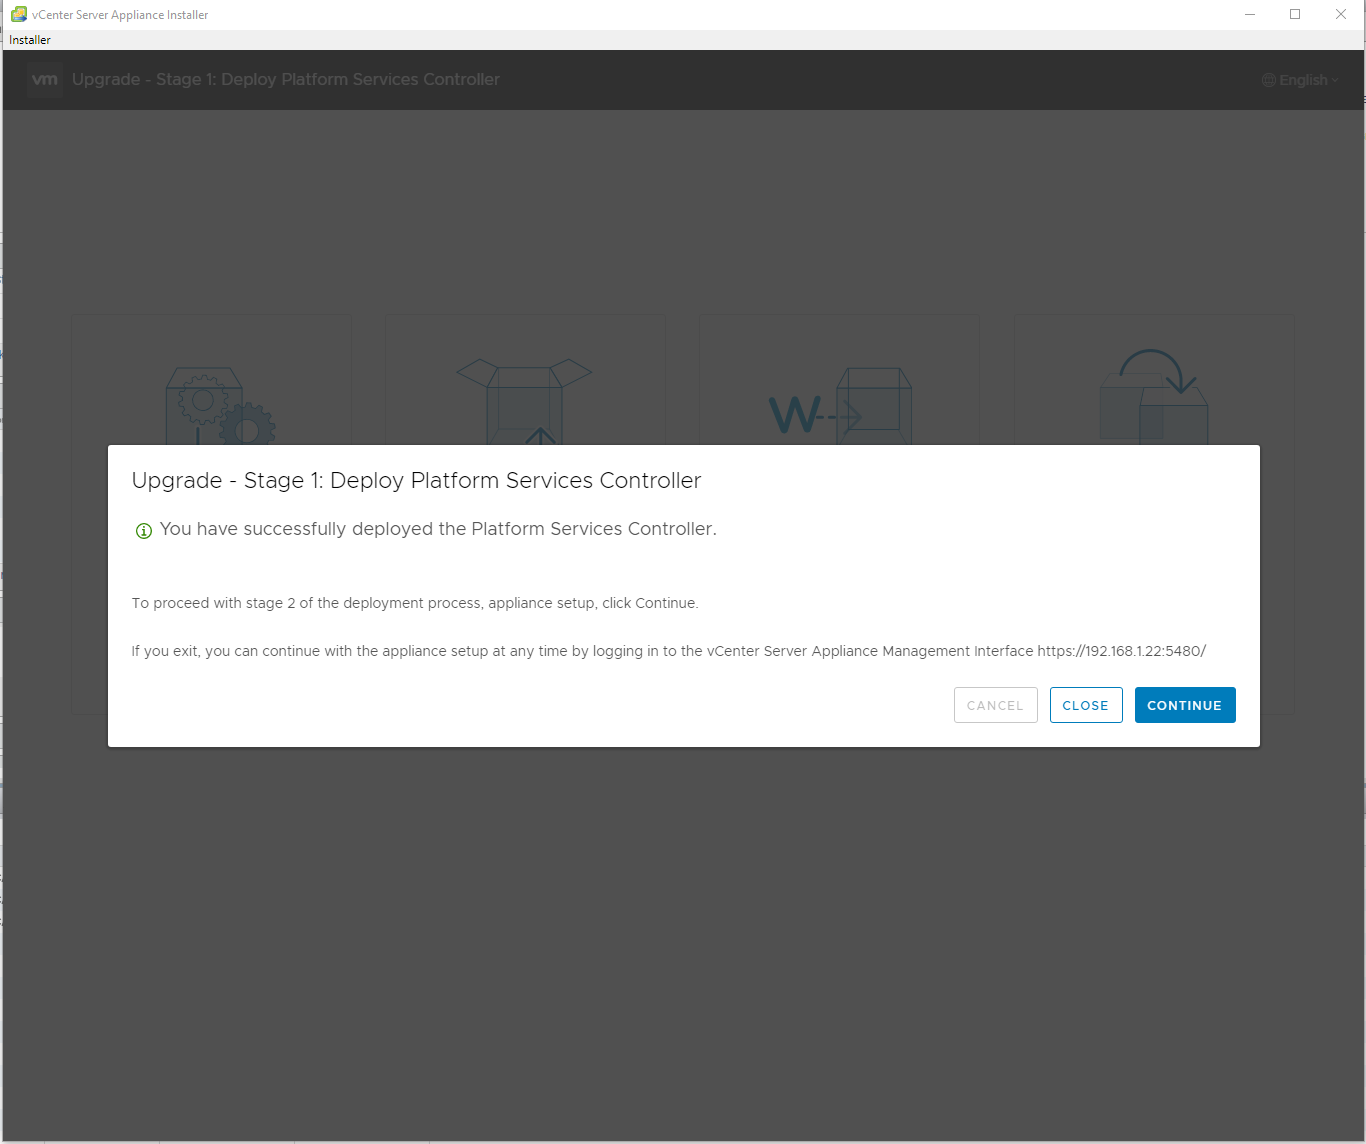
Stage 2 (Platform Service Controller upgrade)
- Click continue
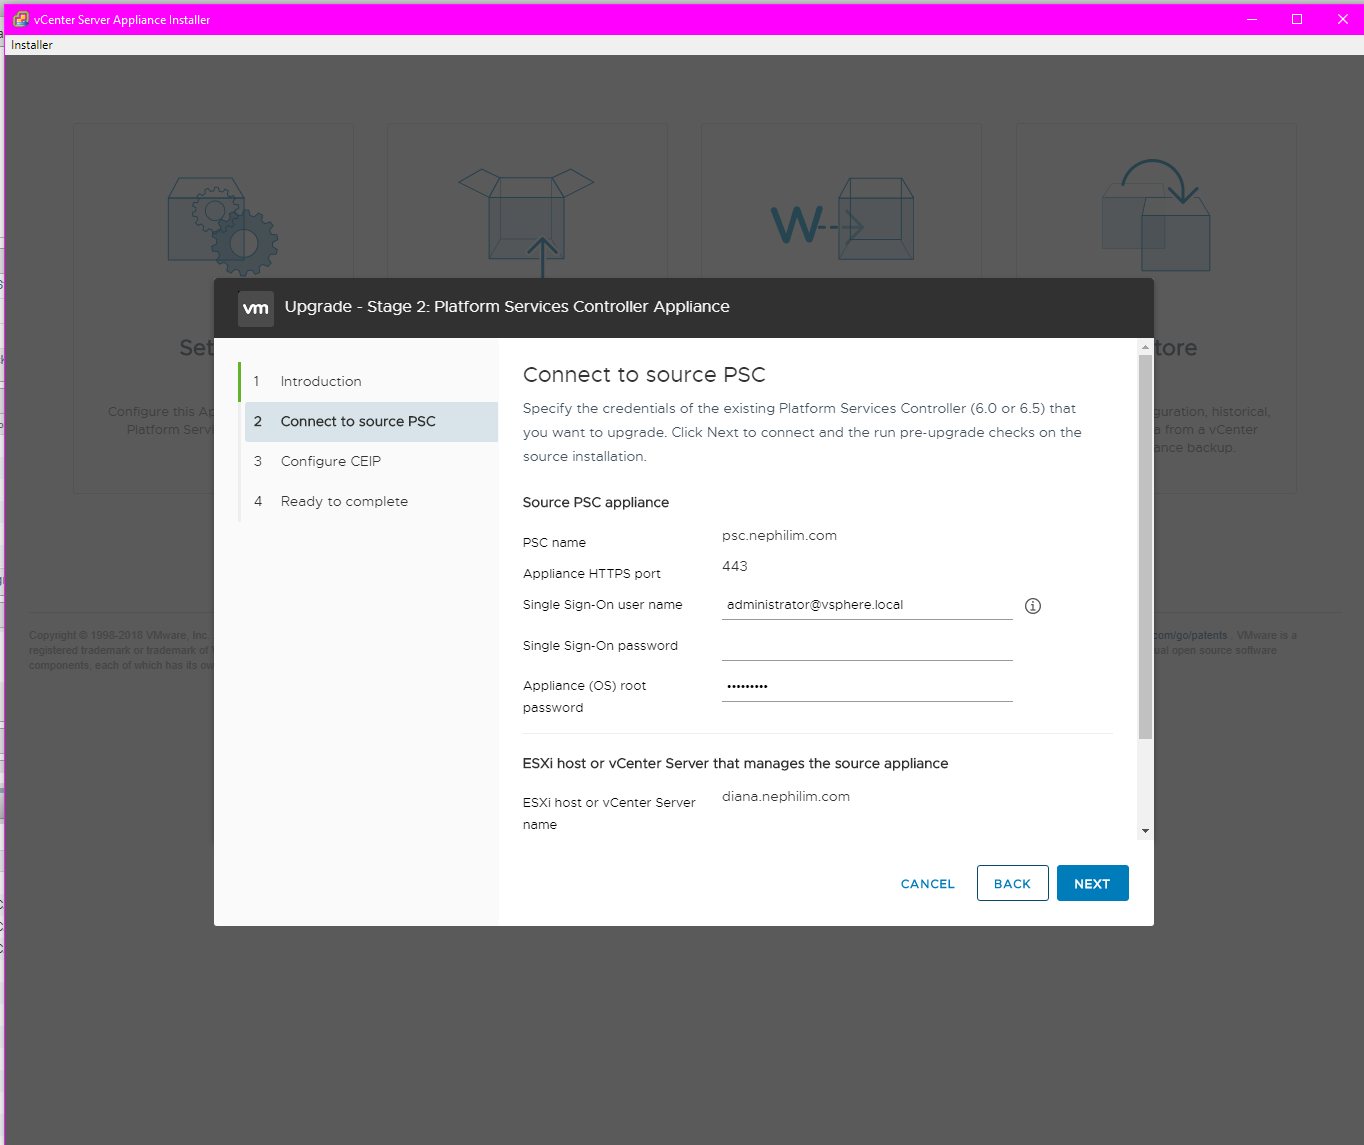
- At the Introduction, click continue
- At Connect to source PSC enter the administrator@vpshere.local credentials in the Single Sign-On username and password, and enter the PSC root password
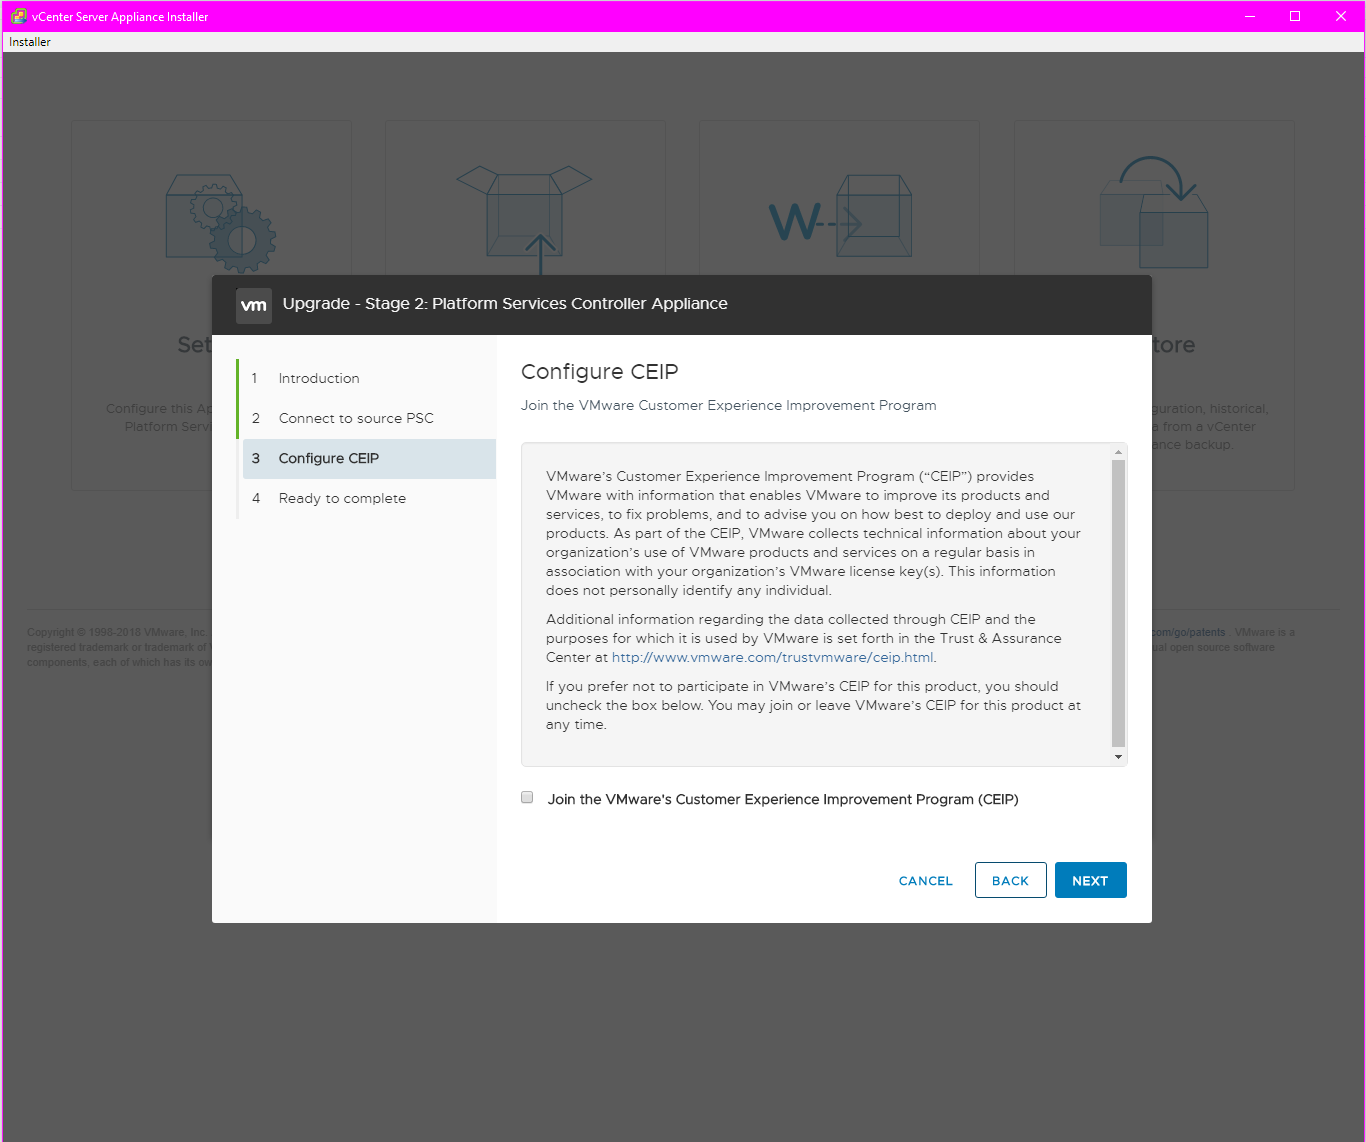
- At configure CEIP check or uncheck if you want to join the Vmware Customer Experience Improvement Program
- At ready to complete, verify the information and check "I have backed up the source Platform Services Controller and all the required data from the database" once you have verified that you have a revertable backup or snapshot of the appliance
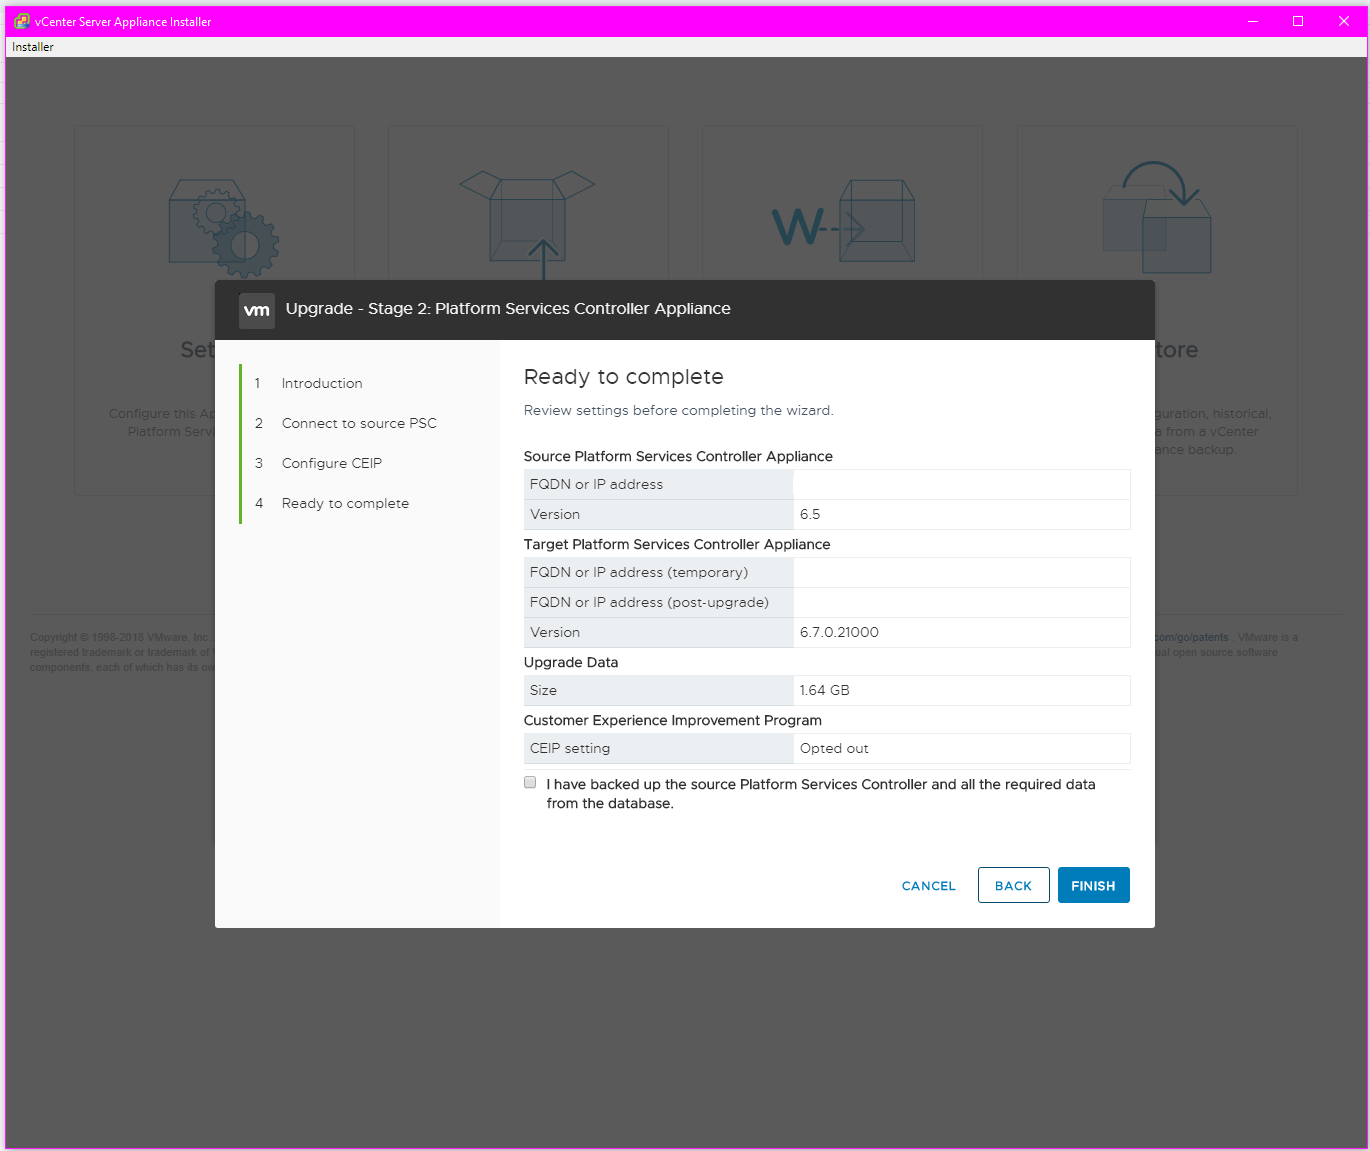
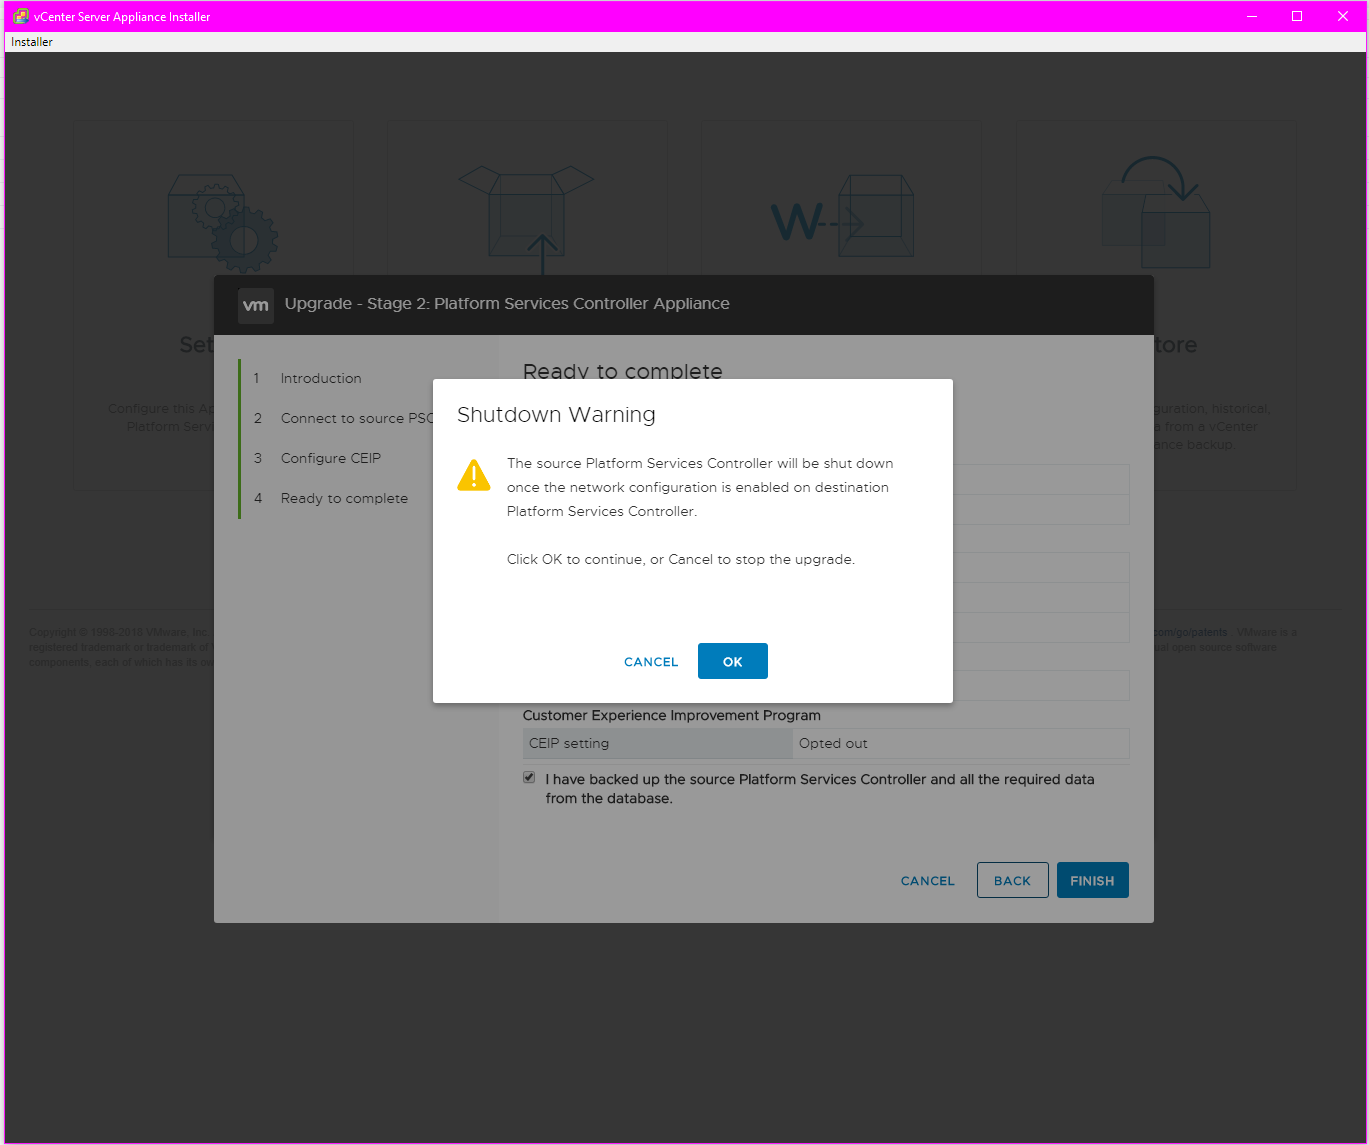
- Click Finish to start the data transfer of users and configuration from the target Platform Services Controller the original Platform Service Controller will be powered down after once the network configuration is copied over
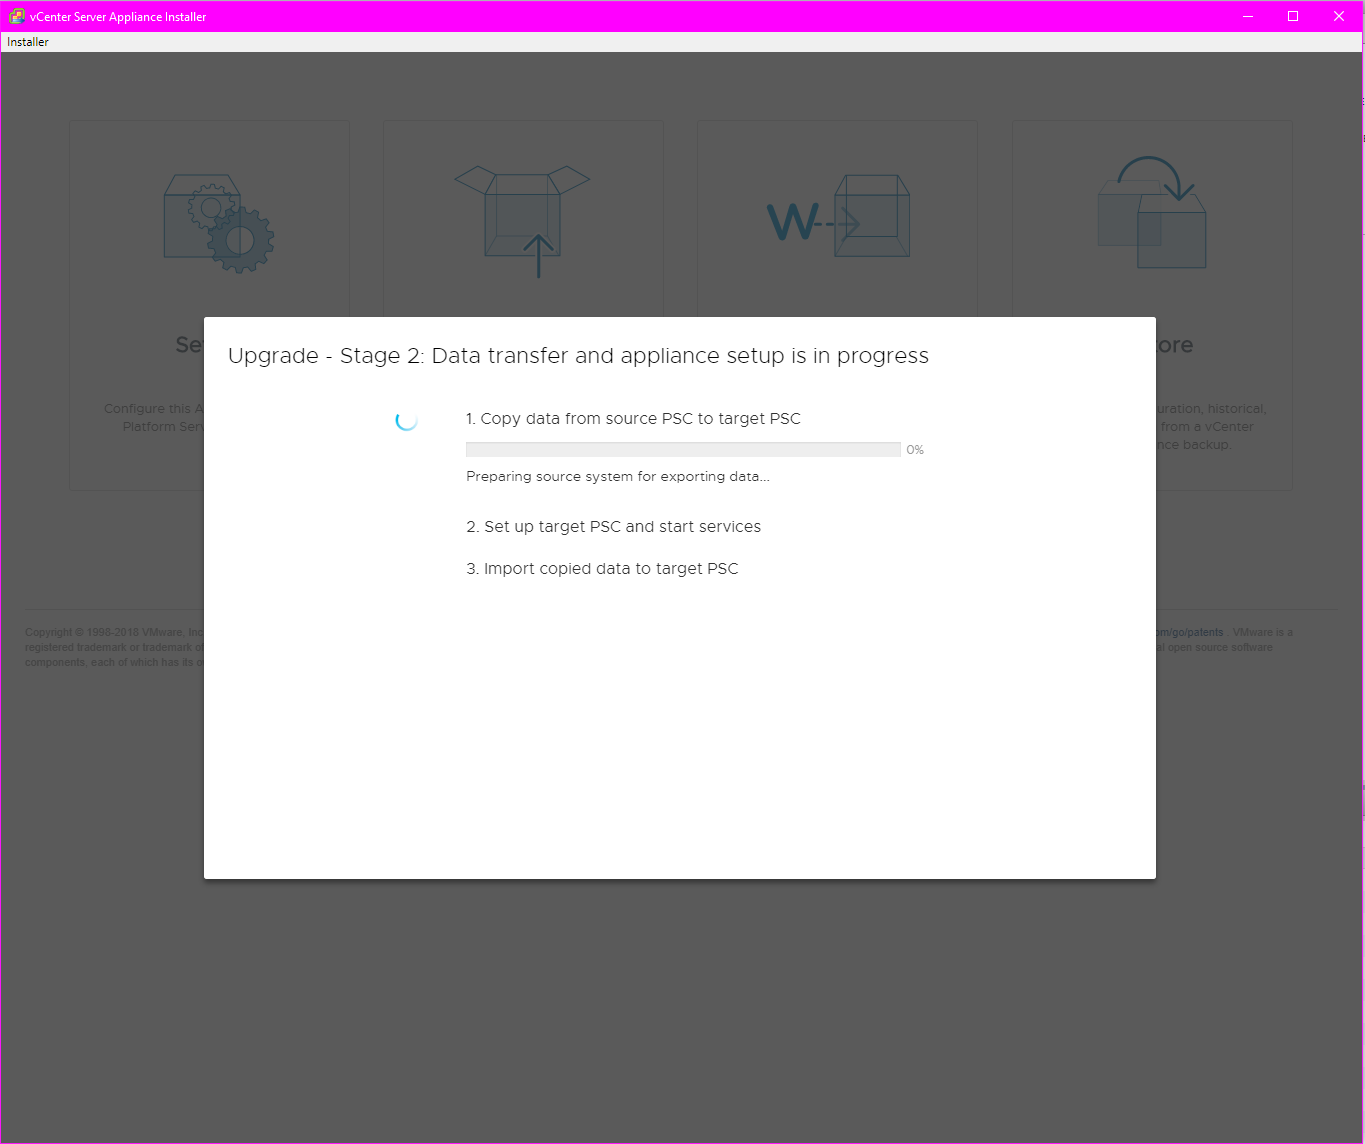
- Wait for the new PSC to finish the data transfer and service setup
- Once the upgrade is complete rename the original PSC and add legacy at the end of the VM name and rename the new updated PSC as the original PSC then proceed to the next step 1 to upgrade vCenter

Stage 1 (Upgrade vCenter with embedded Platform Service Controller or have completed the external Platform Service Controller upgrade)
If you have completed the upgrade for external PSC skip to step 5.
- Take the necessary backups and/or snapshots of the vCenter appliance and platform service controller(if applicable)
- Download the installation iso of the to be upgraded version of vCenter from your company's MyVmware account 6.5: https://my.vmware.com/group/vmware/info?slug=datacenter_cloud_infrastructure/vmware_vsphere/6_5
- Once you have downloaded the installer iso mount it to your local computer
- Once mounted go vcsa-UI-installer > win32 > installer.exe
- At the main installer page, click on the upgrade

- At the introduction, click next

- Accept the EULA
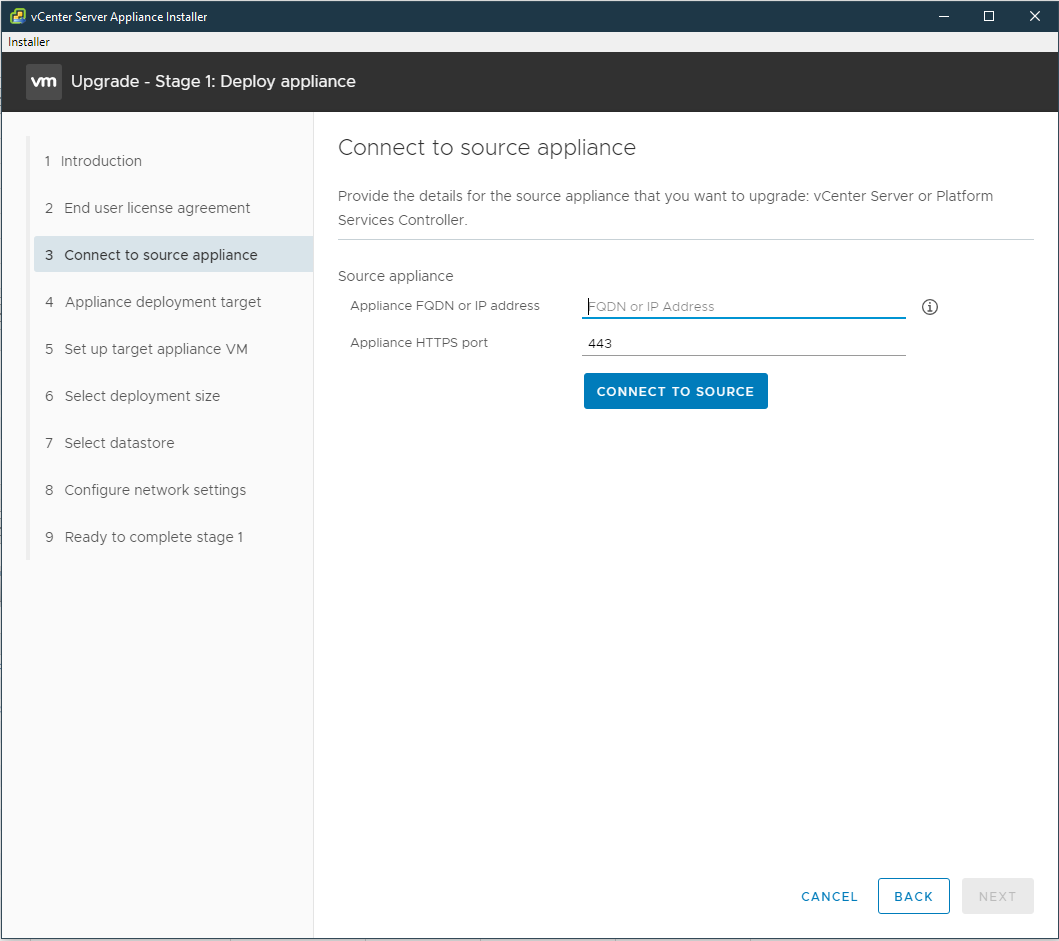
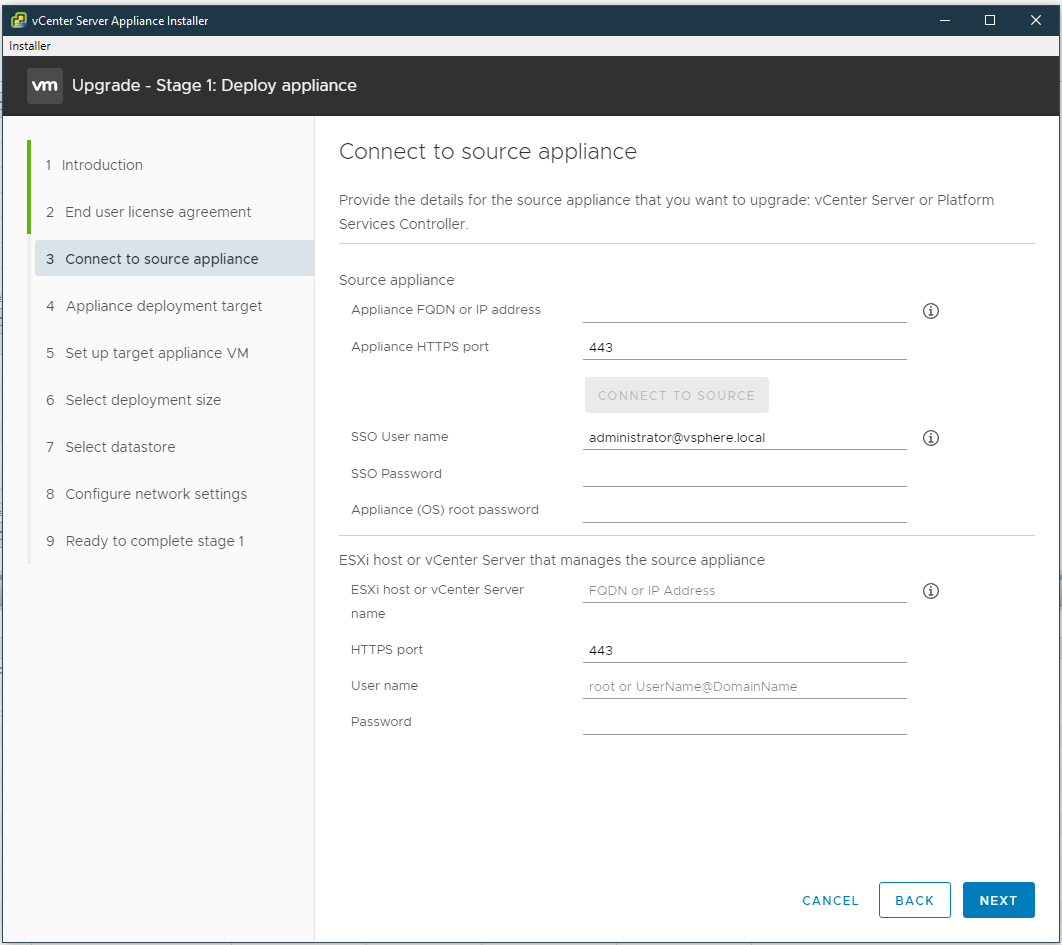
- At "Connect to source appliance" enter the FQDN or IP address of the vCenter that is to be upgraded then click next

- Enter administrator@vsphere.local credentials for SSO User Name, VCSA root password for Appliance (OS) root password. The host IP or fqdn of where the VCSA VM is running on, and host root credentials then click next
- At Appliance deployment target, enter the vCenter IP or FQDN into "ESXi host or vCenter Server name," and administrator@vsphere.local credentials for username and password then click next

- At Select folder drill down vCenter > Datacenter > Discovered virtual machine(if you already have a user created VM container choose that instead) then click next
- At select compute resource select a host to house the newly deployed appliance then click next

- At Setup target appliance enter the same VM name as the original vCenter VM with either 6.5 or 6.7 at the end then click next
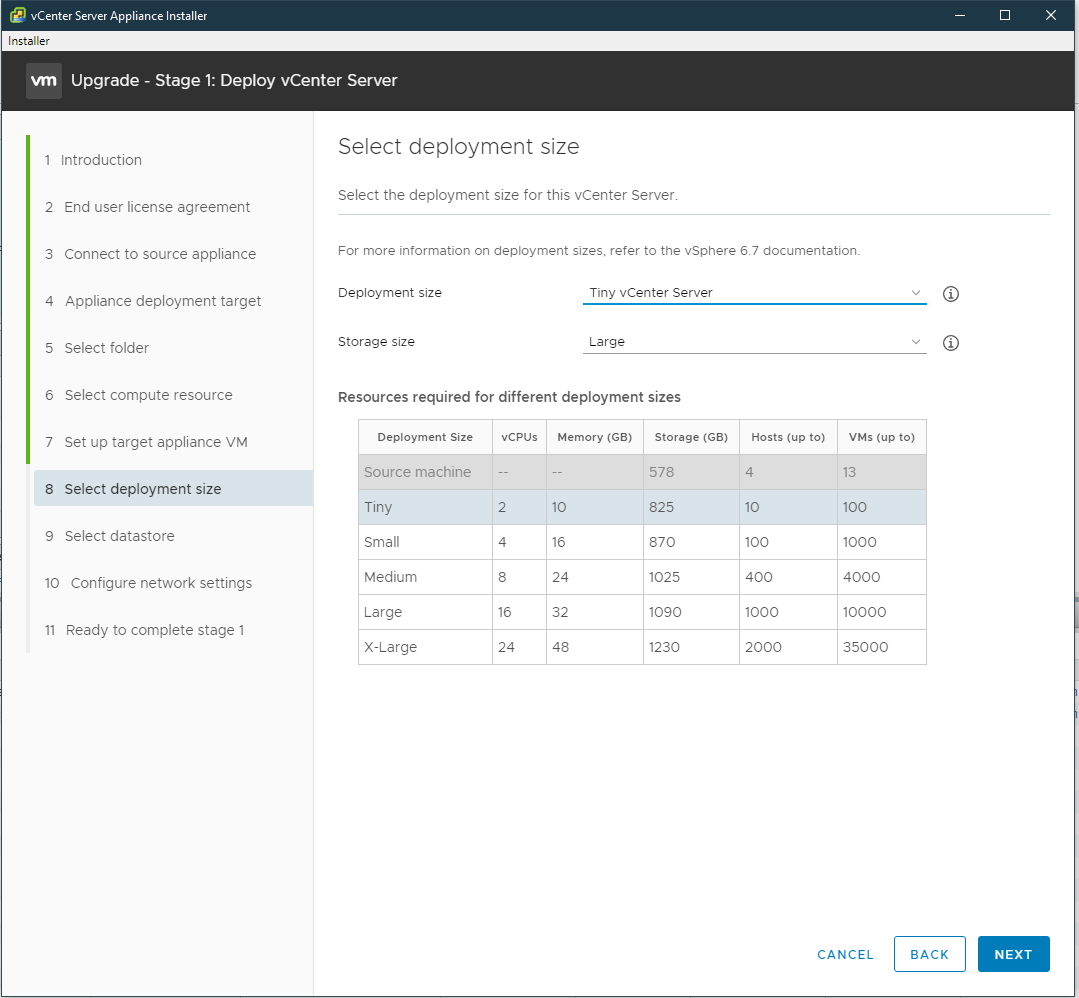
- At Select deployment size, select a proper deployment size that best fits your environment look at your current original VCSA if you are uncertain then click next
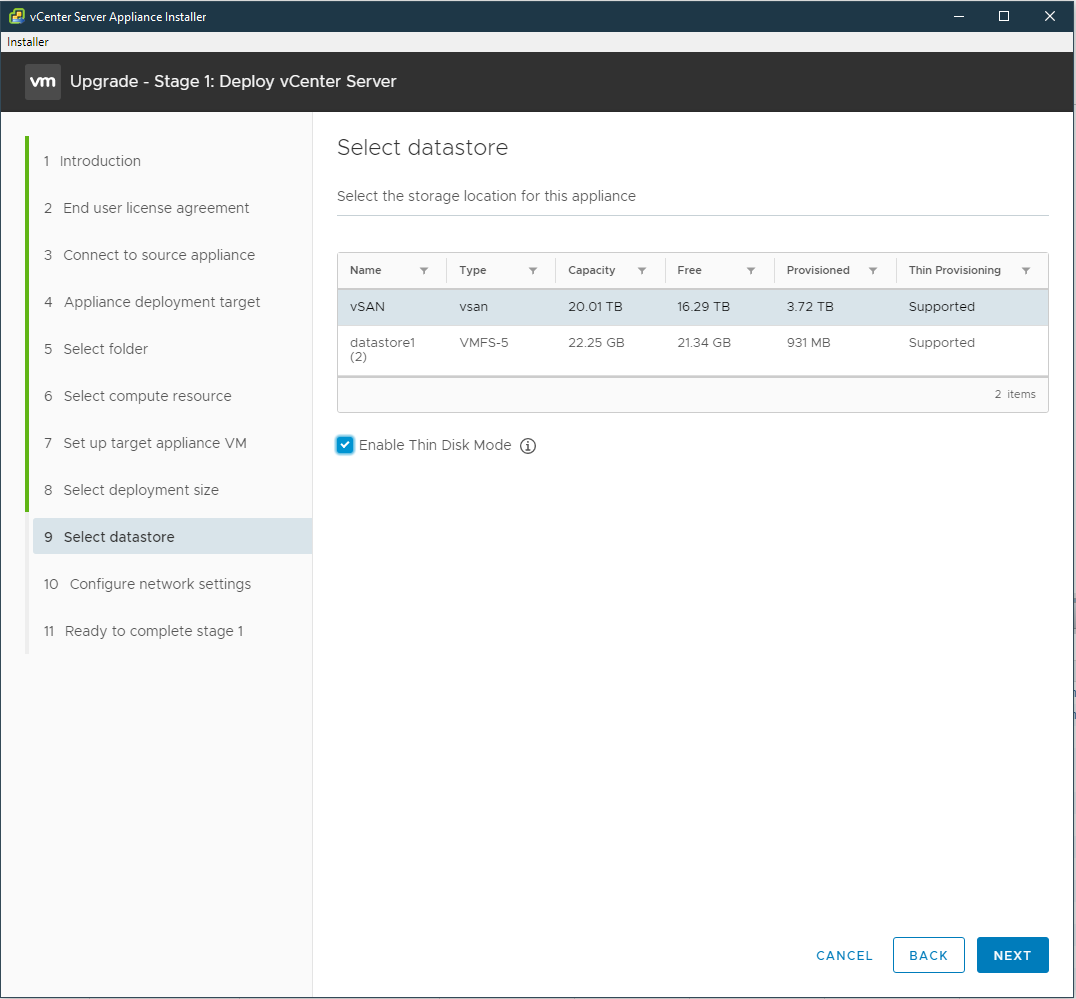
- At select datastore, select the vSAN datastore and check to enable thin disk mode then click next
- At Configure network settings for Network select the same port-group of the original Platform Service Controller, for Temporary network settings enter a static IP that can reach out to the original vCenter Server Appliance on and a default gateway and DNS servers this temporary address used only during the data transfer between the original and the new appliance then click next

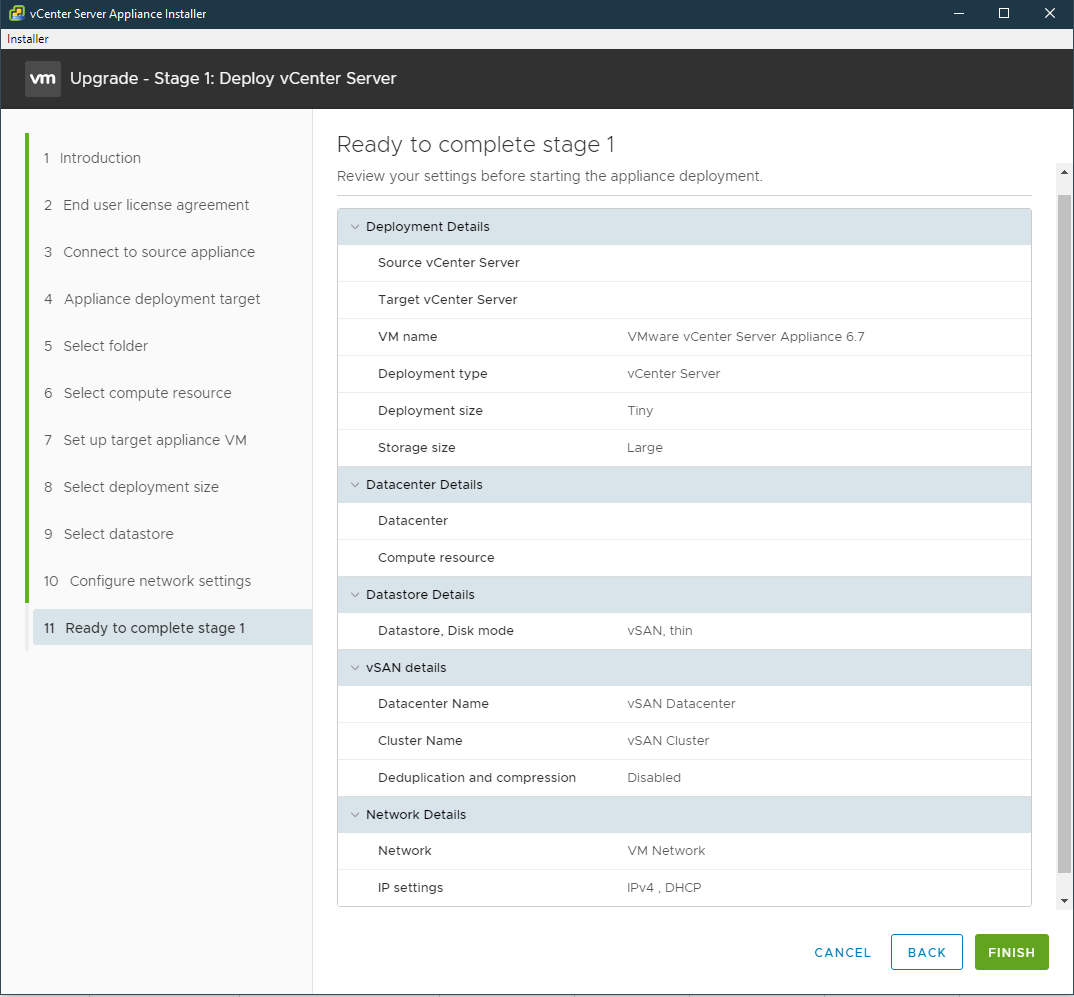
- At the Ready to complete stage 1 review and confirm the information and click finish
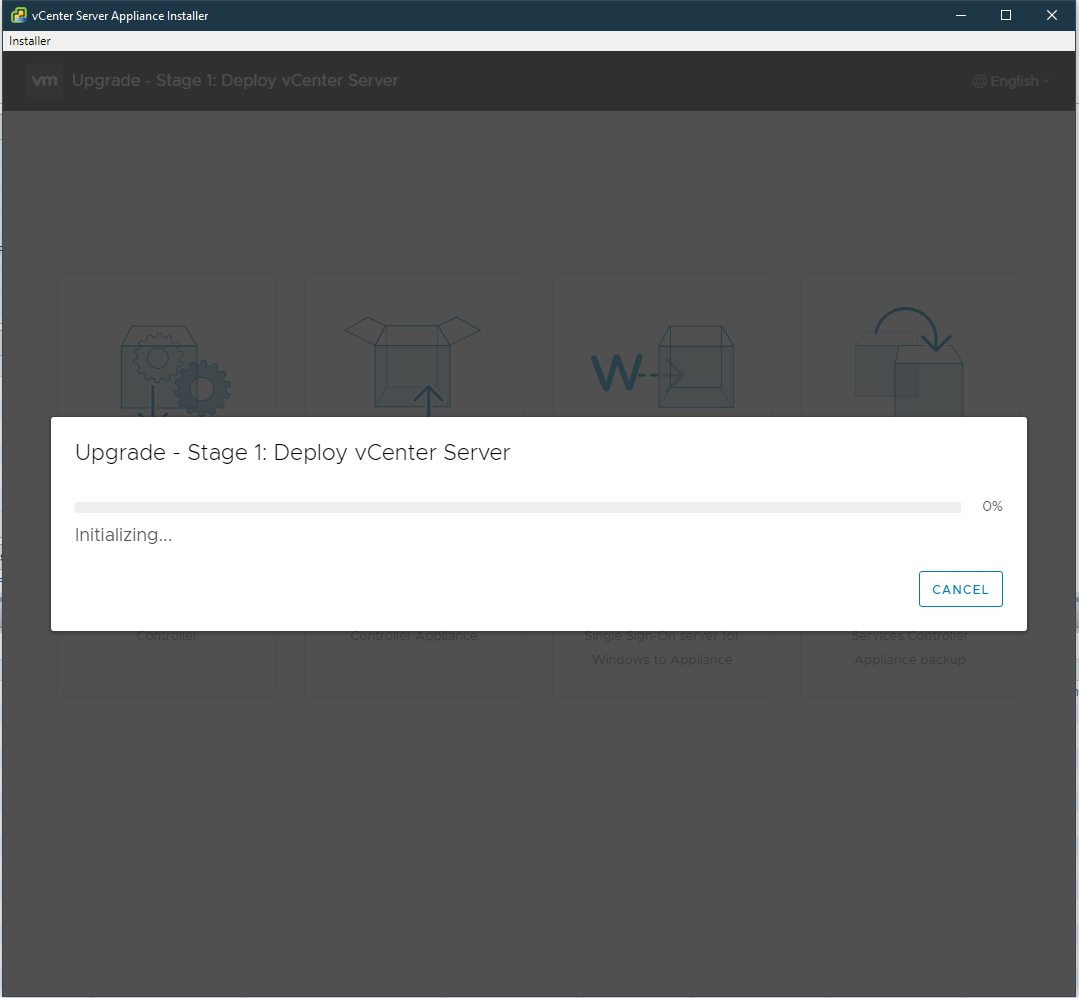
- Wait for the new vCenter Server Appliance to deploy
- After it is finished, proceed to stage two of the vCenter Server Appliance upgrade
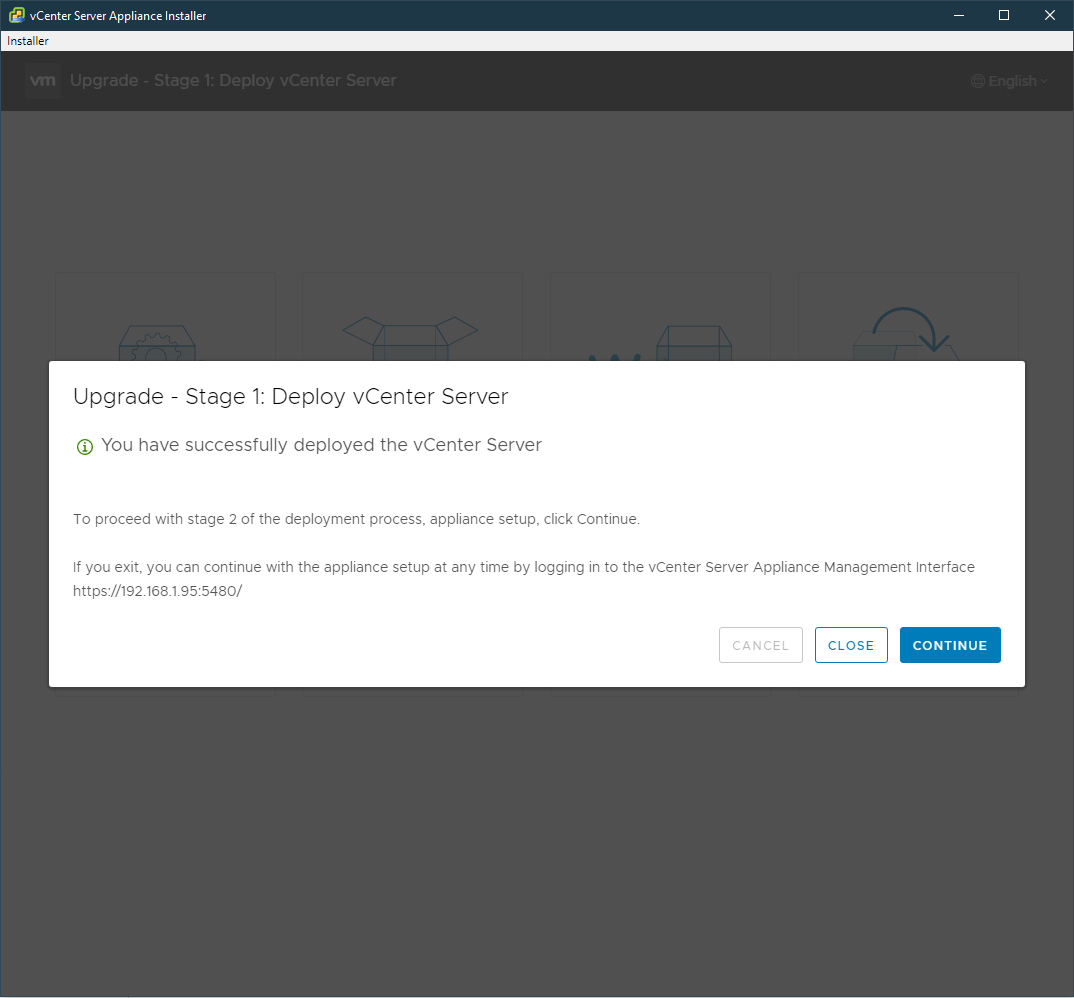
-Stage 2
- Click on continue
- At the introduction, click next
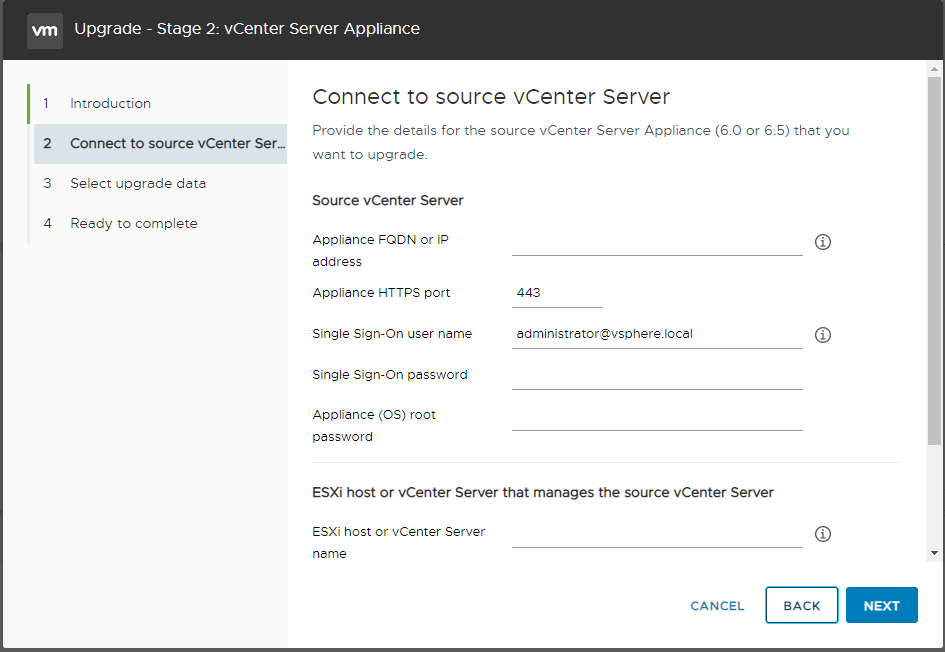
- At connect to the source vCenter Server enter the IP or FQDN of the vCenter Server, enter administrator@vsphere.local credentials for the Single-Sign-On username and password, enter the vCenter root password for Appliance (OS) root password, and enter the FQDN of the host that is running the vCenter Server VM then click next
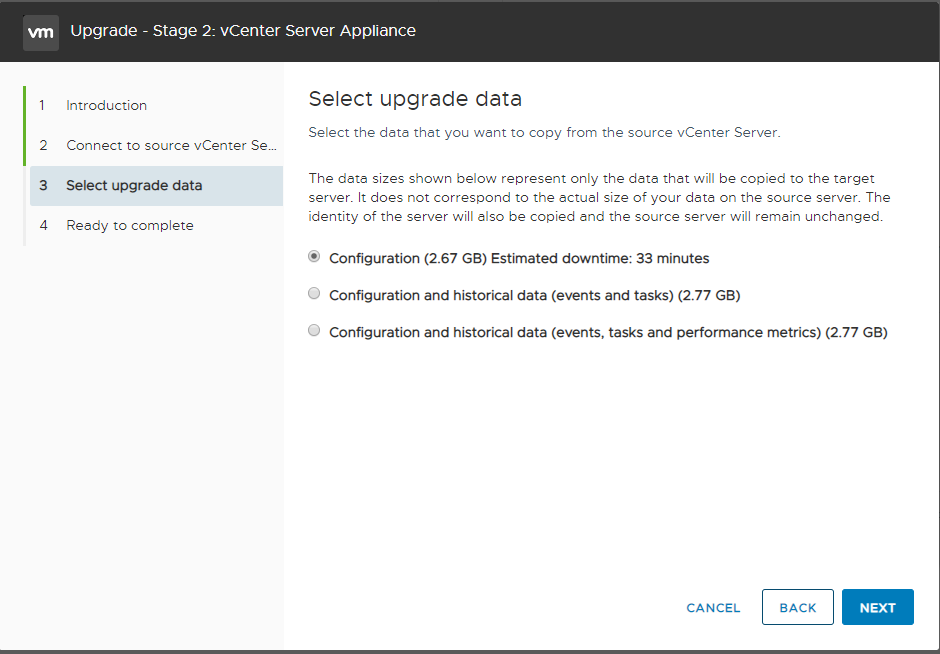
- At Select upgrade data select which data should be copied to the new appliance. The configuration is fine, however, consider the other two options if you also want to transfer historical data then click next
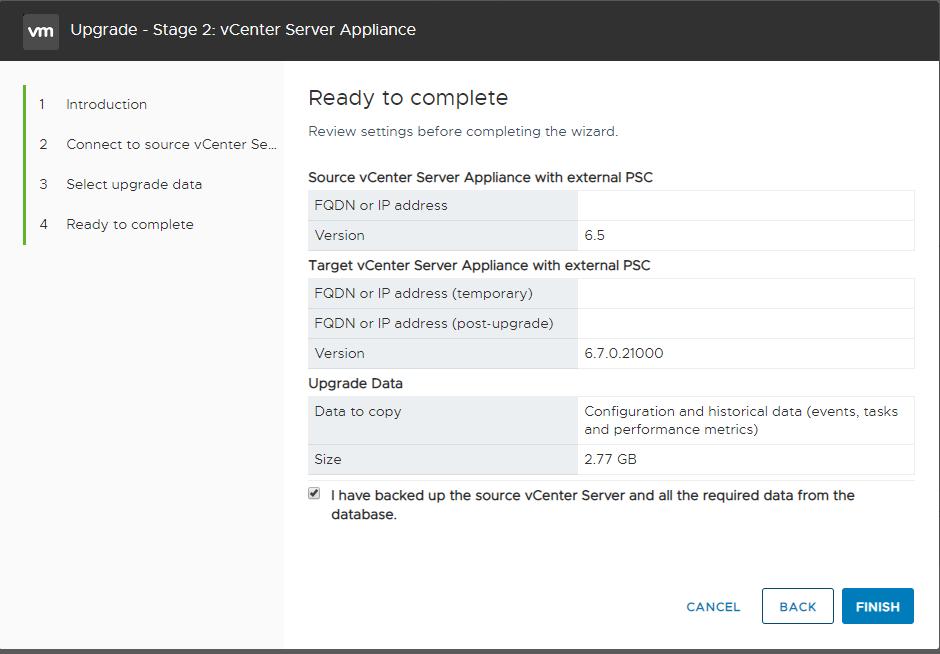
- At Ready to complete review and verify the information and verify that taken backups are revertable and the original vCenter is snapshotted check "I have backed up the source vCenter Server and all required data from the database" then click finish
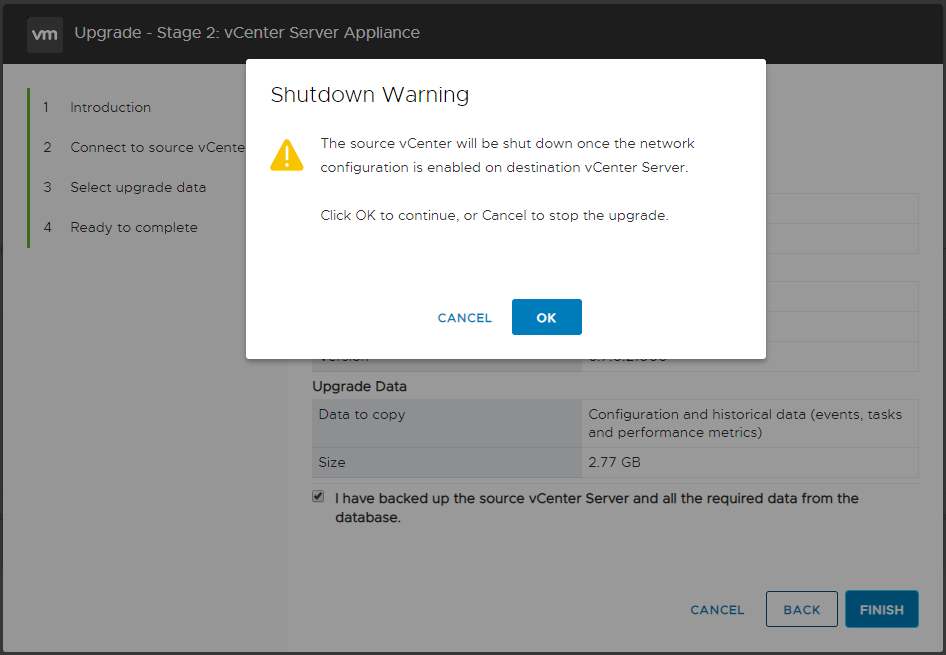
- The original vCenter is powered down once the network configuration is copied over to the new appliance
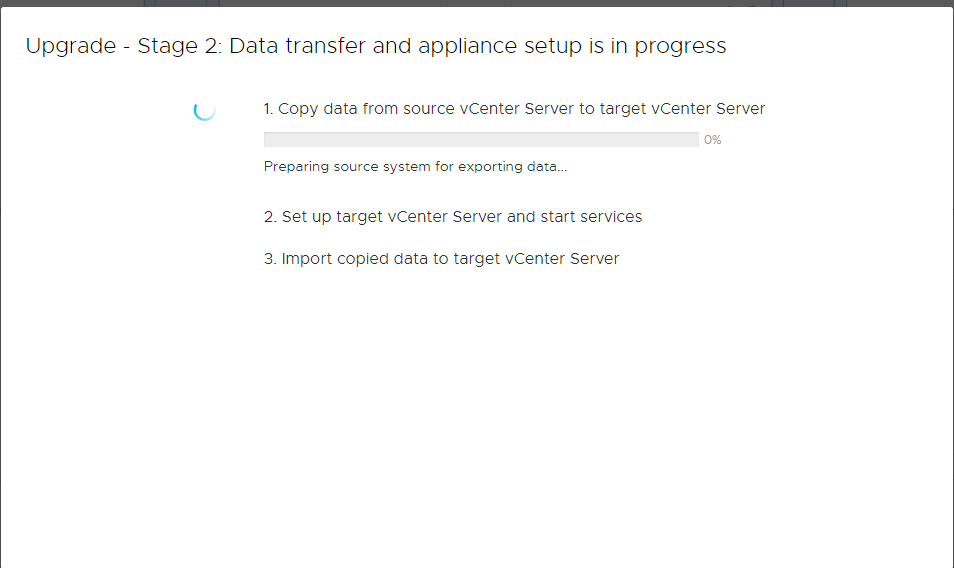
- Wait for the new vCenter appliance to copy data and configuration from the original vCenter and start services
- Once completed login into vCenter and rename the now old vCenter and add the word legacy at the end of it and rename the new appliance as the same name as the old vCenter without the word legacy

- Hold unto the legacy renamed vCenter and Platform Service Controllers for 3 days in case an issue arises where you must start the old vms back up, make sure the new VCSA and PSC(if applicable) are powered down when you power on the new vms
Additional Information
Related VMware articles
Upgrading the vCenter Server Appliance and Platform Services Controller Appliance