NVP vProxy: Failed to lock Virtual Machine for backup: Another vProxy operation is active on VM
Zhrnutie: NetWorker VMware Protection (NVP) vProxy operations fail. The error returned is that it fails to local the virtual machine due to another active operation on the Virtual Machine (VM)
Tento článok sa vzťahuje na
Tento článok sa nevzťahuje na
Tento článok nie je viazaný na žiadny konkrétny produkt.
V tomto článku nie sú uvedené všetky verzie produktov.
Symptómy
vProxy backup failed with "Failed to lock Virtual Machine for backup: Another vProxy operation is active on VM XXX" when there is no active backup job running for the particular VM.
INFO: [@(#) Build number: ###] Another vProxy operation is active on VM vm-XXX: {Operation:Backup StartTime:2017-05-15T10:09:21Z Proxy:<vProxy>SessionId:4cf6f76c-ef6c-435d-880c-77fbaf49exxx}
ERROR: [@(#) Build number: ###] Failed to lock Virtual Machine for backup: Another vProxy operation is active on VM vm-XXX: {Operation:Backup StartTime:2017-05-15T10:09:21Z Proxy:<vProxy> SessionId:4cf6f76c-ef6c-435d-880c-77fbaf49e1xxx}. Session logs can be found on the NetWorker server under ..\nsr\logs\policy\POLICY_NAME\WORKFLOW_NAME
Príčina
The VM was marked as "backup locked" due to previous backup error or interruption.
The vmconfig command can be used to verify if the VM is backup locked.
- Log in to vProxy as admin over SSH, then switch to root.
sudo su -
- Change to bin directory
cd /opt/emc/vproxy/bin
- Run below command to load library path:
source ../unit/vproxy.env
- Check if the backup is locked with 'vmconfig' tool using the MoREF value from the session log:
./vmconfig -c info -k "vm-MoRef" -l moref -v vCENTER_NAME -u "vCENTER_USERNAME" -p 'PASSWORD'
Example output
  Searching for virtual machine with MORef "vm-XXX" ...
            Querying vCenter for definition of virtual machine with MORef of "vm-XXX" ...
            Found virtual machine "VM_NAME" with MORef "vm-xxx".
            vm-145501: Name: "VM_NAME".
            vm-145501: CBT Enabled: true.
            vm-145501: Migration Enabled: false.
            vm-145501: Backup Locked: true.
Riešenie
Option 1
Use the ProxyHC utility on the vProxy to cleanup: NVP-vProxy: How to use health check tool ProxyHC on vProxy appliance
The syntax required is:
./ProxyHC tasks cleanup
Option 2
- Log in vSphere client
- Select the affected VM
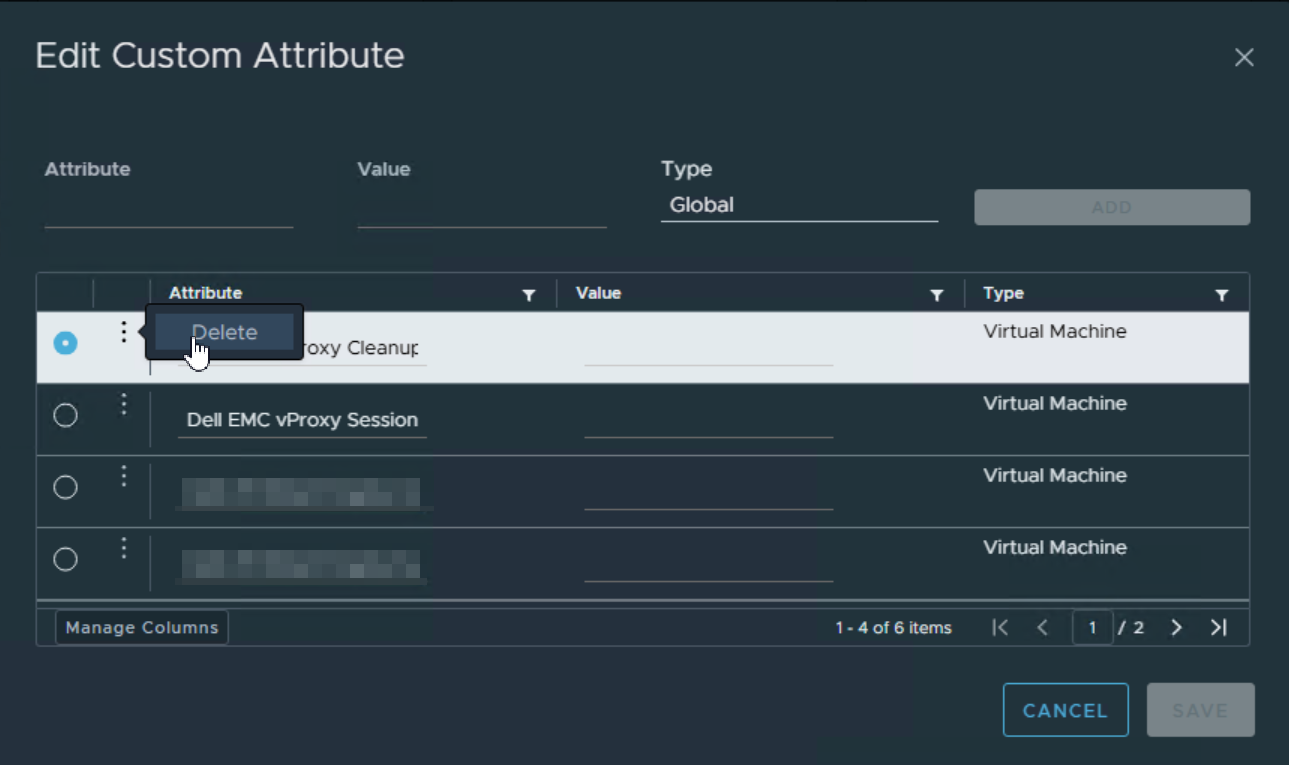
- In the General tab, go to Custom Attributes, click Edit:
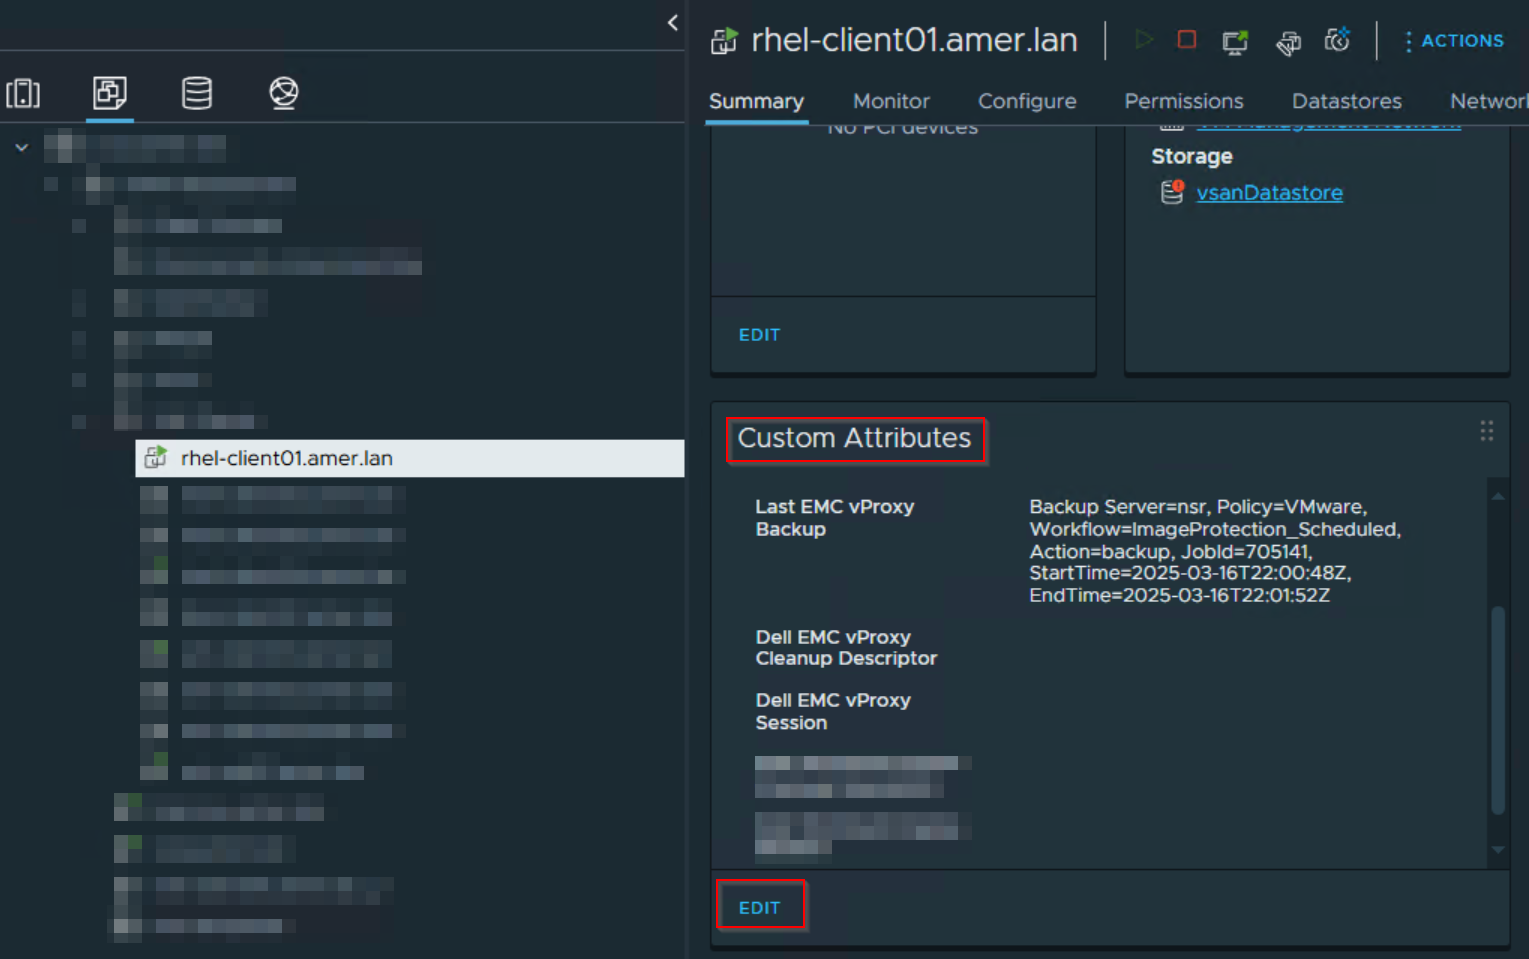
- Select each custom attribute that contains "Dell EMC vProxy," and Delete it:
Dotknuté produkty
NetWorker SeriesProdukty
NetWorker SeriesVlastnosti článku
Číslo článku: 000057190
Typ článku: Solution
Dátum poslednej úpravy: 17 mar 2025
Verzia: 7
Nájdite odpovede na svoje otázky od ostatných používateľov spoločnosti Dell
Služby podpory
Skontrolujte, či sa na vaše zariadenie vzťahujú služby podpory.