Article Number: 000116592
How Reconfigure a Virtual disk or add additional hard drives.
Summary: How to add additional disks to a Virtual disk or reconfigure a virtual disk
Article Content
Instructions
The following article provides information about how to expand and how to Reconfigure a virtual disk.
If you have a Virtual Disk (VD) already set-up, you must add additional disks to the disk group to increase the capacity that this guide provides the steps on how to add or Reconfigure the virtual disk group using the RAID BIOS.
NOTE: This article is part of the Server Tutorials: "RAID and Disks," see Dell Knowledge Base article PowerEdge Tutorials: Physical Disks and RAID Controller (PERC) on Servers, for more information.
WARNING: Always create a validated backup of your data before starting any action.
NOTE: Reconfiguring Virtual Disks typically impacts disk performance until the reconfiguration operation is complete. It is highly recommended that the procedure to do during a maintenance window.
Steps:
- Access the BIOS by F2 > Device Settings
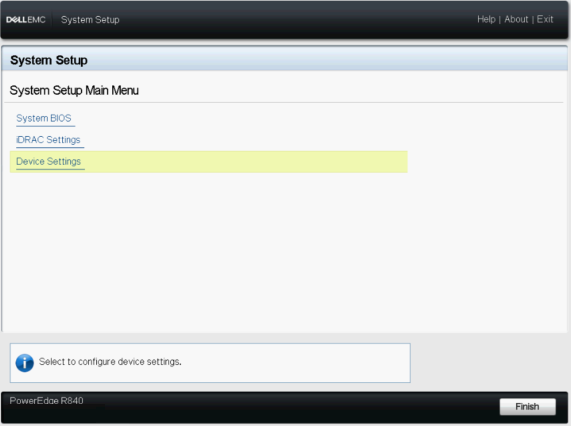
Figure 1: Expand Virtual Disk 1
- Select RAID Controller
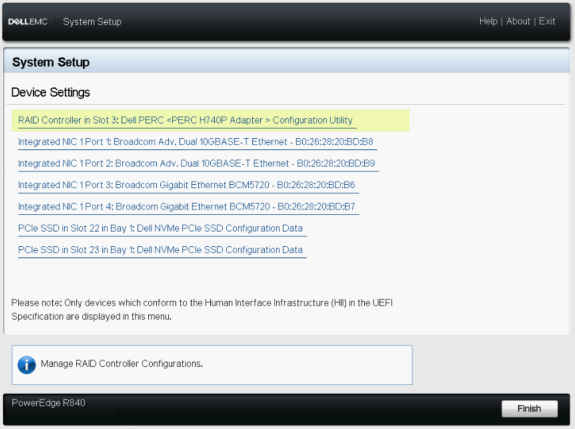
Figure 2: Expand Virtual Disk 2
- In the Dashboard view, select Main Menu
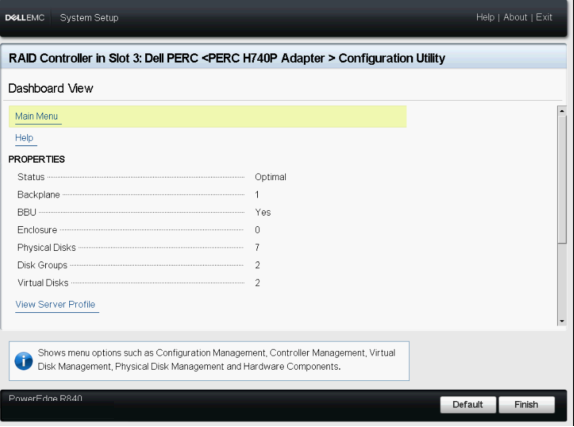
Figure 3: Expand Virtual Disk 3
- Select Virtual Disk Management
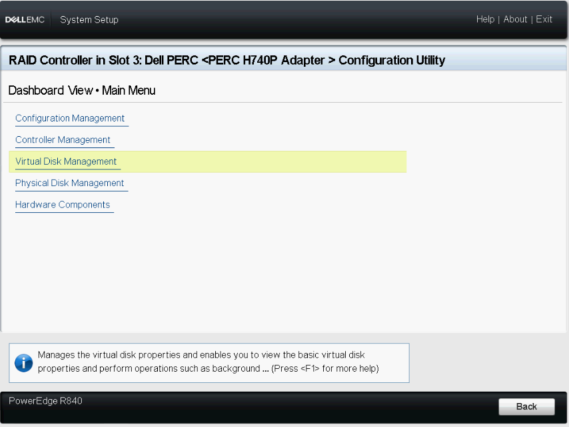
Figure 4: Expand Virtual Disk 4
- Select the virtual disk that is changed
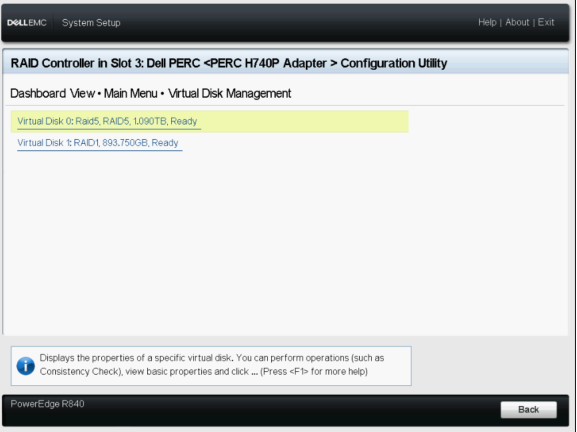
Figure 5: Expand Virtual Disk 5
- In the drop-down, select Reconfigure Virtual Disks and press GO button
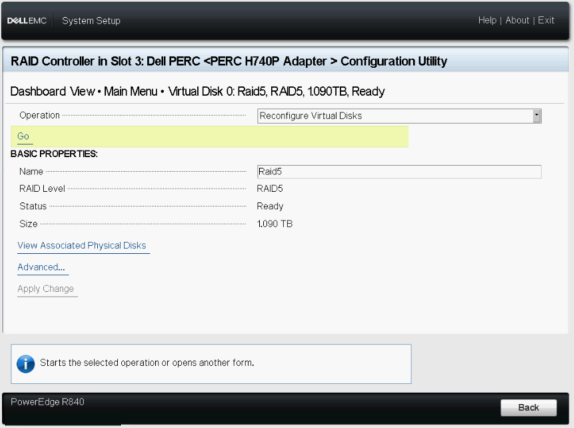
Figure 6: Expand Virtual Disk 6
- Select the RAID Level and level and press button Choose the Operation
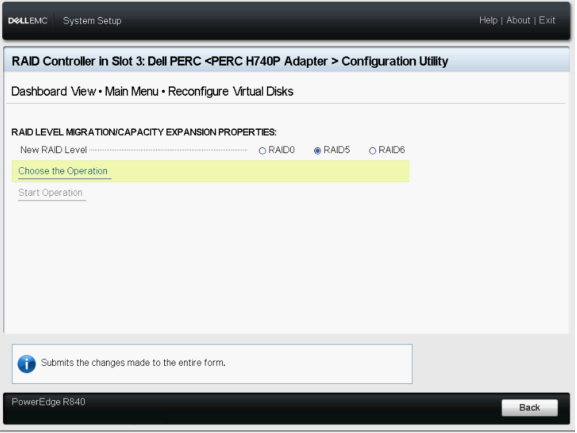
Figure 7: Expand Virtual Disk 7
- Select the disks to be added at VD and press button Apply Changes.
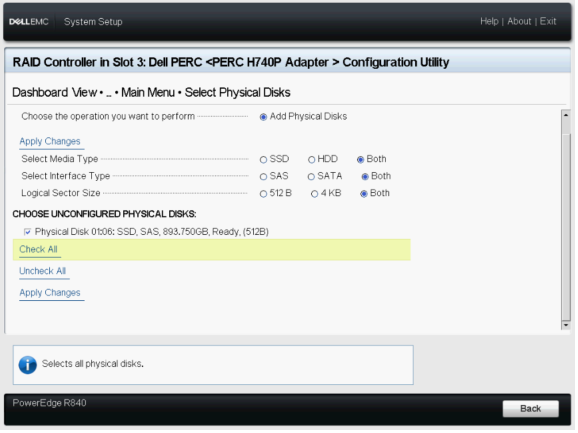
Figure 8: Expand Virtual Disk 8
- Confirm the operation and click in YES.
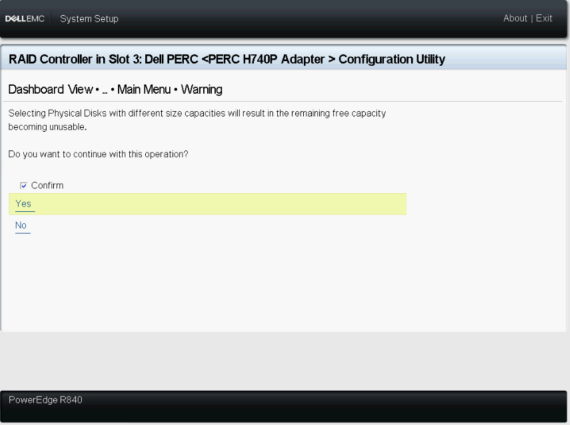
Figure 9: Expand Virtual Disk 9
- Press the button Start Operation
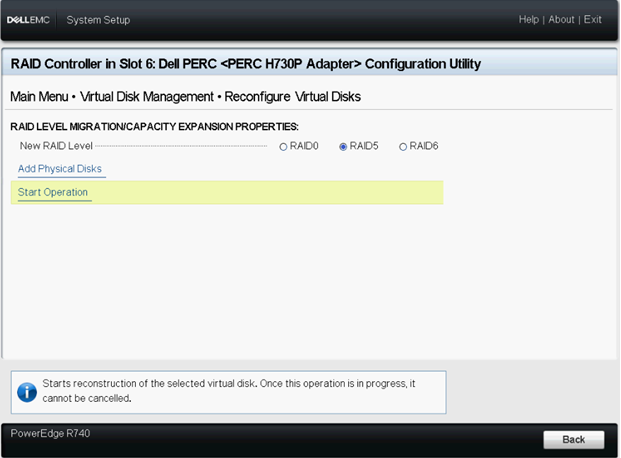
Figure 10: Expand Virtual Disk 10
- Press button OK to complete the operation.
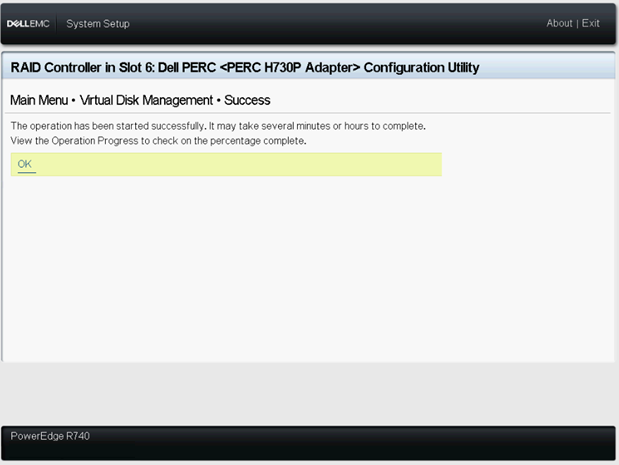
Figure 11: Expand Virtual Disk 11
- To view, see the status of the virtual disk
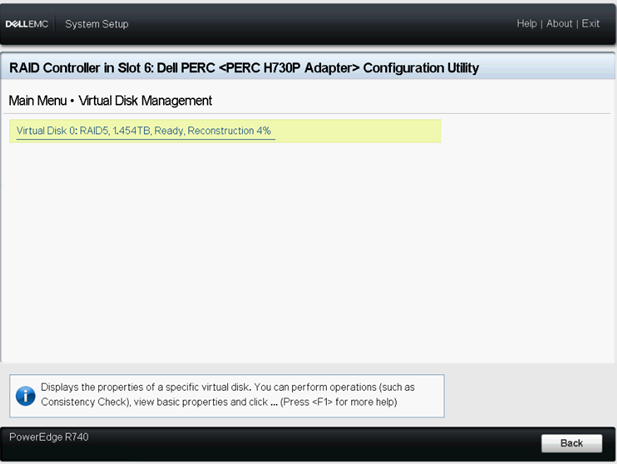
Figure 12: Expand Virtual Disk 12
Note if the system is rebooted into the operating system, the system performance is impacted until the rebuild has been completed.
Related articles:
- This article is part of the Server Tutorials: "RAID and Disks"
- Performing Online Capacity Expansion on PERC controller
- Dell OpenManage Storage Services 8.2 - RAID 10 Virtual Disk Expansion by Adding Physical Disks
Article Properties
Affected Product
PowerEdge R330, PowerEdge R340, PowerEdge R430, PowerEdge R440, PowerEdge R530, PowerEdge R530xd, PowerEdge R540, PowerEdge R630, PowerEdge R640, PowerEdge R6515, PowerEdge R720, PowerEdge R730, PowerEdge R730xd, PowerEdge R740, PowerEdge R740XD
, PowerEdge R740XD2, PowerEdge R7415, PowerEdge R7425, PowerEdge R7515, PowerEdge R830, PowerEdge R840, PowerEdge R930, PowerEdge R940, PowerEdge R940xa, PowerEdge RAID Controller H840, PowerEdge T30, PowerEdge T340, PowerEdge T430, PowerEdge T440, PowerEdge T640
...
Last Published Date
13 9月 2023
Version
6
Article Type
How To