Switching SATA Modes: AHCI to RAID on Dell Data Security Windows Computers
摘要: Learn how to switch SATA modes from AHCI to RAID on Dell Data Security Windows computers. Follow step-by-step guidance for a smooth transition.
本文适用于
本文不适用于
本文并非针对某种特定的产品。
本文并非包含所有产品版本。
说明
Affected Products:
- Dell Encryption Enterprise
- Dell Encryption Personal
- Dell Data Protection | Enterprise Edition
- Dell Data Protection | Personal Edition
Note: Dell Encryption does not support
Intel VMD with Xeon class processors.
To change the SATA operation mode from AHCI to RAID:
Warning: The next step is a Windows Registry edit:
- Back up the Registry before proceeding, reference How to Back Up and Restore the Registry in Windows
.
- Editing the Registry can cause the computer to become unresponsive on the next reboot.
- Contact Dell Data Security International Support Phone Numbers for assistance if you have concerns about performing this step.
- Depending on whether AHCI or RAID SATA mode is required, the following registry settings should be enabled or disabled:
HKEY_LOCAL_MACHINE\SYSTEM\CurrentControlSet\Services\

iastor = 0 (these correlates to the Intel RAID, 3 means off, 0 means on)
iastorv start = 0 (these correlates to Windows RAID, 3 means off, 0 means on)
iaVROC start = 0 (these correlate to the Intel VMD / Intel VROC drivers, 3 means off, 0 means on)
StorAHCI start = 0 (these correlate to the Microsoft AHCI drivers, 3 means off, 0 means on)
- After changing the registry setting, open an elevated command prompt and run command
bcdedit /set {current} safeboot minimal.
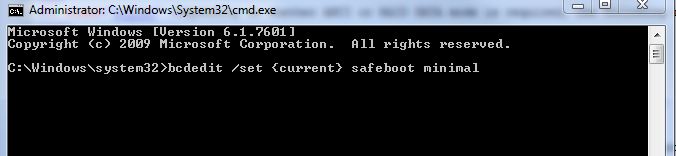
Figure 1: (English Only) Run command bcdedit /set {current} safeboot minimal
- Reboot the computer.
- On reboot, enter BIOS by pressing F2.
Note: The hardware vendor may alter BIOS access commands. Consult your hardware vendor for the proper function command.
- In BIOS, modify SATA Operation to AHCI or RAID (depending on the requirement).
- To disable Intel VMD, find the appropriate technology flag within your BIOS. This may be called Intel VMD, Intel VROC, or may have another similar name. Reference your manufacturer’s documentation for any clarifications that may be needed.
Note: SATA Operation may be nested within submenus of BIOS. Consult your model's hardware manual for more information.
- Exit the BIOS and restart the computer. Windows automatically boots into safe mode and update the required driver.
- Still in safe mode, open another command prompt and run command
Bcdedit /deletevalue {current} safeboot.
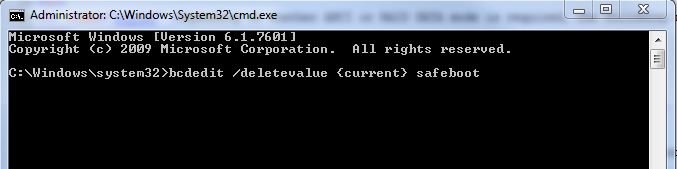
Figure 2: (English Only) Run command Bcdedit /deletevalue {current} safeboot
- Restart and allow Windows to start.
Note: If system data encryption (SDE) is enabled, an SDE recovery might be required after switching from one mode to the other, as per the recovery steps that are detailed in the Recovery Guide on https://www.dell.com/support/home, or reference How to Run the Dell Encryption Enterprise / Dell Encryption Personal Recovery Bundle.
To contact support, reference Dell Data Security International Support Phone Numbers.
Go to TechDirect to generate a technical support request online.
For additional insights and resources, join the Dell Security Community Forum.
受影响的产品
Dell Encryption文章属性
文章编号: 000124714
文章类型: How To
上次修改时间: 06 5月 2024
版本: 12
从其他戴尔用户那里查找问题的答案
支持服务
检查您的设备是否在支持服务涵盖的范围内。