PowerEdge: How to Create a Bootable USB Device with Rufus for Updates
摘要: Learn how to create a bootable USB with Rufus to update Dell PowerEdge servers. Follow the step-by-step instructions to prepare and create a bootable USB media.
本文适用于
本文不适用于
本文并非针对某种特定的产品。
本文并非包含所有产品版本。
说明
This article provides information about making a USB device bootable and integrating an update-image (ISO-file). For servers without an optical drive (DVD) or a configured integrated Dell Remote Access Controller (iDRAC) this is an alternative way of updating all server firmware in one single step.
To create a bootable USB device, you can use the freeware tool Rufus (Figure 1).
Note: Rufus is not a Dell certified software. Installation and use it at your own risk. We share our best practices with Rufus but do not support issues regarding this program.
- Download the tool
to a Windows system
- Create a Smart Bootable ISO using the Dell Repository Manager (DRM).
- Start the tool
- Insert a USB device (Rufus auto-selects the USB device)
- Choose the created or downloaded ISO-file (Rufus selects the appropriate settings)
- Partition Screen = MBR
- File System = FAT32
- Cluster Size = 1024
- Click Start to create the media
- Restart the server and boot from the created device
If the bootable ISO fails to run after being applied to a bootable USB, change the server boot mode to BIOS or UEFI and attempt the procedure again. If the bootable ISO continues to fail, it is recommended to download the ISO file again or try applying the image to a different USB drive.
Rufus Screenshot
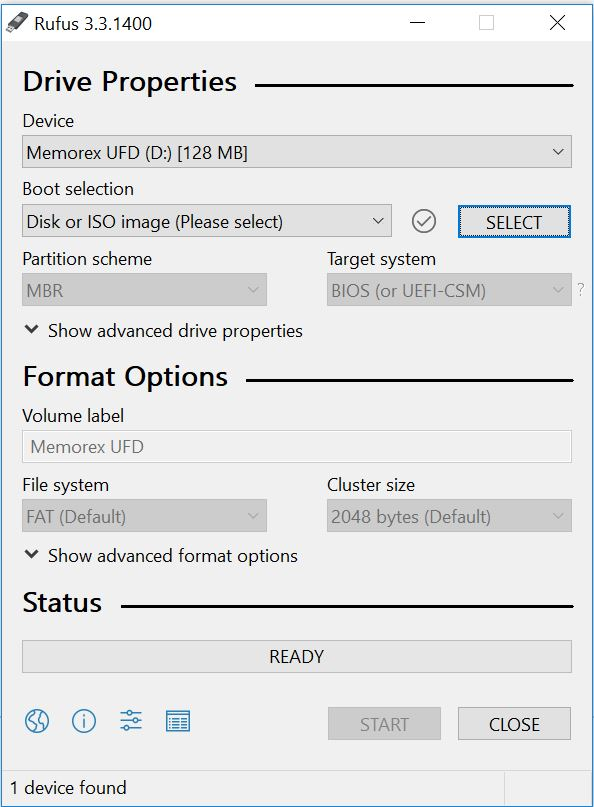
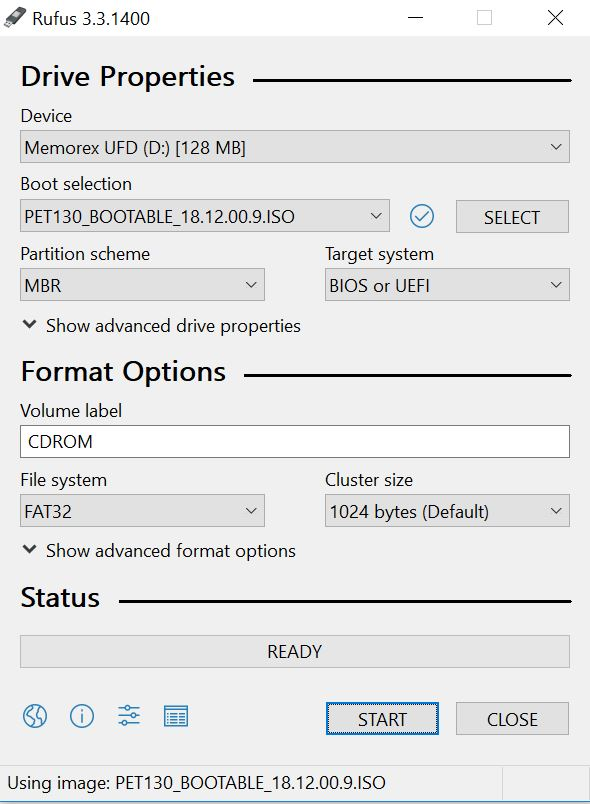
Figure 1: Rufus examples
The first figure shows when the freeware is launched. The second figure shows the Bootable ISO file selected. Click "Start" to launch the process.
受影响的产品
PowerEdge文章属性
文章编号: 000141551
文章类型: How To
上次修改时间: 04 12月 2025
版本: 10
从其他戴尔用户那里查找问题的答案
支持服务
检查您的设备是否在支持服务涵盖的范围内。