文章编号: 000177704
Activating Windows After the Motherboard Has Been Replaced
摘要: This article provides guidance and direction for activating Windows after a motherboard replacement in your Dell computer.
文章内容
症状
For most computers, once the motherboard in your computer has been replaced, the replacement motherboard has a preinjected key in the motherboard firmware that will automatically activate Windows.
In a few cases, for various reasons, this automatic activation process may fail and a replacement Service Product Key for Windows may be required to resolve the issue (Figure 1 [English only]):
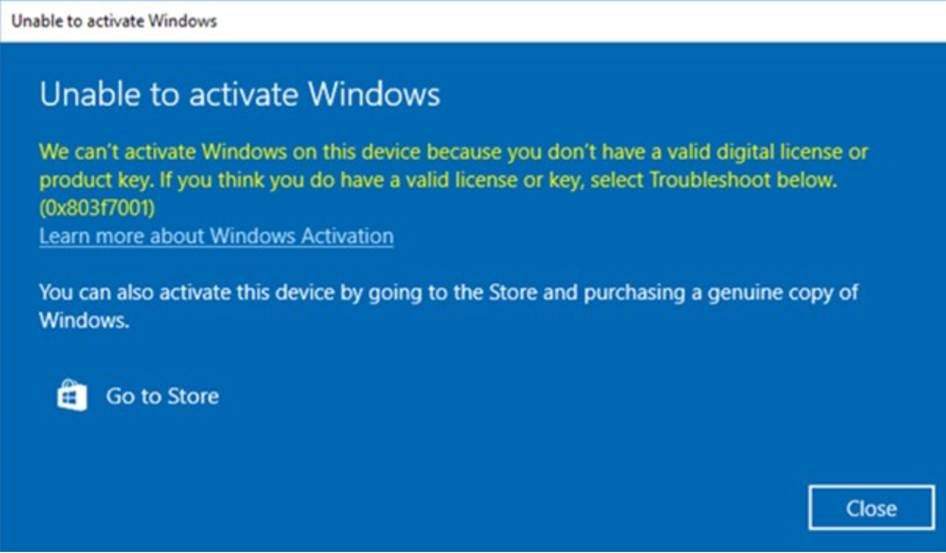
Figure 1: Message that Windows is not activated after the motherboard has been replaced
原因
No cause information.
解决方案
If Windows fails to activate after a motherboard replacement, Contact Dell Tech Support and allow the agent to troubleshoot the issue.
If Dell tech support advises they provide a Service Product Key for Windows, follow the steps below to access the product key through your Dell Digital Locker secure interface and activate Windows.
- To ensure that you can access the Dell Digital Locker, you are asked to log in to the locker before the key request process is initiated. This ensures you can access the key once it is available in the locker.
- Log in to your Dell Digital Locker following the instructions provided in the order information you received (Figure 2 [English only]):
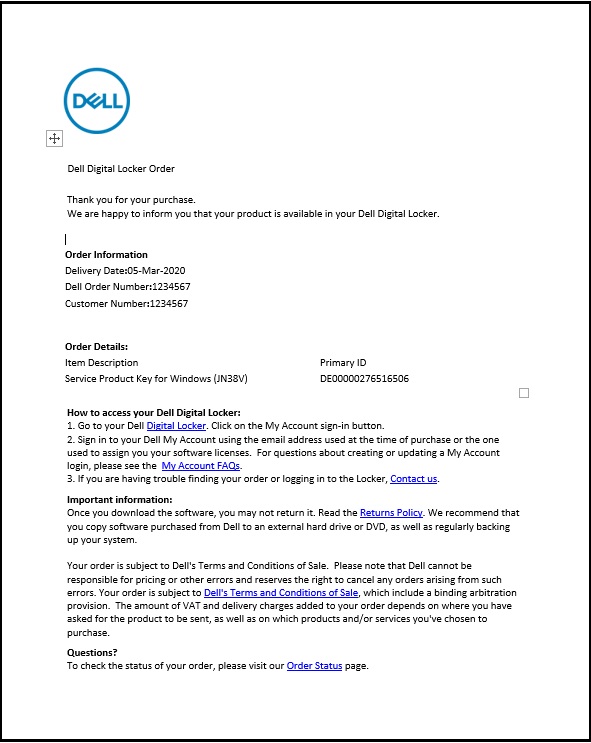
Figure 2: Order details and log-in instructions for Dell Digital Locker - At the Dell Digital Locker Welcome screen, use the account that is provided in the order information from Step 2 above to Sign In (Figure 3 [English only]):
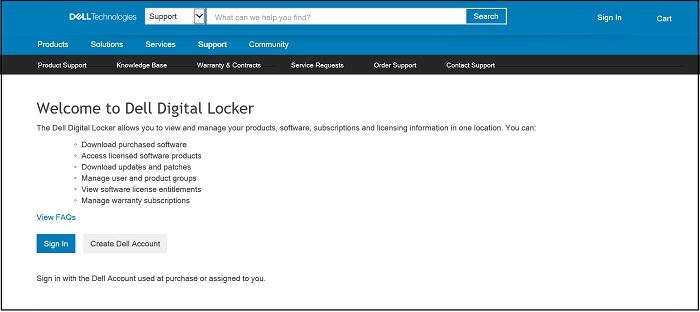
Figure 3: Dell Digital Locker Welcome screen - The Products tab shows a list of products that are ordered and will include the Service Product Key for Windows (Figure 4 [English only]):
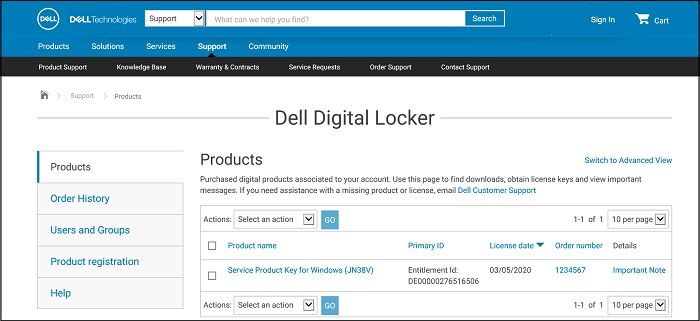
Figure 4: Products tab showing list of products - Details of the product key from the Dell Digital Locker product screen (Figure 5 [English only]):
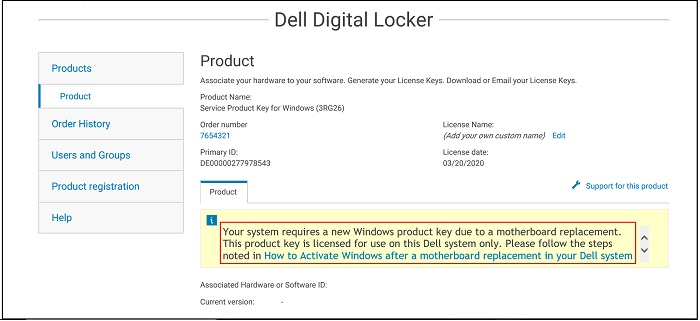
Figure 5: Product key details in Dell Digital Locker - If you select Switch to Advanced View from the Products screen (Figure 4 above), you can search by service tag to find your Dell Product Key order (Figure 6 [English only]):
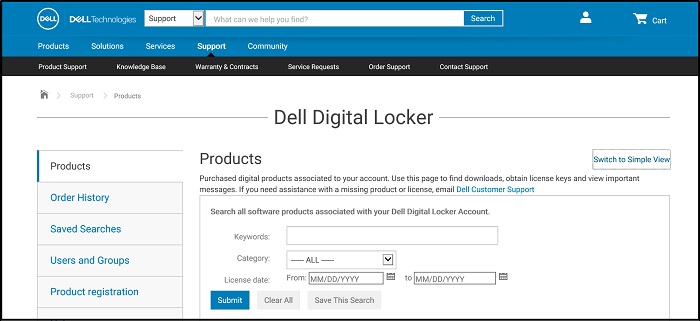
Figure 6: Dell Digital Locker advanced view search - Copy the Service Product Key for Windows from the Dell Digital Locker.
- Type Activation in the windows search bar, and select Activation (Figure 7 [English only]), System Settings from the drop-down menu. (You can also find this from Settings, Update & Security, Activation)
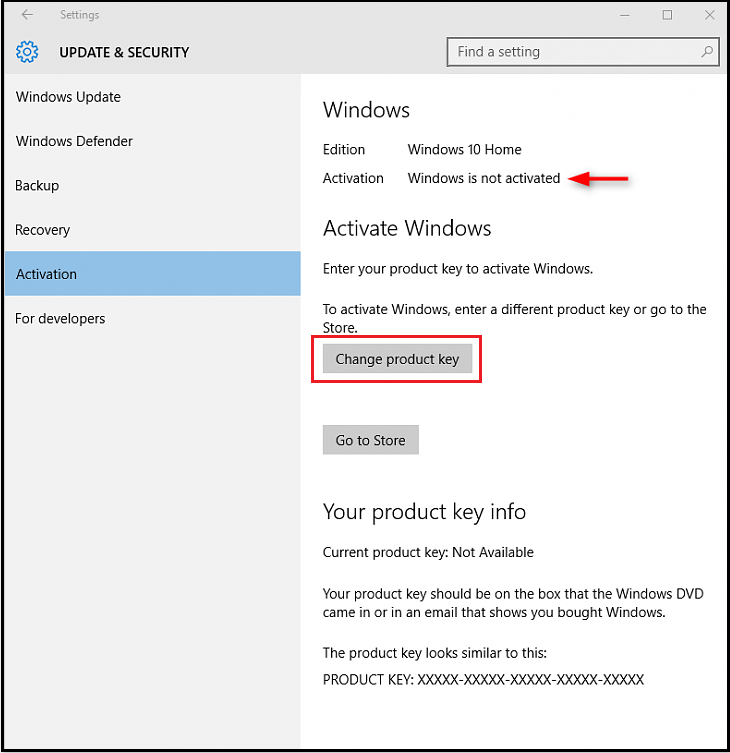
Figure 7: Open Activation settings from the Windows search bar - Select the Change product key and paste the key in when prompted and complete the activation process.
其他信息
Recommended Articles
Here are some recommended articles related to this topic that might be of interest to you.
文章属性
受影响的产品
Chromebook, Alienware, Inspiron, Latitude, Vostro, XPS, Latitude Tablets, XPS Tablets
上次发布日期
21 5月 2024
版本
10
文章类型
Solution