How to Configure a Netskope API Data Protection Policy
Summary: A Netskope API Data Protection policy may be configured by following these instructions.
This article applies to
This article does not apply to
This article is not tied to any specific product.
Not all product versions are identified in this article.
Instructions
To discover existing data residing within your sanctioned cloud services, create an API Data Protection policy with the wanted options and actions. The Netskope UI guides you through the process of configuring policies for each of your cloud apps on a single web page.
Affected Products:
- Netskope
- In a web browser, go to the Netskope web console:
- United States Datacenter: https://[TENANT].goskope.com/
- European Union Datacenter: https://[TENANT].eu.goskope.com/
- Frankfurt Datacenter: https://[TENANT].de.goskope.com/
Note: [TENANT] = The tenant name in your environment - Log in to the Netskope web console.
- Click Policies.
- Click API Data Protection.

- Click New Policy.
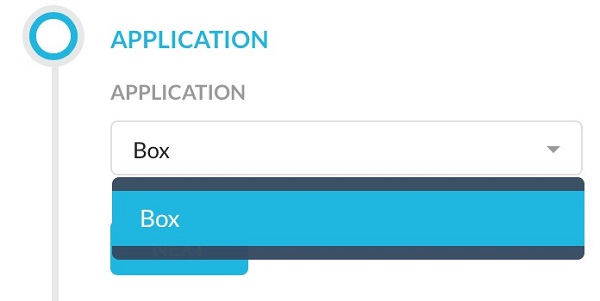
- In the Application section, select the app.
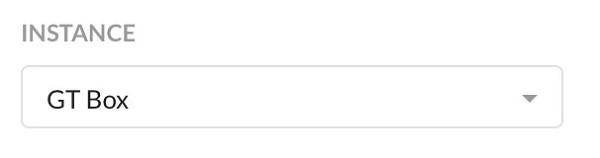
- In the Instance section, select the app instance for the policy.
- Click Next and then go to the topic in this guide that matches the section you are configuring on the New API Data Protection policy page.

Settings may be configured for:
- Users
- Content
- Activity
- Data Loss Prevention (DLP)
- Action
- Notification
- Set Policy
For more information about settings, click the appropriate control.
Note: For more information about what settings may be configured for each application, reference Netskope API Data Protection Overview.
- From the Users menu:
- Select a group of users to scan for.
- Optionally, click to Exclude Users.
- Optionally, click to Exclude User Profiles.
- Click Next.
 Note: User profiles must be added before they can be displayed here. To upload a CSV file that contains your user profiles, go to Policies, Profiles, User, and then click New User Profile. Complete the steps in the Create User Profile wizard, and then select a user profile. For more information, reference How to Create a Netskope Profile.
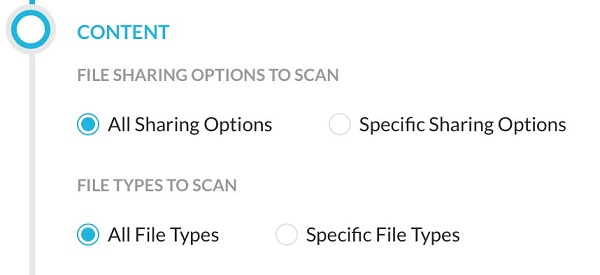
This section of the API Data Protection policy page specifies files, objects, and messages that trigger a policy violation.
Note: The available content options differ based on the application that is selected in Step 6. For more information about available content, reference Netskope API Data Protection Overview.
For Box, you can select one of the following options:
- All Sharing Options: Scans all sharing options like Private, Public, Shared Internally, and Shared Externally.
- Specific Sharing Options: With specific sharing options, you can choose all or specific sharing types, like Private, Public, Shared Internally, or Shared Externally.
For Shared Externally, you can select all or specific external domains if they have been configured for the app that is chosen on the instance page. To set thresholds for when content sharing triggers a policy violation, select Advanced Options and enter the number of internal or external collaborators that must be detected for a policy violation to occur.
- All File Types or Specific File Types to scan.
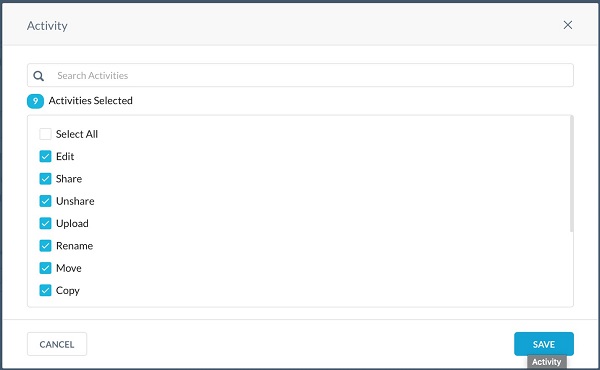
This section of the API Data Protection policy page specifies the type of file activity that is performed by a user.
Note: The available content options differ based on the application that is selected in Step 6. For more information about available content, reference Netskope API Data Protection Overview.
- Click Select Activities.

- From the Activity menu:
- Optionally, clear the checkbox for default activities.
- Optionally, select additional activities.
- Click Save.
- Click Next.
This section of the API Data Protection policy page specifies the type of DLP profile that triggers a policy violation.
- From the DLP menu:
- Select either DLP or None.
- If DLP was selected, click Select Profile and go to Step 10. Otherwise, go to Step 11.
 Note: The name of the DLP profile that is selected may differ in your environment.
 - Search for a DLP profile or choose one from the list of predefined and custom profiles and then click Save.
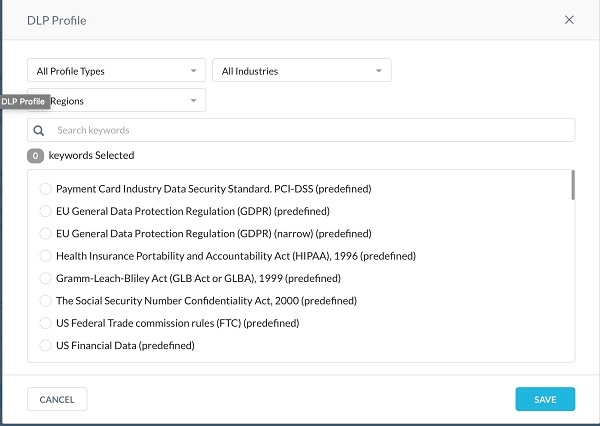
- Click Next.

This section of the API Data Protection policy page specifies the action to be taken when a policy violation occurs. The actions vary depending on the app chosen. For some apps, the only action is an alert. Similarly, restrict access options vary depending on the app chosen.
Note: For a list of supported actions per cloud app, reference Netskope API Data Protection Overview.
- Select an action to take from the drop-down list, and then click Next.
 Note:
Note:- The Set File Classification To option is disabled by default. To enable this option, contact Dell Support. To know more about this option, reference the Security Classification on Box section below.
- For some actions, like Restrict Access, you can select additional options from the adjacent drop-down list. For example, if you selected Specific Sharing Options and Shared Externally in the Content section, then the option to allowlist or blocklist an External Domain appears in the drop-down list.
- For the Quarantine action, select an existing quarantine profile from the list, or create a new one. For more information about creating a quarantine profile, reference How to Create a Netskope Profile. A DLP profile must be selected to use the Quarantine action.
- For the Legal Hold action, select an existing legal hold profile from the list, or create a new one. For more information about creating a legal hold profile, reference How to Create a Netskope Profile.
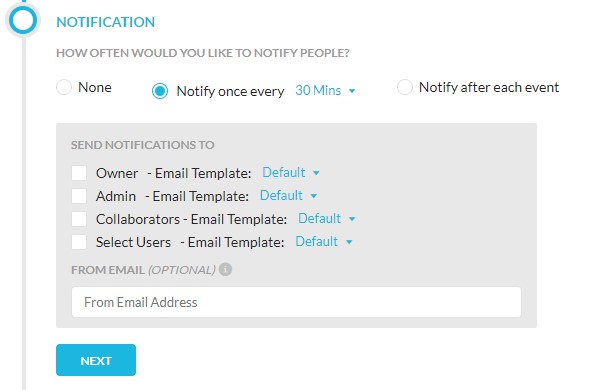
This section of the API Data Protection policy page specifies who and when to notify users about a policy violation.
- From the Notification menu:
- Select how often to notify people.
- Select who to send notifications to.
- Choose an Email Template for each selected group (Step 9b) from the drop-down menu. If creating a New Template, go to Step 10. Otherwise, go to Step 9D.
- Optionally, populate a From Email so that recipients know who set up this policy.
- Click Next.
- From the Create Introspection Email Notification Template menu:
- Populate a Template Name.
- Populate a Subject.
- Optionally, use Insert to insert Netskope template variables.
- Click Save.

This section of the API Data Protection policy page specifies the name of the policy and allows you to optionally add a description.
- Populate the Policy Name and then optionally populate a Policy Description.
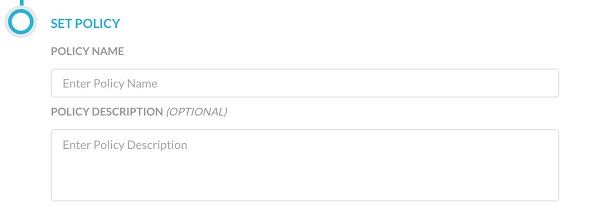
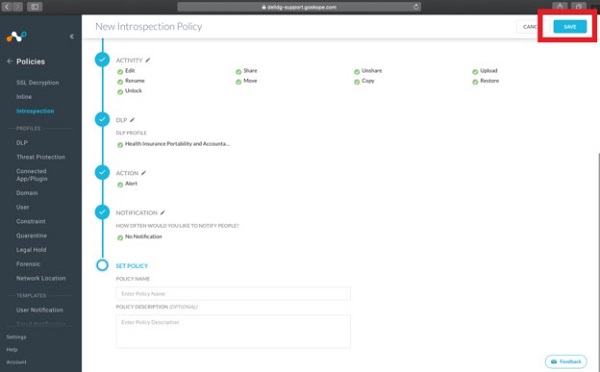
- When finished, click Save. The policy scans the files and folders specified based on your selections. The action that is chosen occurs when there is a policy violation.
To contact support, reference Dell Data Security International Support Phone Numbers.
Go to TechDirect to generate a technical support request online.
For additional insights and resources, join the Dell Security Community Forum.
Affected Products
NetskopeArticle Properties
Article Number: 000126831
Article Type: How To
Last Modified: 19 Dec 2024
Version: 13
Find answers to your questions from other Dell users
Support Services
Check if your device is covered by Support Services.