Dell EMC Unity: NDMP를 활성화하고 구성하는 방법[사용자 수정 가능]
Summary: 어레이에서 NDMP를 구성하는 방법
This article applies to
This article does not apply to
This article is not tied to any specific product.
Not all product versions are identified in this article.
Instructions
Unisphere GUI에서 다음을 수행합니다.
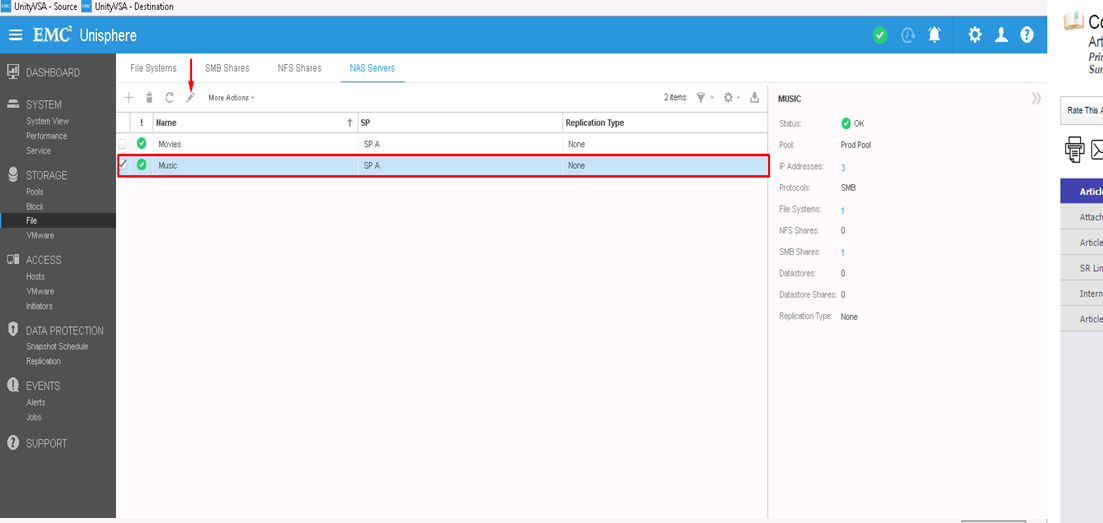
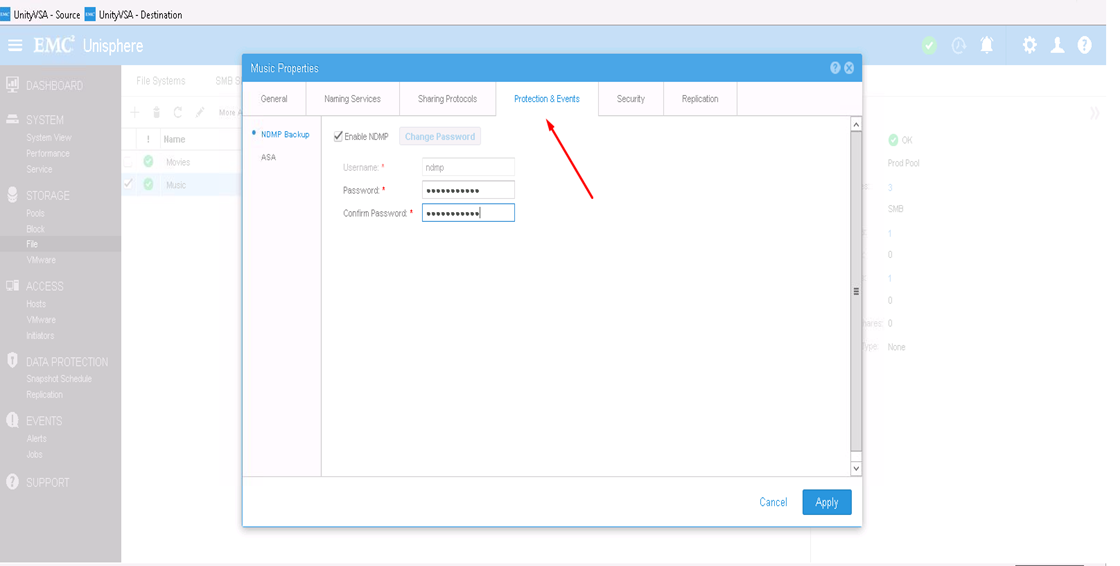
- 먼저 NDMP를 구성할 NAS 서버를 선택한 다음 편집 아이콘을 클릭하여 수정합니다
- Protection & events 탭에서 사용자 이름과 비밀번호를 입력하여 NDMP 확인란을 활성화할 수 있습니다
CLI에서 다음을 수행합니다.
1) uemcli -d <array_ip> -u admin -p <admin_pwd> /net/nas/server show
로 NAS 서버 리소스 ID를 확인합니다. 2) 다음 방법으로 NDMP 암호를 활성화하고 설정합니다. uemcli -d <array_ip> -u admin -p <admin_pwd> /net/nas/ndmp -server <nas_x> set enabled yes passwd ndmp_pwd
위 사용자 이름 "ndmp"를 사용하여 Unity에서 NDMP를 활성화합니다.
백업 클라이언트에서 NAS 서버 IP 주소 "ndmp"를 로그인 사용자로 사용하고 NDMP 백업에 구성된 비밀번호를 사용할 수 있습니다.
Affected Products
Dell EMC Unity FamilyProducts
Dell EMC Unity Family, VNXe1 Series, VNXe2 SeriesArticle Properties
Article Number: 000022637
Article Type: How To
Last Modified: 16 Oct 2025
Version: 3
Find answers to your questions from other Dell users
Support Services
Check if your device is covered by Support Services.