How to Create a Domain or Third-Party Certificate for Dell Data Security
Summary: A certificate may be created for a Dell Data Security (formerly Dell Data Protection) server using these instructions.
This article applies to
This article does not apply to
This article is not tied to any specific product.
Not all product versions are identified in this article.
Instructions
A Dell Data Security (formerly Dell Data Protection) server may use a certificate that is provided by a third-party or internal certificate authority (CA).
Affected Products:
- Dell Security Management Server
- Dell Security Management Server Virtual
- Dell Data Protection | Enterprise Edition
- Dell Data Protection | Virtual Edition
Affected Versions:
- v8.0.0 to Later
To use a CA certificate, the Dell Data Security server requires:
- That a certificate signing request (CSR) is submitted to the CA.
- A CA signed certificate (.cer) and private key to be converted to a Personal Information Exchange Format (PFX).
Click the appropriate action for more information.
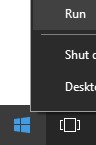
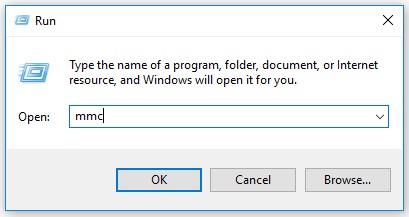
- Right-click the Windows Start menu and then click Run.
- In the Run UI, type
MMCand then press OK.

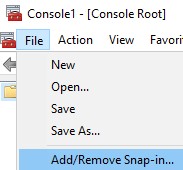
- From the Microsoft Management Console, select File, and then Add/Remove Snap-in.
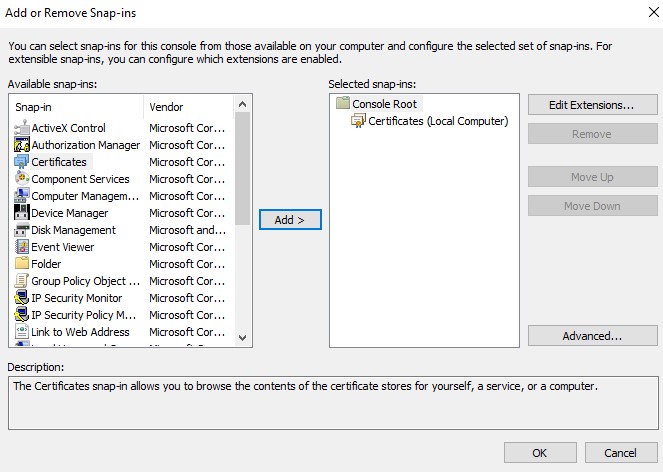
- Select Certificates and then click Add.

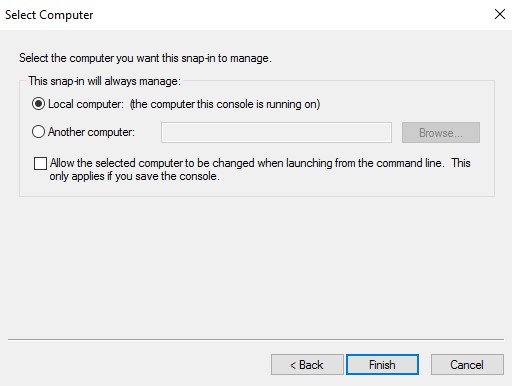
- Select Computer account and then click Next.
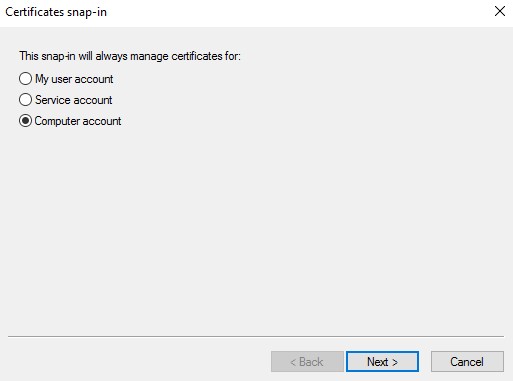
- With the Local computer selected, click Finish.

- Click OK.
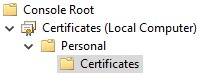
- In Console Root, expand Certificates.
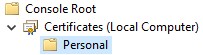
- Right-click Personal, select All Tasks, Advanced Operations, and then click Create Custom Request.
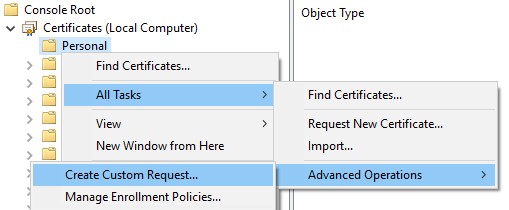
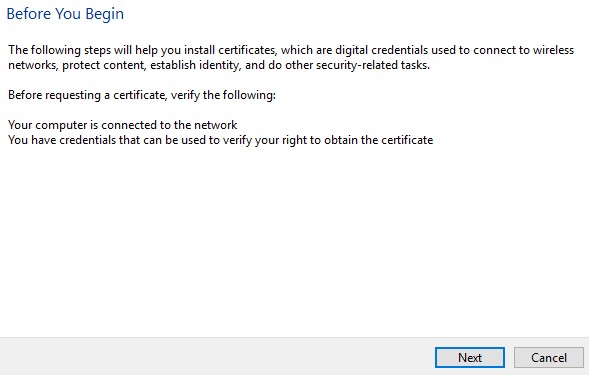
- Click Next.
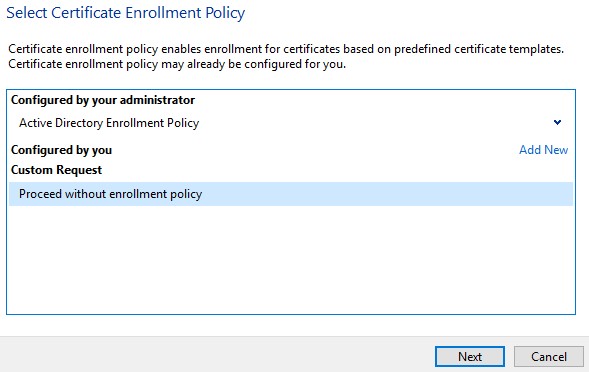
- Under Custom Request, select Proceed without enrollment policy and then click Next.
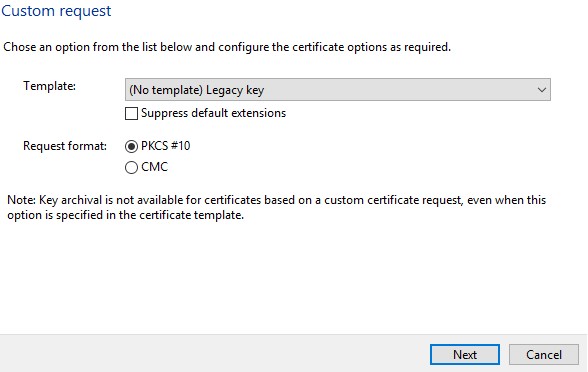
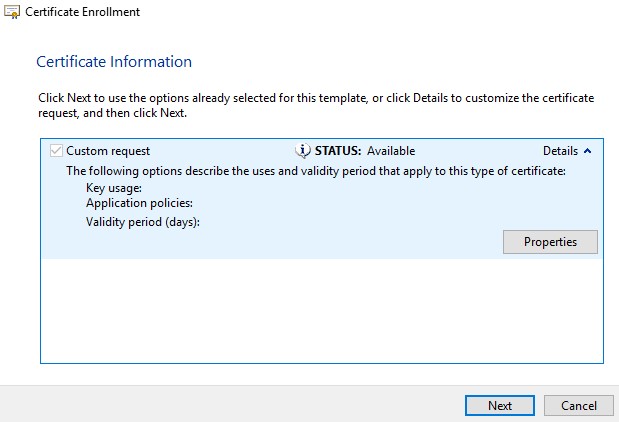
- From the Custom request menu:
- Select template: (No template) Legacy key
- Select format: PKCS #10
- Click Next.
- Expand Details and then click Properties.

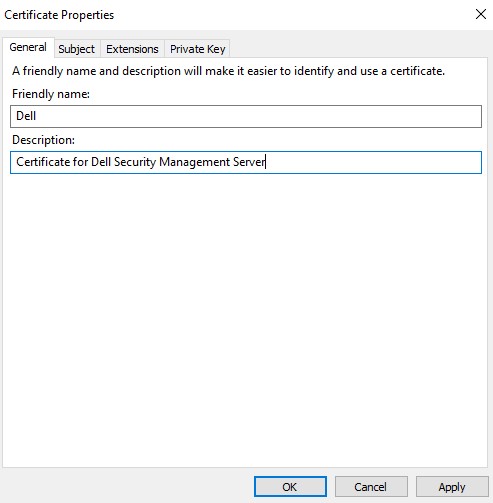
- In the General tab, populate the Friendly name and Description.
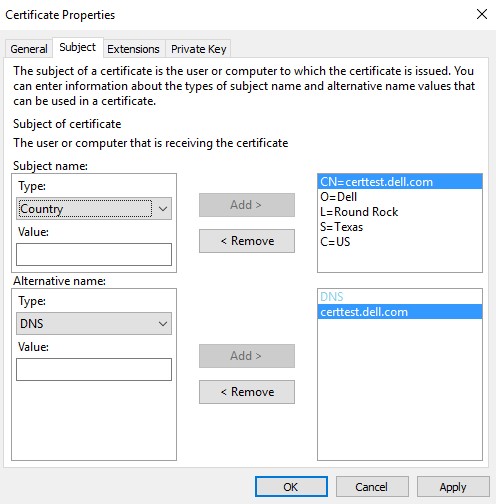
- In the Subject tab:
- From the Subject name, populate and then Add:
- Common name (CN)
- Organization
- Locality
- State
- Country
- From the Alternative name, populate the Dell Data Security server DNS and then click Add.
- From the Subject name, populate and then Add:
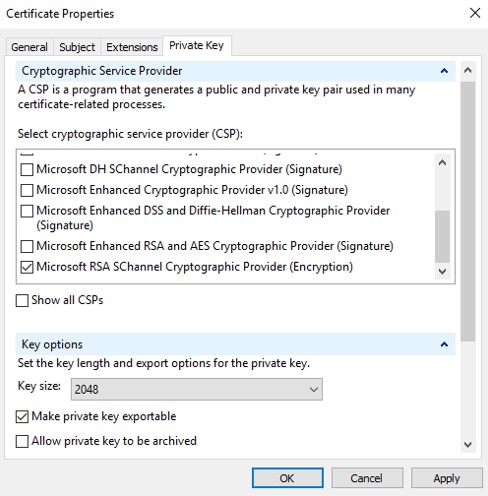
- In the Private Key tab:
- Expand Cryptographic Service Provider
- Select Microsoft RSA SChannel Cryptographic Provider
- Expand Key options
- Select key size: 2048
- Check Make private key exportable
- Click OK
- Click Next.
- Browse to a location to save the file and then click Finish.
 Note: The CSR output can now be submitted to a third-party provider or internal certificate authority (CA).
- Bring the CA signed certificate (.cer) to the machine where the CSR originated from.
- Right-click the .cer file and then click Install Certificate.
 Note:
Note:certtest.ceris an example certificate name used in the example image. The certificate name may differ in your environment. - In the Certificate Import Wizard, select Local Machine and then click Next.

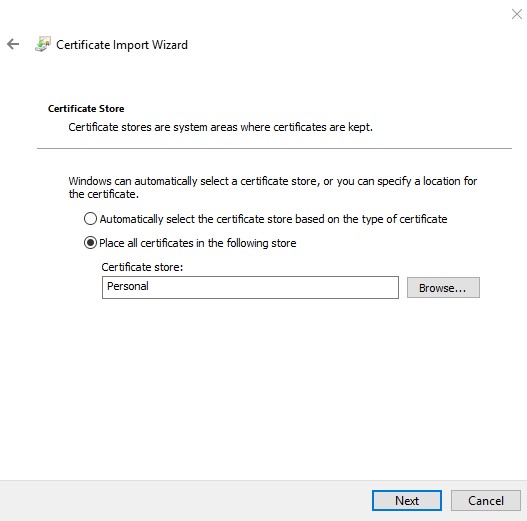
- Select:
- Select Place all certificates in the following store.
- Click Browse.
- Click Personal.
- Click OK.
- Click Next.
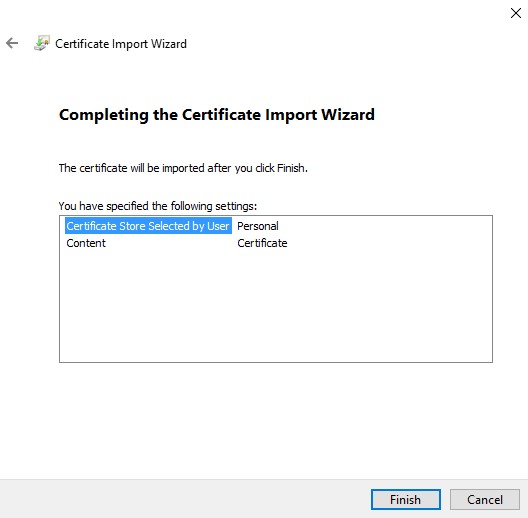
- Click Finish.
- Click OK.
- Right-click the Windows Start menu and then click Run.

- In the Run UI, type
MMCand then press OK.
- From Microsoft Management Console, select File, and then Add/Remove Snap-in.

- Select Certificates and then click Add.

- Select Computer Account and then click Next.

- With the Local computer selected, click Finish.
- Click OK.
 Note: Ensure the root certificate of the third-party provider or internal CA is installed in trusted root certificates.
 - Go to Certificates, Personal, and then Certificates.
- Right-click the imported certificate (step 5), click All Tasks, and then click Export.

- Click Next.
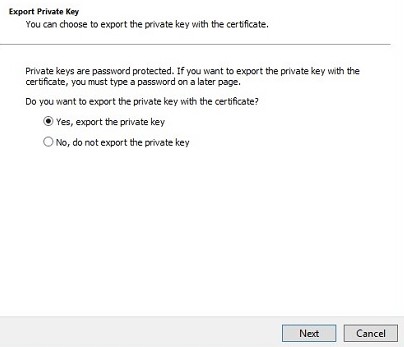
- With Yes, export the private key selected, click Next.
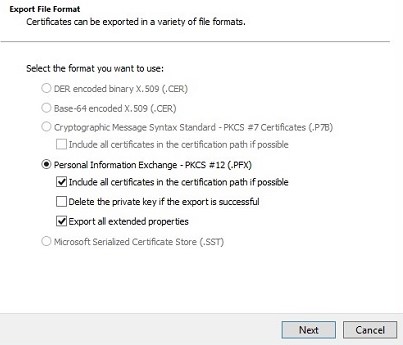
- From the Export File Format menu:
- Select Personal Information Exchange - PKCS #12 (.PFX).
- Check Include all certificates in the certification path if possible.
- Check Export all extended properties.
- Click Next.
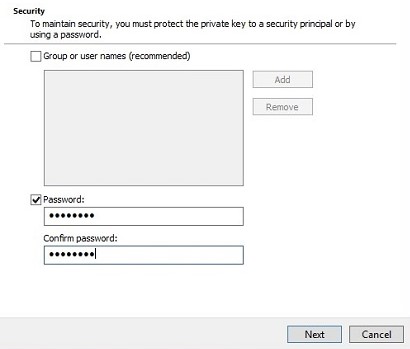
- Enter and confirm the Password. Once populated, click Next.
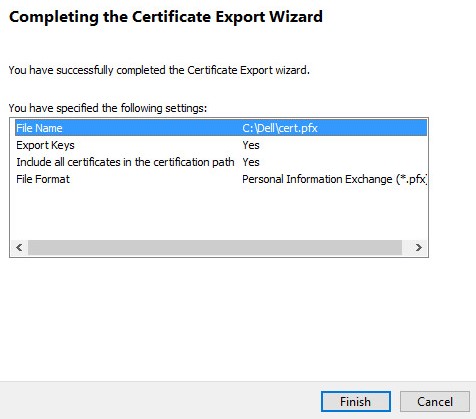
- Browse to a location to save the .pfx and then click Next.

- Click Finish.
- Click OK.
- If using:
- Dell Security Management Server Virtual (Formerly Dell Data Protection | Virtual Edition), go to Step 24
- Dell Security Management Server (Formerly Dell Data Protection | Enterprise Edition), the .pfx creation process is completed.
- To successfully upload a .pfx, Dell Security Management Server Virtual requires:
- A completed .pfx
- A third-party FTP (file transfer protocol) client
- Examples of an FTP client include (but are not limited to):
- Filezilla
- WinSCP
- FireFTP
- Examples of an FTP client include (but are not limited to):
Note:- Dell does not endorses or support any listed third-party product. The listed clients are meant to be an example of potential products that you can use. Contact the product’s manufacturer for information about setup, configuration, and management.
- Your FTP client UI may differ from the below screenshot examples.
- Launch the FTP client.
- In the FTP client, Log in with an FTP user to the Dell Security Management Server Virtual.
 Note: An FTP user must be created within the Dell Security Management Server. Reference How to Create an FTP User in Dell Security Management Server Virtual for more information.
 - Go to
/certificates/.

- Move the .pfx from where it was saved (Step 20) to
/certificates/.

- Close the FTP client.
To contact support, reference Dell Data Security International Support Phone Numbers.
Go to TechDirect to generate a technical support request online.
For additional insights and resources, join the Dell Security Community Forum.
Affected Products
Dell EncryptionArticle Properties
Article Number: 000125477
Article Type: How To
Last Modified: 18 Dec 2024
Version: 11
Find answers to your questions from other Dell users
Support Services
Check if your device is covered by Support Services.