How to Install Netskope Client
Summary: Learn step-by-step instructions to install Netskope Client by following these instructions for either Windows, Mac, or ChromeOS.
This article applies to
This article does not apply to
This article is not tied to any specific product.
Not all product versions are identified in this article.
Instructions
This article provides the steps for installing Netskope Client.
Affected Products:
- Netskope Client
Affected Operating Systems:
- Windows
- Mac
- ChromeOS
Note: Before installation, ensure that system requirements are validated. For more information, reference Netskope Client System Requirements.
The process to install Netskope Client differs between Windows, Mac, and ChromeOS. For steps on installing Netskope Client, click the appropriate operating system platform.
Windows
- Double-click
NSClient_addon-[TENANT]_[VERSION]_ [LICENSE].msi. Note:
Note:[TENANT]= Name of the tenant for your environment[VERSION]= Version of Netskope Client[LICENSE]= Unique license key for the user- To obtain the installer, reference How to Download the Netskope Client.
- The Netskope Client Setup runs.

- Click Finish.

Mac
- Double-click
NSClient_addon-[TENANT]_[VERSION]_ [LICENSE].pkg.Note:[TENANT]= Name of the tenant for your environment[VERSION]= Version of Netskope Client[LICENSE]= Unique license key for the user- To obtain the installer, reference How to Download the Netskope Client.
- Click Continue.

- Select a disk for installation and then click Continue.

- Optionally, Change Install Location and then click Install.

- If prompted with System Extension Blocked, click Open Security Preferences and then go to Step 6. Otherwise, go to Step 7.

- Click Allow.

- Click Close.

ChromeOS
Note: ChromeOS requires an invitation email be sent before it can be fully configured. For more information about how to send an invitation email, reference How to Download the Netskope Client.
- Open the invitation email and click the ChromeOS Client download link.
 Note: The download links are unique. The installation is tied to the user with whom the link is associated.
 - The browser that is installed on the ChromeOS device launches. Click Install.

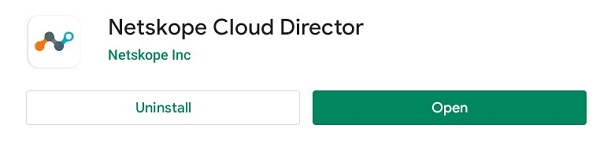
- The device is directed to the Google Play Store page for the Netskope Cloud Director app. Click Install.

- Once the app is installed, click Open.
- Go back to the webpage from Step 2 and then select Click here.

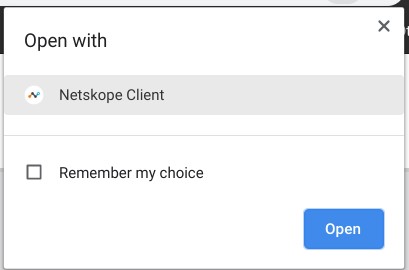
- The Open with dialog displays. Ensure that Netskope Client is selected and then click Open.
- The Netskope Client app launches, and a Connection request dialog displays. Click OK.

- If the Netskope certificate has not been trusted by your device or organization, a prompt to name the certificate appears. Click OK.

- Once successful, Netskope Client Connected is displayed.

To contact support, reference Dell Data Security International Support Phone Numbers.
Go to TechDirect to generate a technical support request online.
For additional insights and resources, join the Dell Security Community Forum.
Affected Products
NetskopeArticle Properties
Article Number: 000130554
Article Type: How To
Last Modified: 04 Sept 2025
Version: 10
Find answers to your questions from other Dell users
Support Services
Check if your device is covered by Support Services.