How to Configure Windows Hello in Windows 10 for Biometric Scanners
Summary: Learn how to configure Windows Hello on a Dell personal computer with a fingerprint reader.
This article applies to
This article does not apply to
This article is not tied to any specific product.
Not all product versions are identified in this article.
Instructions
This article describes the configuration of Windows Hello for biometric login in Windows 10.
Driver Installation for Fingerprint Reader in Windows 10
Dell systems that shipped with a fingerprint reader as part of their build may require a firmware/driver update in order to use the biometric device in Windows 10.
Systems running Windows 10 are not limited to using the Dell Data Protection- Security Tools in order to use the biometric device. The User may choose to use the native Microsoft software solution known as "Windows Hello" to access the Fingerprint device.
NOTE: Dell Data Protection Security Tools and Windows Hello cannot be configured for Biometrics simultaneously. Only one or the other may be configured. If fingerprints are enrolled in Dell Data Protection Security Tools and Windows Hello, Biometrics login fails. Once fingerprints are removed from Dell Data Protection Security Tools or Windows Hello, login should work correctly.
NOTE: To configure and enroll fingerprints, the system must have access to the TPM. Enabling and configuring the TPM is covered in system-specific documentation. To configure Windows Hello, the system must meet hardware and software requirements. Windows Hello supported systems can be found here.
Example of successful fingerprint reader setup
How to Setup a Windows 10 Fingerprint reader
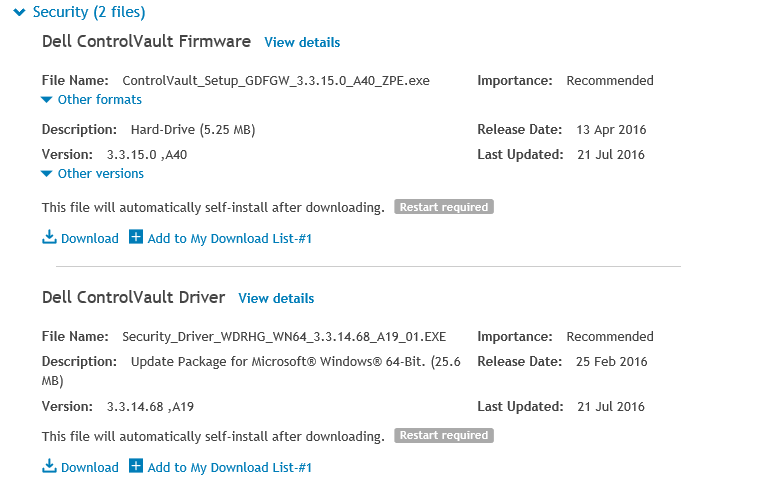
- Locate drivers for the applicable system type from the Dell Drivers & downloads
NOTE: Ensure that the driver matches the system it is applied to. Drivers are created to work with specific hardware interfaces. Installing the incorrect driver may cause issues for the user.NOTE: The driver and firmware for the fingerprint reader set up is located under the Security drop down on the website. Download both the driver and the firmware.
- Locate the downloaded drivers and select Install for the ControlVault driver.

- Select Next.

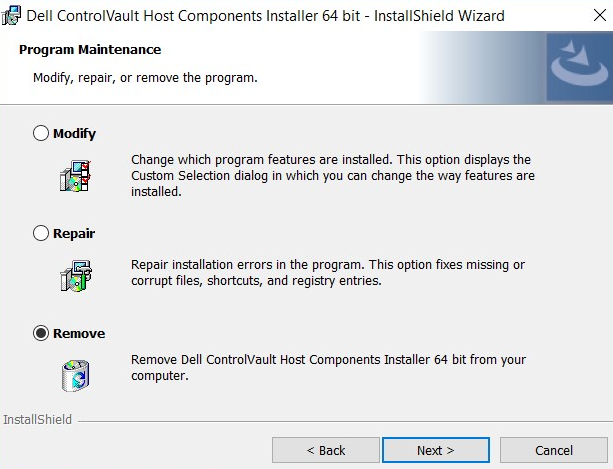
- A window populates with options to Modify, Repair, or Remove. Select the option to Remove the software from the system. Select Next.
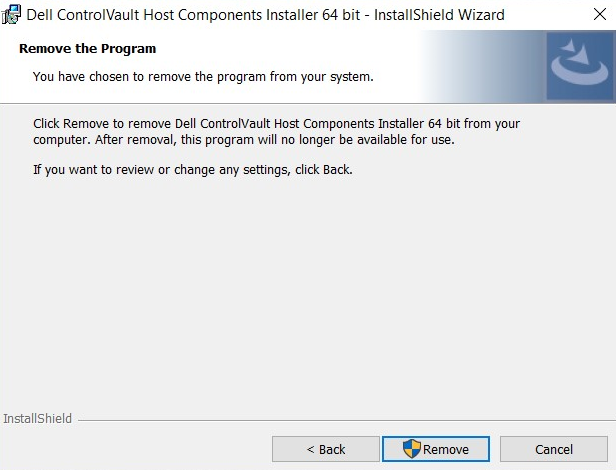
- In selecting the Remove option, the system prompts with a screen that ensures the driver must be removed. Select Remove.
- Once the wizard has removed the driver, a screen populates to verify it is no longer installed. Select Finish.
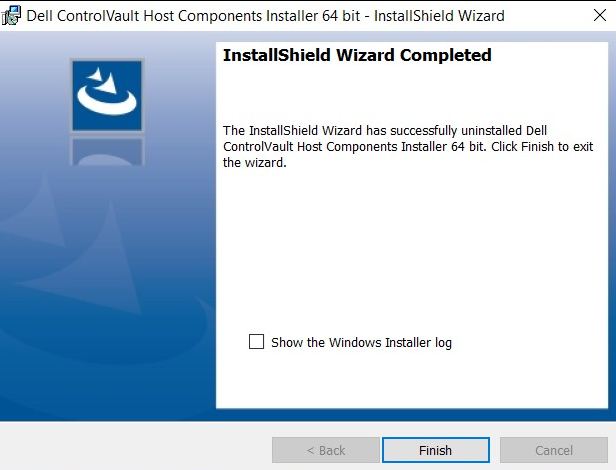
- Close the window that shows the installer successfully performed the removal of the driver.
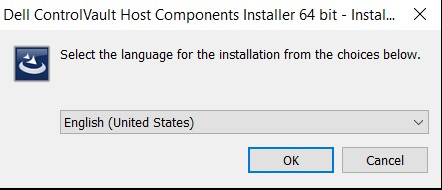
- Locate the downloaded driver again. Double click to launch the installer. The window prompts for language selection.
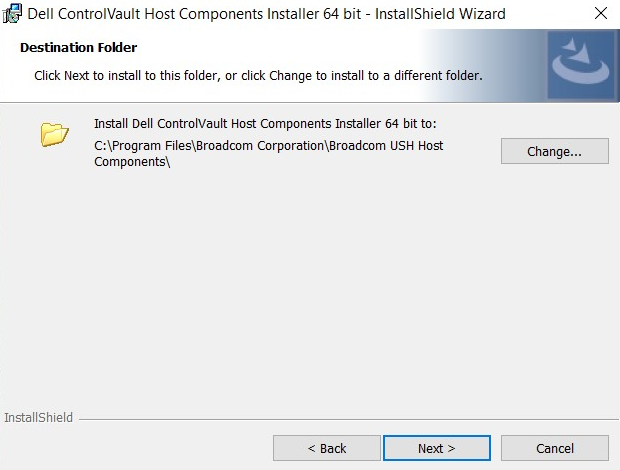
- The system prompts to install the components of the ControlVault Host Components Installer. Select Next.
- The system prompts for the type of installation needed. Select Complete.
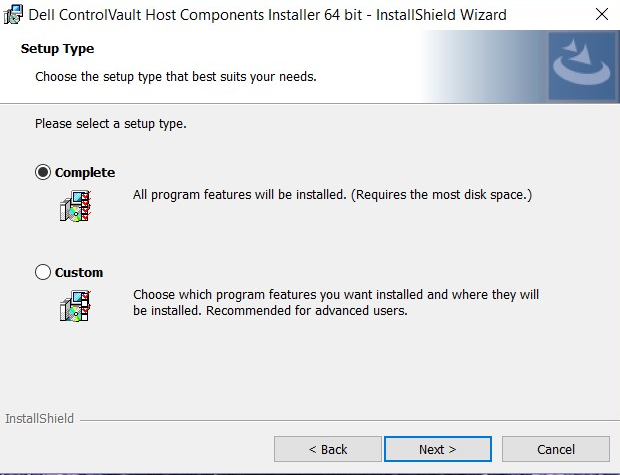
- Select Install.
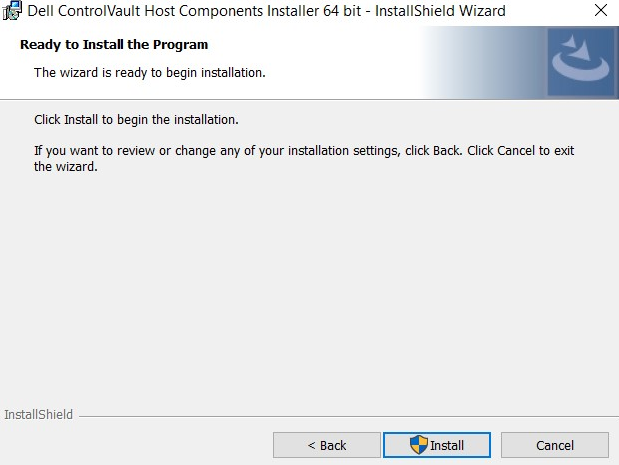
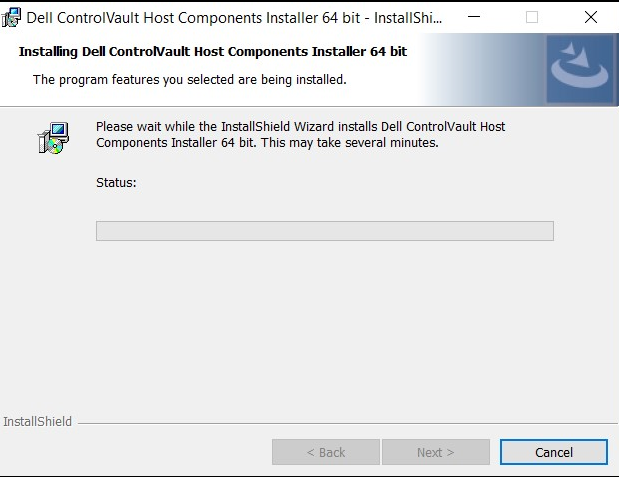
- The installer begins to install the package. This may take several moments.
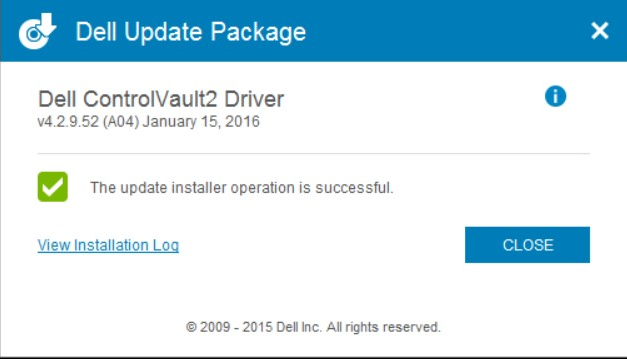
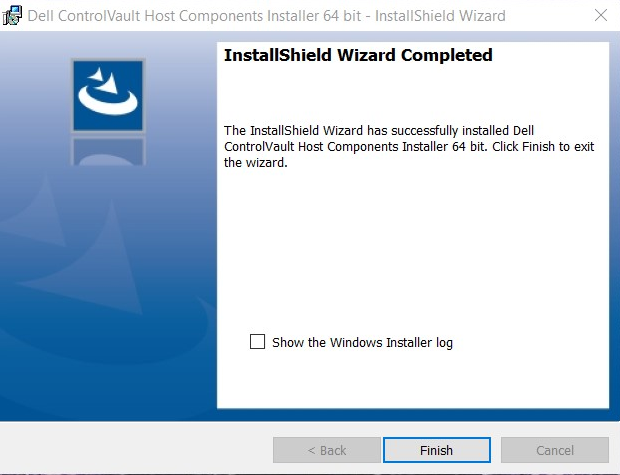
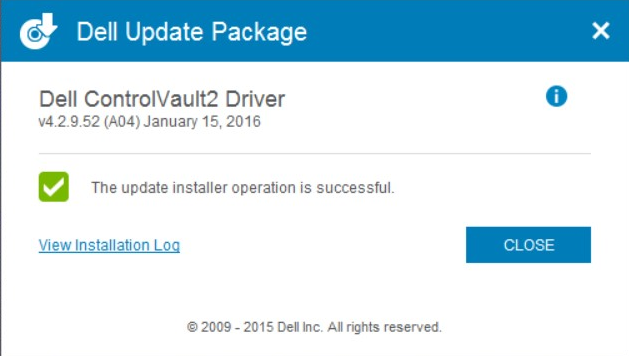
- Upon completion, a window is displayed stating the installation was a success. Select Finish.
- Close the Update Package window.
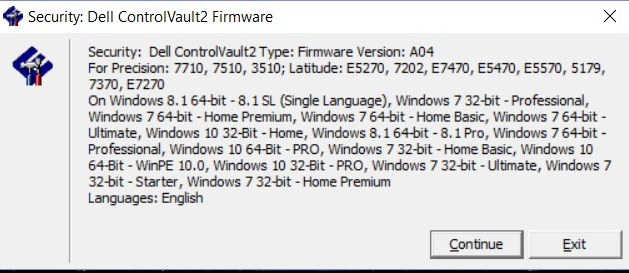
- Select the ControlVault Firmware installed from the Dell website. Double click the firmware. An installer window appears to inform you of the version of the firmware to be installed on the system. Select Continue.
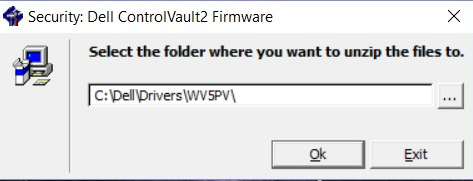
- A location is selected to extract the files for the firmware. Select OK.
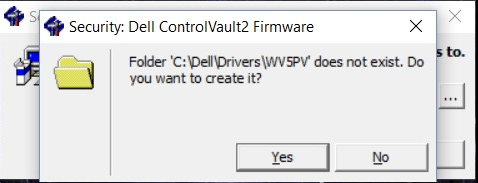
- If there is not already a folder for the firmware, the system prompts for one to be created. Select Yes.
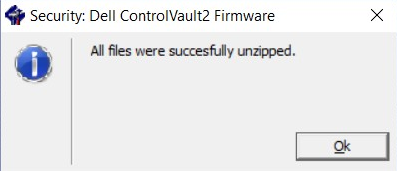
- Successful completion prompts a notification. Select OK.
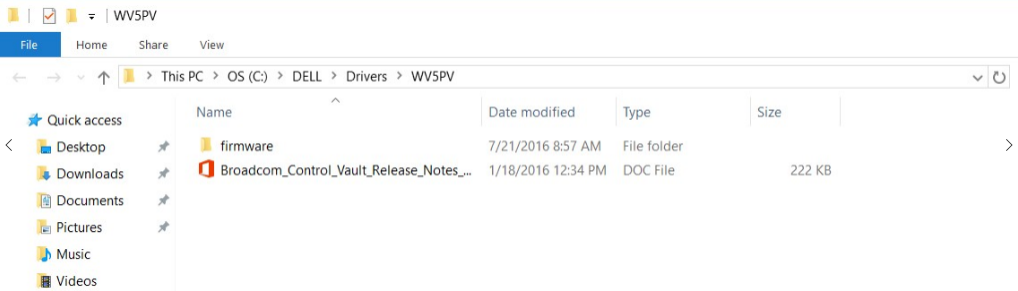
- The system opens the folder where the files were successfully moved to. Select the folder labeled "firmware" to open its contents.
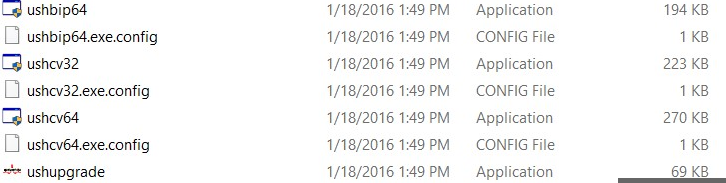
- Navigate through the contents until the item "ushupgrade" is displayed with the Broadcom logo. Double click the file.
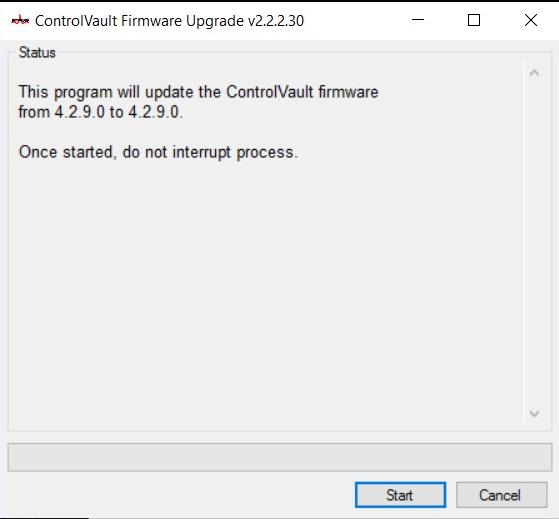
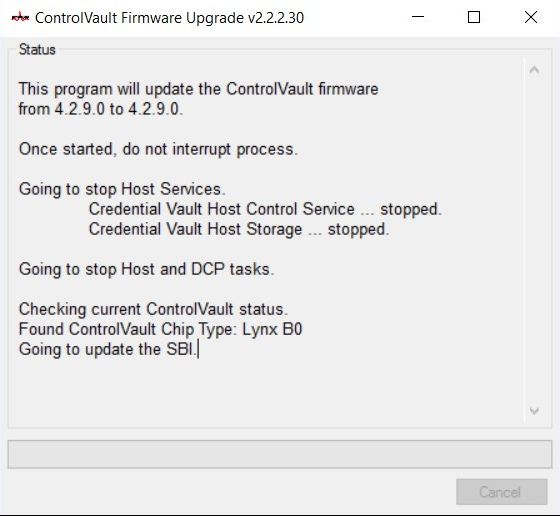
- A window appears with information about the Firmware update. Once this process is started, do not interrupt the installation. Select Start.
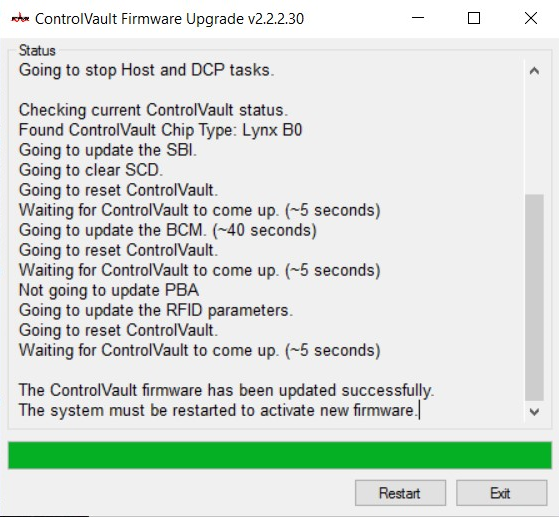
- The ControlVault firmware undergoes the installation process. This may take several minutes to complete.
- Upon completion, the window shows the option for restart. Restart the computer.
- When the system reboots, log in to Windows. Navigate to Settings and then to Sign-in Options.
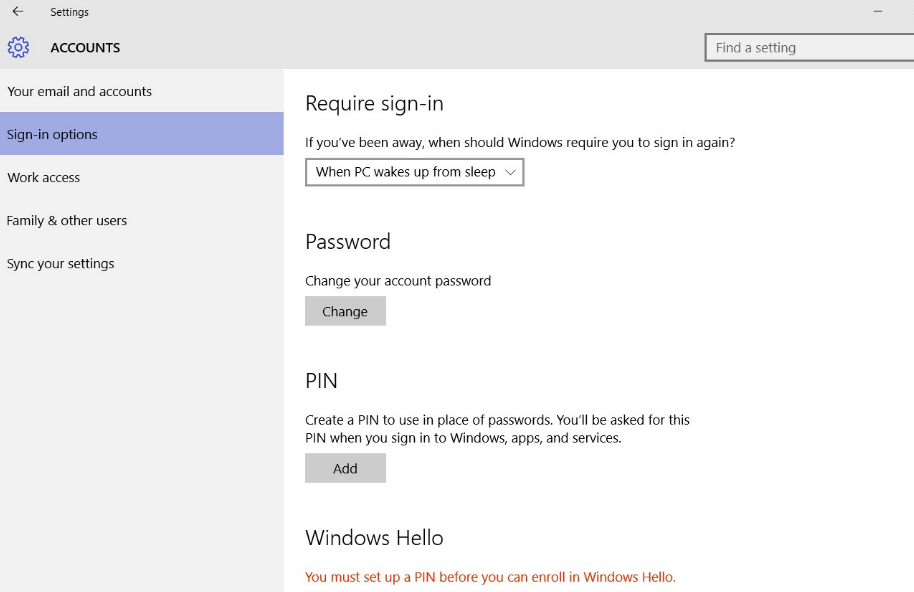
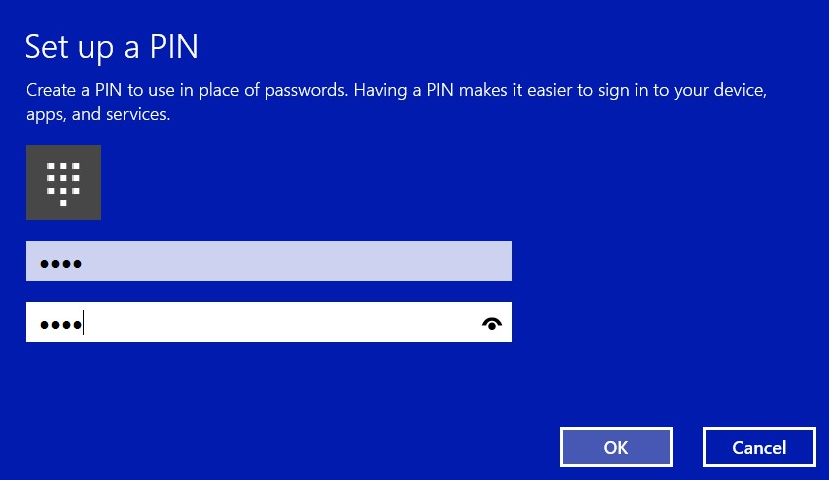
- In order for Windows Hello to acknowledge the fingerprint reader, a PIN must be set up. Select set up PIN. Windows will then ask for password verification.
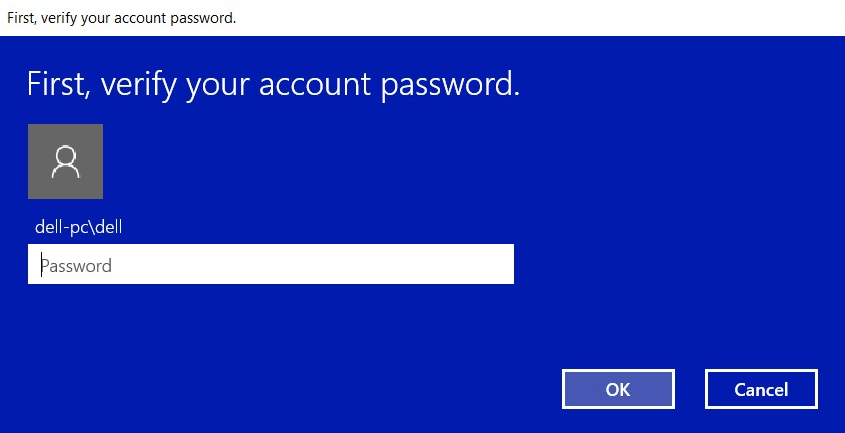
- Once the password is verified, create a PIN number for the system. It has to be entered twice. Select OK to complete PIN enrollment.
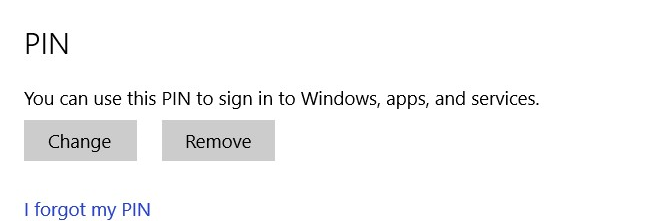
- The PIN should now show as established.
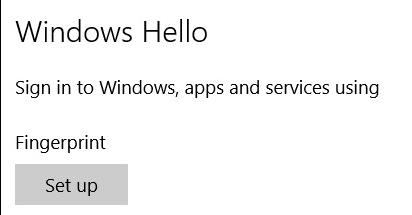
- Select the Set Up option under Windows Hello to enroll a fingerprint on the system.
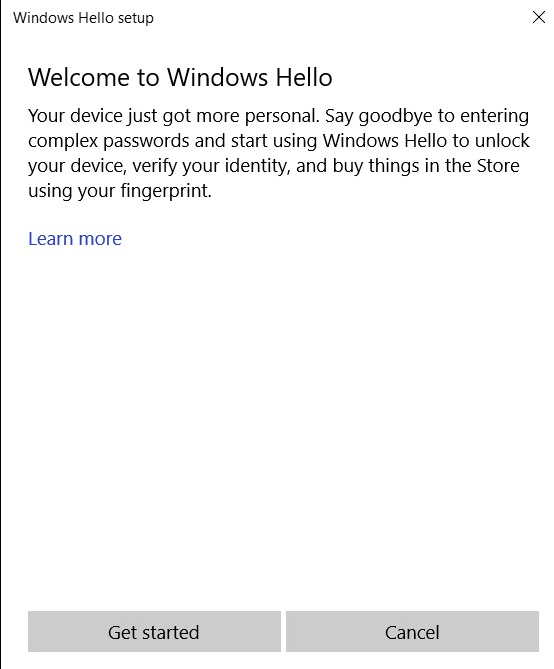
- The Welcome to Windows Hello screen appears. Select Get Started.
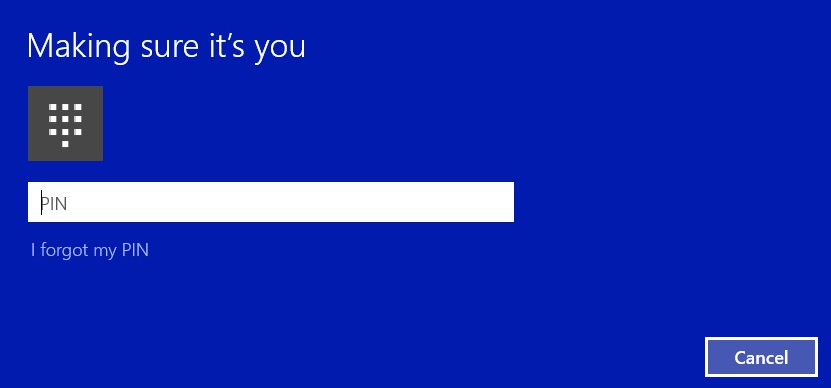
- The system prompts for the PIN to be entered.
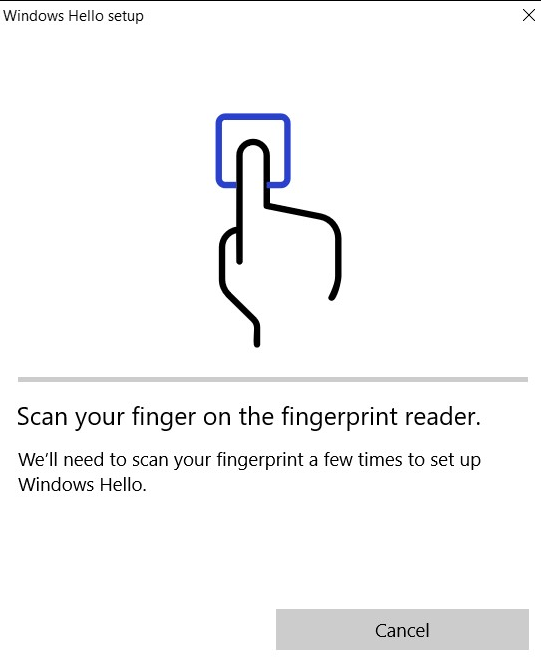
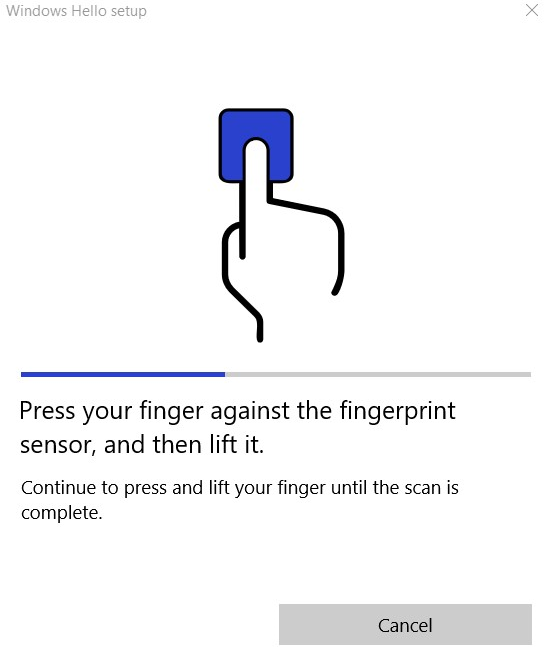
- Begin to scan the wanted finger to establish a valid fingerprint for the system. This takes several swipes.
- After the system has the needed data for fingerprint enrollment, a window will appear to prompt for another finger to be scanned. Repeat the process for a second finger.
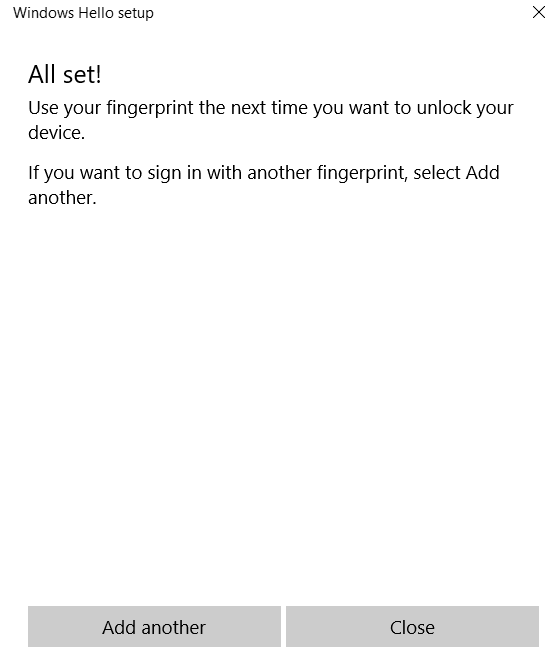
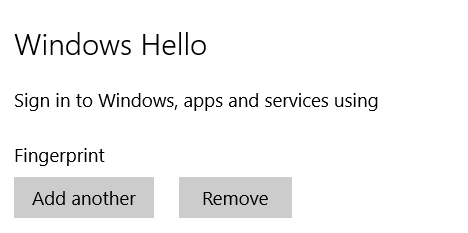
- The Settings screen should now have the option to sign in with the fingerprint reader.
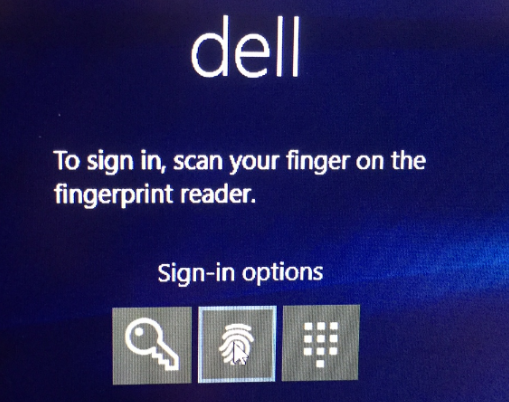
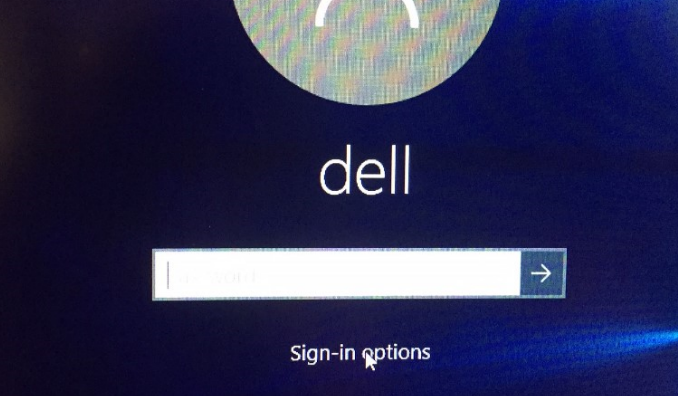
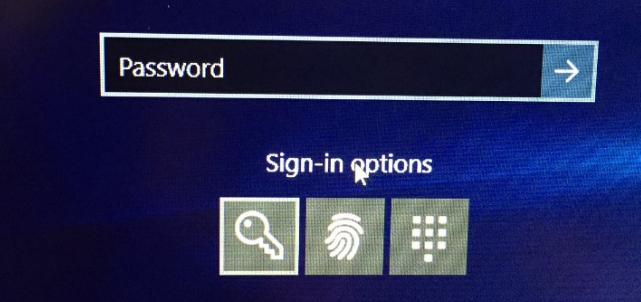
- When the system is rebooted or locked, options for sign-in are located underneath the option for the password. Select Sign-in Options.
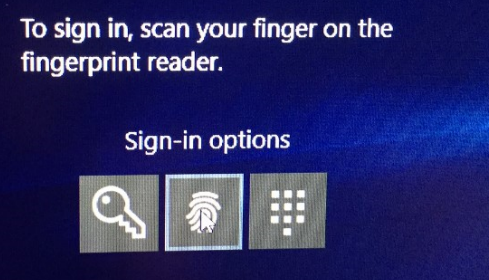
- Select the icon for the Fingerprint reader.
- Utilize the fingerprint reader for Sign-in.
Affected Products
G Series, Alienware, Dell Plus, Dell Pro, Dell Pro Max, Dell Pro Plus, Dell Pro Premium, Inspiron, Latitude, Dell Pro Rugged, Vostro, XPS, Legacy Laptop Models, Mobile WorkstationsArticle Properties
Article Number: 000142015
Article Type: How To
Last Modified: 01 May 2025
Version: 10
Find answers to your questions from other Dell users
Support Services
Check if your device is covered by Support Services.