APEX AIOps Infrastructure Observability: General procedures to onboard VxRail into APEX AIOps Infrastructure Observability
Summary: Procedure to onboard VxRail into APEX AIOps Infrastructure Observability.
This article applies to
This article does not apply to
This article is not tied to any specific product.
Not all product versions are identified in this article.
Instructions
APEX AIOps Infrastructure Observability Overview
APEX AIOps Infrastructure Observability is a no-cost, cloud-based application that leverages Machine Learning to proactively monitor and measure the overall health of Dell infrastructure and Connectrix switches through intelligent, comprehensive, and predictive analytics. This article describes the requirements to enable APEX AIOps Infrastructure Observability on Dell VxRail Hyperconverged systems.
Prerequisites
- Valid Dell Support Credentials: The user account email being used to log in to APEX AIOps Infrastructure Observability has inherited site relationship to the site where the asset resides.
- Valid Support Contract: At least one of the nodes within a VxRail cluster must have a ProSupport or ProSupport Plus contract for the cluster to be detected by APEX AIOps Infrastructure Observability.
- The nodes within the VxRail cluster may span more than one site ID, but the Dell user account (email address) must have access to all sites where the nodes reside, and company profile ID should be the same.
- Connectivity to Secure Remote Services Gateway.
- Must have incoming port opened for multicluster upgrade in future.
- For VxRail version 4.5.x, after Secure Remote Services is enabled, enable the Telemetry settings.
- For VxRail version 4.7.x and 7.0.x, enable Customer Improvement Program during Secure Remote Services configuration.
- Minimum versions:
- 4.5.215
- 4.7.100
- 7.0
- VxRail Clusters running v7.0.3.350 or later versions can directly connect using the connectivity agent, ESE, or they can use the gateway.
Note: APEX AIOps Infrastructure Observability does not support dynamic nodes.
Onboarding
Configure Secure Remote Services
To configure secure remote services, see the Enabling Secure Remote Services section in the following VxRail documentation available on the support site:
- V4.7.x: VxRail Administration Guide
- V7.0.x: VxRail Administration Guide
- Also see, Solve Online
Enable Telemetry for APEX AIOps Infrastructure Observability
- For VxRail v4.5.x, you must enable Telemetry Settings. The default and recommended collection level is Basic. This collects samples after every one hour.
- For VxRail v4.7.x and 7.0.x, you must enable Customer Improvement Program. The default and recommended collection level is Medium. This collects samples after every one hour.
VxRail Visibility in APEX AIOps Infrastructure Observability
Existing My VxRail Users:- VxRail clusters are automatically onboarded to APEX AIOps Infrastructure Observability. No additional actions are required.
VxRail users logging in for the first time:
- Log in to My VxRail: All VxRail clusters are automatically onboarded into APEX AIOps Infrastructure Observability. No additional actions are required.
- Log in to CloudIQ: The APEX AIOps Infrastructure Observability onboarding wizard is displayed which includes CloudIQ description and licensing agreement. VxRail systems are automatically onboarded to APEX AIOps Infrastructure Observability.
Intelligent Multi-System Updates Feature
- To perform an Intelligent Multisystem Updates operation, each user must enable vCenter-based access control using the Enable vCenter Access Control wizard on the HCI Settings page.
Access APEX AIOps Infrastructure Observability Portal
APEX AIOps Infrastructure Observability can be accessed by visiting the APEX AIOps Infrastructure Observability page.
1) Log in to APEX AIOps Infrastructure Observability using your Dell ProSupport credentials.

Figure 1: APEX AIOps Infrastructure Observability login page
2) Select the language you want to use and click CONTINUE.
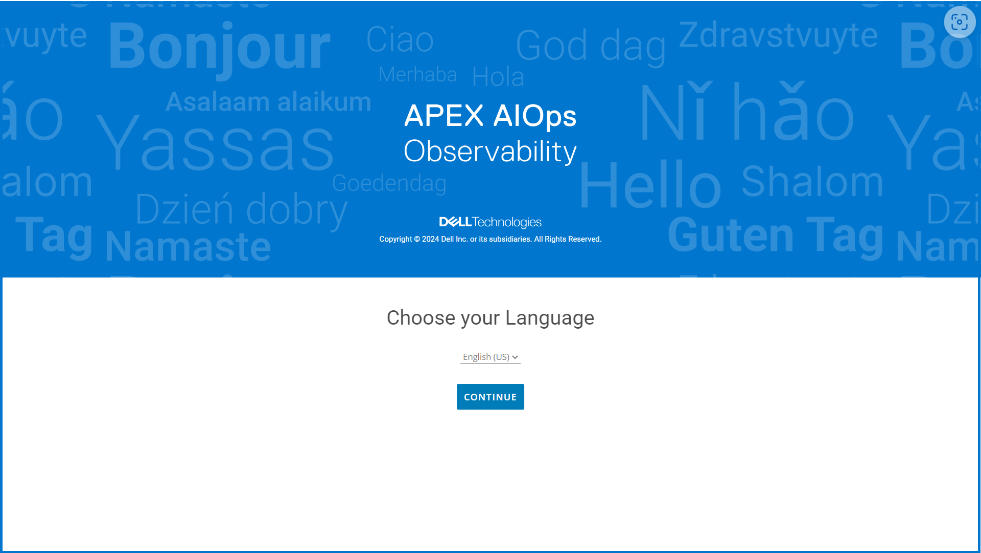
Figure 2: Select a language to use APEX AIOps Infrastructure Observability
3) When prompted, click GET STARTED.
4) When prompted to enable APEX AIOps Infrastructure Observability to retrieve and detect systems (by using your site ID and support credentials) that support APEX AIOps Infrastructure Observability, click CONTINUE. This may take a few minutes.
After logging in to APEX AIOps Infrastructure Observability, a list of systems that are successfully sending data to APEX AIOps Infrastructure Observability is displayed. If you have not successfully configured any systems to send data to APEX AIOps Infrastructure Observability, you are directed to the Connectivity page in the APEX AIOps Infrastructure Observability user interface where you can see the systems that are compatible with APEX AIOps Infrastructure Observability.
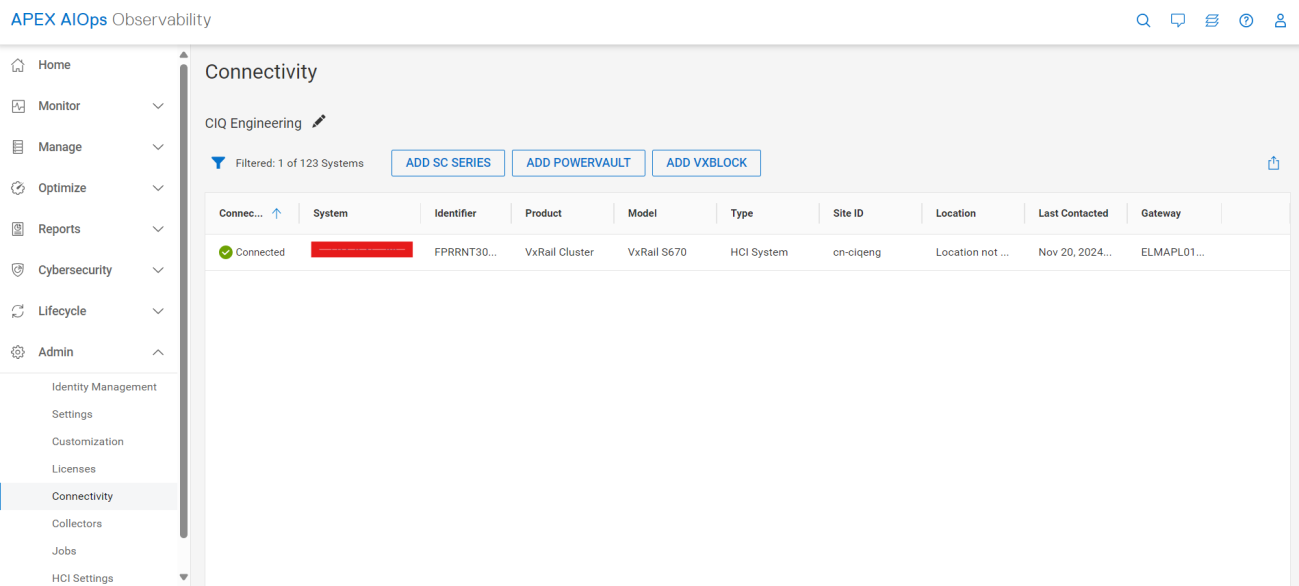
Figure 8: Verify connection between VxRail and APEX AIOps Infrastructure Observability
Products
CloudIQ, CloudIQArticle Properties
Article Number: 000184396
Article Type: How To
Last Modified: 21 Nov 2024
Version: 16
Find answers to your questions from other Dell users
Support Services
Check if your device is covered by Support Services.