Bienvenue
Bienvenue dans l’univers Dell
Mon compte
- Passer des commandes rapidement et facilement
- Afficher les commandes et suivre l’état de votre expédition
- Profitez de récompenses et de remises réservées aux membres
- Créez et accédez à une liste de vos produits
- Gérer vos sites, vos produits et vos contacts au niveau des produits Dell EMC à l’aide de la rubrique Gestion des informations de l’entreprise.
Numéro d’article: 000126147
How to Install Wyse Management Suite (Private Cloud)
Résumé: Wyse Management Suite (Private Cloud) can be installed by following these instructions.
Contenu de l’article
Symptômes
This article covers the basic installation process for Wyse Management Suite (Private Cloud).
Affected Products:
Wyse Management Suite
Affected Versions:
v1.3 and later
Cause
Not applicable.
Résolution
To install the server:
- Right-click
WMS_[X.X].exeand then select Run as administrator.
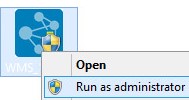
Note:
[X.X]= Version of Wyse Management Suite- For more information about how to download the server software, reference How to Download Wyse Management Suite.
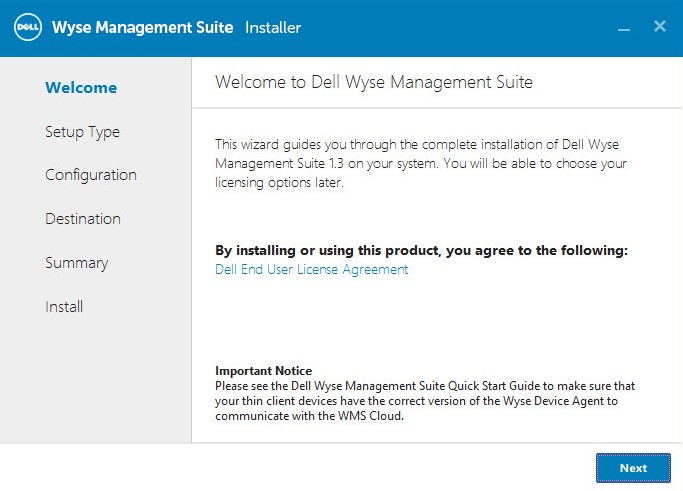
- Click Next.
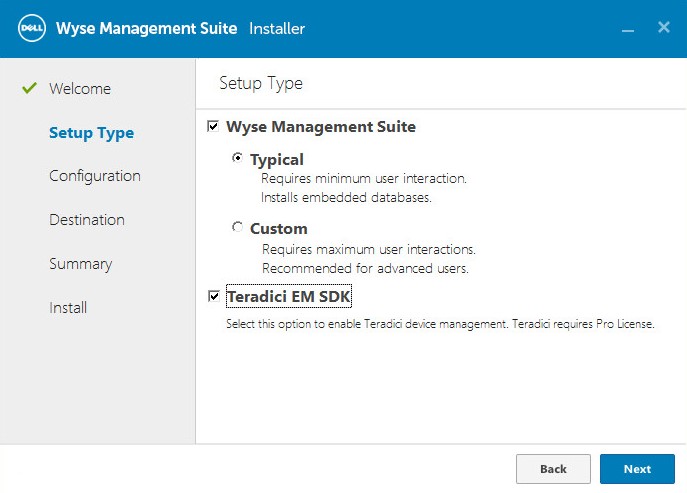
- From the Setup Type menu:
- Check Wyse Management Suite.
- With Wyse Management Suite checked, select either Typical or Custom.
- Optionally, check Teradici EM SDK.
- Click Next.
- If Wyse Management Suite with Typical was selected, go to Step 4.
- If Wyse Management Suite with Custom was selected, go to Step 5.
- Check Wyse Management Suite.
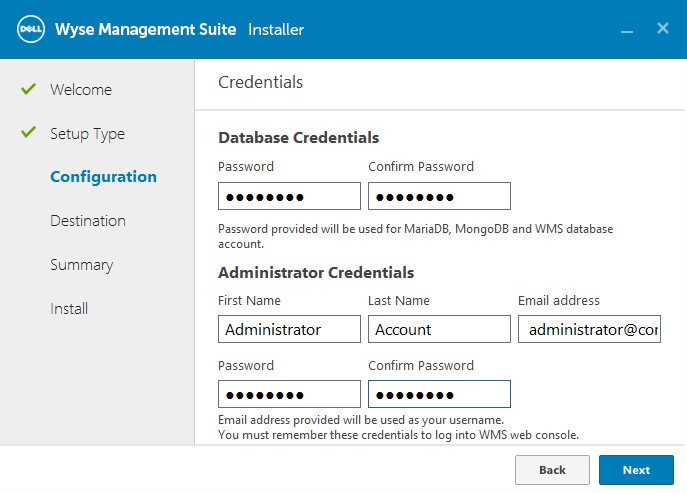
- From the Credentials menu:
- Populate and confirm a database Password.
- Populate an administrator First Name.
- Populate an administrator Last Name.
- Populate an administrator Email address.
- Populate and confirm an administrator Password.
- Click Next.
- Go to step 9.
- From the Mongo Database Server Configuration menu:
- Select either Embedded MongoDB or External MongoDB.
- If Embedded MongoDB is selected, populate and confirm a Password.
- If External MongoDB is selected, populate the Database Server, Port, Username, and Password.
- Click Next.
- Select either Embedded MongoDB or External MongoDB.

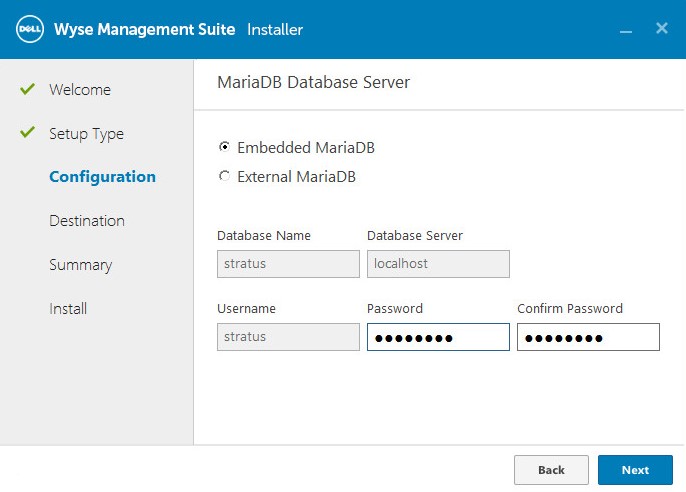
- From the MariaDB Database Server Configuration menu:
- Select either Embedded MariaDB or External MariaDB.
- If Embedded MariaDB is selected, populate and confirm a Password.
- If External MariaDB is selected, populate the Database Server, Port, Username, and Password.
- Click Next.
- Select either Embedded MariaDB or External MariaDB.
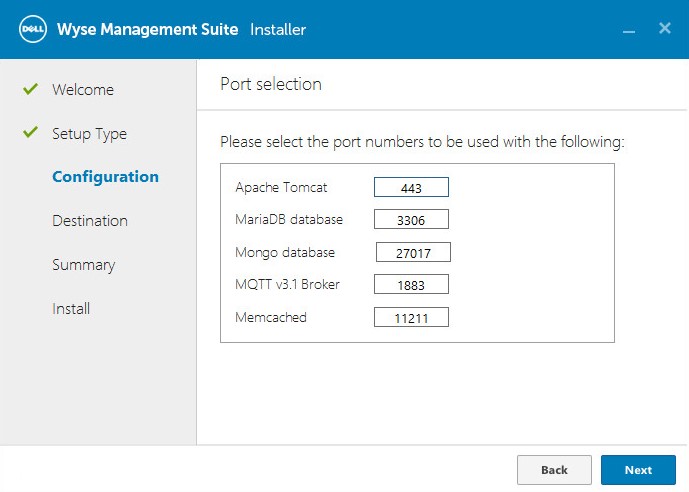
- From the Port selection Configuration menu:
- Optionally change the port of:
- Apache Tomcat
- MariaDB database
- Mongo database
- MQTT v3.1 Broker
- Memcached
- Click Next.
- Optionally change the port of:
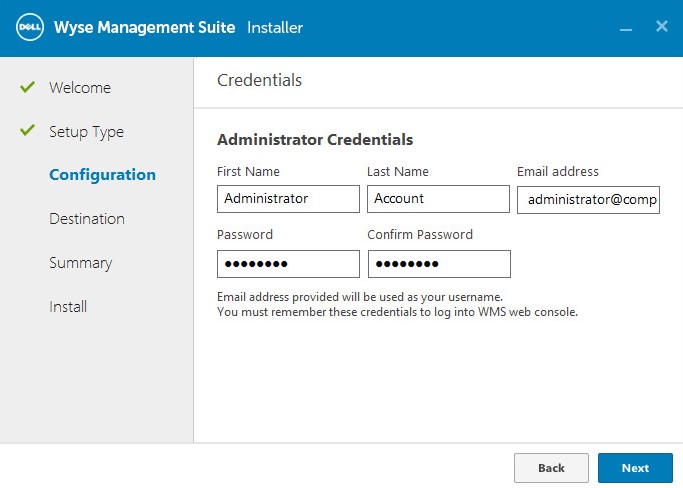
- From the Credentials Configuration menu:
- Populate an administrator First Name.
- Populate an administrator Last Name.
- Populate an administrator Email address.
- Populate and confirm an administrator Password.
- Click Next.
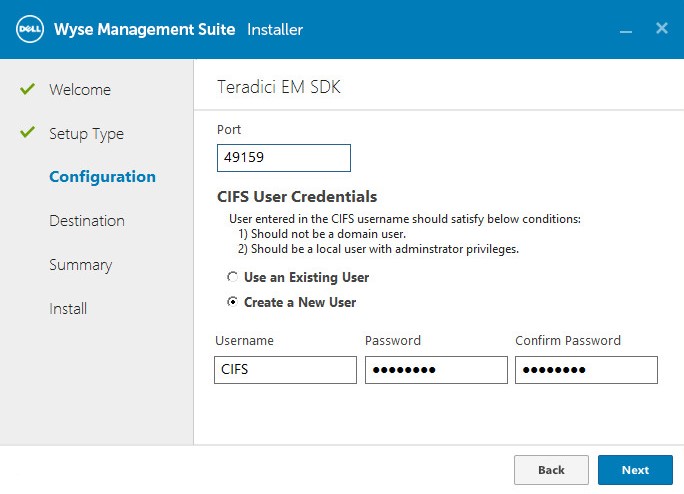
- From the Teradici EM SDK Configuration menu:
- Optionally, change the port (only present if Teradici EM SDK was selected in step 3).
- Select either Use an Existing User or Create New User.
- If Use an Existing User is selected, populate a Username and Password.
- If Create a New User is selected, populate a Username, then populate and confirm the Password.
- Click Next.
Note:
- If Teradici EM SDK was selected (Step 3), Configure CIFS User Credentials are not optional, and do not have a checkbox.
- If Teradici EM SDK was not selected (Step 3), Configure CIFS User Credentials are optional with a checkbox.
- Do not check Configure CIFS User Credentials if Teradici EM SDK was not selected (Step 3) and the repository will be installed to a network location (Step 10).
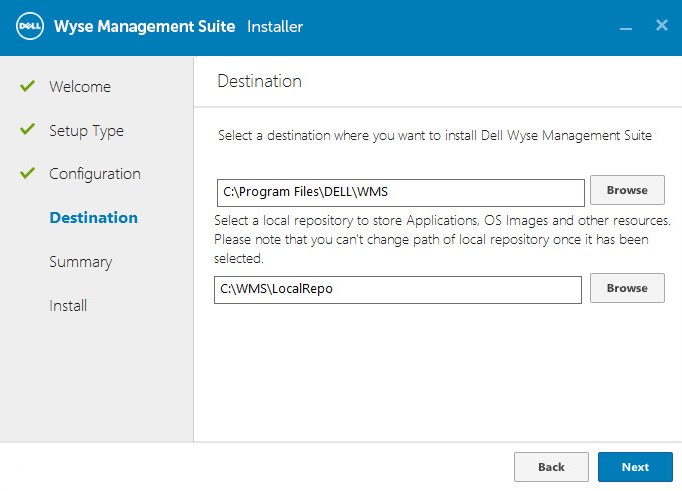
- From the Destination menu:
- Optionally, change the install directory.
- Optionally, change the repository directory.
- Click Next.
- Click Next.
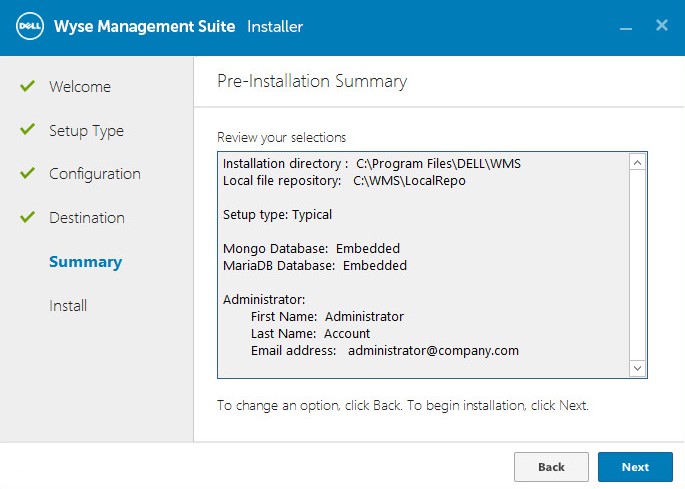
Note: The selections in the review will differ from what is pictured above based on selections that are made in the previous steps.
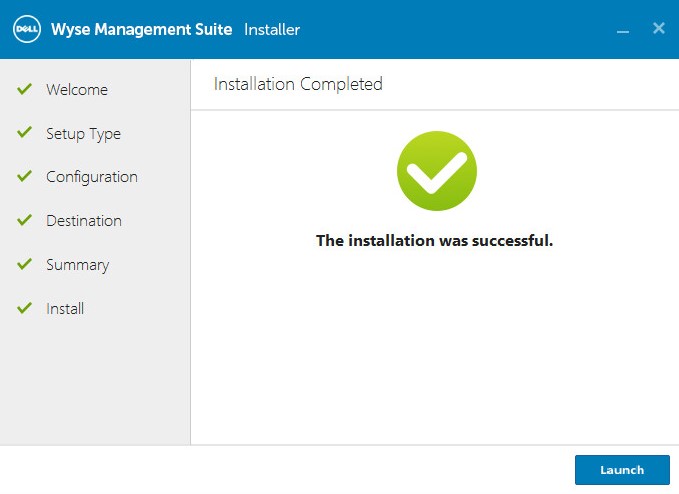
- Click Launch.
- Click Get started.
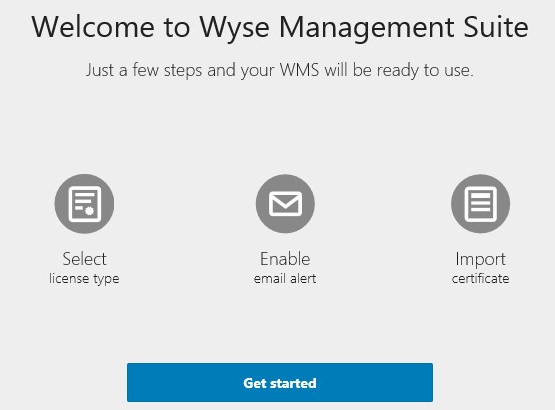
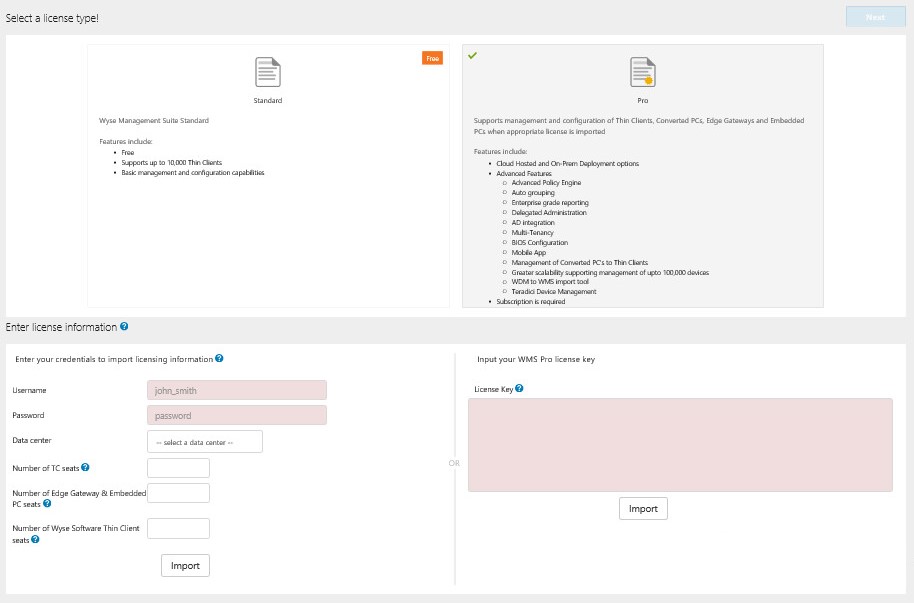
- From the License type menu:
- Select Standard or Pro.
- If Pro is selected, either enter your credentials to import licensing information or input your WMS Pro license key.
- If entering your credentials:
- Populate a Username.
- Populate a Password.
- Populate a Data center.
- Populate a Number of TC seats.
- Populate a Number of Edge Gateway & Embedded PC seats.
- Populate a Number of Wyse Software Thin Client seats.
- Click Import.
- If inputting your WMS Pro license key:
- Populate the license key from the Public Cloud.
- Click Import.
- If entering your credentials:
- Click Next.
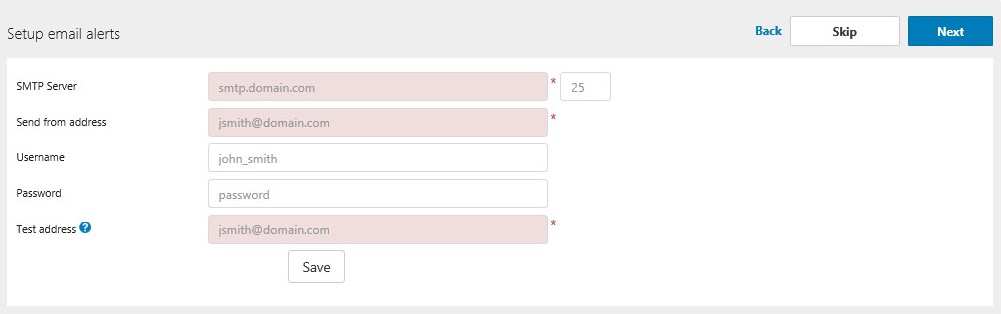
- From the Setup email alerts menu:
- Optionally, click Skip and go to Step 16.
- Populate the SMTP Server.
- Optionally, change the Port.
- Populate the Send from address.
- Populate the Username.
- Populate the Password.
- Populate the Test address.
- Click Save.
- Click Next.
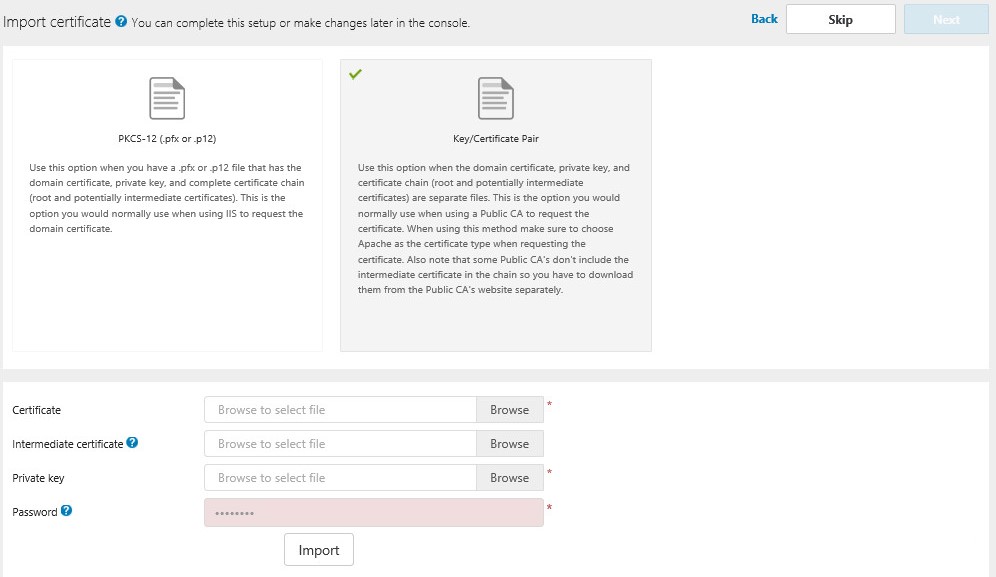
- From the Import certificate menu:
- Select either PKCS-12 (.pfx or .p12) or Key/Certificate Pair.
- If PKCS-12 (.pfx or .p12) is selected:
- Browse to the PKCS-12 and then click Open.
- Populate a Password for PKCS.
- Browse to the Intermediate certificate and then click Open.
- Click Import.
- If Key/Certificate Pair is selected:
- Browse to the Certificate and then click Open.
- Browse to the Intermediate certificate and then click Open.
- Browse to the Private key and then click Open.
- Populate the Password.
- Click Import.
- Click Next.
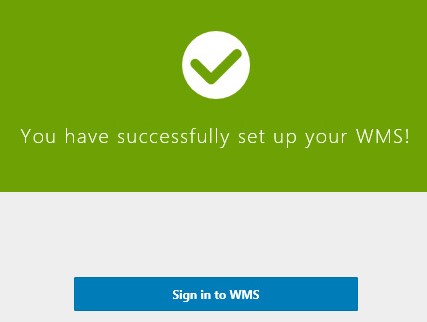
- Click Sign in to WMS.
Propriétés de l’article
Produit concerné
Wyse Management Suite
Dernière date de publication
28 sept. 2022
Version
4
Type d’article
Solution