How to install Red Hat Enterprise Linux using Text Mode
Сводка: The steps outlined here describe how to install Red Hat Enterprise Linux using the CLI mode.
Инструкции
For this demonstration, we used a PowerEdge server (MX750c). We mounted the operating system ISO image using virtual media of the iDRAC9.
Next we booted from the mounted ISO to install the Red Hat Enterprise Linux operating system (F11 during POST > select virtual media).
Press 'e' to edit the selected menu as described below by selecting Install Red Hat Enterprise Linux Menu.
Press Ctrl+x to begin the text installation after entering the inst.text string at the end of the line.
You can configure settings in any order using the main status screen.
The current configuration options are:
- Language settings
- Time settings
- Installation source
- Software selection
- Installation Destination
Kdump- Network configuration
- Root password
- User creation
Parts that have been configured, either automatically or by you, are marked with an [x].
Parts that require your attention before the installation are marked with an [!].
During the installation, available commands are displayed below the list of available options.

We might see a couple options "Processing…," simply wait a while or press 'r' to refresh.
As shown below, we can modify our list selection as needed, and once done, we can press 'r' to refresh the screen.
The "Software Selection" is shown on the screen below:
The "Installation Destination" section is demonstrated on the screen below:
Create the root password:
Now that we see no more exclamation marks, we can start the installation by pressing 'b'.
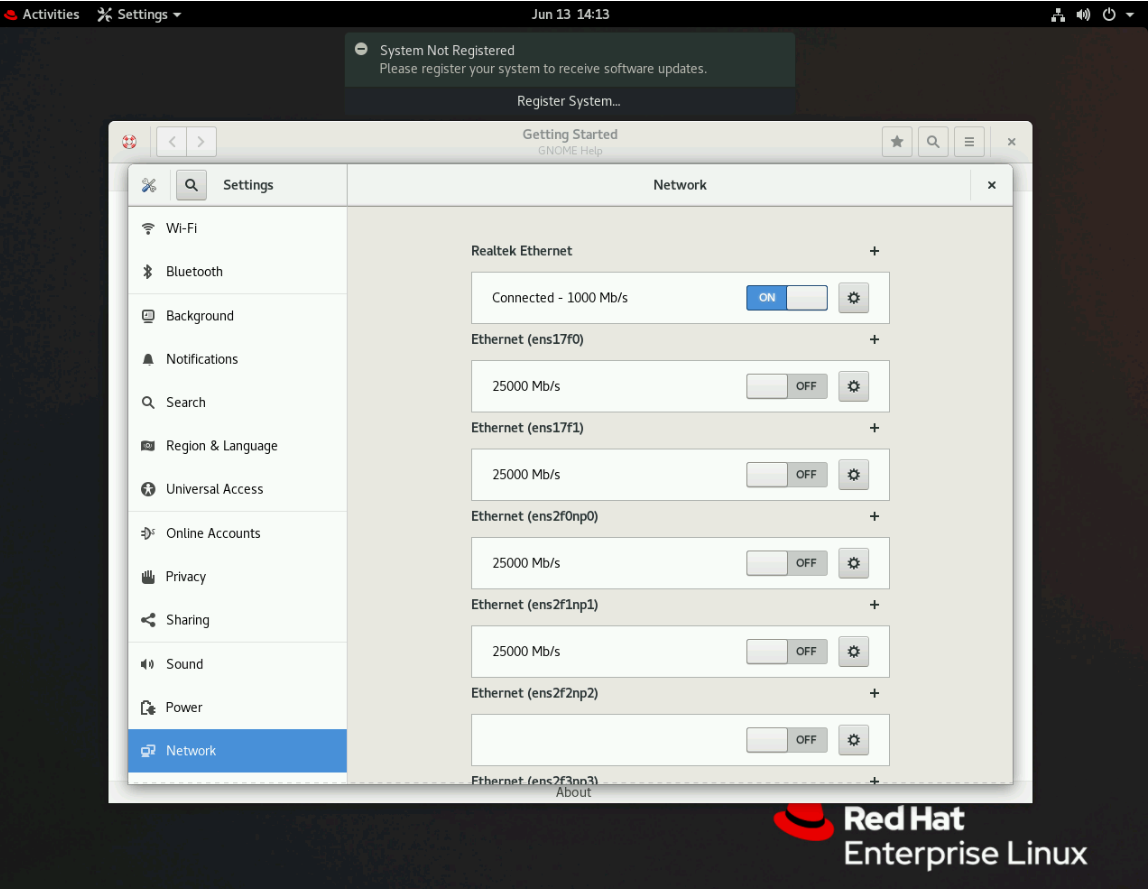
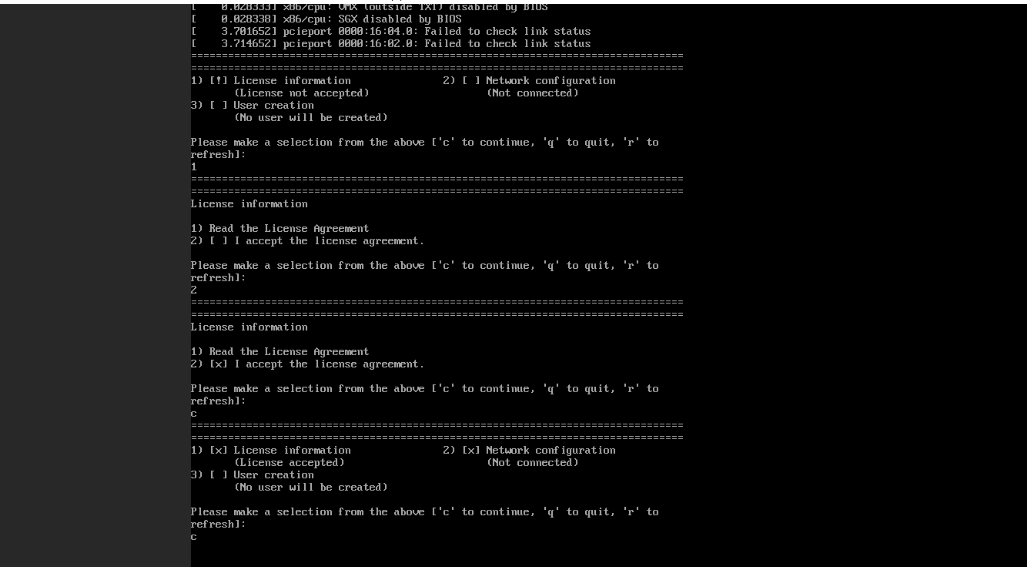
Optionally, we can configure the network settings and create users however we can alternatively do it after installing the operating system.
The installation has begun: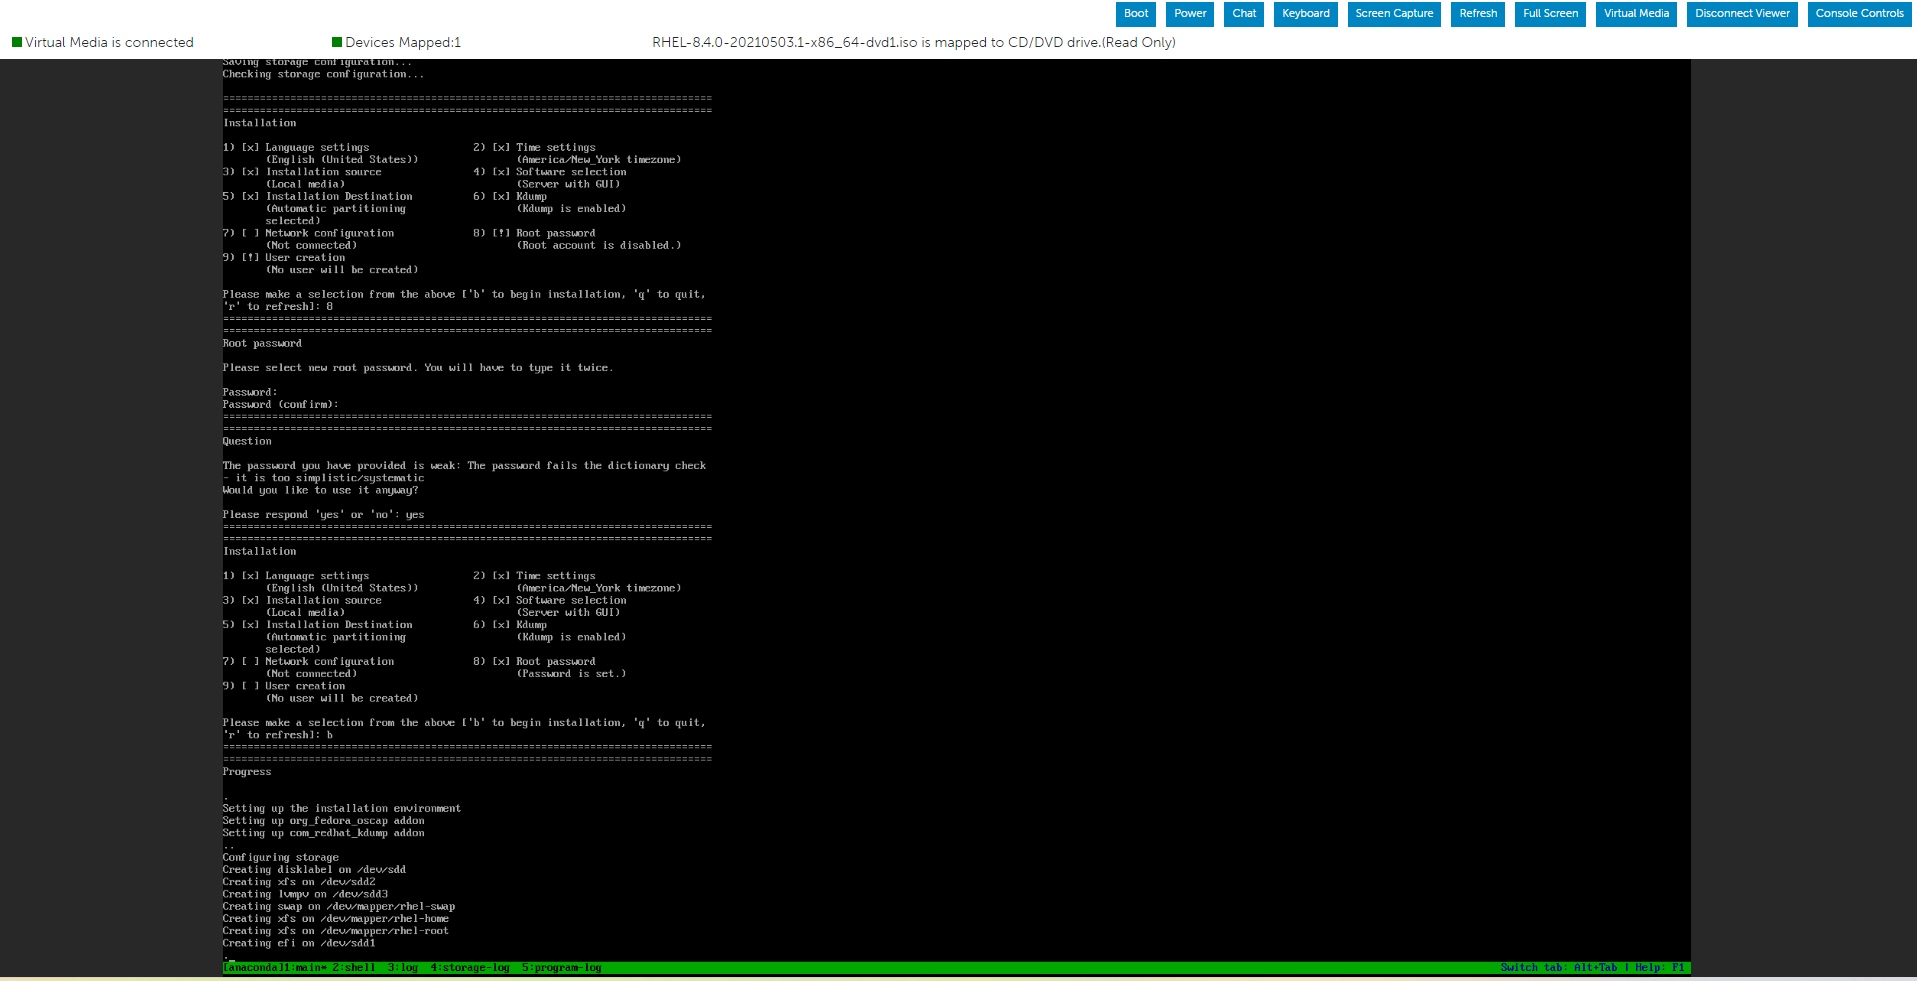


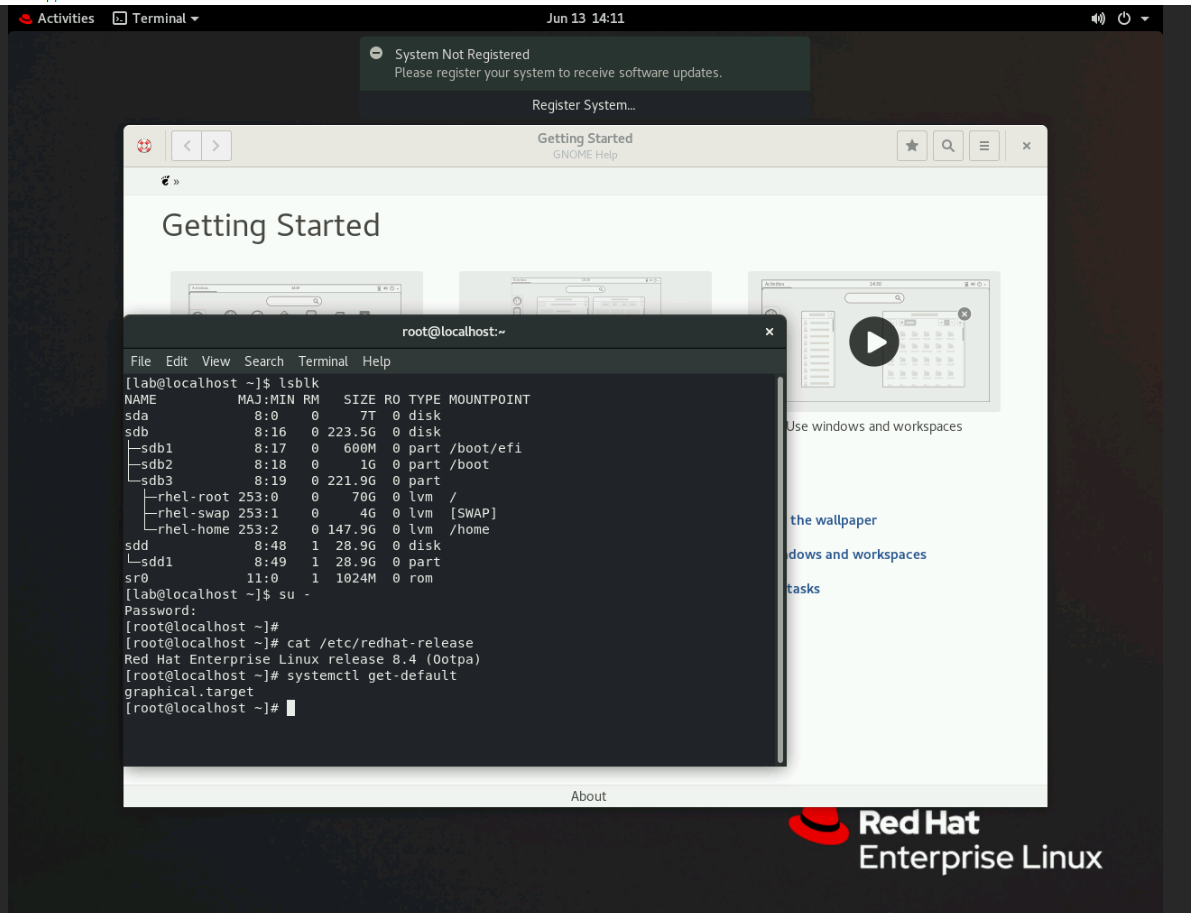
Verify the default target unit by using the command below:
# systemctl get-default
To configure the system to use a different target unit by default:
# systemctl set-default <name>.target
Apply the changes by rebooting:
# reboot.