Preparing Acronis Snap Deploy 5 Server for use on NVMe / Skylake systems
Denne artikel gælder for
Denne artikel gælder ikke for
Denne artikel er ikke knyttet til et bestemt produkt.
Det er ikke alle produktversioner, der er identificeret i denne artikel.
Symptomer
Table of Contents:
- Preparation
- Creating the Acronis Windows PE image
- Preparing Master Images
- Creating OS Templates for Deployment
- Create a new Deployment Task
- Deploying the captured image to systems
1. Preparation
Perform the following steps before preparing Acronis Snap Deploy 5 Server for use on Non-Volatile Memory express (NVMe)/Skylake systems.
NOTE: This article does require you to have a good working knowledge of Acronis and Windows imaging.
- Install Windows Server 2012 R2
- Install DHCP
- Install Acronis Snap Deploy 5
2. Creating the Acronis Windows PE image:
- Open Acronis Snap Deploy 5 Management Console (See Figure 1.)
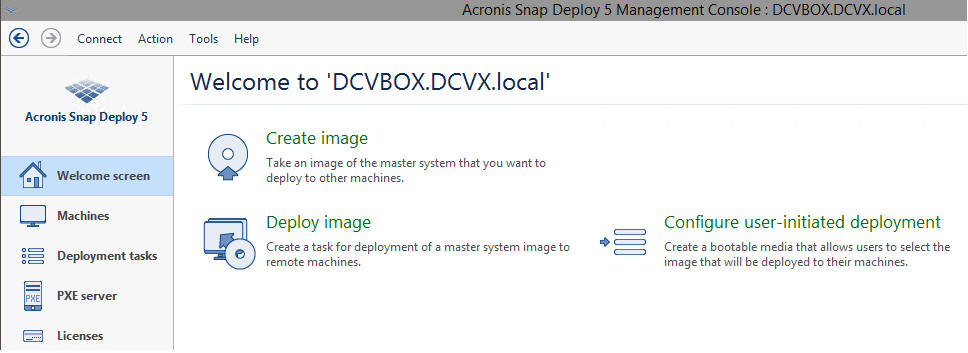
Figure 1. - Acronis Snap Deploy 5 Management Console - Select Tools
- Select Create PE image (See Figure 2.)
NOTE: Currently in version 1660, the Linux kernel of Acronis does not have the necessary NVMe drivers. PE does if configured correctly.
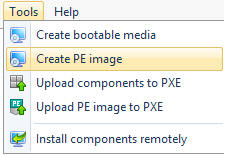
Figure 2. - Creation of the PE image - Select Create WinPE automatically
- Select Create 64-bit media (See Figure 3.)
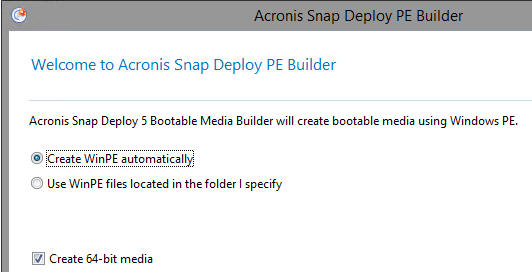
Figure 3. - Creation of 64-bit media - Select Network Settings
- Enter the Server IP
- Select Acronis PXE Server: (See Figure 4.)
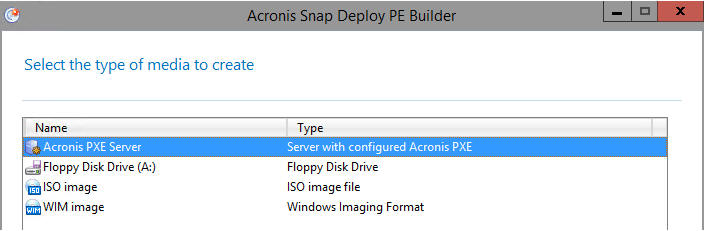
Figure 4. - Selecting the Acronis PXE Server - Specify the drivers for network and storage: WINPE10.0-DRIVERS-A03-2K3RC\Winpe\x64 (See figures 5 & 6)
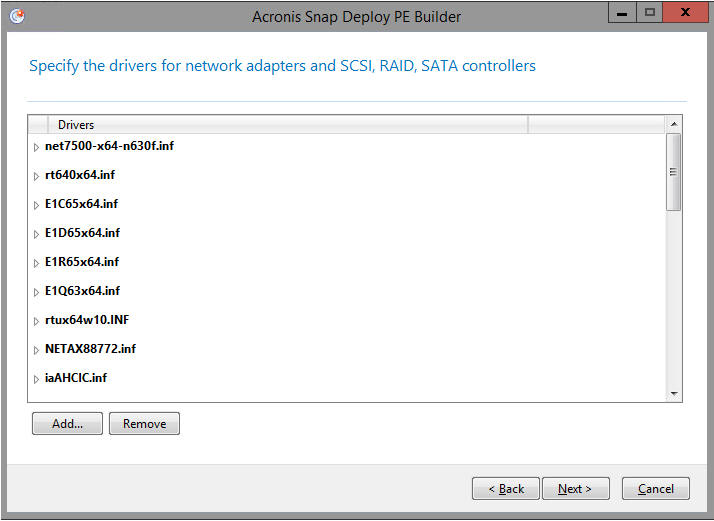
Figure 5. - Specifying drivers in the PE build
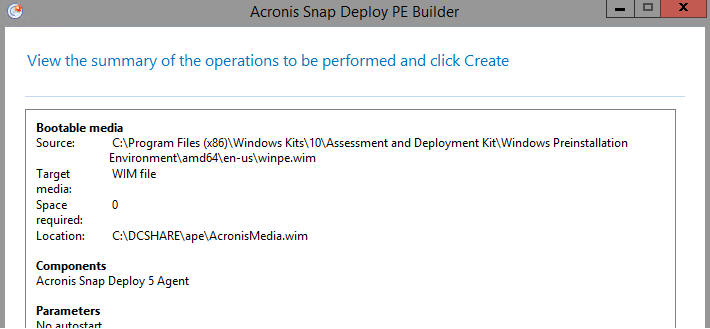
Figure 6. - Summary of the PE build - Verify PE Media is in PXE Server: (See Figure 7.)
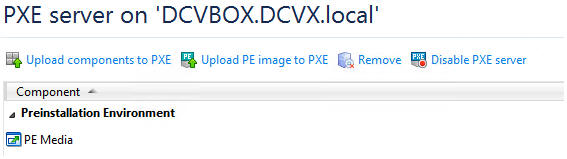
Figure 7. - Verifying the PE Media
3. Preparing Master Images
- PXE boot to the Acronis Snap Deploy Server on the machine you are creating the image from (Sysprep the image first).
Figure 8. - PXE Network Boot using IPv4 - Select Acronis Snap Deploy 5 Master Image Creator
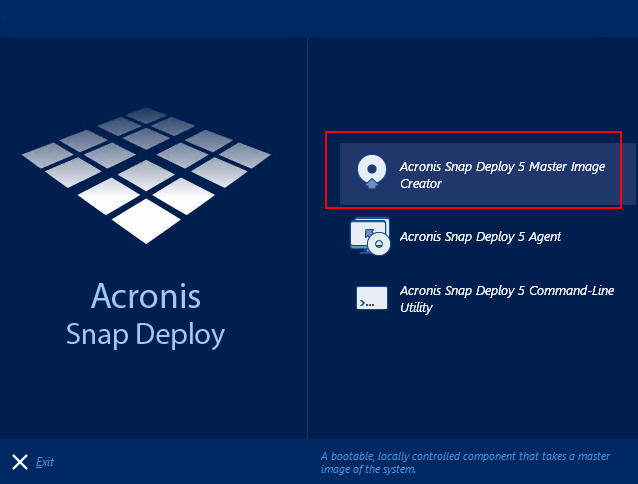
Figure 9. - Acronis Snap Deploy 5 Master Image Creator - Select all partitions listed
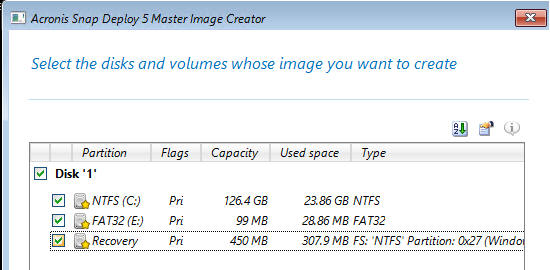
Figure 10. - Disk and Volume Options - Select a location for the image to be stored (the image must be accessible to the Acronis Server and the client system)
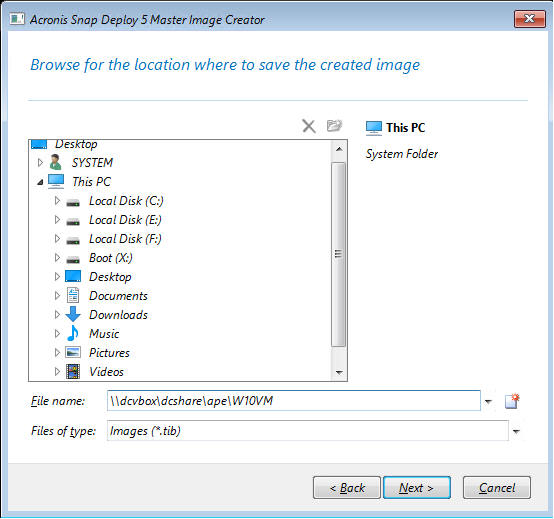
Figure 11. - Stored Image Location - Select Splitting, enter 2048 to split the image into 2GB sections (this is necessary for FAT32 keys, etc)
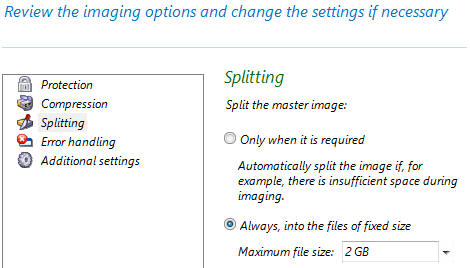
Figure 12. - Imaging Optiosn Review - Repeat steps 1-5 with Windows 10/8.1/7 (all should be using UEFI mode)
Back to Top
4. Creating OS Templates for Deployment
- Go to the Acronis Snap Deploy 5 Management Console
- Select Action
- Select Manage Templates
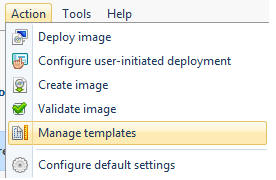
Figure 13. - Manage Templates - Select Create New

Figure 14. - Create New Template - Select Create a new template
- Select the previously captured image:
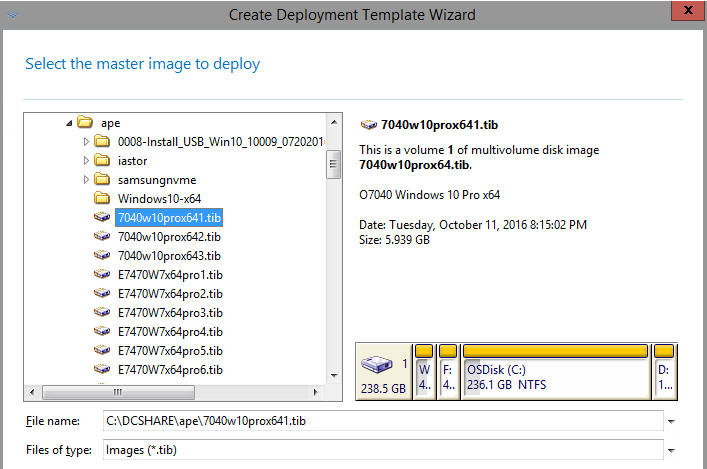
Figure 15. - New Template Deployment Wizard - Select all partitions
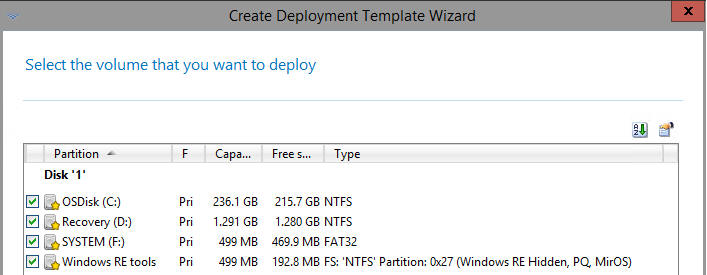
Figure 16. - All Partitions - Select Network utilization
- Select Unicast
- Enable Acronis Universal Deploy
- Select Search removable media for device drivers
- Select Search for device drivers in the following locations
- Select Add
Windows 10 example:
\\dcvbox\DCSHARE\CABS\WinPE10.0-Drivers-A01-6XFM6\winpe\x64\
Windows 7 example:
\\dcvbox\DCSHARE\CABS\WINPE3.0-DRIVERS-A20-CT5DP\winpe\x64\ - Select Install the following drivers under Specify mass storage drivers to install anyway
- Add the following:
C:\DCSHARE\ape\iastor\Serial-ATA_Driver_PFJ82_WN32_14.8.9.1053_A06\Drivers\Production\Windows10-x64\iaAHCIC.inf
C:\DCSHARE\ape\iastor\Serial-ATA_Driver_PFJ82_WN32_14.8.9.1053_A06\Drivers\Production\Windows10-x64\iaStorAC.inf
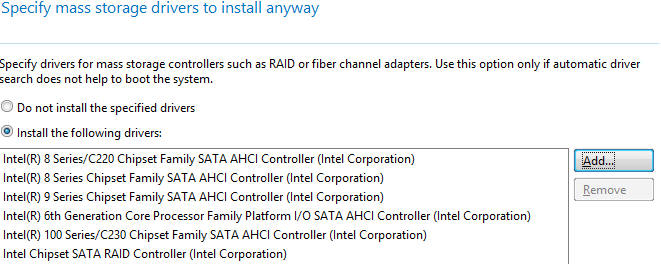
Figure 17. - Mass Storage Drivers - Name the Deployment Template for your OS and Boot type (W10x64 UEFI for this example)
- Repeat the same process for Windows 7/8.1/10
- Click Save
Back to Top
5. Create a new Deployment Task
- Select Deployment Tasks
- Select Create
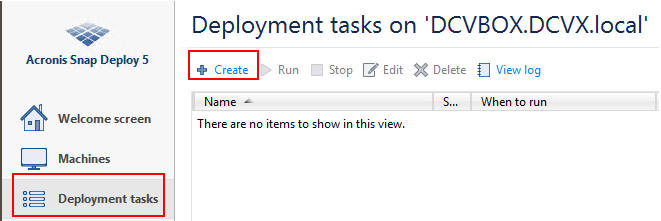
Figure 18. - Deployment Tasks - Specify the machines to deploy to
- Select the Deployment Template previously created:
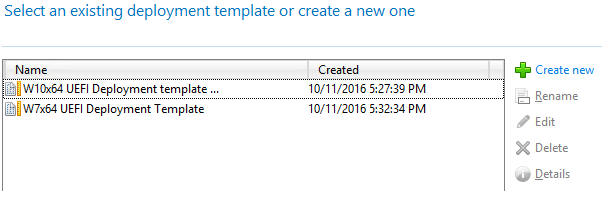
Figure 19. - Select Deployment Template - Type in the name of the OS in Task Name
Figure 20. - OS Name
Back to Top
6. Deploying the captured image to systems
- PXE boot to Acronis Snap Deploy 5
- Select Acronis Snap Deploy 5 Agent
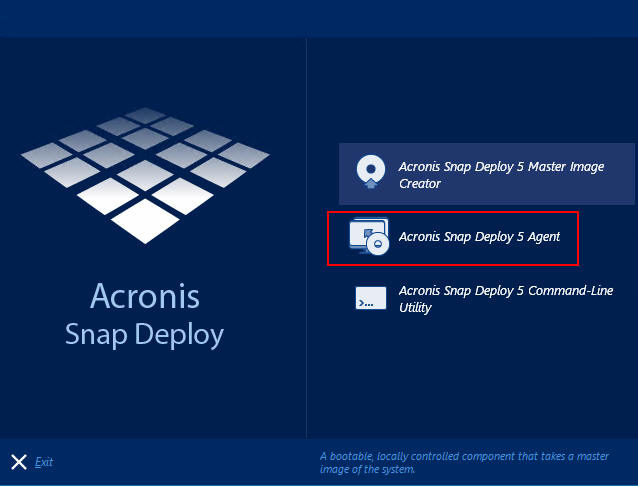
Figure 21. - Acronis Snap Deploy 5 Agent - The deployment should start automatically
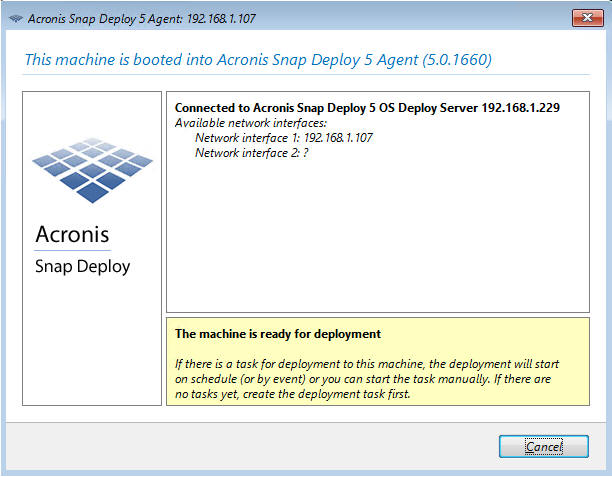
Figure 22. - Acronis Deployment Started
Back to Top
Artikelegenskaber
Artikelnummer: 000152246
Artikeltype: Solution
Senest ændret: 04 maj 2026
Version: 4
Find svar på dine spørgsmål fra andre Dell-brugere
Supportservices
Kontrollér, om din enhed er dækket af supportservices.