PowerEdge: How to install SUSE Linux Enterprise Server (SLES)
Summary: Information about how to install SUSE Linux Enterprise Server on Dell PowerEdge Servers.
This article applies to
This article does not apply to
This article is not tied to any specific product.
Not all product versions are identified in this article.
Instructions
Table of Contents
- Download SUSE Linux Enterprise Server
- Boot SUSE Linux Enterprise Server
- Install SUSE Linux Enterprise Server
Download SUSE Linux Enterprise Server
- Download the SUSE Linux Enterprise media here: https://www.suse.com/products/

- After clicking Download, select the specific version of SLES to download at the top.

- If there is an existing subscription, log in to download the latest images, or proceed without logging in and start evaluation.
- There are multiple options to choose from for the media to download including, Full, Online, or the Minimal-VM images.
- The Online media is a smaller ISO to download but it downloads all the installation packages during install, the Full media has the packages on the ISO and does not require Internet access.
- Click Download for the media option required.

Boot SUSE Linux Enterprise Server
Deploy SLES from the LifeCycle Controller (LCC):
- Boot to the LCC by pressing F10 during POST, or if using the IDRAC virtual console click Boot and choose the Lifecycle controller from the list of boot options.
- The OS media must be connected or mounted to the iDRAC so it can be detected during the deployment.
- See the options below for connecting the operating system ISO using either the IDRAC or by creating a bootable USB.
- Once the LCC has loaded, select the OS Deployment option and proceed through the steps to deploy SLES using the connected media.
- For detailed steps, see the article: PowerEdge: How to deploy an OS using the Lifecycle Controller (LCC)
Using the IDRAC to boot the ISO:
- Provided remote access is available to the server's IDRAC WebUI, map the ISO from your local system to the iDRAC virtual console to boot the ISO remotely.
- For details on this process for your specific iDRAC review the article: PowerEdge: How to use the Virtual Media Function on iDRAC6, iDRAC7, iDRAC8, and iDRAC9
- Once the ISO has been mapped to the virtual console, boot to the Virtual CD/DVD drive.
- To boot the mapped ISO, select the boot option from the virtual console and select the Virtual CD/DVD drive, or press F11 to boot to the boot menu and make the selection there.
Creating bootable USB Media:
- To create a bootable USB drive from the downloaded ISO, use a third-party tool such as: balenaEtcher
, or Rufus
- For more information about creating a bootable USB drive, see the article: PowerEdge: How to create a bootable USB drive for OS Installation
- Once the bootable USB drive created, install the disk into any of the USB ports and during boot press F11 to boot to the boot menu and select the detected USB drive to boot the installer.
Install SUSE Linux Enterprise Server
Follow the steps below to install SLES:
- Once booted to the install media, the GRUB menu is seen which will auto select Installation after a few seconds. If an upgrade is required instead of a performing a fresh install, select the Upgrade option instead of Installation.
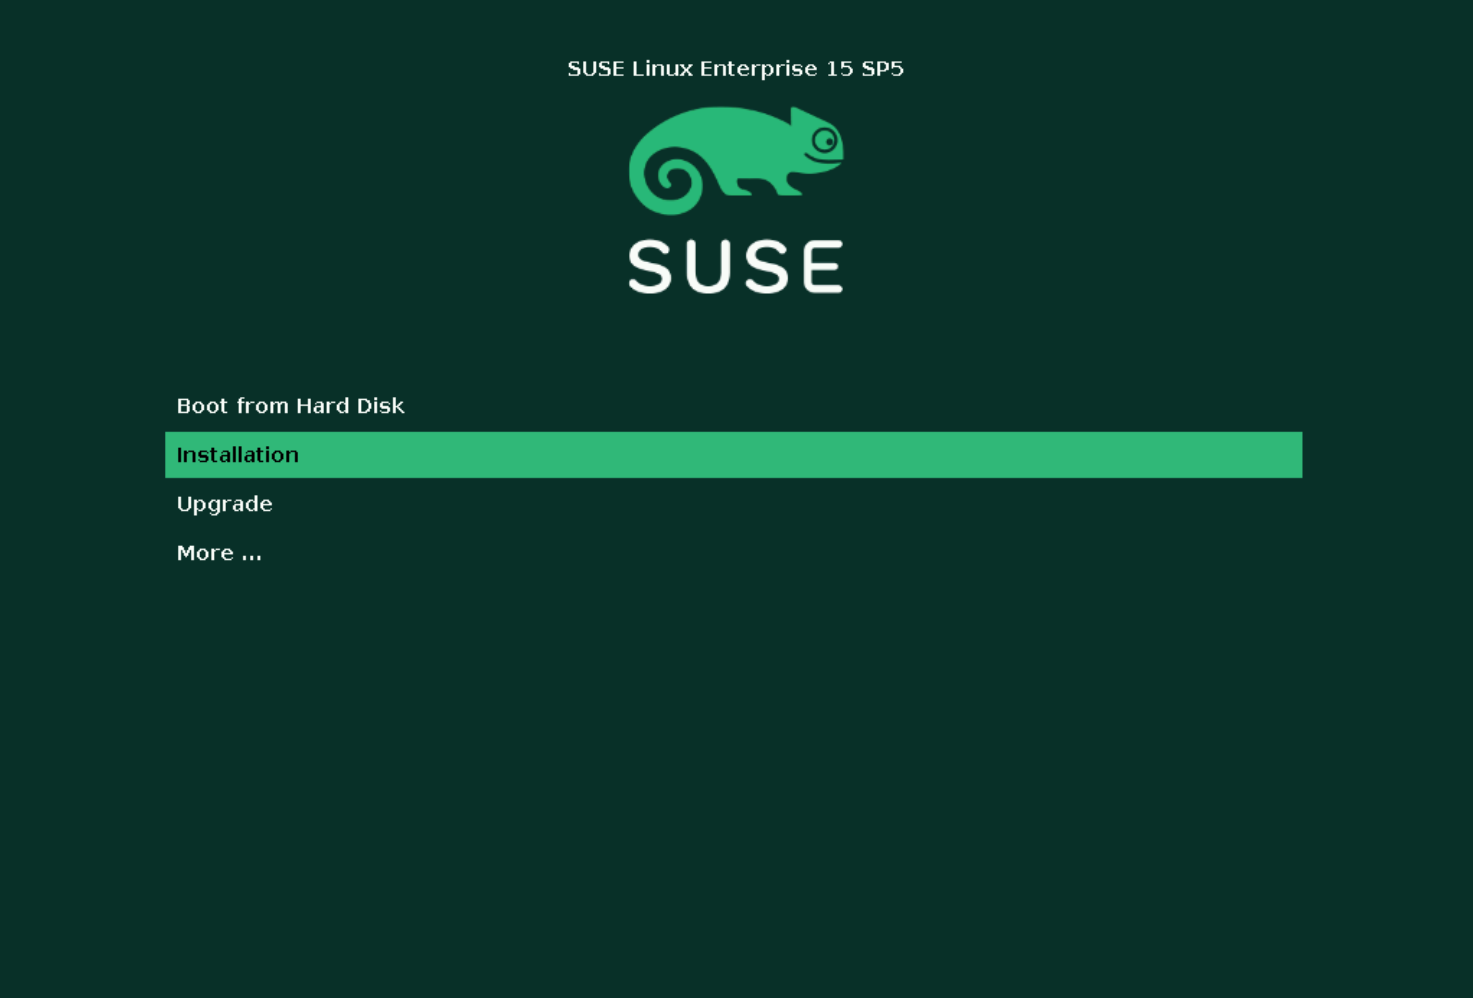
- After selecting the Installation option, it begins loading the installer from the connected media.

- If possible it will attempt to automatically configure the network using DHCP, if its able to get a DHCP IP Address it will continue on to the next page. If no DHCP server is available, it prompts to manually configure the network.

- If required, manual configuration of the network is possible by selecting the NIC and then click Edit to provide a static IP configuration.
- After making the required network configurations, click Next.

- This page allows selection of the Language, Keyboard Layout, and the base Product to install.
- For standard server, install select SUSE Linux Enterprise Server, otherwise select a specialized install base as needed, and click Next.

- Click the checkbox "I Agree to the License Terms" and then click Next.

- The registration is optional but required to install using the latest available packages.
- The registration can be completed here during install, or it can be done post install as well.
- Choose to provide registration details or select Skip Registration and click Next.
Note: It is also possible to configure the network here again by clicking Network Configuration in the upper right corner.

- When choosing to skip the registration a warning is prompted stating that registration is required for updates and security fixes, click OK to proceed.

- On the next page, choose to select additional extensions or modules required or leave only the default base module selected and click Next.

- The Add-On page allows adding additional product installs by pointing to additional source media. Click Next when ready to proceed.

- Select the servers role which determines the packages that are installed. Packages for each role can always be installed after the installation has been completed.

- The installer suggests storage configuration changes based on the detected storage, if preferred, proceed with the suggested configuration by clicking Next.

- If Guided Setup is preferred, but a different installation disk must be used, click Guided Setup and chose another disk to automatically configure.
- The guided installer automatically formats and partitions the disk selected here, so choose the correct disk with caution.

- The next page allows for creating a user account and sets the root password.
- When creating a user, it provides the option to "Use this password for system administrator" which sets the root password using the provided password.
- It is not required to create a user here, if skipped it prompts to configure the root user password to be used for login.

- The last page shows a summary of all the configuration settings made and allows making any needed changes before proceeding.
- If the configuration seen is accurate, click Finish to begin installation.

- Before the installation starts, a prompt is seen to confirm with making the changes and wiping the data on the selected disks. To confirm click Install.

- The progress is seen during the installation and once completed it reboots automatically and boots to the installed OS.

Affected Products
SUSE Linux Enterprise Server 15Article Properties
Article Number: 000333544
Article Type: How To
Last Modified: 24 June 2025
Version: 3
Find answers to your questions from other Dell users
Support Services
Check if your device is covered by Support Services.