NetWorker: How to perform Azure VM snapshot restore from NWUI
Summary: This article provides an overview of how to perform an Azure Virtual Machine (VM) restore that was backed up using NetWorker Azure VM snapshot protection.
This article applies to
This article does not apply to
This article is not tied to any specific product.
Not all product versions are identified in this article.
Instructions
NOTE: Azure VM recovery cannot be performed from the NetWorker Management Console (NMC). It is only possible to perform Azure VM restores from the NetWorker Web User Interface (NWUI) or command-line. This article provides an overview of performing an Azure VM restore from NWUI. For additional information, see the Dell NetWorker and Azure VM Snapshot Integration Guide: Support for NetWorker | Manuals & Documents
- Log in to the NWUI:
https://NETWORKER_SERVER_ADDRESS:9090/nwui - go to Recover and Save sets.
- Select a Time Range.
- In the Clients tab, select the Client Type: Azure.
- In the Clients tab, select the Azure Subscription of the VM requiring restore.
- (Optional) In the Volumes tab, select the volume that contains the Azure VM backups.
- Click Search Save sets.

See: NetWorker: Azure VM Backups Not Shown In NWUI Recovery Tab
- Select the Recovery type:
-
- Disk
- New VM
- Revert
NOTE: Currently, File Level Restore (FLR) is only possible from the command line. This article demonstrates a New VM restore.
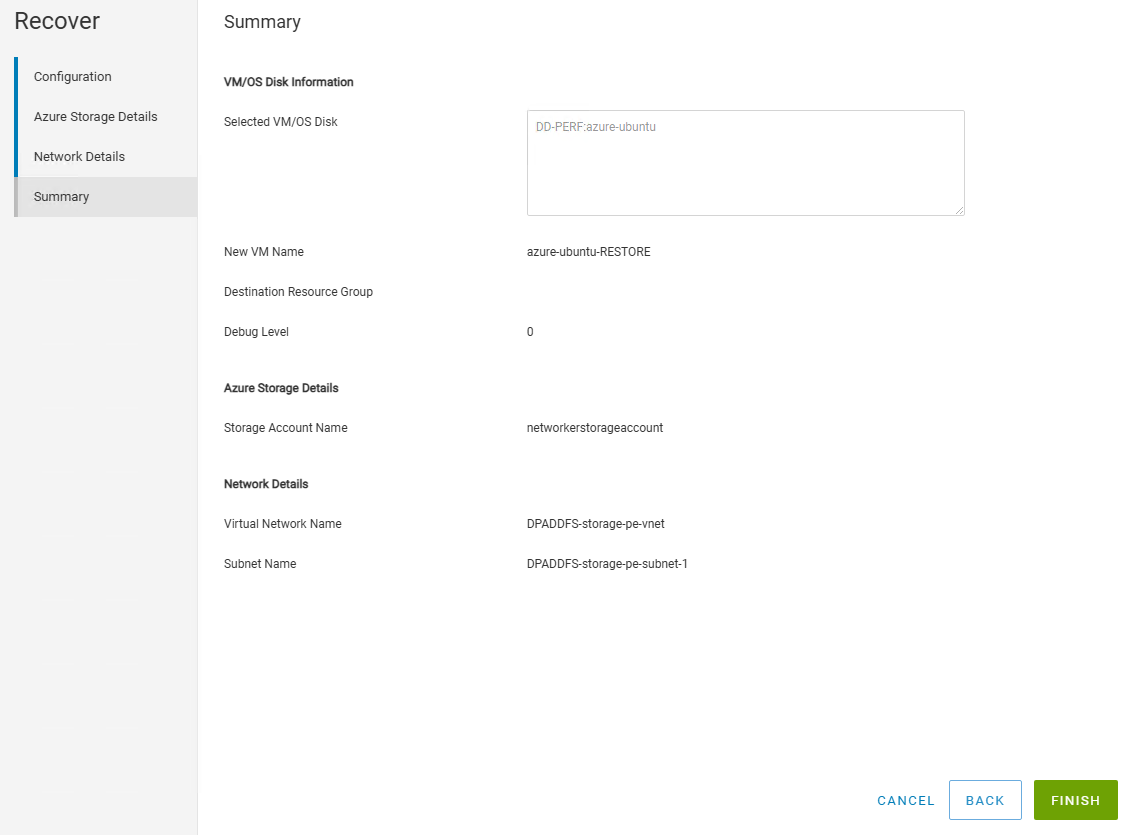
- Starting an Azure VM restore in NWUI:
- Select the VM/OS disk to recover.
NOTE: Selecting the checkbox for the entire VM creates a new VM with the OS disk and any additional data disks. Selecting the OS disk checkbox creates a new VM with only the OS disk. - Specify a New VM Name for the recovered VM.
- (Optional) Specify a Destination Resource Group. If nothing is specified, the original Azure Resource Group is used.
- (Optional) Specify a debug level when troubleshooting a restore issue, if standard logging is not sufficient.
- Select the VM/OS disk to recover.

- Click Next.
- Specify an Azure Storage Account:
- (Optional) Specify a Container Name to use during the restore. If nothing is specified, a new container is created during the restore.
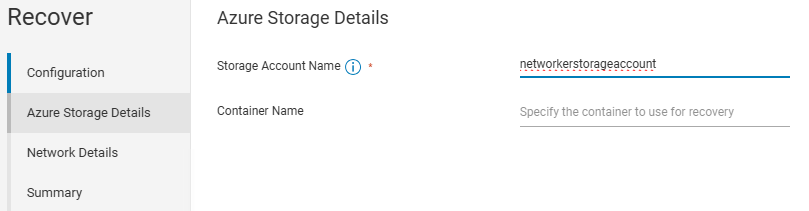
NOTE: The location (Region) of the storage account must match the region of the disk.

- Click Next.
- Specify the Virtual NetWorker Name and Subnet Name:
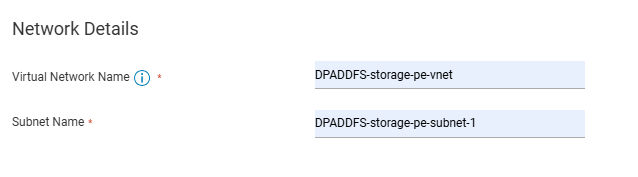
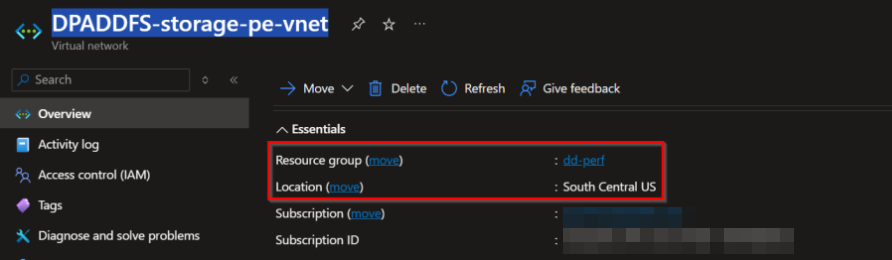
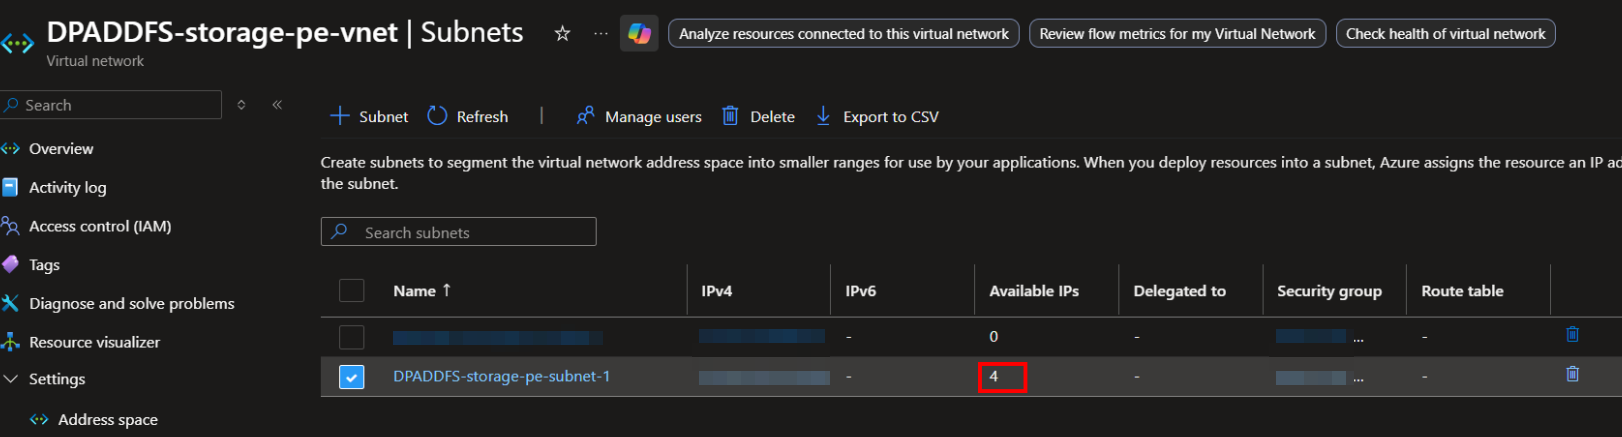
NOTE: The Virtual Network must belong to the same resource group as the target. The subnet must have available IPs.
See: NetWorker: Azure VM Snapshot Restore "azureCreateVM: error while creating nic"
- Click Next.
- Click Finish to start the restore.
- The restore can be monitored from:
-
- NWUI: Monitor → Recover Jobs
- NMC: Active Sessions
- NetWorker server command line:
nsrwatch - Monitor the recover log:
- Linux NetWorker Server:
/nsr/logs/adhoc/adhoc_job_JOBID - Windows NetWorker Server (Default Path):
C:\Program Files\EMC NetWorker\nsr\logs\adhoc\adhoc_job_JOBID
- Linux NetWorker Server:
Completed logs can be found under:
-
-
- Linux:
/nsr/logs/adhoc/nsrazure_recover - Windows (Default):
C:\Program Files\EMC NetWorker\nsr\logs\adhoc\nsrazure_recover
- Linux:
-
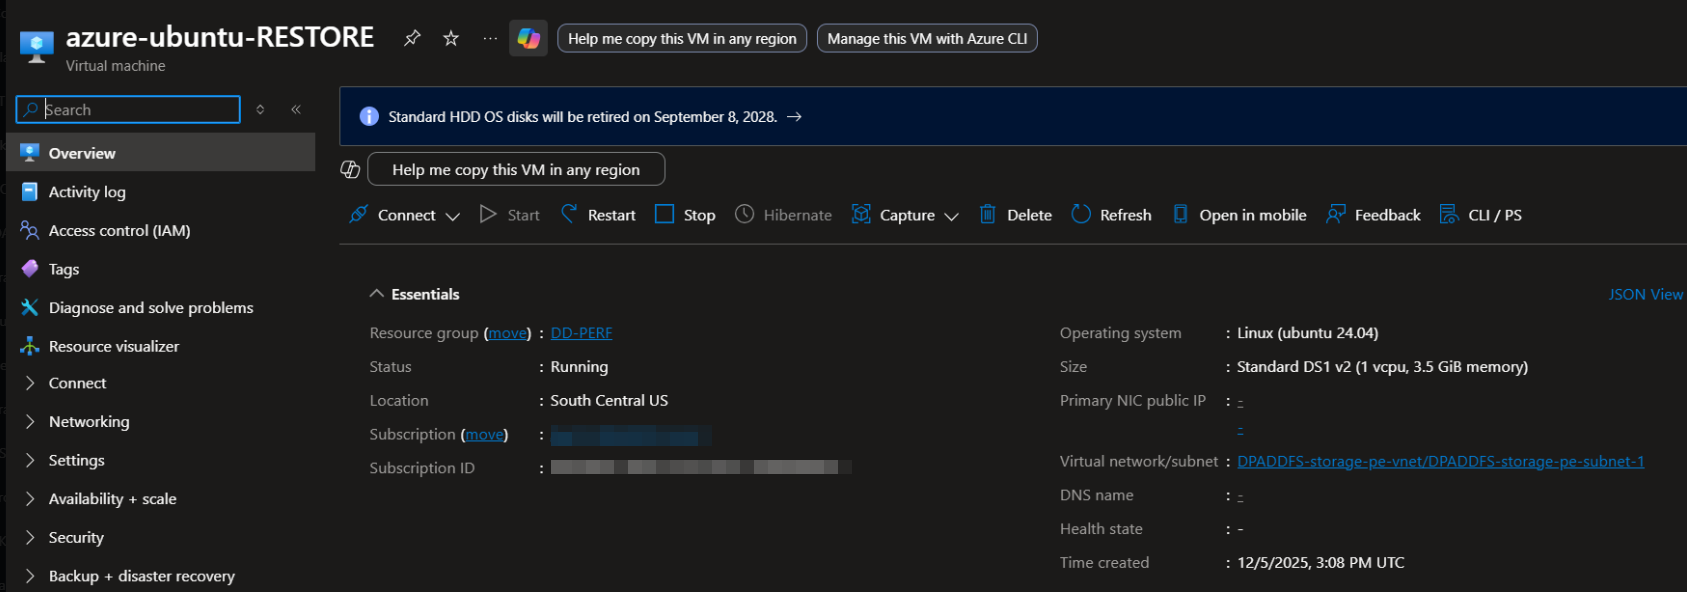
- The recovered VM is in Azure under the Resource Group specified during restore:
Additional Information
Affected Products
NetWorkerProducts
NetWorker FamilyArticle Properties
Article Number: 000400326
Article Type: How To
Last Modified: 06 Dec 2025
Version: 4
Find answers to your questions from other Dell users
Support Services
Check if your device is covered by Support Services.