PowerStore: How to create a standalone NAS server
Summary: Guidance on how to create a standalone NAS server with or without a password.
Instructions
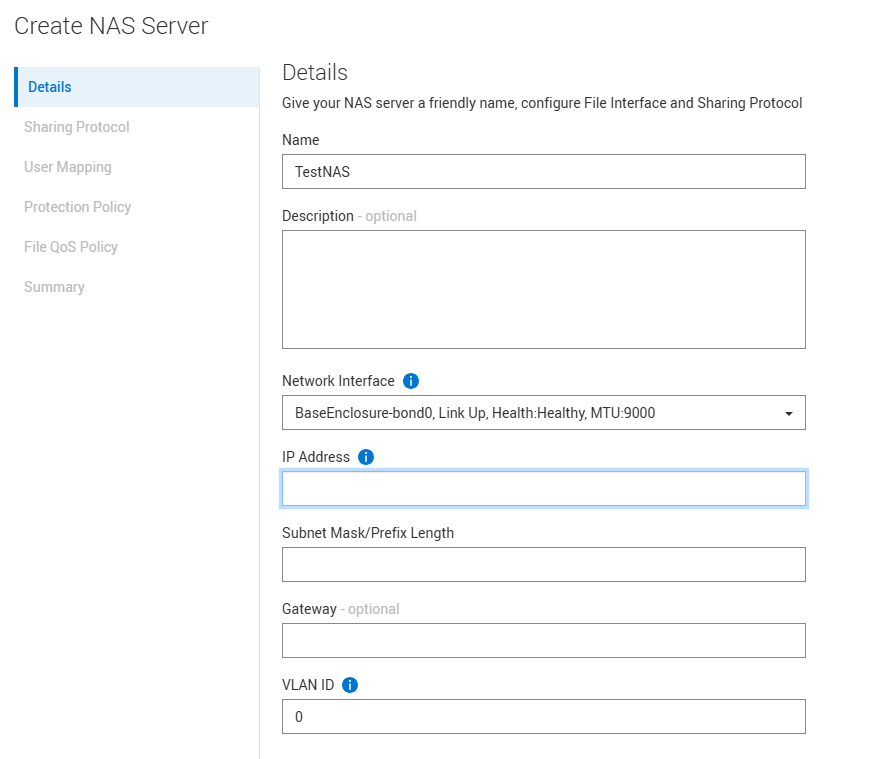
Start the Create NAS Server flow:
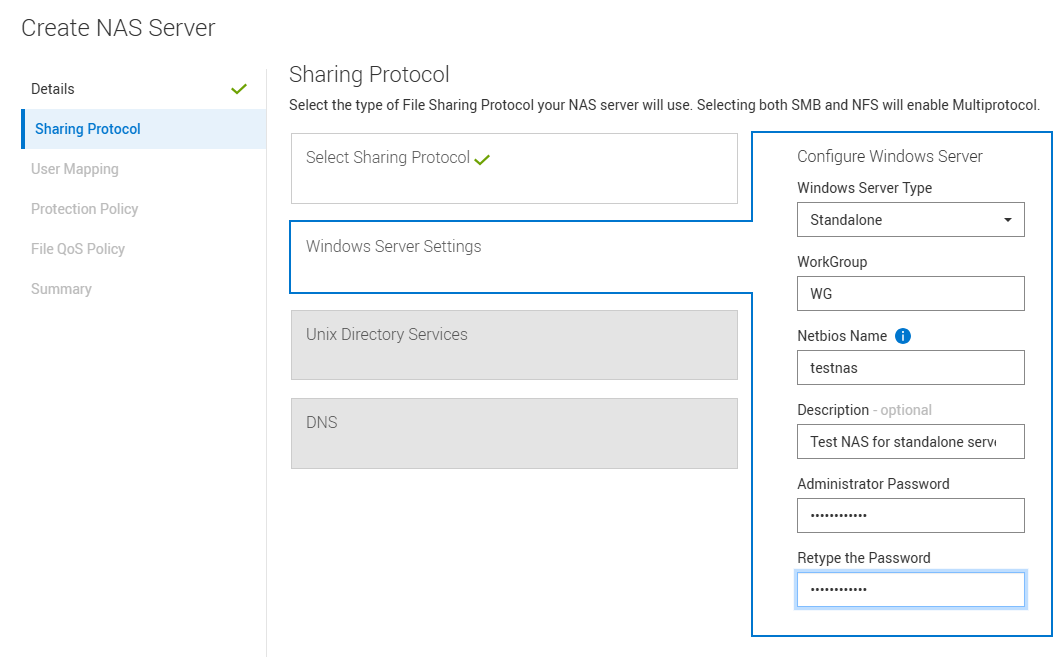
Set the sharing protocol to SMB

Select the sharing protocol to Standalone.
Populate the Workgroup, netbios name, and for an Administrator password you can leave this blank or type in the password.
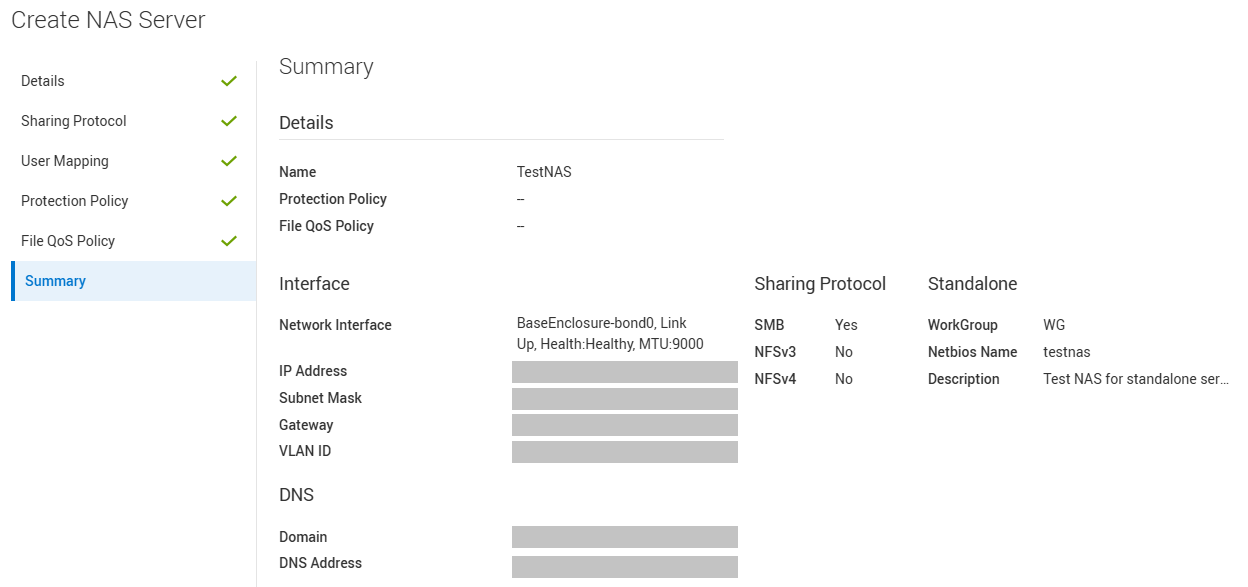
Skip User Mapping, Protection Policy, File QoS Policy for now. Review the information in the Summary, and if all is correct, continue to Create NAS server.
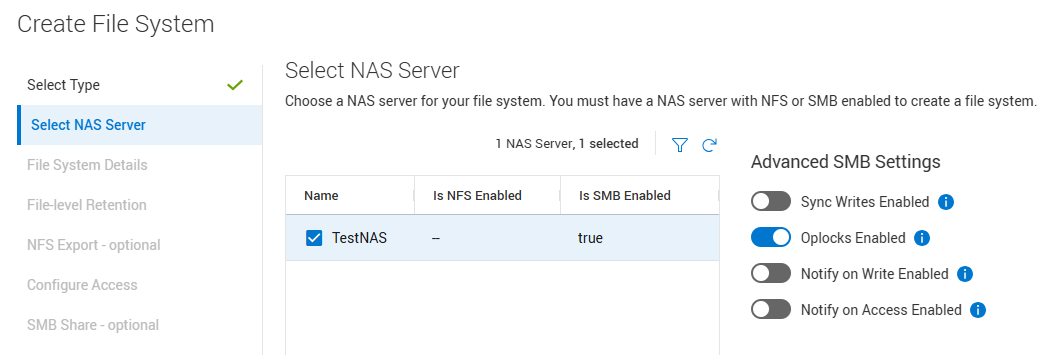
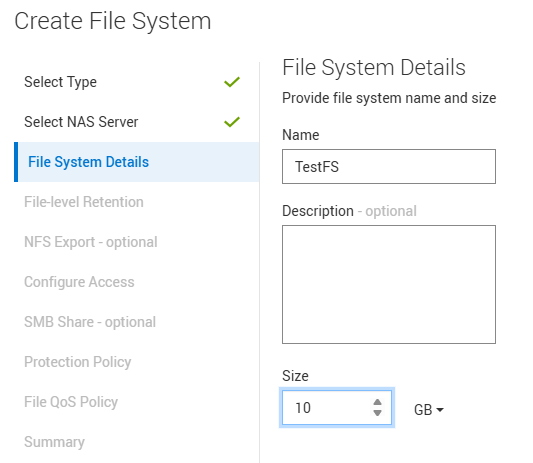
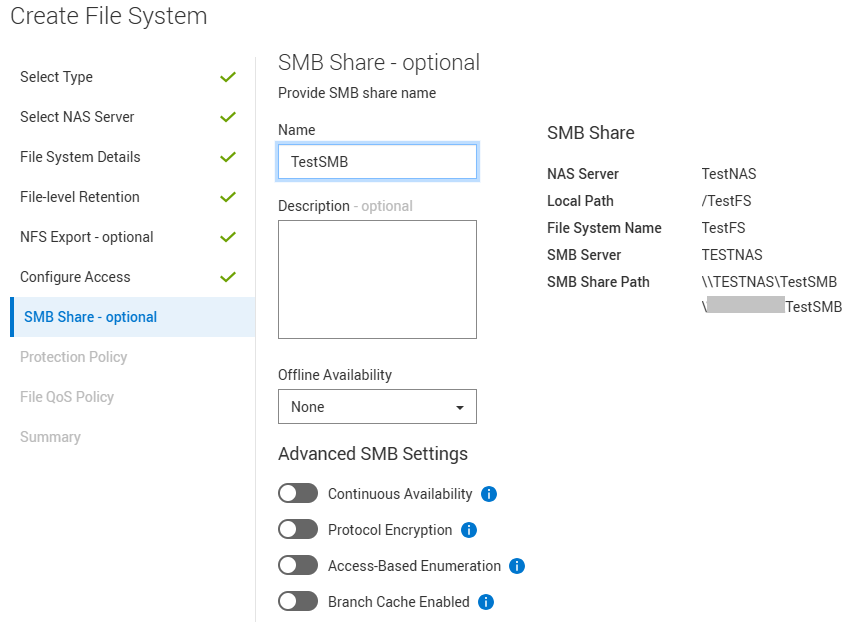
Create a normal File System and SMB share for the new NAS Server.
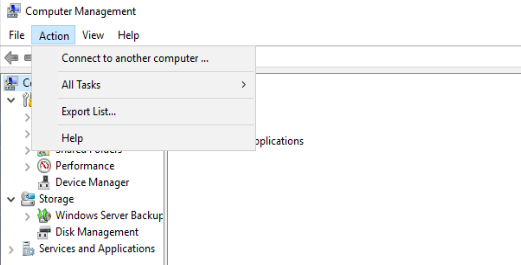
Connect to a Windows server that can access the NAS Server. Open the Computer Management Console (MMC) and go to Action > Connect to another computer.
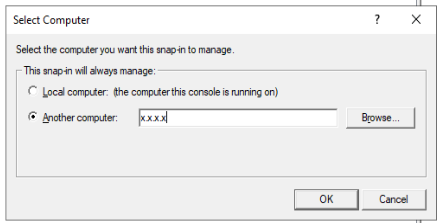
Use the IP or DNS name of the newly created standalone NAS Server.
If you have left the default Administrator password, this automatically connects to the NAS server over the MMC and provides full access.
If you created a new password for Administrator, you must update this in the command line and add this new password.
The windows server does not request for passwords so you have to provide it.
In this case, you get an access error: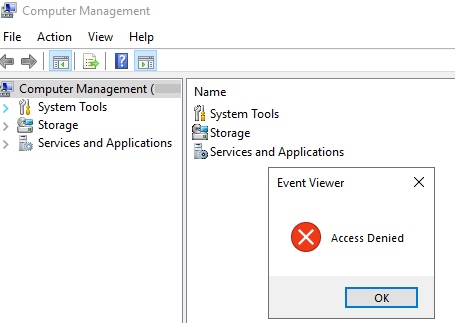
To update the password, open a Windows command prompt as administrator, and run the following command:
C:\WINDOWS\system32>net use \\NAS.IP.ADDR\ipc$ /user:NAS.NETBIOS.NAME\administrator The password or user name is invalid for \\NAS.IP.ADDR\ipc$. Enter the password for 'NAS.NETBIOS.NAME\administrator' to connect to 'NAS.IP.ADDR': The command completed successfully. Example: C:\WINDOWS\system32>net use \\1.2.3.4\ipc$ /user:TESTNAS\administrator The password or user name is invalid for \\1.2.3.4\ipc$. Enter the password for 'TESTNAS\administrator' to connect to '1.2.3.4': The command completed successfully. |
Go back to the Computer Management console and connect to the NAS server as shown above and you should have full access.
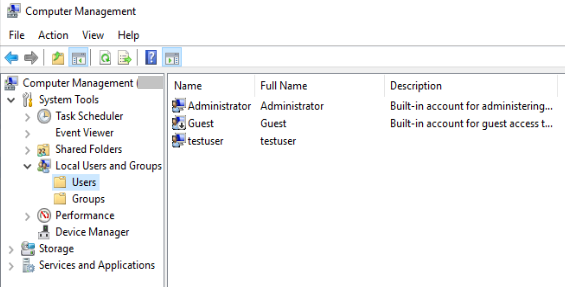
You can now give access to the standalone NAS server to users and groups as required.
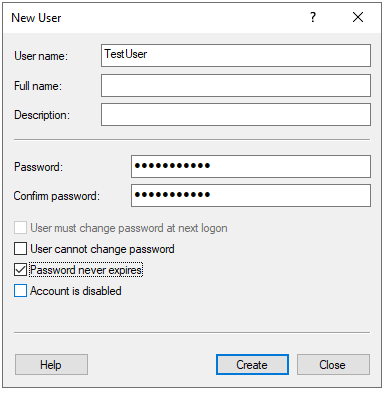
Example: Go to Local Users and Groups > Users > right click and create a new User.
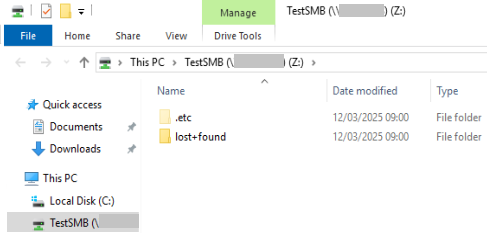
Now when you try open the standalone server from mapping a drive in a windows client.
Type in the user details. The user should have access to the standalone NAS share.
Example IP 1.2.3.4 to represent the NAS server created above. The NAS server name can also be used if DNS is enabled.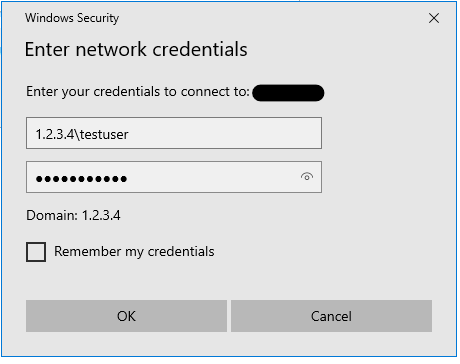
Additional Information
You may run into issues of Multiple connections, and you may have to clear the cached entries on that workstation: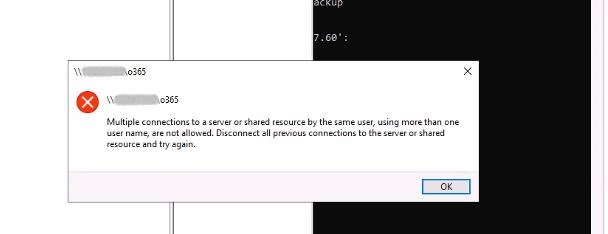
If this issue happens run the following commands:
| C:\Users\xxxx>Net Stop workstation /y The following services are dependent on the Workstation service. Stopping the Workstation service will also stop these services. Remote Desktop Configuration The Remote Desktop Configuration service is stopping. The Remote Desktop Configuration service was stopped successfully. The Workstation service is stopping. The Workstation service was stopped successfully. C:\Users\xxxx>Net Start workstation /y The Workstation service is starting. The Workstation service was started successfully |
You can then update the password again. Open a Windows command prompt as administrator, and run the following command (same as shown above):
| C:\WINDOWS\system32>net use \\NAS.IP.ADDR\ipc$ /user:NAS.NETBIOS.NAME\administrator |