How to Configure Netskope Client Communication
Summary: Learn how to configure Netskope Client communication by following these instructions.
This article applies to
This article does not apply to
This article is not tied to any specific product.
Not all product versions are identified in this article.
Instructions
This article provides the steps to configure the Netskope Client Communication.
Affected Products:
- Netskope Client
Affected Operating Systems:
- Windows
- Mac
- iOS
- Android
A steering configuration is responsible for directing traffic from end users to the Netskope Cloud.
To setup the steering configuration, an administrator must:
- Add a new Steering Configuration.
- Specify Exceptions.
- Ensure that Error Settings match expectations.
Note:
- There is no limit to the number of steering configurations that you can have.
- All configurations must be either organizational unit (OU) or user groups, not a combination of the two.
For more information about options to be profiled, click the appropriate function.
- In a web browser, go to the Netskope web console:
- United States Datacenter: https://[TENANT].goskope.com/
- European Union Datacenter: https://[TENANT].eu.goskope.com/
- Frankfurt Datacenter: https://[TENANT].de.goskope.com/
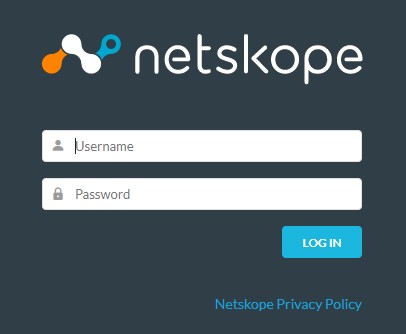
Note: [TENANT] = The tenant name in your environment - Log in to the Netskope web console.
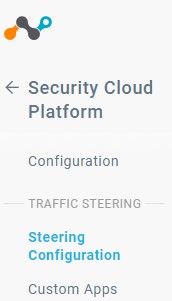
- Select Settings, Security Cloud Platform, and then Steering Configuration.
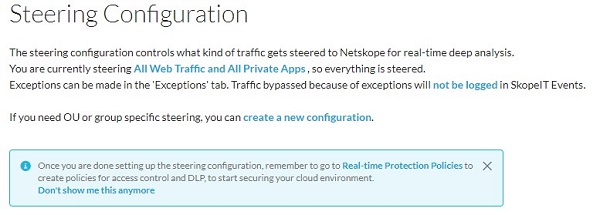
- Click to create a new configuration.
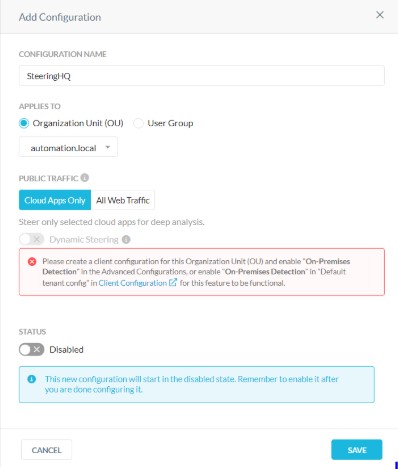
- From Add Configuration:
- Populate a configuration name.
- Select either Organizational Unit or User Group, then search for and select an OU or group from the dropdown.
- Select a Public Traffic type.
- Optionally select Dynamic Steering.
- Click Save.
Note:
- When enabled, the Netskope Client uses On-Premises Detection to determine if the Netskope Client is on-premises or off-premises. The default steering configuration page displays the Dynamic Steering status of each configuration.
- Steering configurations are disabled by default (unless enabled when created). It is suggested to leave the steering configuration disabled until after exceptions have been added.
- In a web browser, go to the Netskope web console:
- United States Datacenter: https://[TENANT].goskope.com/
- European Union Datacenter: https://[TENANT].eu.goskope.com/
- Frankfurt Datacenter: https://[TENANT].de.goskope.com/
Note: [TENANT] = The tenant name in your environment - Log in to the Netskope web console.
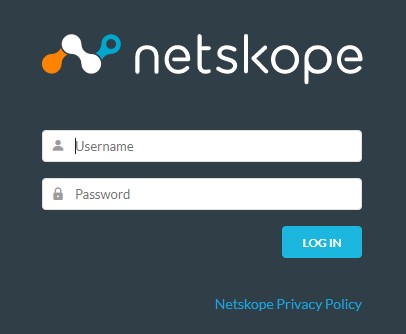
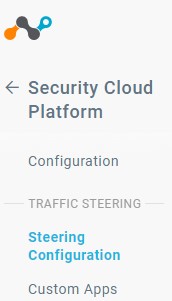
- Select Settings, Cloud Security Platform, Traffic Configuration, and then click Steering Configuration.
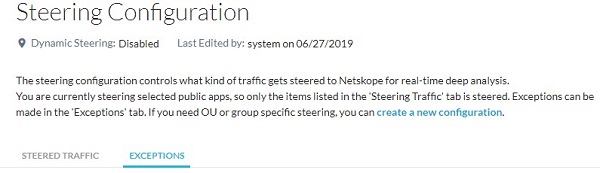
- Click Exceptions.
- Select one of the exception types from the Add Exception dropdown list.
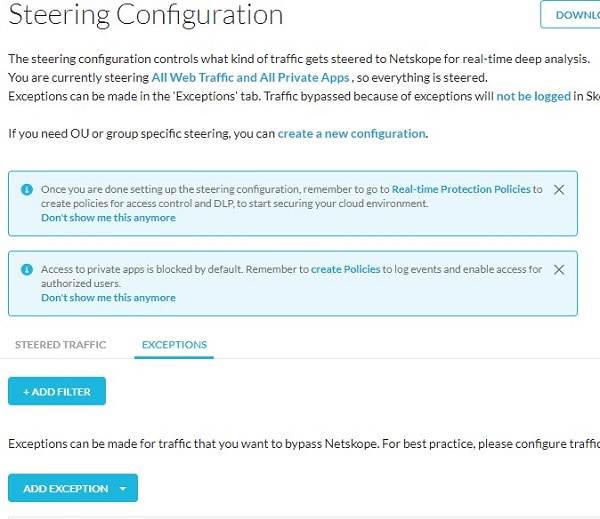
- Select an Exception Type.
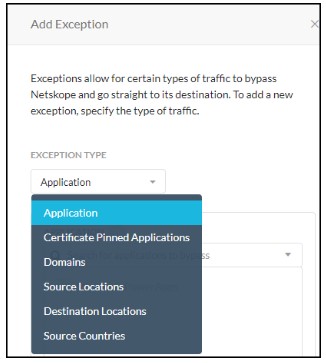
- Select an application, domain, and so on, by entering text in the search field and selecting one of the options that appear in the dropdown list.
- When using application exceptions, search for and then select the applications to bypass.
Note: An alternative method for selecting apps is to click View All, which provides two ways to select apps:
- Show Available Applications Only: If selected, only the apps that are available for adding are shown. The disabled apps are not shown. If not selected, all apps are shown.
- All Steerable Applications: This selects all the apps that are found by searching.
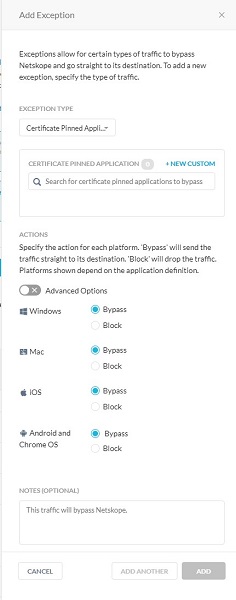
- After selecting applications, specify the platforms to bypass under Client Platform.
 Note:
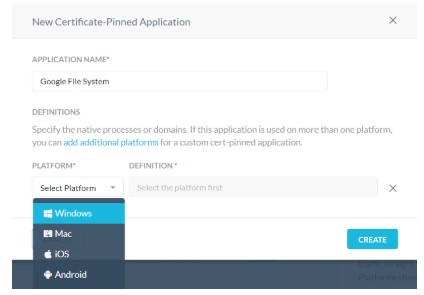
Note:- For Certificate-Pinned Applications, choose to bypass or block apps per platform, or enable Advanced Options to use other bypass options.
- Certificate-Pinned applications are bypassed by default. To add a new Certificate-Pinned application, click + New Custom.
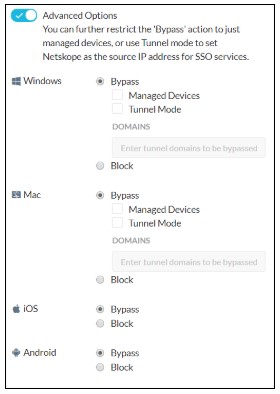
- With Certificate-Pinned Applications, enable Advanced Options to configure the action (Bypass or Block) and mode (Tunnel or Direct) for app traffic from all connected devices. Use the Domains fields to set domains for all app and plugin processes.
 Note:
Note:- Bypass + Direct: Bypass the configured apps/domains directly to the device.
- Bypass + Tunnel: The Netskope client tunnels the traffic from apps and domains, but the Netskope proxy bypasses it. This option is useful for domains that are associated with an SSO authentication service. Because these services use the source IP of the Netskope cloud to determine if access to the cloud app is protected by Netskope.
- Bypass Managed Devices + Direct: The client bypasses the app only if the device is managed, per the Device Classification policy, but otherwise blocks it.
- Bypass Managed Devices + Tunnel: The client will tunnel (to be bypassed by Netskope proxy) only if the device is managed, per the Device Classification policy, but otherwise blocks it.
- Block: The mode and other options are not applicable, and the client blocks all the app traffic.
- When finished, click Add.
- In a web browser, go to the Netskope web console:
- United States Datacenter: https://[TENANT].goskope.com/
- European Union Datacenter: https://[TENANT].eu.goskope.com/
- Frankfurt Datacenter: https://[TENANT].de.goskope.com/
Note: [TENANT] = The tenant name in your environment - Log in to the Netskope web console.
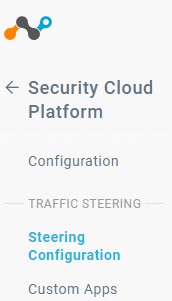
- Select Settings, Cloud Security Platform, Traffic Configuration, and then click Steering Configuration.
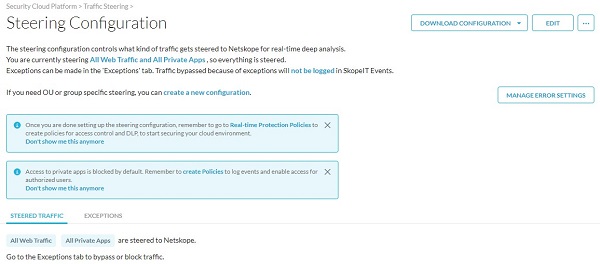
- Click Manage Error Settings from the right side of the screen.
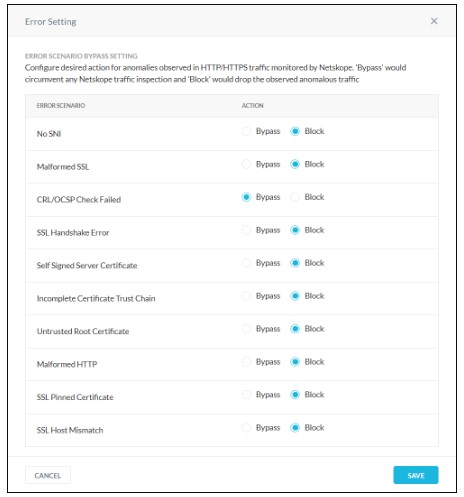
- Modify Error Settings as needed and then click Save.
Affected Products
NetskopeArticle Properties
Article Number: 000123997
Article Type: How To
Last Modified: 10 Aug 2026
Version: 12
Find answers to your questions from other Dell users
Support Services
Check if your device is covered by Support Services.