Avamar: How to Install the Avamar Security Rollup on Avamar Virtual Edition (AVE) and NDMP
Summary: This article provides instructions for downloading and installing the latest Avamar Security Roll-up on Avamar Virtual Edition (AVE) systems using the Avamar Installation Manager.
This article applies to
This article does not apply to
This article is not tied to any specific product.
Not all product versions are identified in this article.
Instructions
Caution: This article applies to Avamar Virtual Edition (AVE) and Network Data Management Protocol (NDMP) nodes only.
For Avamar Platform Security Rollup on Avamar Data Store Single and Multi-Node grids, contact Dell Technologies Avamar Support to schedule the installation.
Overview:
This procedure describes how to install the Avamar Platform Security Rollup.
Avamar creates and distributes the Security Rollup. These Rollups contain security patches from third-party components for Avamar.
-
See the latest Dell Security Advisory (DSA) under the advisories section of the Avamar Support pages
For Security Rollup troubleshooting, see Avamar: Platform Security Rollup Troubleshooting
Installing the security rollup uses an Avamar workflow package (AVP) that automates the software steps required to complete the activity.
- While this is an automated process, monitoring the progress, responding to prompts for input, or responding to errors that may occur during the operation is required.
Requirements:
- Internet Explorer, Firefox, Chrome, or Safari Browser
- A valid license installed on the Avamar Virtual Edition
- A healthy node functioning without issue
- A recently validated Checkpoint
- Free Space: 1500 MB is required on the AVE
- The AVE must be idle - there can be no backup, restore, or maintenance activities running
- The installation shuts down processes and ends with a reboot
Warning: Allow 1 to 4 hours of downtime (depending on the amount of data).
Procedure:
1. Copy the Installation package to the Avamar Server.
-
-
Before the software installation, the OS Rollup package (AVP) must be downloaded and copied to the Avamar Server.
-
For for download and copy instructions:
- To find an avp package, see Avamar: Find and Download Hotfix, Patch, Installation, or Upgrade Package from Dell Support
- To upload the avp package, see the "Additional Information" section of Avamar: How to apply an Avamar package (.avp) using the Avamar Installer (AVI)
-
2. Run the Installation Workflow Package (AVP):
Login:
a. In the web browser URL address box, type:
https://<AvamarServer>:7543/avi/
Where "<AvamarServer>" is the hostname or IP address of the Avamar Utility Node (or single node)
The Avamar Installation Manager login page appears:
(If a security warning is received from the browser, an exception may be required prior to reaching the login screen.)
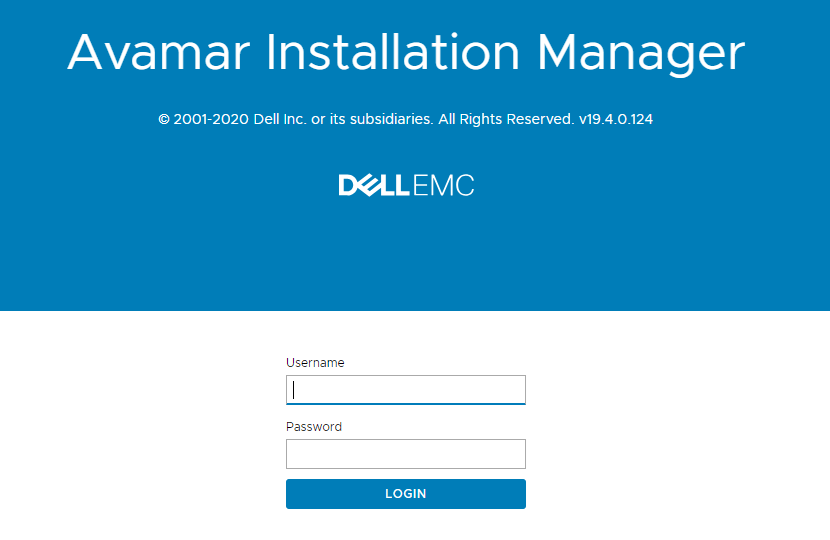
b. Enter the root login credentials and click Login.
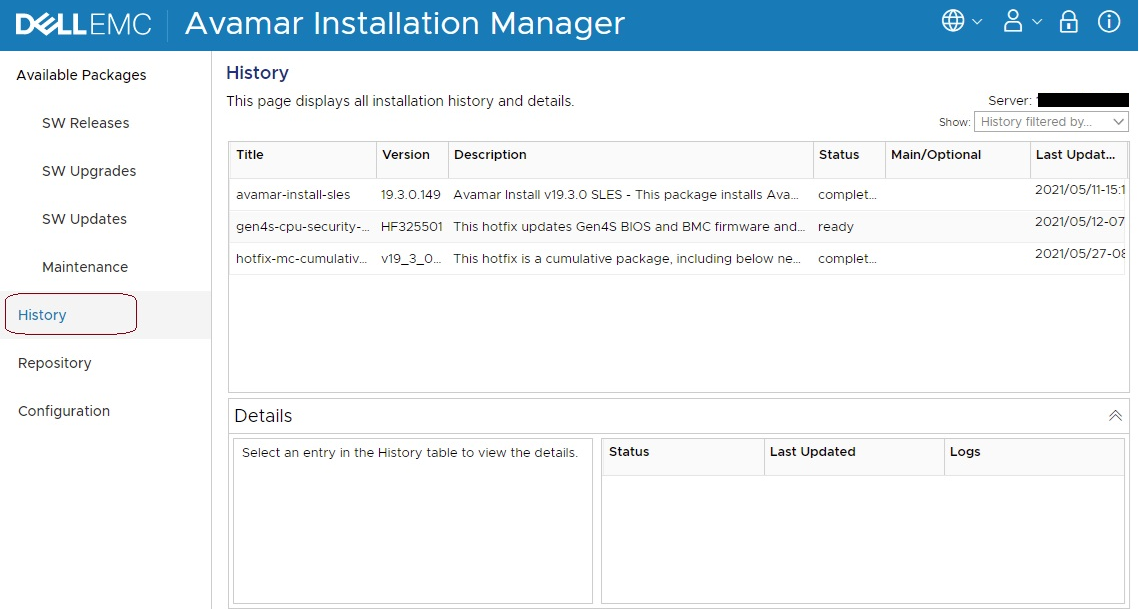
Package History:
The history must be reviewed for previously installed packages:
Go to the History tab, and the previously installed packages are displayed:
Software Update:
a. When the Avamar Installation Manager page appears, locate the package within "Available Packages" (SW Updates) to be installed:
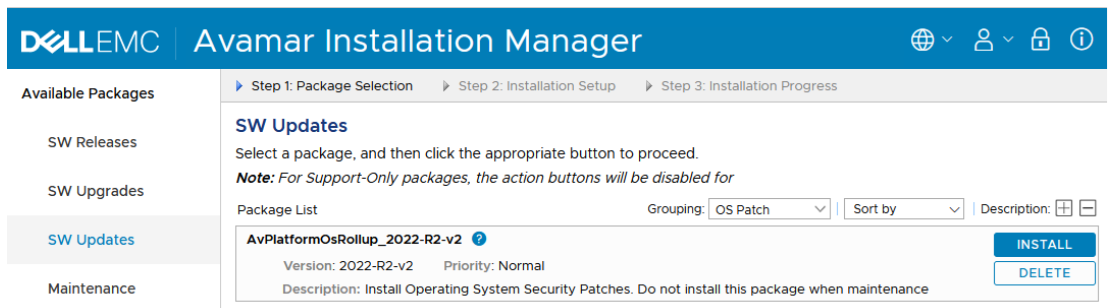
Notes:
-
- It may also take several minutes (15) for the package to appear (click the refresh button on the upper right if required).
- If the package is not visible in the UI within 15 minutes, verify that the package was copied to the correct location.
- Any other packages should be ignored.
b. Click Run or Install (depending on the option available) to begin the workflow.
Warning: If the Install button is unavailable, it indicates that a previous package update is incomplete. Create a Service Request for assistance.
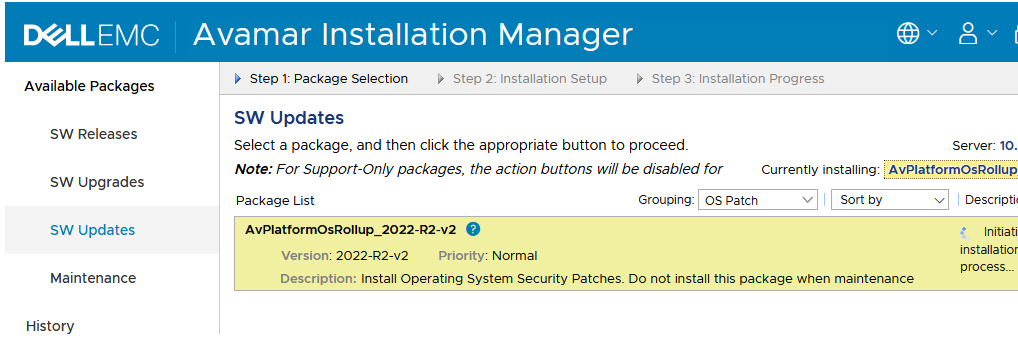
After a few moments, the package installation should start to initialize:
c. Security Update packages require additional information such as the OS root password (as nodes are rebooted):
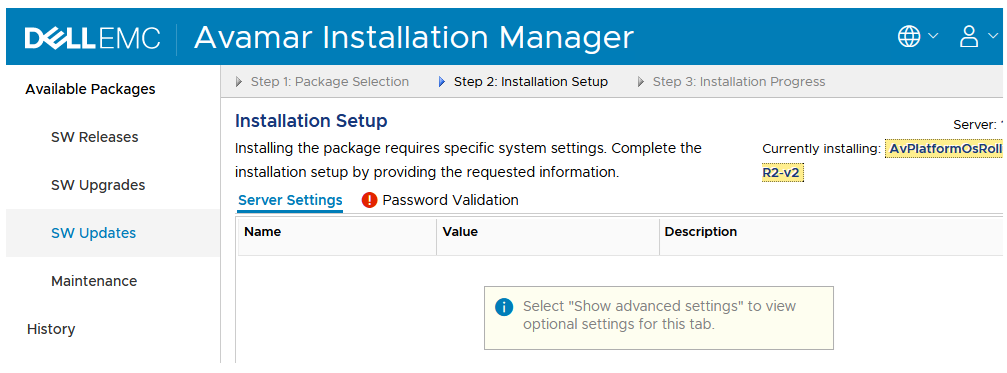
Select "Show advanced settings" as shown.

Click the "Password Validation" Tab and enter the Linux root password, and click the "Save" button at the bottom of the screen.
Click "Continue" to continue the installation.
d. Click Continue, and the workflow begins.
As the installation runs, the progress is shown:
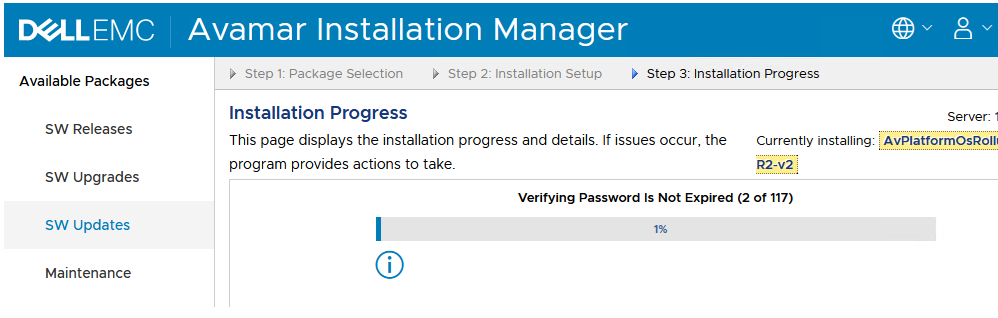
The installation can take several minutes to run.
The time varies depending on the size or amount of data on the node.
e. Monitor the installation and respond to any input.
Note: The node is rebooted as part of the workflow and the session is logged out.
Once the reboot has finished, log back in to the installation manager to continue to monitor progress. (Click the Monitor button to get back to the Installation Progress display.)
Once the reboot has finished, log back in to the installation manager to continue to monitor progress. (Click the Monitor button to get back to the Installation Progress display.)
When the update is finished, a screen displays showing the successful completion.
f. Once the installation is 100% complete, Exit or log out of the Installation manager.
For questions or issues with this procedure, Create a Service Request with the Dell Technologies Customer Support team.
See the APPENDIX if a checkpoint validation error occurs.
Additional Information
APPENDIX - Validated Checkpoint Error
The Installation checks for a recently validated checkpoint.
If there is no recently validated checkpoint, the installation pauses and displays the message below:
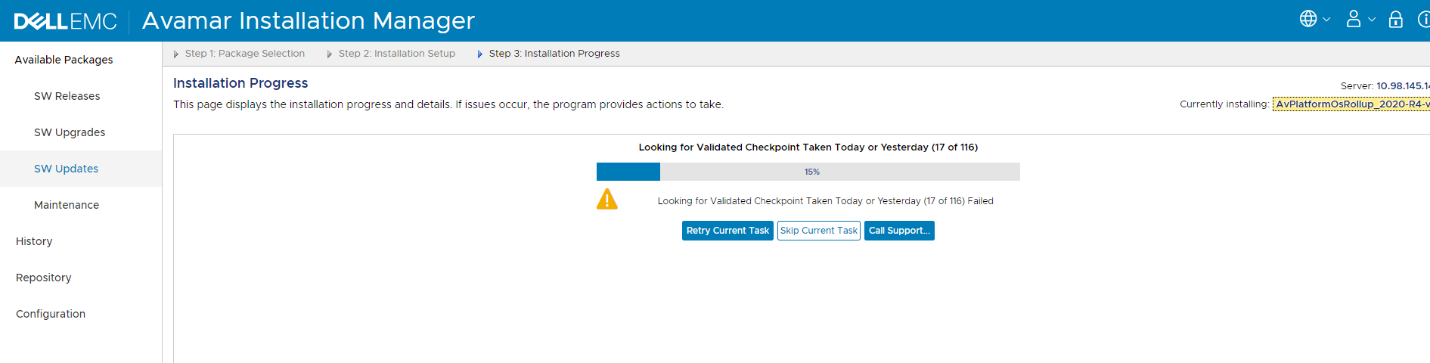
If this occurs, do not continue. It is an indication that maintenance activities are not running correctly, and data may be at risk.
Contact Dell Technologies Support for assistance. DO NOT SKIP THIS STEP.
Affected Products
Avamar, Avamar Virtual EditionArticle Properties
Article Number: 000169784
Article Type: How To
Last Modified: 13 Mar 2026
Version: 9
Find answers to your questions from other Dell users
Support Services
Check if your device is covered by Support Services.