PowerProtect Data Manager: How to Install and Register PowerProtect Data Manager SQL Agent
Summary: This document provides a step-by-step guide describing the process to install and register PowerProtect Data Manager SQL Agent on SQL servers with PowerProtect Data Manager appliance.
This article applies to
This article does not apply to
This article is not tied to any specific product.
Not all product versions are identified in this article.
Instructions
Confirm that sysadmin privilege is set for NT AUTHORITY\SYSTEM account as it is the account used by PowerProtect Data Manager SQL agent by default.
Installation
-
Download PowerProtect Data Manager SQL Agent from the UI.
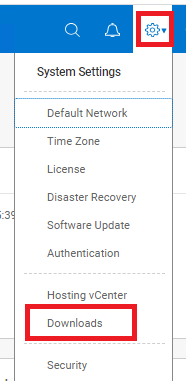
Figure 1: Where to download PowerProtect Data Manager SQL Agent from UI
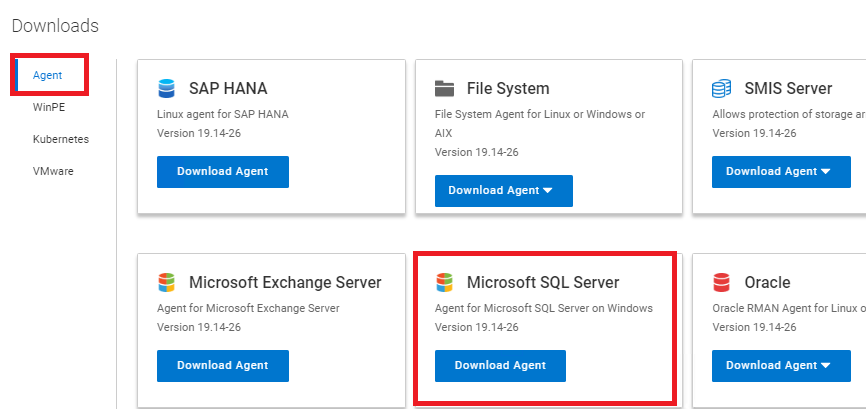
Figure 2: Screenshot of Microsoft SQL Server tab in Downloads -
Copy the package to the SQL server and run it with admin privileges. Accept the license agreement and go to next.
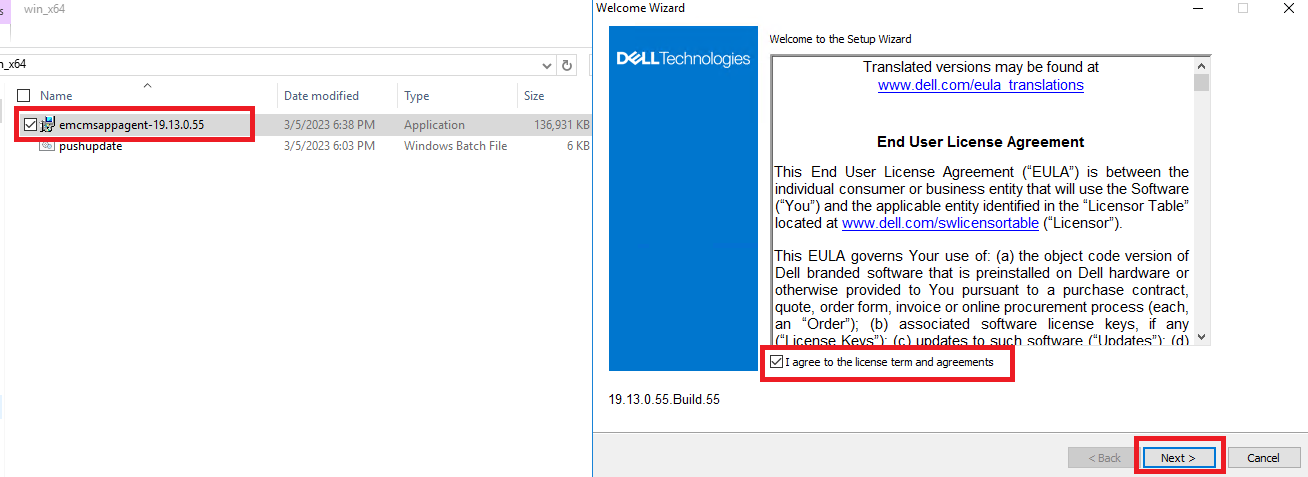
Figure 3: Copy the package and accept license agreement -
Define install path, by default, C:\Program Files\DPSAPPS\MSAPPAGENT.
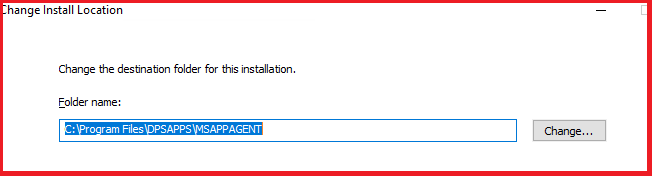
Figure 4: Define the install path to C:\Program Files\ -
Configure install options.
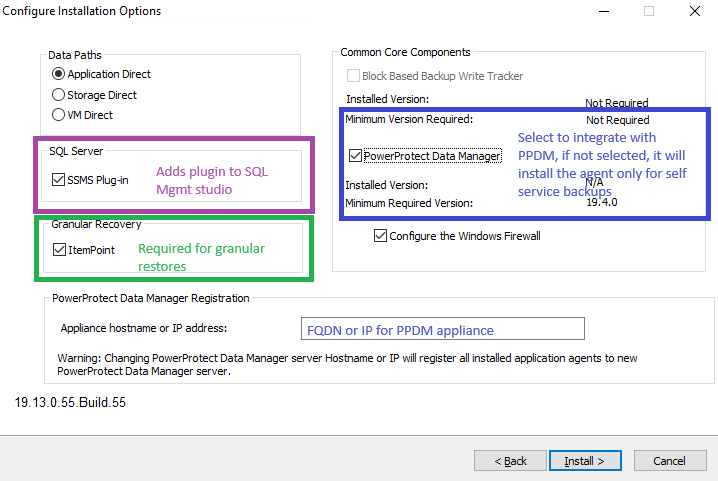
Figure 5: Screenshot of the different install options- SMSMS Plugin is selected by default and installs a plug-in into the SQL Server Management Studio console to allow Self-Service operations.
- Granular Recovery (Optional): This is not checked by default. If selected, it installs Item Point software used to perform Granular restores.
CAUTION: Restart may be required.
- PowerProtect Data Manager: This is not checked by default. This option must be validated in order to integrate SQL Agent within the PowerProtect Data Manager appliance. If not selected, only Self-Service operations are allowed.
-
Proceed with installation.
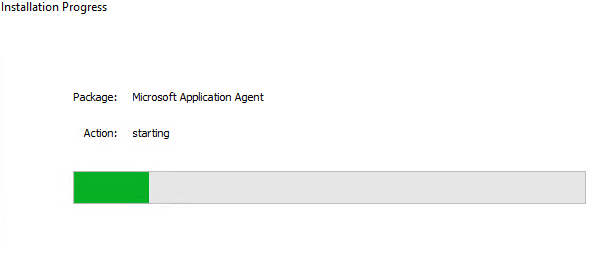
Figure 6: Screenshot of package installation progress -
Select if Common Language Runtime (CLR) is to be installed. This allows CLR-integrated TSQL functions to run.
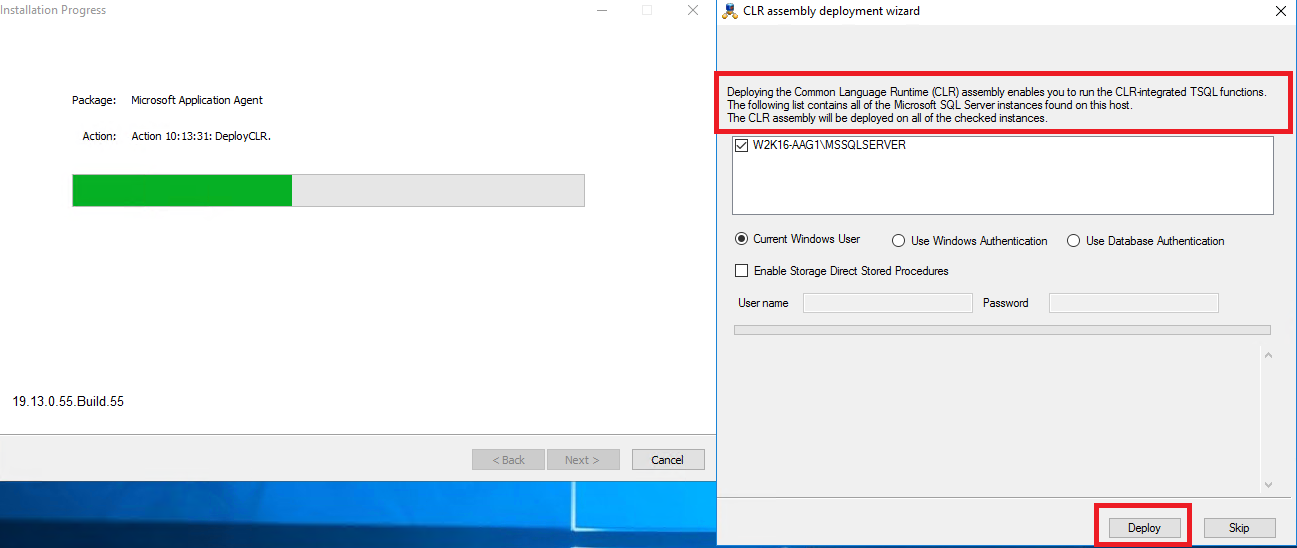
Figure 7: Select if the Common Language Runtime (CLR) is to be installed -
Wait for the install to complete.
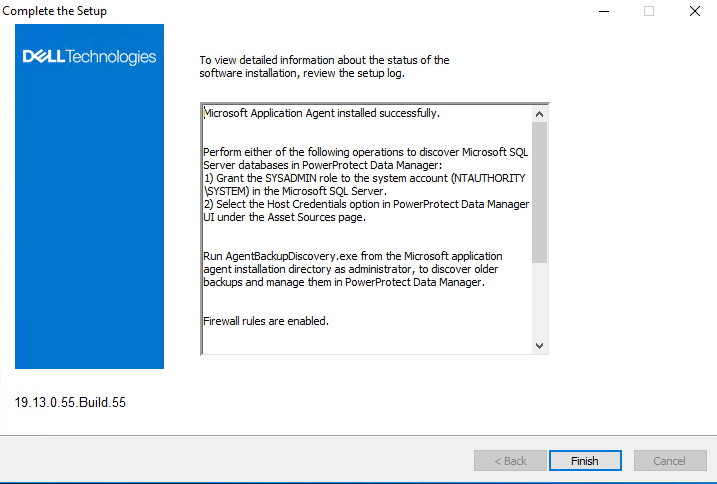
Figure 8: Setup completion screen
Registration
-
Once the install procedure is completed, PowerProtect Data Manager Agent automatically attempts to register the new agent within the PowerProtect Data Manager appliance, which can be confirmed on PowerProtect Data Manager UI > Infrastructure > Applications agents.
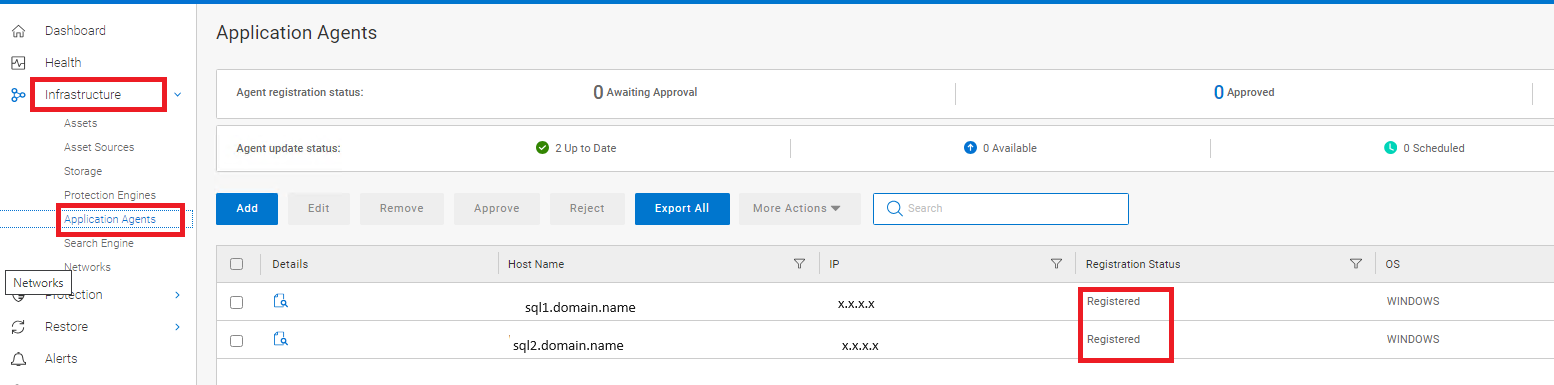
Figure 9: Screenshot of PowerProtect Data Manager Agent automatically registering the new agent -
If required, agents can be registered manually by running the register.bat script, located under the C:\Program Files\DPSAPPS\AgentService folder.
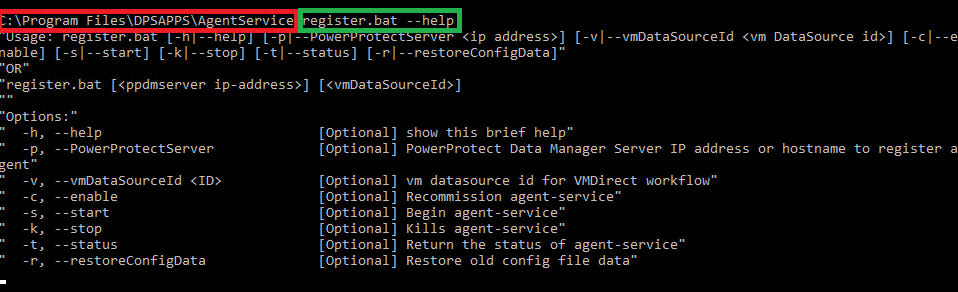
Figure 10: Screenshot of script to manually register the new agent -
After a successful registration, the PowerProtect Data Manager Agent runs a full discovery of the available assets for this host.
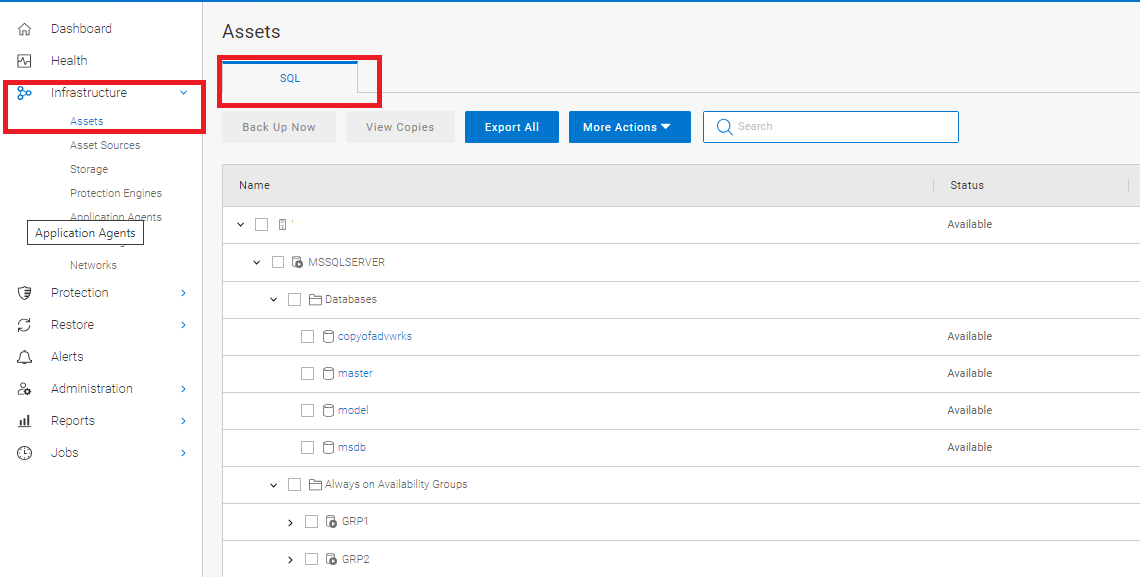
Figure 11: After registration, the PowerProtect Data Manager Agent runs a full discovery of available assets -
Similar to the registration process, manual discovery operations can be run from PowerProtect Data Manager UI > Infrastructure > Asset Sources.

Figure 12: Screenshot of manually discovering assets from the PowerProtect Data Manager UI -
For any registration or discovery-related issue, logs are located under c:\program Files\DPSAPPS\AgentService\Logs folder.
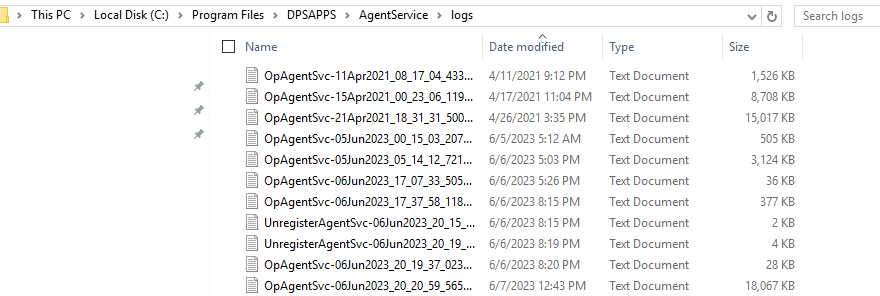
Figure 13: Location of log files for reference should any registration or discovery issues occur
Additional Information
Article Properties
Article Number: 000217717
Article Type: How To
Last Modified: 25 May 2026
Version: 4
Find answers to your questions from other Dell users
Support Services
Check if your device is covered by Support Services.